
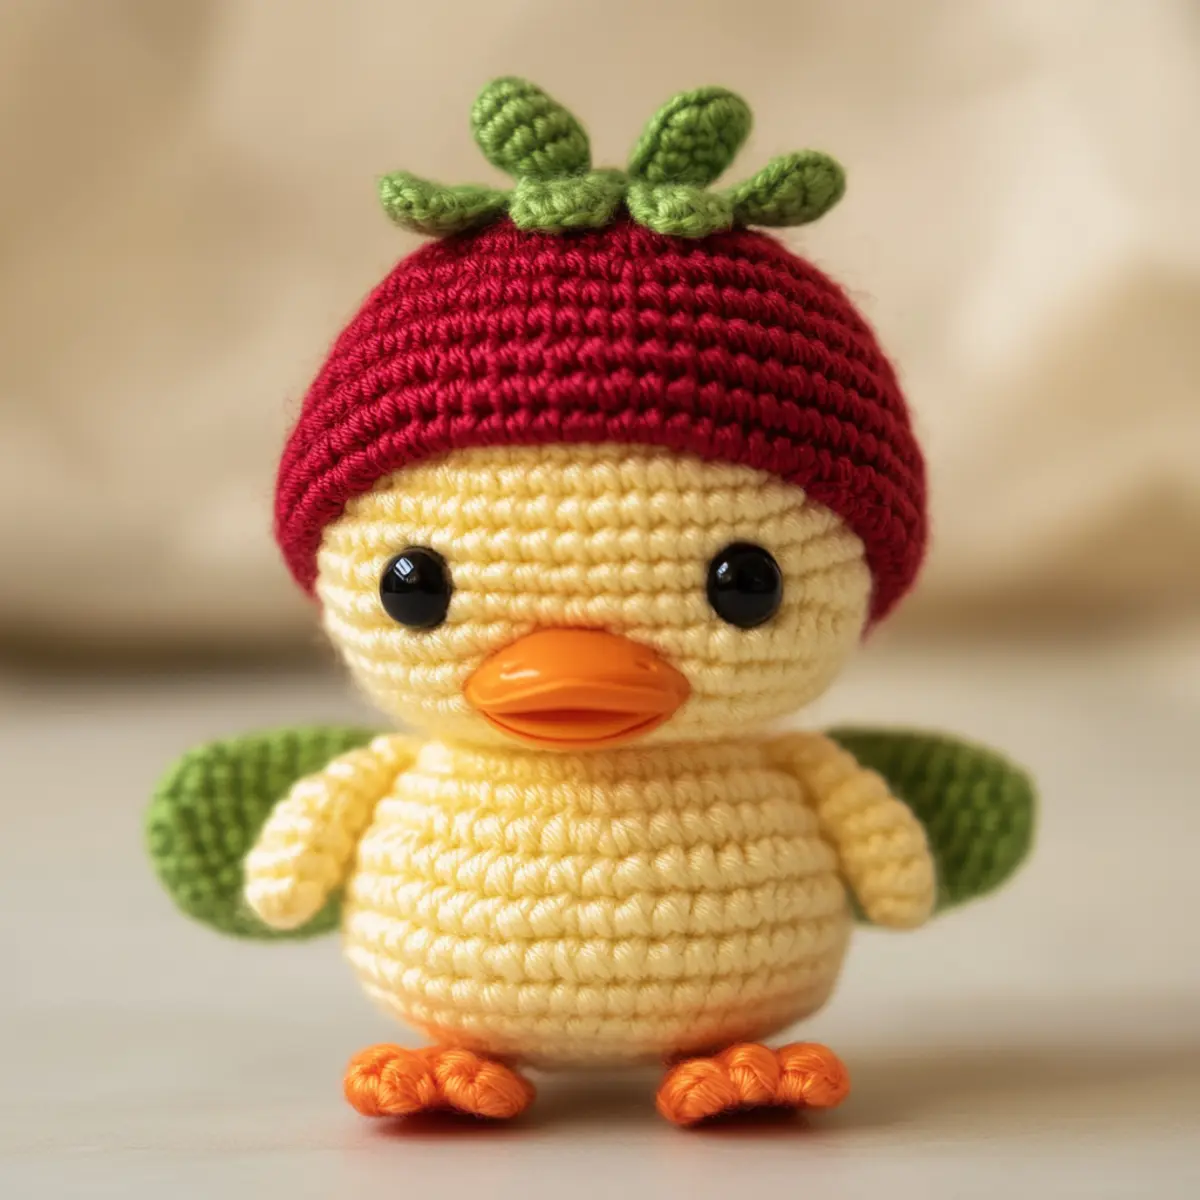
Surprise! If you’re on the hunt for a fun and whimsical crochet project, look no further than this delightful Strawberry Hat Duck Amigurumi. This crochet duck pattern is perfect for those seeking a creative outlet that combines imagination and skill. What’s even better? It’s a quick project that’s stash-buster friendly, making it ideal for crafters of all levels. With the vibrant tones of yellow, red, and green, your crochet duck will capture hearts and spark joy. Not only does it make a delightful plush toy, but it also serves as a whimsical decorative piece, perfect for a child’s room. Imagine gifting this charming creation to someone special, and watch their face light up with happiness! It’s a plush companion that invites hugs and a smile, all wrapped up in the world of crochet. As you dive into the playful process of crafting, who knows what delightful twists and colors you’ll explore in your own creation?
Crochet Duck Pattern Materials & Tools
Yarn
Worsted weight yarn – Approximately 100-150 yards total in various colors: yellow for the body, orange for the beak and feet, bright red for the hat, and green for the leaves.
Safety eyes (8 mm) – Essential for giving your duck a bright, cheerful expression.
Tools & Notions
2.5 mm crochet hook (US D/3) – Helps you achieve tight stitches for easy stuffing.
Yarn needle – Necessary for sewing parts together securely and weaving in ends.
Scissors – For trimming any excess yarn once your project is complete.
Stitch markers – Handy for keeping track of rounds, especially in the hat.
Fiber filling – Essential for stuffing your adorable crochet duck, giving it a full, plushy feel.
Why You’ll Love This Pattern
First, this crochet duck pattern is a fantastic stash-buster! You can use those leftover yarns to create a cheerful duck with a fun strawberry hat, perfect for using up bits of yarn you didn’t know where to use. Second, the construction offers simple techniques that even beginners can master. With a few basic stitches like single crochet and half double crochet, you’ll feel accomplished in no time. Plus, the soft worsted weight yarn ensures your creation has a lovely drape, making the end product even more huggable. Each section flows seamlessly into the next, so creative play is encouraged. Lastly, don’t limit yourself to the strawberry theme; with a little imagination, you can customize the hat to suit any season! Need more tips on customizing your amigurumi? Check out our post on transforming amigurumi into seasonal characters to get inspired!
Gauge & Sizing Notes for Crochet Duck Pattern
Checking your gauge is crucial for this crochet duck project. The standard gauge measurement is 4×4 inches (10×10 cm) in 30 stitches with a tight worsted weight. This ensures finished parts fit well together, affecting the overall aesthetic and structure. If your swatch isn’t matching gauge, try adjusting your tension; either crochet tighter for a snug fit or looser for a relaxed finish. Should you need to resize your duck amigurumi, modify the length of the starting chain or rounds accordingly, using multipliers of 6 stitches for optimal results throughout the toy’s form. A slight bodacious size adjustment can accommodate any personal preference, transforming your crochet duck pattern into a customizable delight!
Step-by-Step Pattern for Crochet Duck Pattern
Row 1: Start the Body Begin with a magic ring. Work 6 sc into the ring, pulling tight to close. This creates the foundation of your duck’s body. (6)
Row 2: Increase the Body In the next round, work 2 sc in each stitch around to form a round shape. Pay attention to keep your stitches tight to avoid gaps. (12)
Row 3: Shape the Body Continue by working 1 sc in the first stitch, then inc in the next. Repeat this for the entire round. This creates a gentle curve for the duck. (18)
Row 4: Continue Shaping In this round, you will do 2 sc in the first stitch, then 1 sc in the next two stitches. This helps to create the plump shape of the duck’s body. (24)
Row 5: More Rounding Increase further by working 1 sc in the first three stitches and then inc in the next. Repeat around as you build the body. (30)
Row 6: Start Even Rounds Now, work 1 sc in each stitch for the next three rounds. This gives your duck a solid form to work with. Continue without increasing. (30)
Row 7: Prepare for the Neck As you reach the desired height, start decreasing by working 1 sc in the first three stitches followed by a dec. This starts to shape the neck area. (24)
Row 8: Complete the Neck Continue decreasing by crocheting 1 sc in the next two stitches, followed by a dec, forming a narrow neck. (18)
Row 9: Head Formation Switch to a new round with 1 sc in the first stitch and then inc in the next. This structure starts forming the duck’s head. (27)
Row 10: Define the Head Work 1 sc in the first four stitches and an inc. Continue this pattern until round ends. Now you have established a noticeably rounded head. (30)
Row 11: Create Eyes Insert safety eyes before closing the head, about three rows from the bottom of the head. Use your handy stitch marker to ensure they’re spaced correctly.
Row 12: Complete Head Shape Continue making rounds until you reach the desired head height, usually around four rounds with no increases or decreases. (30)
Row 13: Finish the Body Shifting back down, follow with a round of 1 sc in the next two stitches followed by a dec into the body. Make your way down until closing off the body. (24)
Row 14: Attach Beak Create a separate piece for the beak with a magic ring and 6 sc. Work in short rounds, shaping the beak by increasing in your next round. Attach securely to the head.
Row 15: Form Wings Start two wings with 6 sc in a magic ring again. Work each wing in rounds while dec to give a nice rounded finish before placing them on the body.
Row 16: Make the Hat For the strawberry hat, start with a magic ring and 6 sc. Gradually increase like you did with the body, but stop before reaching the desired hat height, allowing for some floppy style.
Row 17: Add Leaves Using green yarn, create separate leaves in mini rounds of 6 sc, joining them to the top of your hat for a cute finishing touch. Lastly, assemble all components securely for your delightful crochet duck pattern!
Crochet Duck Pattern Variations
Feel free to put your unique twist on this adorable crochet duck project!
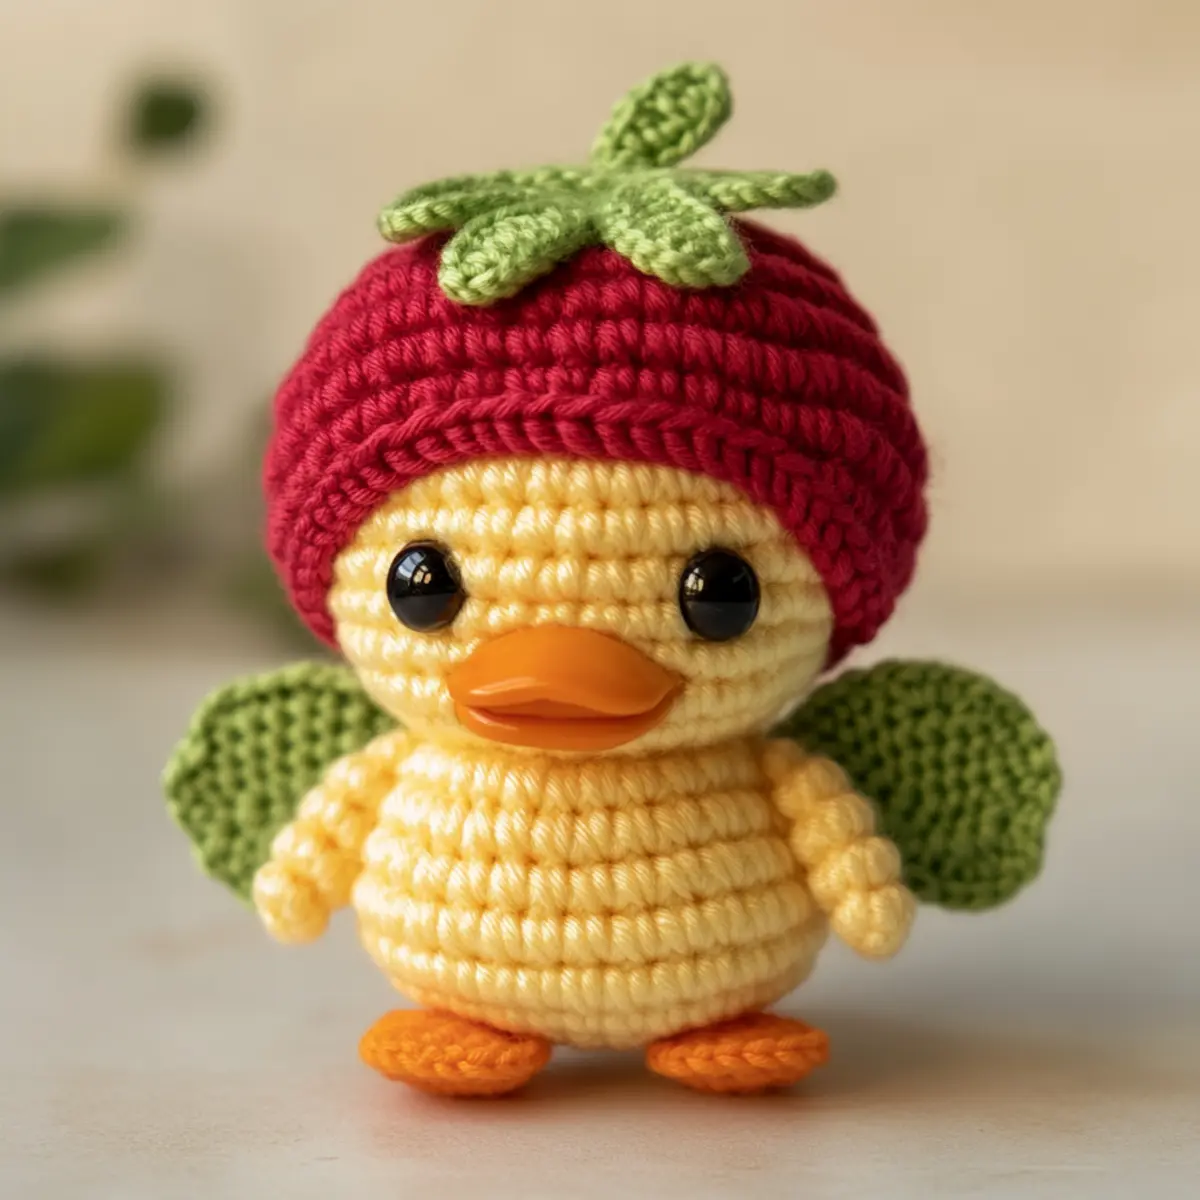
- Color Swaps: Use various shades like pastel blue or soft gray for the duck. These alternatives can create softer visual aesthetics, perfect for themed decor.
- Theme Hats: Instead of a strawberry hat, experiment with seasonal themes like a lemon or watermelon for a refreshing vibe to brighten any room.
- Texture Options: Use a combination of cotton and wool yarn for a textured feel, adding depth and character to your duck.
- Size Adjustment: Opt for bulkier yarn and larger hooks to make a bigger, huggable version. This allows for more plushiness and cuddly appeal.
- Accessory Additions: Think about adding tiny scarves or bow ties to customize the duck’s look. Accessories can elevate the overall design, making it even more delightful.
- Jointed Limbs: If feeling adventurous, try adding joints to the duck’s wings or legs for a poseable effect—perfect for making playtime more interactive.
This amigurumi pattern is inherently adaptable, allowing you to weave your creativity into every stitch. Don’t hesitate to explore these variations, and remember to check out our guide on color choosing for yarn or adding accessories to make your crochet duck all the more charming!
Helpful Tricks for Crochet Duck Pattern
Maintain Tension: Keep an even tension while crocheting to avoid gaps, especially during transitions between stitches.
Use Stitch Markers: Utilize stitch markers to track your rounds and keep accurate count, crucial for the hat’s shape.
Avoid Dropped Stitches: Be attentive and check your stitch count regularly; missed stitches can throw off your pattern.
Prevent Twists: Ensure your foundation chain is flat and not twisted before starting your project, preventing future hassle.
Custom Colors: Feel free to experiment with colors; using pastels or different themes can make your crochet duck pattern unique and fun.
Adjust Size Easily: Use thicker yarn and a larger hook to adjust the duck’s size based on your preference, altering its charm in an instant.
How to Wash and Care for Your Crochet Duck
Machine Washing: Use a gentle cycle with cold water for a safe clean, avoiding agitation to prevent shape distortion.
Hand Washing: Opt for hand washing with mild soap; gently squeeze the duck without wringing to maintain its plush form.
Drying: Always lay your crochet duck flat to dry; this way, you avoid stretching or distorting its figure during drying.
Storage: Store your crochet duck in a cool, dry area away from direct sunlight to keep colors vibrant and avoid any fading over time.
Crochet Duck Pattern FAQs
Can I use different yarn types?
Absolutely! While worsted weight yarn is recommended, you can substitute with similar weight yarns like acrylic or cotton, just adjust your hook size appropriately.
How do I adjust the size of my duck?
To resize your crochet duck, simply use a heavier yarn and a larger hook to create a more substantial toy, or modify the round counts to suit your preference.
What if my stitches keep dropping?
Don’t panic! Dropped stitches are easy to fix. Just retrace your steps and crochet back into the last completed stitch, ensuring your tension remains consistent.
What hook size do I need?
The recommended hook size for this crochet duck pattern is 2.5 mm (US D/3), perfect for achieving tight stitches which are essential for stuffing.
Can I customize the hat?
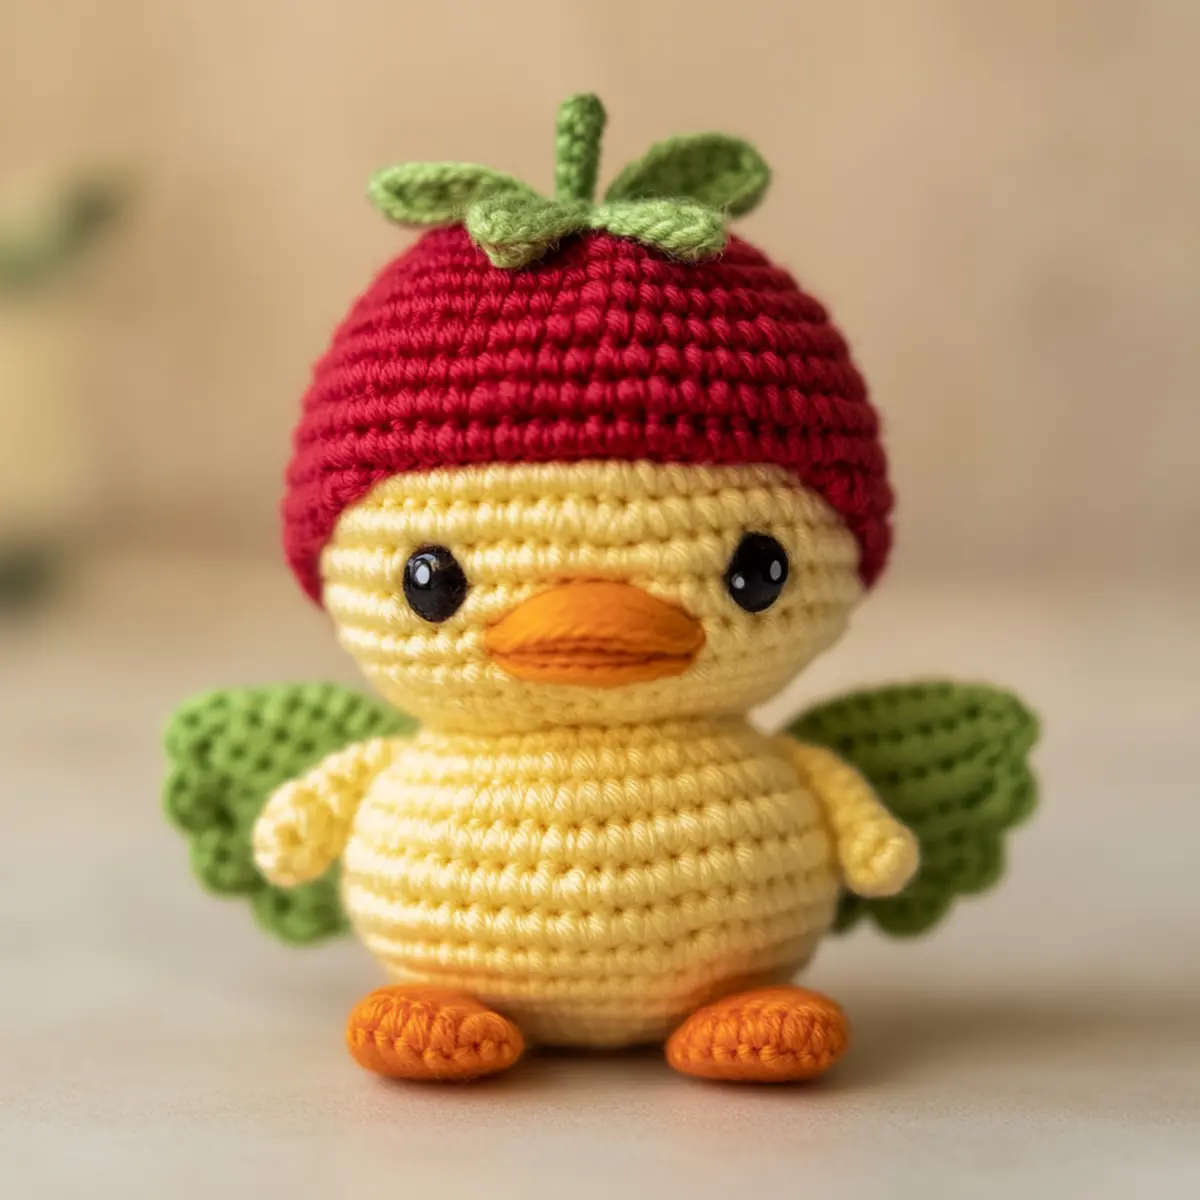
Absolutely! The hat design can be altered for different seasons or themes. Consider swapping the strawberry for a lemon or even a pumpkin for fall fun!
Is blocking necessary for my crochet duck?
Blocking isn’t required but can enhance the look of your finished piece. A light steam blocking, especially of the hat, can help achieve a polished edge and well-defined shapes.
Leave a Reply