
Walking into a room adorned with handmade decor brings a unique sense of warmth and personality. Lately, I’ve been captivated by the beauty of crochet anemone flowers, which serve as a perfect centerpiece for any space. With their vibrant colors and intricate petal designs, these crochet creations are more than just flowers; they are true works of art. This crochet anemone pattern is not only visually stunning but also beginner-friendly, making it accessible for all skill levels. Plus, it’s a wonderful stash-buster, allowing you to use up leftover worsted weight yarn! Picture these lovely blooms brightening up your home or being gifted to a loved one, bringing joy that won’t wilt away. Curious about how to bring these delicate beauties to life? Let’s dive into this project together and discover the joys of crochet artistry!
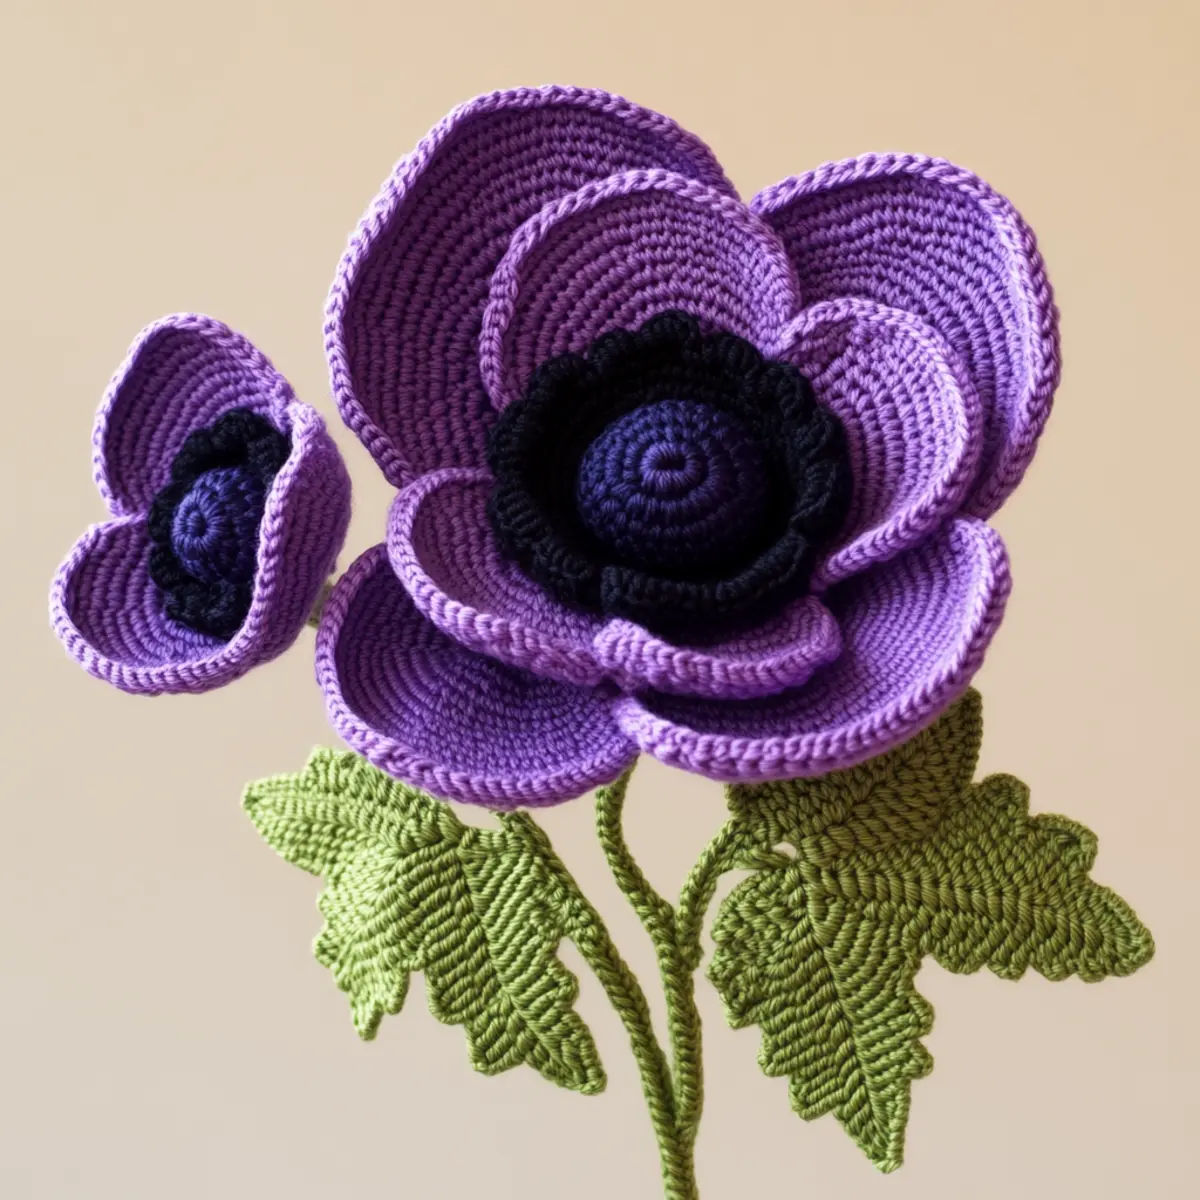
Crochet Anemone Pattern Materials & Tools
Yarn
- Worsted weight yarn – Aim for a mix of shades, primarily violet, dark purple, and green, with approximately 200-300 yards for the main flower and about 50 yards for leaves.
Tools & Notions
- 4.0 mm (G/6) crochet hook – This size is essential for achieving the desired texture in your crochet anemone pattern.
- Stitch markers – Utilize these to keep track of rows and help with consistency in your petal construction.
- Yarn needle – Necessary for weaving in ends and ensuring a polished final look.
- Pipe cleaners – These are optional enhancements for structuring the stems, providing additional support for the flowers.
What Makes This Crochet Anemone Pattern Special?
Versatility is one key feature of this pattern. You can customize colors to reflect the season, or even match your home decor perfectly. Ease of creation sets this project apart as it breaks down into simple steps, making it easy for both beginners and experienced crafters alike. Texture plays a critical role, as the combination of double crochet and half double crochet stitches creates a fascinating dimension that mimics real anemones. This project is also fantastic for those looking to explore crochet flowers, as it introduces intricate techniques in a manageable way. Plus, it’s stash-friendly, allowing you to use up yarn scraps while creating something beautiful. Finally, the visual impact of these flowers will certainly captivate anyone who enters your space!
Gauge & Sizing Notes for Crochet Anemone Pattern
Checking your gauge is essential for this crochet anemone pattern to ensure that your flowers turn out as beautifully as intended. Aim for a gauge of 14 dc and 8 rows per 4 inches (10 cm) squared when working with a 4.0 mm (G/6) hook and worsted weight yarn. If your swatch does not match this gauge, you may need to adjust your hook size; a larger hook will create a looser fabric, while a smaller one will do the opposite. Additionally, you can tweak the starting chain for the stem or the number of rounds for the petals to resize the flowers based on your preference. For example, to achieve a larger flower, you might increase your starting chain or add more rounds to the petal section, while to make it smaller, decrease both. This flexibility allows for greater creativity and personalization in your crochet creations!
Step-by-Step Pattern for Crochet Anemone Pattern
Row 1: Create the Petal Base Begin by making a magic ring (MR) and ch 3. This will serve as your first dc, and you will work 11 dc into the ring. Pull the tail to tighten the ring. Join with a sl st to the top of the ch 3 to complete Row 1 (12 dc).
Row 2: Form the Petal Shape Ch 3, then dc in the same st. Next, 2 dc in each st around. Finish the row by joining with a sl st in the top of the ch 3. You should have 24 dc at the end of this row.
Row 3: Define Petals Ch 3 and dc in the same st. Now, dc in the next st, then 2 dc in the following st. Repeat this pattern around. To complete, sl st to the top of the ch 3. There will be 36 dc after this row.
Row 4: Create Textured Petals Begin with ch 3, then dc in the same st and hdc in the next st, dc in the following, then 2 dc in the next. Repeat around, and finish with a sl st in the top of the ch 3. You should have 48 stitches overall.
Row 5: Form the Petal Tips Ch 3, hdc in the next 2 sts, dc in the next, and hdc in the following st. This creates the curl of the petal. Repeat around, joining with a sl st at the end for a total of 48 sts.
Row 6: Assemble the Flower Center Next, switch to black yarn. Ch 1 and sc in any st; work 5 sc into the next st. Continue to sl st into each sc to develop the center, adding fluffy texture. You should complete with a tightly packed center of approximately 6 sc.
Row 7: Attach the Center Position the flower center inside the petals. Use a tapestry needle to sew the center to the petals, pulling tight to secure. Ensure even spacing for a balanced flower look.
Row 8: Create the Leaves With green yarn, ch 10. Begin on the second chain from the hook and sc in the next 8 chains, then 3 sc in the last chain to create a point. Continue sc in the remaining stitches back towards the start, joining at the base to make the leaf shape. Repeat to create two leaves.
Row 9: Attach the Leaves Position the leaves at the base of the flower. Using the same green yarn and a needle, securely attach each leaf to the flower using a whip stitch for stability.
Row 10: Create Stem Using green yarn, ch 20 for the stem’s length. Simply sl st back down to finish the stem. For added structure, consider using a pipe cleaner inside before securing.
Row 11: Blocking the Flower To finalize, lightly block your flower using steam or water to maintain the defined petal shapes. Pin each petal in place gently.
Row 12: Final Assembly Check all connections and tighten any loose ends. You can add embellishments or additional leaves to personalize your crochet anemone pattern. Display proudly or gift to a loved one!
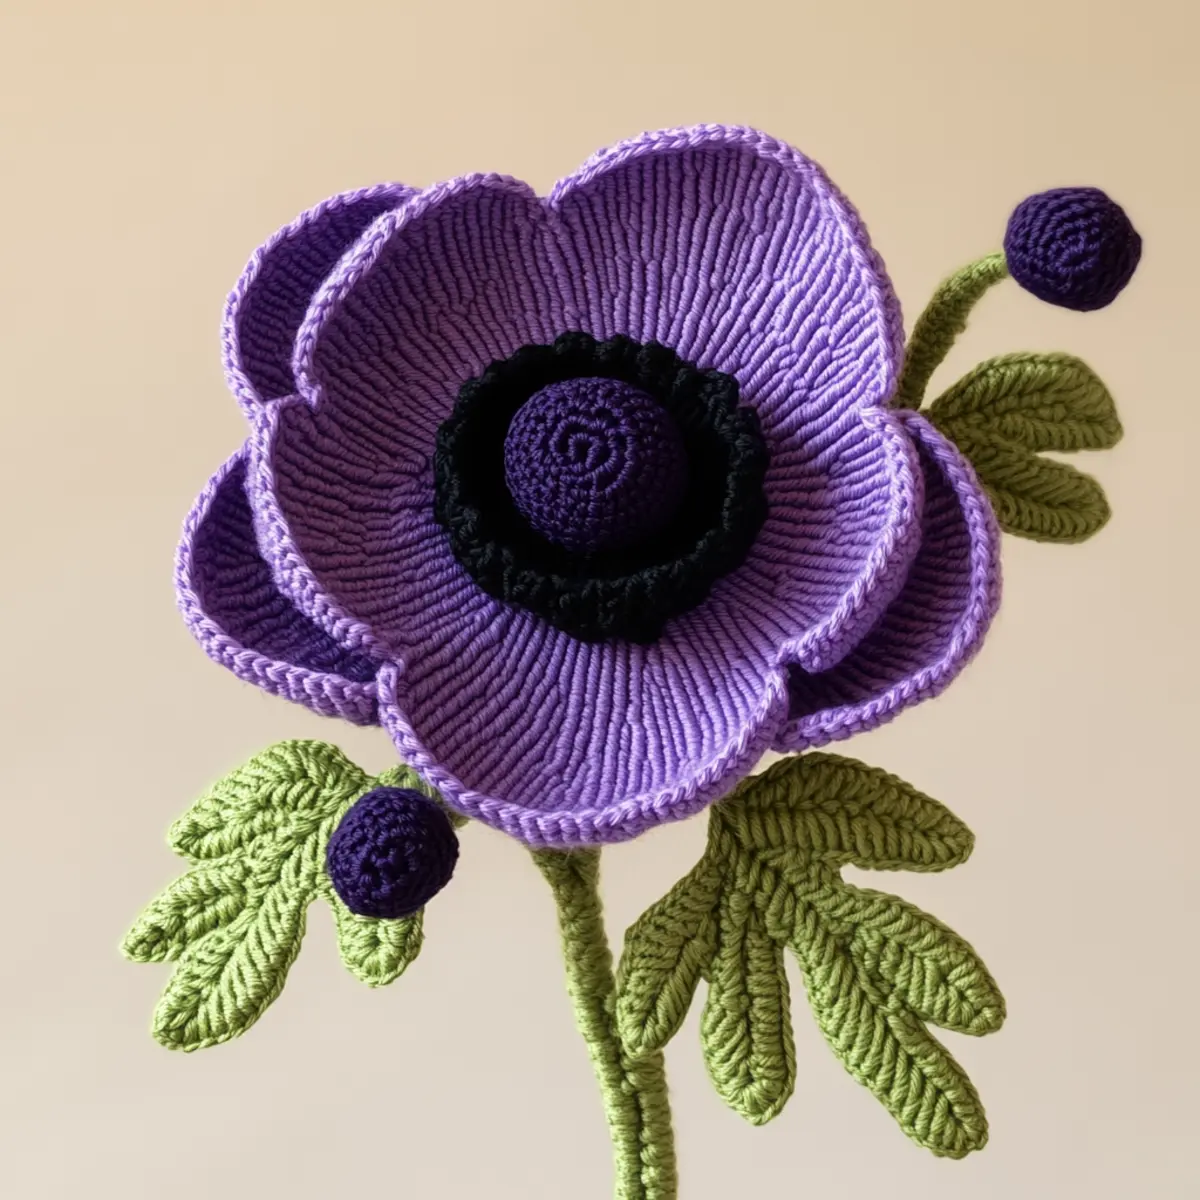
crochet anemone pattern variations
Feel free to customize your crochet anemone flowers to reflect your unique style and preferences!
- Color Swaps: Experiment with color combinations like pink, white, or yellow to mimic different flower species.
- Yarn Choices: Swap out worsted weight yarn for lighter cotton blends for a delicate finish or thicker yarn for a bolder statement.
- Petal Shapes: Alter the stitches used to create petals; consider incorporating popcorn or shell stitches for added texture.
- Size Adjustments: Change your hook size to make larger anemones or mini versions, perfect for embellishments.
- Multiple Blooms: Create a varied bouquet by mixing sizes and colors; this showcases your creativity in a dynamic way.
For a rhythmic twist, think about making cascading anemones. By creating graduated sizes, you can have a stunning arrangement that draws the eye and enriches your decor. You can check out more about crafting Crochet Flower Pattern for additional floral inspiration.
- Leaf Texture: Vary the leaf construction by mixing single crochet with double crochet for an interesting effect.
- Include Curly Stems: For a whimsical touch, incorporate a spiral yarn technique or use pipe cleaners to create twisting stems for your flowers. They can add a playful element to your arrangement, making your crochet anemone pattern a delightful centerpiece in any setting.
How to Wash and Care for Your Crochet Anemone Pattern
Machine Washing: If necessary, use a gentle cycle in cold water with mild detergent. However, hand washing is often safer for delicate crochet items.
Hand Washing: Soak your crochet anemone flower in cold water with a little bit of gentle soap. Swish lightly and rinse carefully to maintain integrity.
Drying: Lay your crochet piece flat on a clean towel to dry. This helps maintain the structure of the petals and prevents distortion in shape, ensuring your decor is preserved.
Blocking: Consider lightly steaming or using water to block your anemones after completion, ensuring all petals are evenly shaped and beautifully displayed.
Expert Tips for the Best Crochet Anemone Pattern
Keep Count: Use stitch markers to avoid losing track of your stitches during the intricate petal construction. This helps maintain the correct count throughout.
Check Tension: Consistent tension is crucial. Uneven pressure can lead to crooked or flared edges, affecting the overall appearance of your crochet anemone flower.
Twisted Foundation: Always check your foundation chain for twists before working into it. This simple step can prevent complications later on in the pattern.
Use Proper Yarn: Stick to worsted weight yarn as specified to achieve the right texture and gauge. Substituting yarn types can alter the flower’s look and size.
Finish Neatly: Use the yarn needle to weave in ends securely. A neat finish enhances the quality of your crochet anemone pattern, making it look professional and polished.
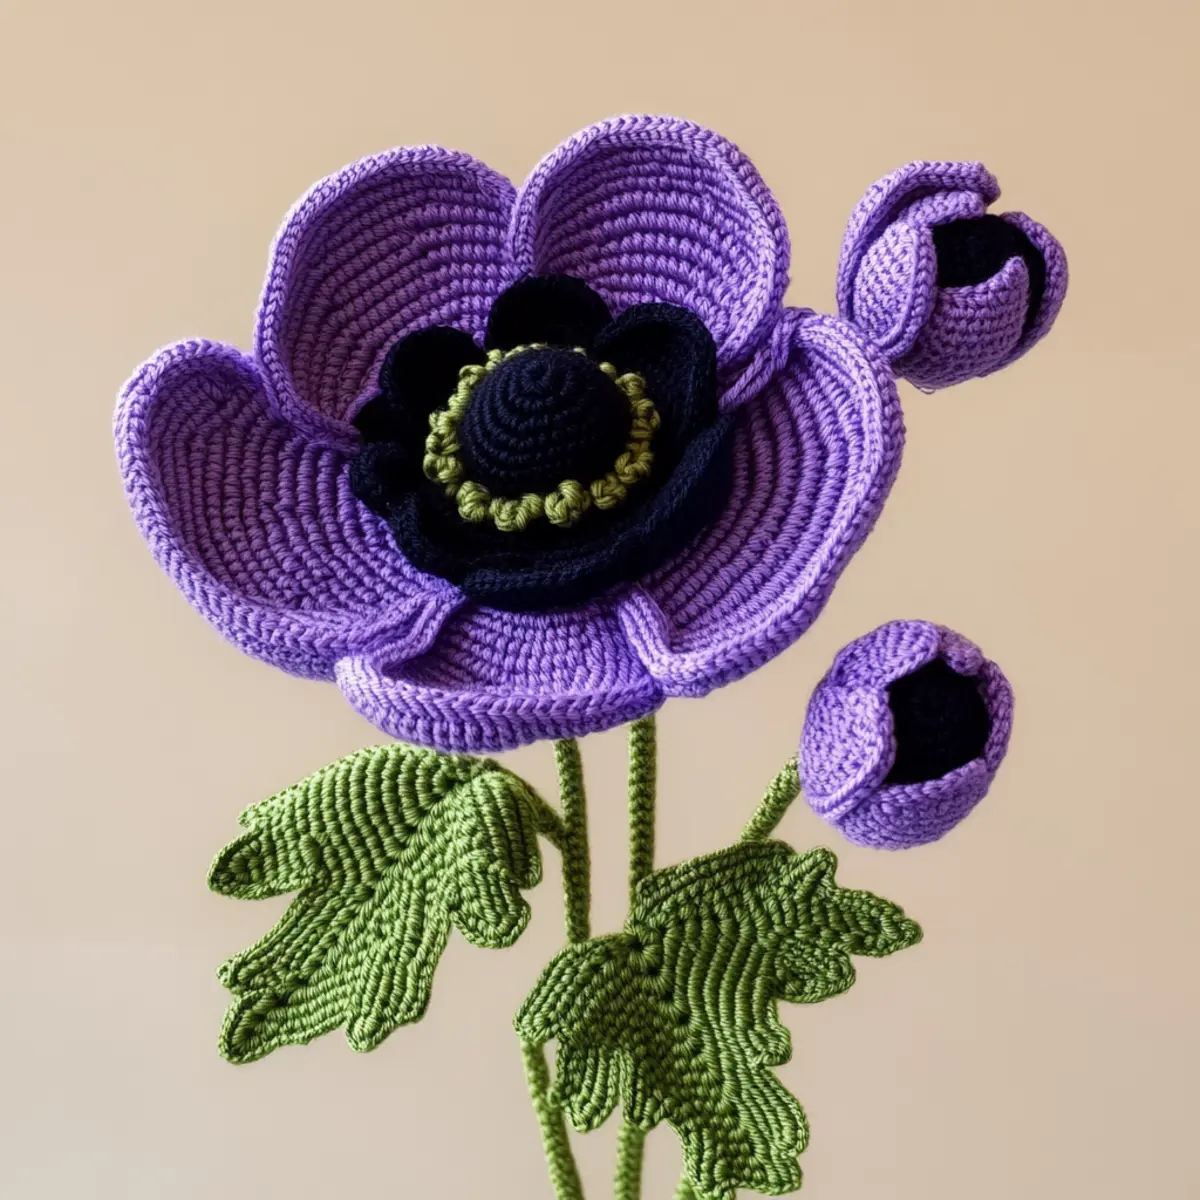
Crochet Anemone Pattern FAQs
Can I use different yarn types for this project?
Absolutely! Just make sure to match your yarn weight to worsted weight for best results. Different weights will change the overall size and texture of your flowers.
What should I do if my petals curl?
Don’t panic! Curling is common if your tension is inconsistent. Try blocking your finished flower to help shape the petals properly.
How can I adjust the size of my crochet anemones?
You can easily modify the dimensions by changing your hook size or adjusting the starting chain for the stem. Adding or reducing rounds in the petal can also help.
What hook size should I use?
A 4.0 mm (G/6) crochet hook is recommended for achieving the intended texture and gauge of your crochet anemone pattern. Switching hooks can yield different effects.
What if I drop a stitch?
It happens! If you notice a dropped stitch, carefully unravel a few stitches to where you missed it, and rework them. Use stitch markers to avoid this in the future.
Can I personalize my crochet anemone flowers?
Definitely! Change colors to mimic different flower species or introduce embellishments like beads or buttons for added beauty. The possibilities are endless!
Leave a Reply