
Sitting down to crochet a new project is like embarking on a small adventure, and the moment I picked up my hook for the Chic Crochet Phone Pouch, I felt that familiar thrill. Not only does this pattern allow you to create a cute accessory for your phone, but it also serves as a perfect introduction to simple crochet techniques. One of the best parts? It’s a quick project that helps you use up some of that yarn stash while crafting something genuinely practical. Whether you’re a seasoned crocheter or just getting started, each stitch is a step toward adding a cozy, personalized touch to your daily routine. Plus, the completed pouch fits seamlessly into any outfit while ensuring your phone stays protected. Have you ever considered how a handcrafted item can elevate your daily essentials? Let’s dive into the joy of creating a crochet phone pouch that’s as functional as it is fashionable!
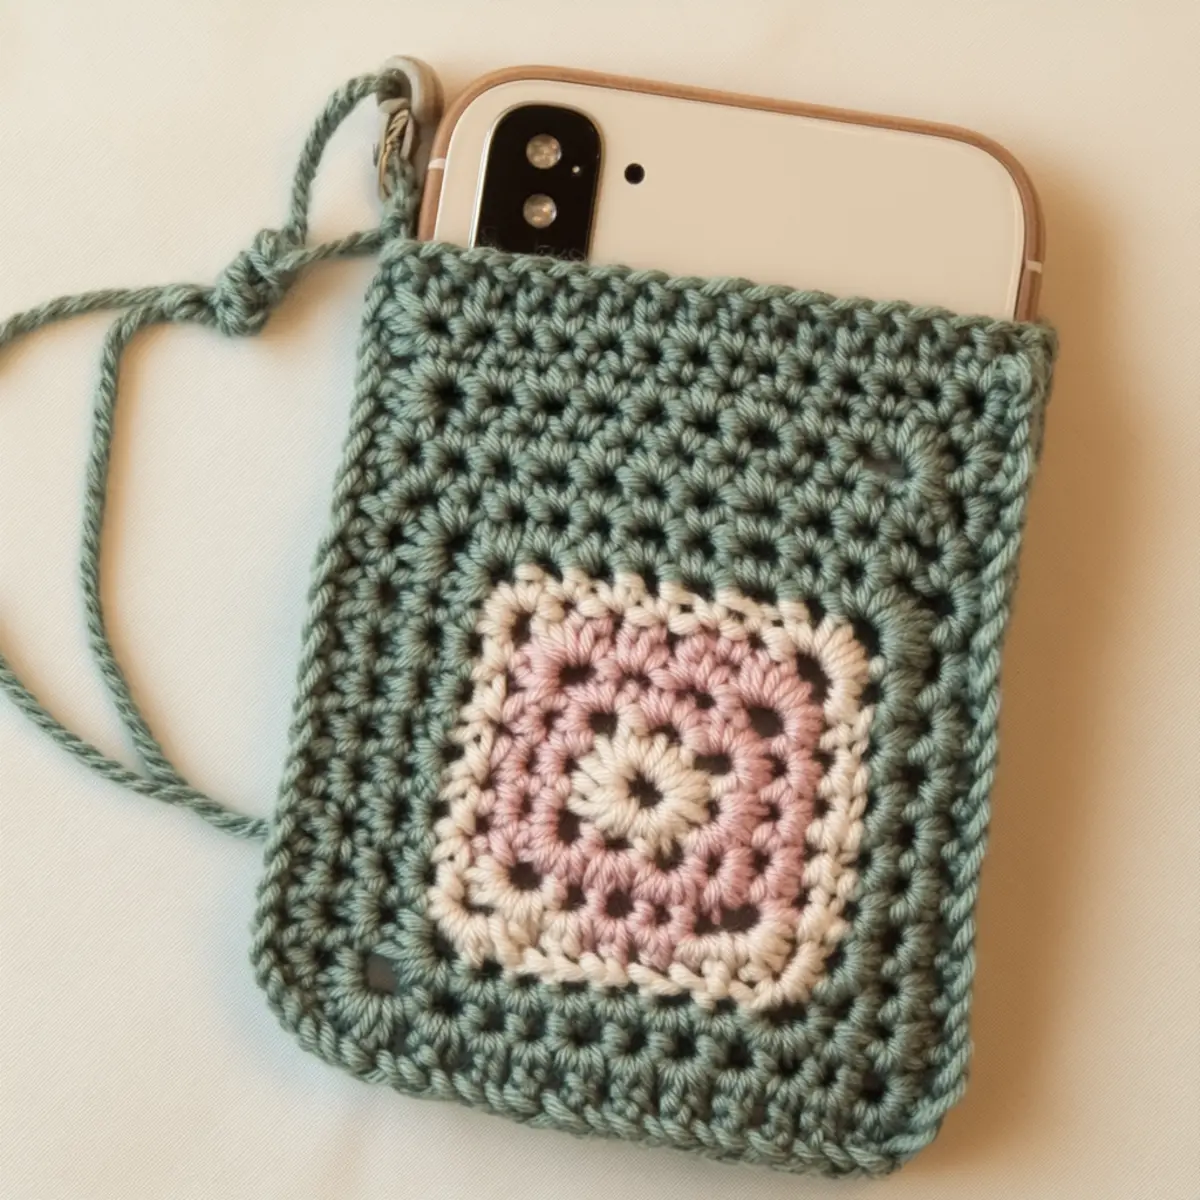
Crochet Phone Pouch Materials & Tools
Yarn
- Worsted weight cotton yarn – Ideal for a sturdy yet soft accessory; approximately 150 to 200 yards needed.
- Alternative fibers such as acrylic or bamboo can also be used for varied textures.
Tools & Notions
- 4.5 mm crochet hook (US size 7) – This is essential for achieving the right gauge and ensuring your crochet phone pouch is the perfect size.
- Yarn needle – For weaving in those pesky loose ends to keep your project looking clean and polished.
- Scissors – Useful for cutting yarn and trims as needed.
- Stitch marker – Helps keep track of rounds to maintain consistent height throughout.
- Magnetic button (optional) – Provides a secure closure for your phone pouch; can also be replaced with other fasteners if desired.
Why You’ll Love This Pattern
Not only is this crochet phone pouch a fantastic project for beginners, but it also boasts endless possibilities for customization. The simplicity of the design means you can whip it up in just a few hours – ideal for those last-minute gifts! The use of worsted weight cotton yarn ensures a soft yet sturdy finish, perfect for everyday use. You can even explore various colors and stitches by incorporating patterns you’ll find in Crochet Flowers Delightful, adding personal flair to your work. Plus, it’s a stash-buster project, helping you make room for new yarn as you use up leftover scraps. Each completed crochet phone pouch becomes a unique accessory that reflects your style, ensuring you’ll grab it from your purse with pride. It truly stands out when you consider its versatility; whether you need a sleek phone carrier, a small clutch, or a stylish way to keep essentials handy, this pattern has you covered!
Gauge & Sizing Notes for Crochet Phone Pouch
Checking your tension is vital for the crochet phone pouch to ensure a proper fit for your smartphone. We recommend using a standard 4×4 inch (10×10 cm) gauge measurement of 15 sc by 18 rows using worsted weight cotton yarn and a 4.5 mm crochet hook (US size 7). If your swatch doesn’t match the recommended gauge, adjust your starting chain or rounds: you can add or skip rounds before beginning the body to achieve your desired dimensions. If you’re creating this crochet phone pouch for a specific device, ensure your base and height closely match the size of your phone for best functionality. Remember that the estimated finished dimensions should be approximately 6.5 inches in height and 3.5 inches in width. The pouch should feel snug yet flexible enough to accommodate your device without bulk. Don’t hesitate to make minor adjustments to the size or style; this project is all about personalization!
Step-by-Step Pattern for Crochet Phone Pouch
Row 1: Create the Base
Start with a magic ring, ch 1, and work 6 sc into the ring, pulling it tight to close. This creates your foundation oval base for the crochet phone pouch. (6 sts)
Row 2: Expand the Oval
Ch 1, make 2 sc in each stitch around to increase the size of your oval. This is crucial for ensuring there’s enough room for your phone. (12 sts)
Row 3: Continue Increasing
Ch 1, sc in the first st, inc in the next st and repeat around. This establishes a pattern to gradually enhance the base while maintaining a smooth shape. (18 sts)
Row 4: Shape the Base
Ch 1, sc in the first 2 sts, inc in the next around. This will widen the bottom of your pouch to comfortably accommodate your phone. (24 sts)
Row 5: Finish the Base
Ch 1, sc in the first 3 sts, inc in the next and repeat for the final shape of your oval base, ensuring stability. (30 sts)
Row 6: Start the Body
Ch 1 and work sc in each stitch around for the next several rounds to build the height of your crochet phone pouch. Aim for about 6-8 rounds, depending on how tall you want it. (30 sts)
Row 7: Continue the Body
Continue in sc around, ensuring your tension remains consistent to create a uniform height. This also forms the main section, which will hold the phone securely within the pouch. (30 sts)
Row 8: Shape to Secure
Ch 1, and for the last few rounds, add a decorative motif or varied stitch pattern to the lower half if desired to personalize your crochet phone pouch. (30 sts)
Row 9: Adding the Flap
When the body reaches desired height, ch 1 and work across the first 15 sts, turn your work to create a foldable flap. This ensures the phone pouch can close securely over the top of your phone. (15 sts)
Row 10: Forming the Flap
Continue in sc across for about 5 rows, creating a flap at the top that can fold over your device. This will be an integral part of the pouch’s functionality as a closure. (15 sts)
Row 11: Attaching the Strap
Ch a long chain (about 60-80 inches) for your strap. You can braid the chain for added texture and strength, adjusting to your personal preference for crossbody wear. Chain lengths can vary based on comfort. (Adjust as needed)
Row 12: Final Assembly
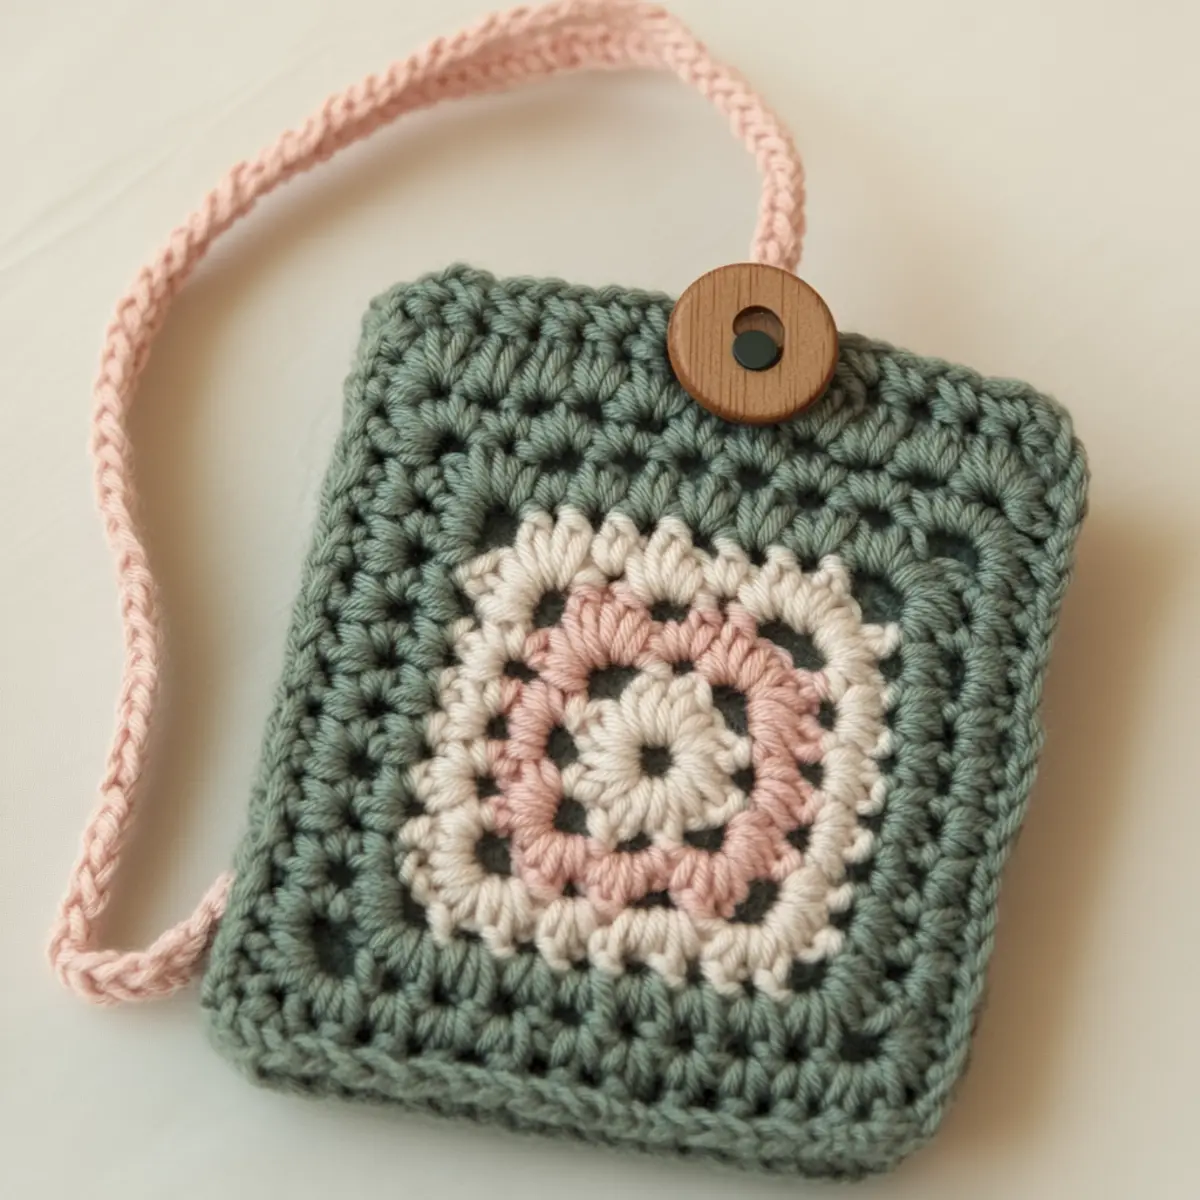
Weave in any loose ends and attach the magnetic button to the flap for secure closure. Make sure everything is neatly finished so that your crochet phone pouch is tidy and ready for use. Position the button to align with the body of the pouch while ensuring easy accessibility.
How to Wash and Care for Your Crochet Phone Pouch
Hand Washing: It’s best to hand wash your crochet phone pouch in cold water using mild detergent. Avoid agitation to prevent stretching.
Drying: Lay flat to dry. Never wring or twist your crochet project; this can distort its shape.
Storage: Store your pouch in a cool, dry place. Avoid hanging it as this may cause it to stretch or lose its shape.
Avoid Sunlight: Keep your pouch out of direct sunlight to prevent fading if you’re using colored yarn.
Expert Tips for the Best Crochet Phone Pouch
Stay Counted: Always use a stitch marker to keep track of your rounds. Losing count is a common mistake in crochet projects and can lead to uneven sizing.
Avoid Twists: Keep an eye on your foundation chain! A twisted chain can throw off the entire project, so lay it flat as you join.
Watch Tension: Maintaining consistent tension throughout your stitches is vital for a uniform pouch size. Tight stitches can make the phone pouch too small.
Test Fit Early: Engage with your phone during the crafting process. Check sizes in-between rows, especially as you work on the body to ensure a snug fit.
Use One Color: Choose a solid color for your first crochet phone pouch to simplify the project. Once you’re comfortable, feel free to experiment with color combinations!
Take Breaks: If you’re feeling frustrated, take a break. Crochet is meant to be fun. Stepping back can help you see where things may have gone wrong.
Crochet Phone Pouch Variations
Feel free to add your personal touch with these creative ideas!
- Bold colors: Switch the main body color to vibrant shades to create a statement piece for your phone.
- Textured stitches: Incorporate different stitch patterns like shells or bobbles on the pouch to enhance the visual appeal.
- Larger sizes: Adjust the foundation chain and stitch count to accommodate larger phones or to craft a mini clutch for cards and cash.
- Alternative fibers: Try using a yarn blend, like cotton and bamboo, for a unique texture that remains lightweight.
- Personalized motifs: Add cute crochet flowers or other motifs on the lower half to make your phone pouch truly one-of-a-kind.
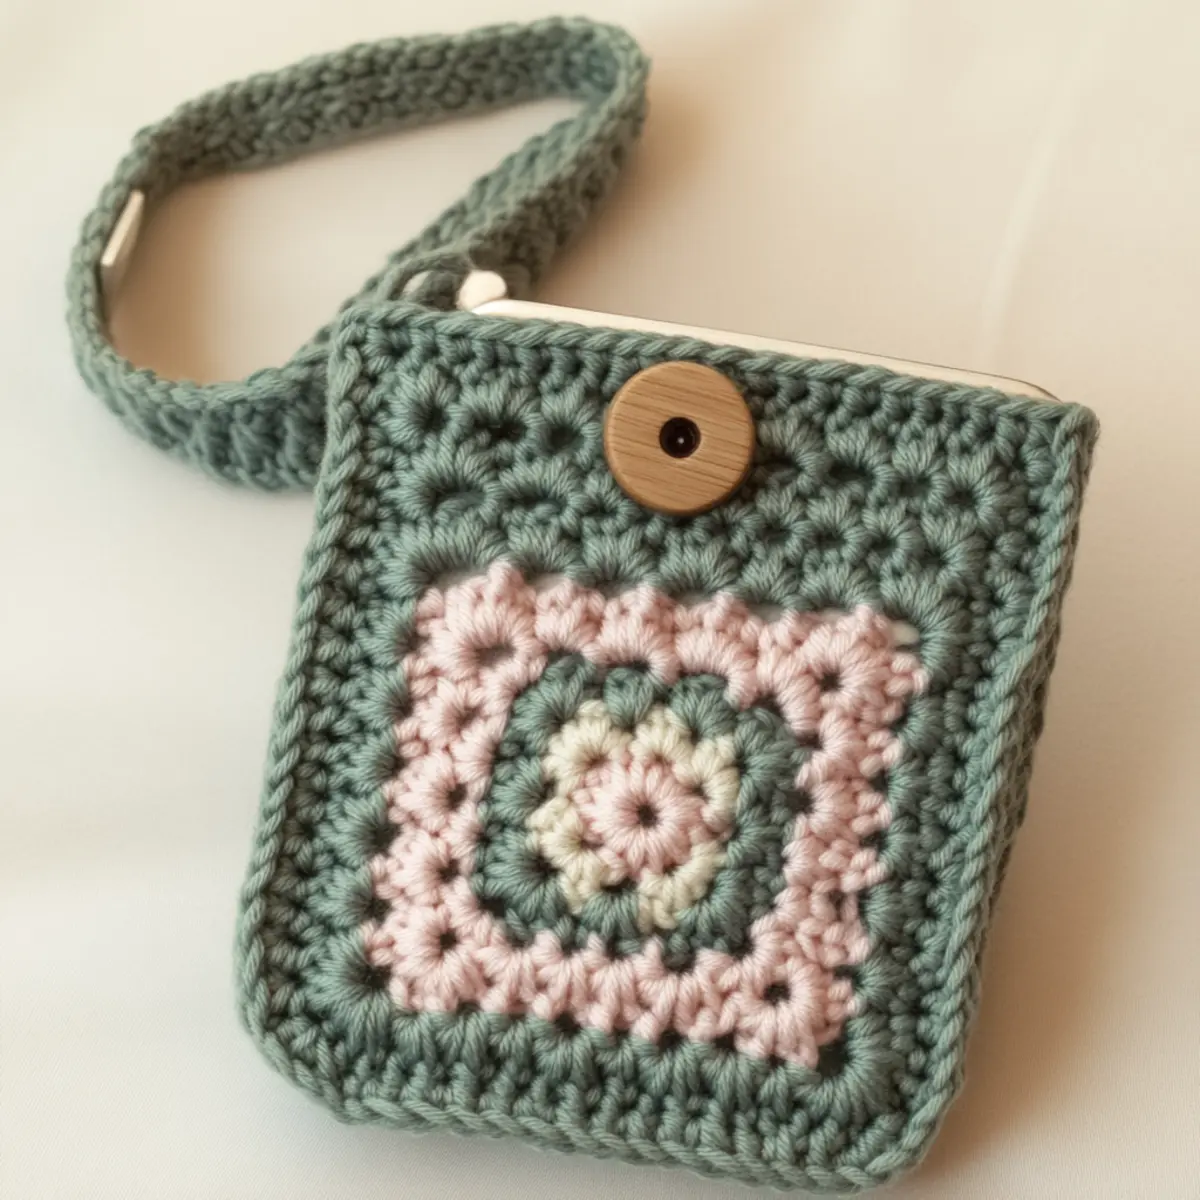
- Wrist strap option: Instead of a longer strap, create a wristlet version by shortening the strap, making it ideal for quick outings.
- Color blocking: Use multiple colors to create sections within the pouch, making it a fun and engaging project. This technique can also be a great way to use up leftover bits of yarn from previous projects, like simple crochet flowers.
- Mixed yarn textures: Experiment with using different types of yarn, such as an acrylic-cotton blend for a shinier finish, giving your crochet phone pouch a stunning new look.
Crochet Phone Pouch FAQs
Can I use different yarn for my pouch?
Absolutely! While 100% cotton is ideal, you can experiment with blends like acrylic or bamboo to achieve varied textures and appearances. Just ensure the alternative yarn is suitable for crochet projects.
What if my phone doesn’t fit?
Don’t panic! You can easily adjust your crochet phone pouch’s dimensions by altering the number of starting rounds or hook size. Always measure your phone against the base before continuing!
How do I fix a dropped stitch?
If you notice a dropped stitch, simply use your yarn needle to pull the stitch up and secure it, or frog back to where you lost it and start there again. It’s all part of the process!
Do I need a special hook size?
For this project, a 4.5 mm crochet hook (US size 7) is recommended for achieving the proper gauge. If you have to use other sizes, remember to adjust your stitch count accordingly.
Why is my pouch curling?
Curling can happen if your initial stitches are too tight. Experiment with a looser gauge, or consider blocking your finished pouch to flatten it out.
How long should the strap be?
Your strap length can be adjusted based on personal preference. For crossbody wear, we recommend about 60-80 inches, but feel free to modify it to fit your comfort!
Leave a Reply