
There’s something truly enchanting about crafting soft toys, especially when they are as adorable as this Charming Amigurumi Chick. As I tucked into this delightful project, the joy of creating something so cute started to buzz within me. This amigurumi chick is not only a perfect way to hone basic crochet skills, but it also serves as a fantastic stash-buster, making use of yarn that might be sitting unused. Plus, whether you gift it or keep it for yourself, this little chick adds a cozy touch to any child’s room or nursery. The best part? It’s beginner-friendly, allowing those new to crochet to dive into the world of amigurumi with ease. Opt for bright yellows, pastel hues, or even a fuzzy alternative to achieve different effects! I can’t wait to see how your creations turn out and what cute customizations you’ll come up with—let’s hop into the pattern and get those hooks moving!
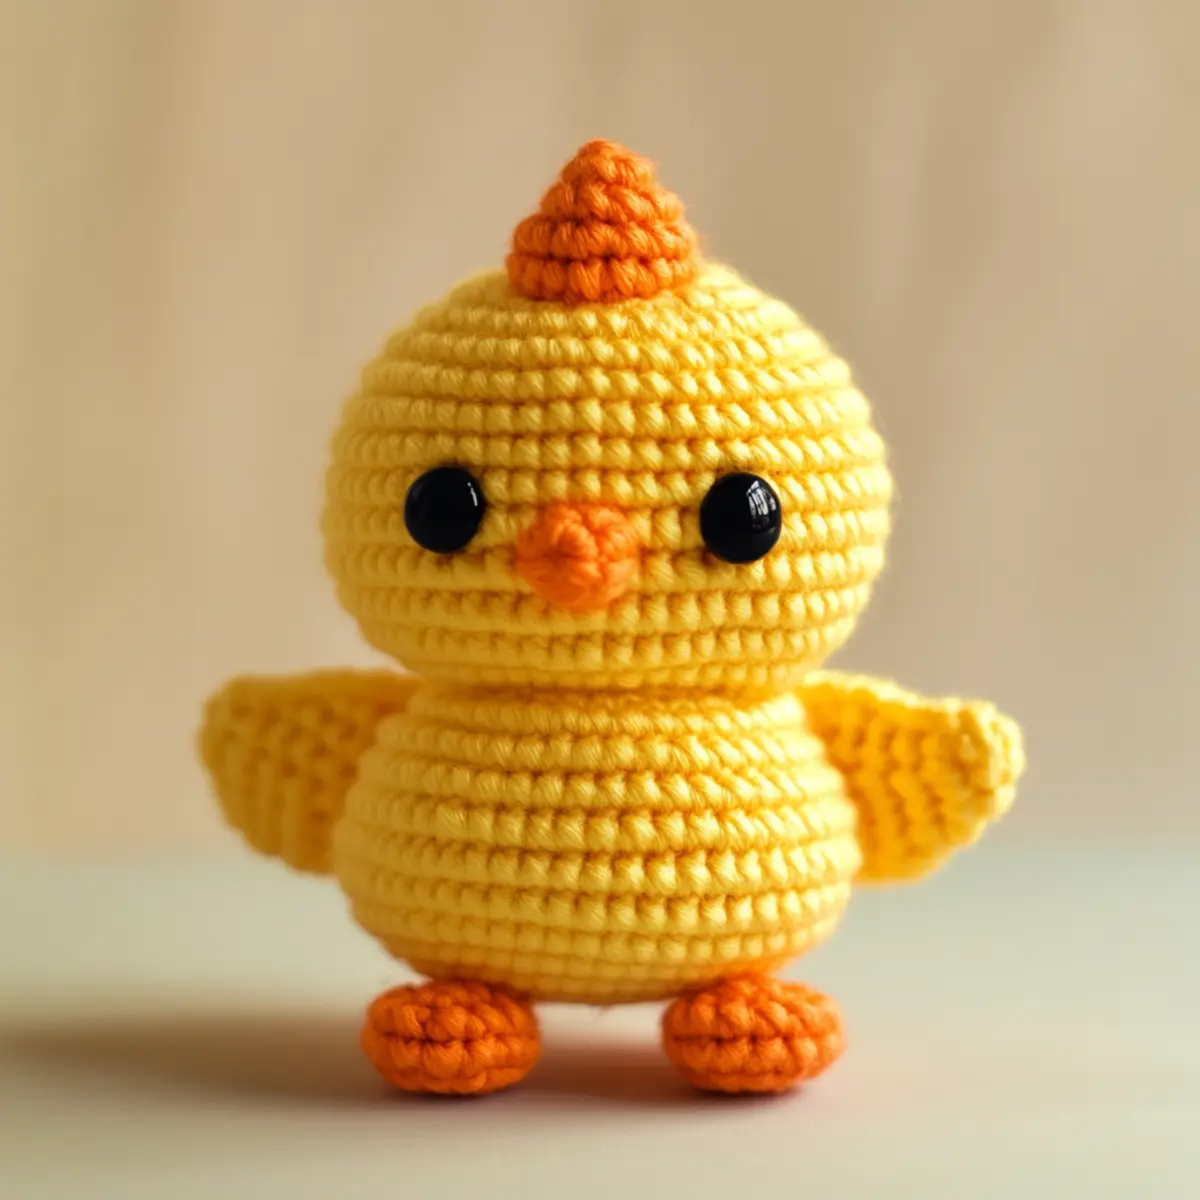
Amigurumi Chick Materials & Tools
Yarn
- Worsted weight yarn (Yellow) – Approximately 100-150 yards are needed for the chick’s body.
- Worsted weight yarn (Orange) – About 20 yards will work for the beak and feet, complementing the yellow.
Tools & Notions - 4.0 mm (G-6) Crochet Hook – This size is ideal for amigurumi projects, creating a tight enough tension to prevent stuffing from showing.
- Safety Eyes – Perfect for adding character to your amigurumi chick, ensuring it’s safe for little ones.
- Yarn Needle – Essential for weaving in ends and securing features like the beak and eyes for a polished finish.
- Stitch Markers – Use these to accurately track your rounds while crocheting the body for consistent shaping.
What Makes This Amigurumi Chick Special?
Simplicity is the heart of this pattern; crafted using basic stitches, even novice crafters will feel at ease and empowered. Texture plays a significant role too—the dense, plush feel of the finished chick is irresistibly cuddly, inviting hugs from little ones! Plus, it’s a stash-friendly project: use up those leftover yarn scraps effectively, giving your old yarn a new life. Mix in colors or textures for a truly customizable design, honoring your style or the nursery decor. With just a bit of practice and focus on your stitch count, you’ll find this simple yet satisfying project can be completed in no time. Looking for additional inspiration? Check out this Free Crochet Weave pattern for another quick knit, or perhaps discover the charms of hand-crocheted Flowers Delightful for additional themed gifts. Your creativity will shine as brightly as your new amigurumi chick!
Step-by-Step Pattern for amigurumi chick
Row 1: Create Magic Circle
Begin by making a magic circle. Work 6 single crochets (sc) into the circle to form the base of your amigurumi chick. Pull the tail of the yarn to tighten the circle. (6 sc)
Row 2: Increase for Body
In the next round, increase by working 2 sc in each stitch around. This will help create a rounded body for the chick. You will have a total of 12 stitches after this round. (12 sc)
Row 3: Continue Increasing
For the third round, make 1 sc in the first stitch, then 2 sc in the next stitch. Repeat around, placing markers as needed. At the end of this round, you will have 18 stitches. (18 sc)
Row 4: More Increases
In this row, work 1 sc in the first two stitches, followed by 2 sc in the next stitch. Continue this pattern for the round, bringing your total to 24 stitches. (24 sc)
Row 5-8: Build Up the Height
For four rows (Row 5-8), simply work 1 sc in each stitch around without any increases. These rows will shape the body of your amigurumi chick, giving it the desired height. (24 sc each row)
Row 9: Begin Decreasing
Start decreasing to close the chick’s body. Work 1 sc in the first two stitches and then a decrease (dec). Repeat this pattern around. You should now have 18 stitches left after this round. (18 sc)
Row 10: Continue with Decreases
Next, work 1 sc in the first stitch and then a dec. Continue around the body until you have 12 stitches remaining. This tightens the body of the amigurumi chick. (12 sc)
Row 11: Final Round of Decreases
In this round, simply work a dec around until the opening is closed. Make sure to leave enough yarn for closing and stuffing. When completed, you should have only 6 stitches left. (6 sc)
Row 12: Close Up
Fasten off and weave in the tail end. Before sealing, stuff your amigurumi chick with fiberfill or your preferred stuffing material to make it cuddly and firm. The body should be full but not too tight.
Wings: Create and Attach
For each wing, make a small piece by chaining 5 and working 1 hdc (half double crochet) in the second chain from the hook, followed by 1 sc in the next 3 chains. Attach wings on either side by sewing them securely to the body. Repeat for the second wing.
Beak: Make and Secure
Using orange yarn, chain 3 and work 1 sc in the second chain and 1 hdc in the last chain. Position the beak in the middle of the face and sew it on with your yarn needle and tail end.
Feet: Craft and Attach
Make 2 small feet with orange yarn by chaining 4 and working 1 sc in the second chain, then 1 hdc in the remaining chains. Attach these at the base to provide stability. Ensure they are balanced.
Finishing Touches
Add safety eyes or crochet eyes as desired. To finish, create a tuft of yarn by making small chains, securing it at the top of the chick’s head. Make sure each element is securely stitched before playing or gifting your amigurumi chick.
Amigurumi Chick Gauge & Sizing Notes
When crafting your amigurumi chick, checking your tension is essential for achieving the right shape and appearance for this project. The standard gauge for this amigurumi chick is 4×4 inches (10×10 cm) which translates to 12 stitches and 12 rows in single crochet. Adjust the starting chain by using thicker yarn and a larger hook for a bigger chick or thinner yarn for a smaller one. If your swatch doesn’t match, try a different hook size or yarn to get your desired gauge. Remember that maintaining consistent tension will ensure your chick is adorable and well-formed. The finished amigurumi chick will typically measure between 6-8 inches in height, making it the perfect size for little hands. Customize the color and features to match your unique flair, creating an amigurumi chick that is truly one of a kind!
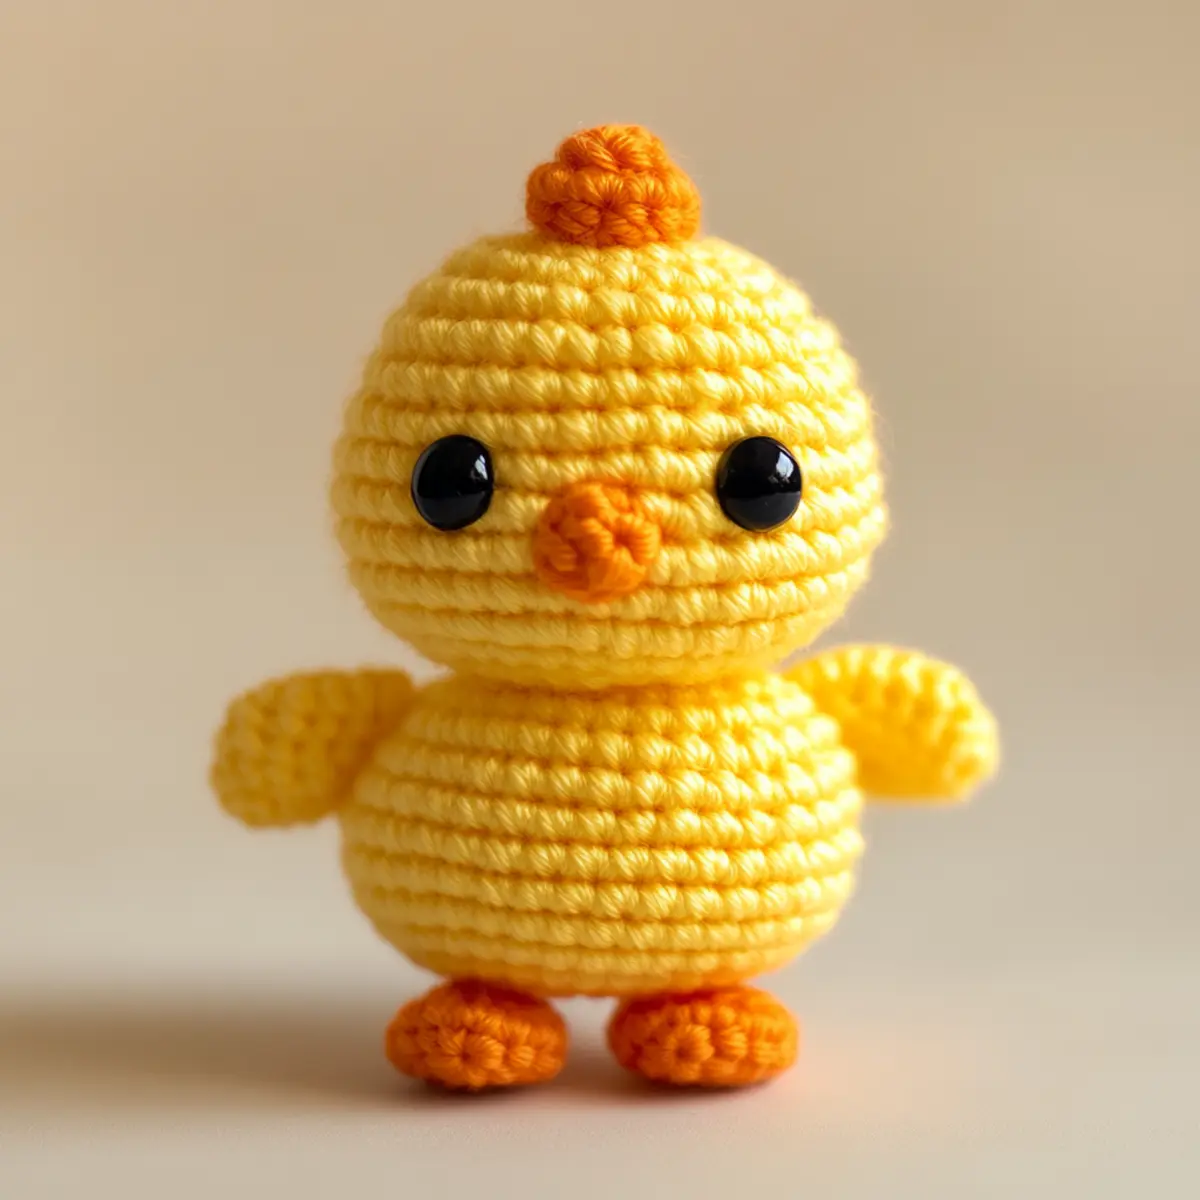
Amigurumi Chick Variations
Feel free to let your creativity shine through with these fun variations!
- Pastel Colors: Use yarn in pastel blues or pinks to create a gender-neutral chick suitable for any nursery decor.
- Fuzzy Yarn: Consider using a fuzzy yarn for a softer texture; this will make your chick even more cuddly and appealing for kids.
- Larger Size: Opt for a thicker yarn and a larger hook to make a bigger chick, perfect for a standout decorative piece.
- Crocheted Eyes: Instead of safety eyes, crochet whimsical eyes for a handmade touch, adding charm and personality.
- Fluffy Tufts: Add extra yarn strands to the tuft on the head for a fluffier look, enhancing the playful nature of your chick.
For additional flair, create themed variations! For example, making a classic yellow chick to celebrate Spring or customizing it with seasonal colors like orange and black for Halloween. You can tailor the facial features to reflect different moods, turning your collection of amigurumi chicks into a fun project that grows with the seasons. Explore more crochet projects through our Crochet Flowers Delightful and Free Crochet Weave links, allowing the creative crochet journey to continue on from your cute chick!
Expert Tips for Amigurumi Chick
-
Tension Check: Ensure your tension is tight enough to prevent stuffing from showing through; this is vital for a polished amigurumi chick.
-
Count Stitches: Always count your stitches at the end of each round. This helps maintain shape and prevents dropped stitches in your amigurumi chick.
-
Use Stitch Markers: Keep track of your rounds with a stitch marker. This simple tool ensures you won’t lose count and helps maintain a clean finish.
-
Curling Edges: If you notice curling on the bottom, make sure your decrease rounds are evenly spaced. Regularly check the overall shape of your amigurumi chick as you work.
-
Blocking Tips: Lightly block the finished chick to even out the stitches for a neater appearance, although extensive blocking typically isn’t necessary for amigurumi projects.
-
Customization Ideas: Mix yarn colors or add different textures to transform your amigurumi chick from the standard yellow into a unique creation, perfect for personal preference or seasonal themes.
How to Wash and Care for Your Amigurumi Chick
-
Machine Washing: If you decide to machine wash your amigurumi chick, use a gentle cycle and a laundry bag to protect its shape, air dry it afterwards.
-
Hand Washing: For better care, hand wash in lukewarm water with a mild detergent. Avoid twisting the chick to maintain its plush form and features.
-
Drying: Always lay your amigurumi chick flat to dry to prevent misshaping, and avoid direct sunlight to preserve yarn colors.
-
Storage: Store your amigurumi chick in a cool, dry place, ideally in a breathable bag to avoid mildew and maintain its soft texture.
Amigurumi Chick FAQs
Can I use different yarn for this project?
Absolutely! You can substitute worsted weight yarn with other fibers, but ensure they have similar thickness to maintain the structure of the amigurumi chick.
How do I adjust the size of the chick?
Don’t panic! To create a larger chick, use a thicker yarn and a larger hook. To make it smaller, opt for a thinner yarn with a corresponding smaller hook size.
What should I do if my chick’s shape is off?
If you find your amigurumi chick isn’t holding its shape, check your tension and make sure you’re not skipping stitches. Adjustments during the body rounds can enhance the overall look!
How do I fix dropped stitches?
If you’ve dropped a stitch, carefully pull back the crochet and rework those rounds. It might feel tedious, but your amigurumi chick will look cleaner in the end.
What hook size should I use?
Use a 4.0 mm (G-6) crochet hook for a tight and sturdy finish, which is crucial for this amigurumi chick, especially to prevent stuffing from protruding.
Can I add embellishments to my amigurumi chick?
Of course! Make it unique by adding flowers, hats, or other accessory details with leftover yarn scraps, making it a special gift or a cozy nursery friend.
Leave a Reply