
Cozy Snapshot. I couldn’t help but smile as I watched my niece wriggle around in the cutest outfit I had ever made—a delightful baby romper crochet project that weaves vintage charm with playful colors. This intricate yet simple romper is not only an engaging experience but also a fabulous stash-buster perfect for your leftover yarn pieces. As someone who adores crochet and cherishes creating keepsakes, I found this project to be both rewarding and gratifying. The granny square design transforms cheerful colors into a whimsical garment, making it an essential addition to any little one’s wardrobe. What’s truly enchanting is that, after a day of weaving squares and stitching them together, you’re left with a vibrant creation that breathes life into your yarn stash while bringing smiles to family and friends. As you embark on this joy-filled crochet adventure, will you dare to infuse your personal style into this timeless piece?
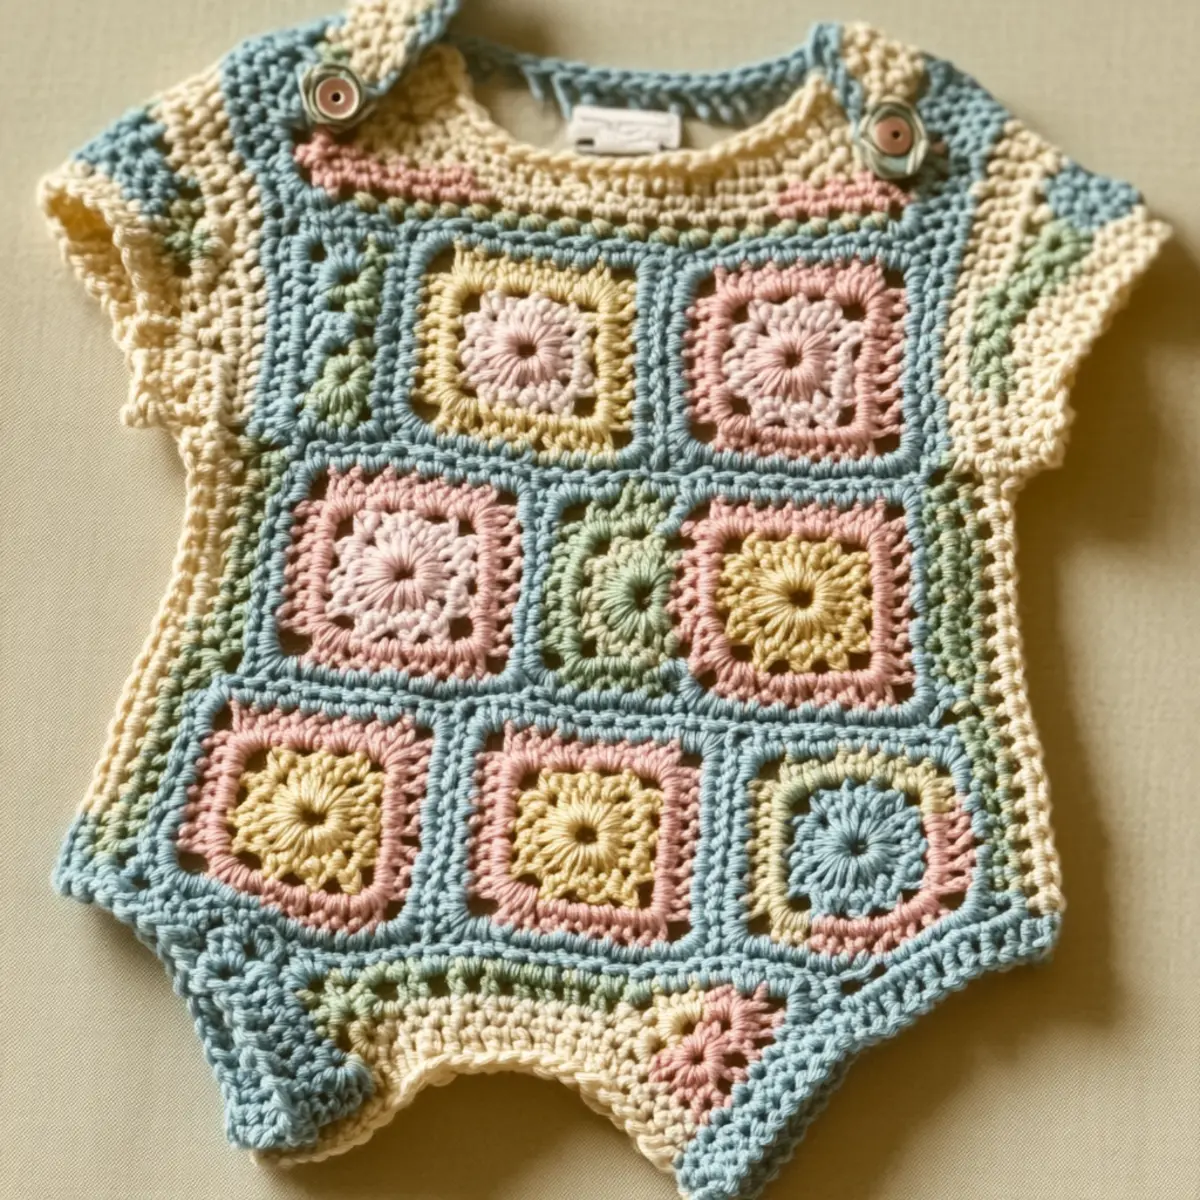
Baby Romper Crochet Materials & Tools
Yarn
- Medium (Worsted Weight) Cotton or Acrylic Blend – Approximately 400-500 yards total is needed, with a soft finish that is perfect for a baby romper crochet project.
Tools & Notions
- Crochet Hook (4.5 mm) – Ideal for achieving the right tension, ensuring each granny square maintains its shape.
- Two Buttons – Choose fun designs to personalize the shoulder straps.
- Stitch Markers – Helpful for organizing your granny squares during assembly.
- Scissors – Essential for cutting yarn tails neatly once you finish each square.
- Tapestry Needle – Required for weaving in loose ends and joining your squares smoothly.
Why You’ll Love This Pattern
Incredible ease of construction is just the beginning! The baby romper crochet pattern stands out thanks to its delightful granny square design that inspires creativity. Versatile color combinations allow you to customize it, making each piece unique. Plus, this pattern is an excellent stash-buster—perfect for using up those colorful yarn remnants hanging around. If you’re looking to save time without sacrificing style, the seamless double crochet rounds for the bottom are a dream come true! For extra inspiration, don’t miss our Free Crochet Weave project that offers unique techniques. The soft texture of the finished romper enhances its cuddly aesthetic, while its beginner-friendly nature will have even novice crocheters nodding with confidence. Imagine presenting this charming outfit as a gift; it will surely be a showstopper at any gathering!
Gauge & Sizing Notes for Baby Romper Crochet
Checking your tension is crucial for the Baby Romper Crochet project, as it ensures that each granny square maintains a uniform size, contributing to the overall fit and appearance of the finished piece. Your ideal gauge should measure 4 inches by 4 inches (10 cm by 10 cm), which translates to approximately 7 dc stitches and 4 rows in worsted weight yarn with a 4.5 mm hook. If your swatch differs from this gauge, make adjustments by changing your hook size or the yarn used to achieve a snugger or looser fit. To resize the romper, simply add or subtract squares in the bodice or adjust the starting chain in the leg rounds; remember that maintaining a correct stitch count is essential for a balanced look. If you’re experimenting with different color schemes or yarn material like a softer bamboo blend, keep the overall row count consistent to ensure the romper fits babies up to 12 months comfortably, aiming for a length of about 20 inches and a width of 10-12 inches.
Step-by-Step Pattern for Baby Romper Crochet
Row 1: Foundation Chain
Ch 40 (or adjust for size), making sure the chain is loosely spaced to allow for ease in starting the first row. This initial foundation will set the tone for your delightful baby romper crochet project; it should create a nice base that allows your granny squares to align perfectly later.
Row 2: First Granny Square
Start by making a magic ring, then ch 3 (counts as first dc). Work 2 dc, ch 2, and repeat for a total of 3 more clusters of 3 dc separated by ch 2. Join with a sl st to the top of the starting ch. You should now have a circle with 12 dc and 4 ch-2 spaces.
Row 3: Continue Granny Square
In this round, ch 3, work 2 dc in next ch-2 space, ch 2, repeat around. Join with a sl st; you’ll have 4 clusters of 3 dc with 4 ch-2 spaces (totaling 24 dc).
Row 4: Finish Granny Square
Ch 3, work 2 dc in the first ch-2 space, then 3 dc in each of the subsequent spaces, joining with a sl st to the top of your first ch. This round gives you the classic boxy granny square look, totaling 36 dc.
Row 5: Repeat for Additional Squares
Repeat Rows 2-4 to create 10 total granny squares in your chosen color palette, which adds that whimsical charm to your baby romper crochet creation. Set them aside, making sure to weave in any ends for a tidy finish as you work!
Row 6: Joining Squares
Lay squares in a pleasing layout. Using a sl st, begin joining squares together. Whip stitch through the back loops of adjacent squares to create a seamless connection. Ensure that you keep the edges nice and even for a polished effect. Aim for neat join edges, checking as you go!
Row 7: Creating the Bodice
With joined squares, now create the bodice. Work across the top of the joined squares with hdc in each space across the width for a sturdy border. Aim for about 24 hdc to ensure a snug fit for your little one. This gives the romper strength while completing the look.
Row 8: Attaching Straps
For the straps, ch 30 (or adjust length for size) and turn. Work 1 sc across for 6 rows (or desired strap thickness). Attach each strap to the bodice with a sl st; repeat on the other side. You’ll have comfortable and secure straps for the baby romper crochet that is both safe and stylish!
Row 9: Working the Bottom
To start the bottom section of your romper, ch 3 and work dc in each st around the base of the bodice. Keep track of your stitch count; aim for 36 to ensure even coverage! This creates a seamless transition from the bodice to the legs.
Row 10: Beginning Leg Rounds
Continue working in the round for about 6-8 rounds of double crochet, making sure to keep your tension consistent to maintain shape. You should begin to see the size of the legs form for the romper, giving room for movement.
Row 11: Adding Ribbed Cuffs
To form ribbed cuffs, switch to hdc and work in the back loops only. Work around each leg opening for 4-5 rounds to give it a snug and finished look. You’ll find that this detail really helps keep the romper comfortably in place during play!
Row 12: Finishing Touches
Finish off by weaving in all loose ends using a tapestry needle. Add decorative buttons to the straps if desired, ensuring they are securely fastened for safety. Your delightful baby romper crochet is now complete, ready for its debut on your favorite little one!
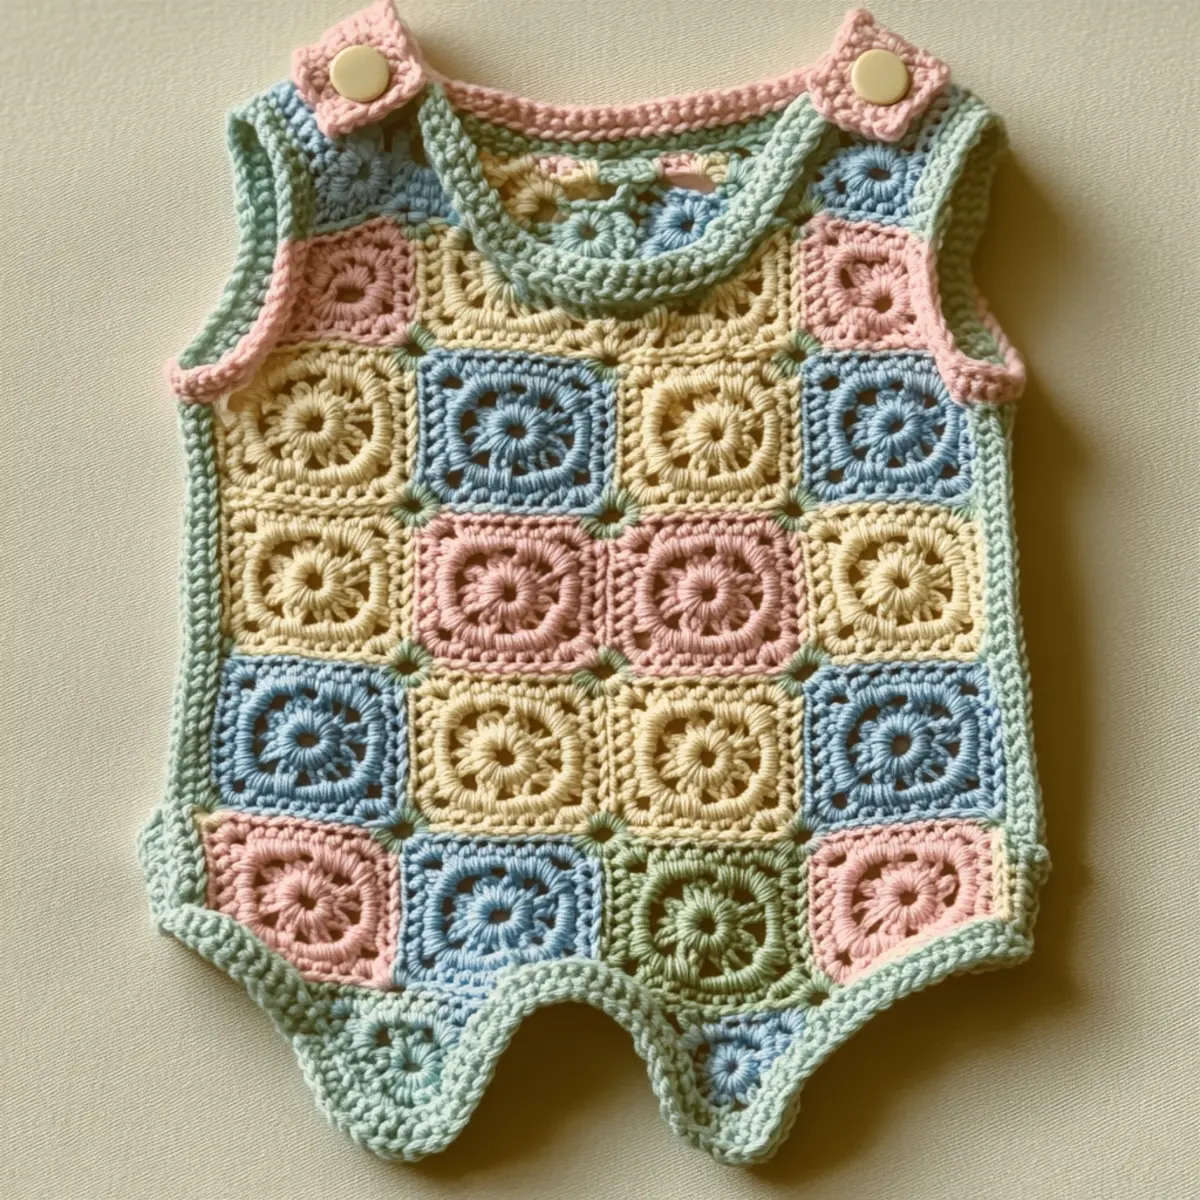
Expert Tips for the Best Baby Romper Crochet
Count Stitches: Count your stitches carefully to avoid mismatches when assembling granny squares. Missing stitches can lead to uneven shapes.
Consistent Tension: Maintain even tension throughout your squares to ensure a uniform appearance. Looser stitches can create odd shapes and sizes.
Join Neatly: When joining squares, aim for even edges. Use a whip stitch for a polished finish. It’s vital for a tidy appearance.
Foundation Chain: Make sure to space your foundation chain loosely. A snug chain can hinder your first row, complicating the start of your baby romper crochet project.
Baby Romper Crochet Variations
Customize your romper with these creative twists to showcase your personality and flair!
- Bamboo Blend: Substitute cotton yarn for a silky bamboo blend for added softness and comfort against a baby’s skin.
- Color Schemes: Embrace bright primary colors for a bold look or earthy tones for a rustic, natural theme that calms the eye.
- Sizing Adjustments: Increase or decrease the size by adding or removing rows, and adjusting the starting chain to fit your little one’s needs.
- Embellishments: Add decorative flowers or contrasting borders around the armholes for a unique flair. This can elevate your project, giving it a bespoke touch.
- Texture Modifications: Experiment with different stitches, like popcorn or shell stitches, to introduce texture and variation throughout the romper.
- Mixed Fibers: Consider using a cotton-acrylic blend for washability while retaining the softness, making it perfect for baby wear.
Designing your baby romper crochet project can be an exciting journey. Each choice you make invites creativity, allowing you to infuse your personal style into this vintage-inspired piece. Enjoy the process and let your imagination soar as you create a wonderful keepsake for a special little one. Check out our Crochet Flowers Delightful for adorable flower embellishment ideas!
How to Wash and Care for Your Baby Romper Crochet
Machine Washing: Use cold water on a gentle cycle to protect the vibrant colors. Avoid agitation to maintain the structure of the squares.
Hand Washing: For delicate care, soak in cold water with mild detergent before gently rinsing. This will preserve the softness of your yarn blend.
Drying: Lay your romper flat to dry. This avoids stretching and maintains its shape while keeping the granny squares in perfect form.
Storage: Store in a cool, dry place, preferably in a cotton bag. This keeps the fibers breathable and reduces the risk of damage.
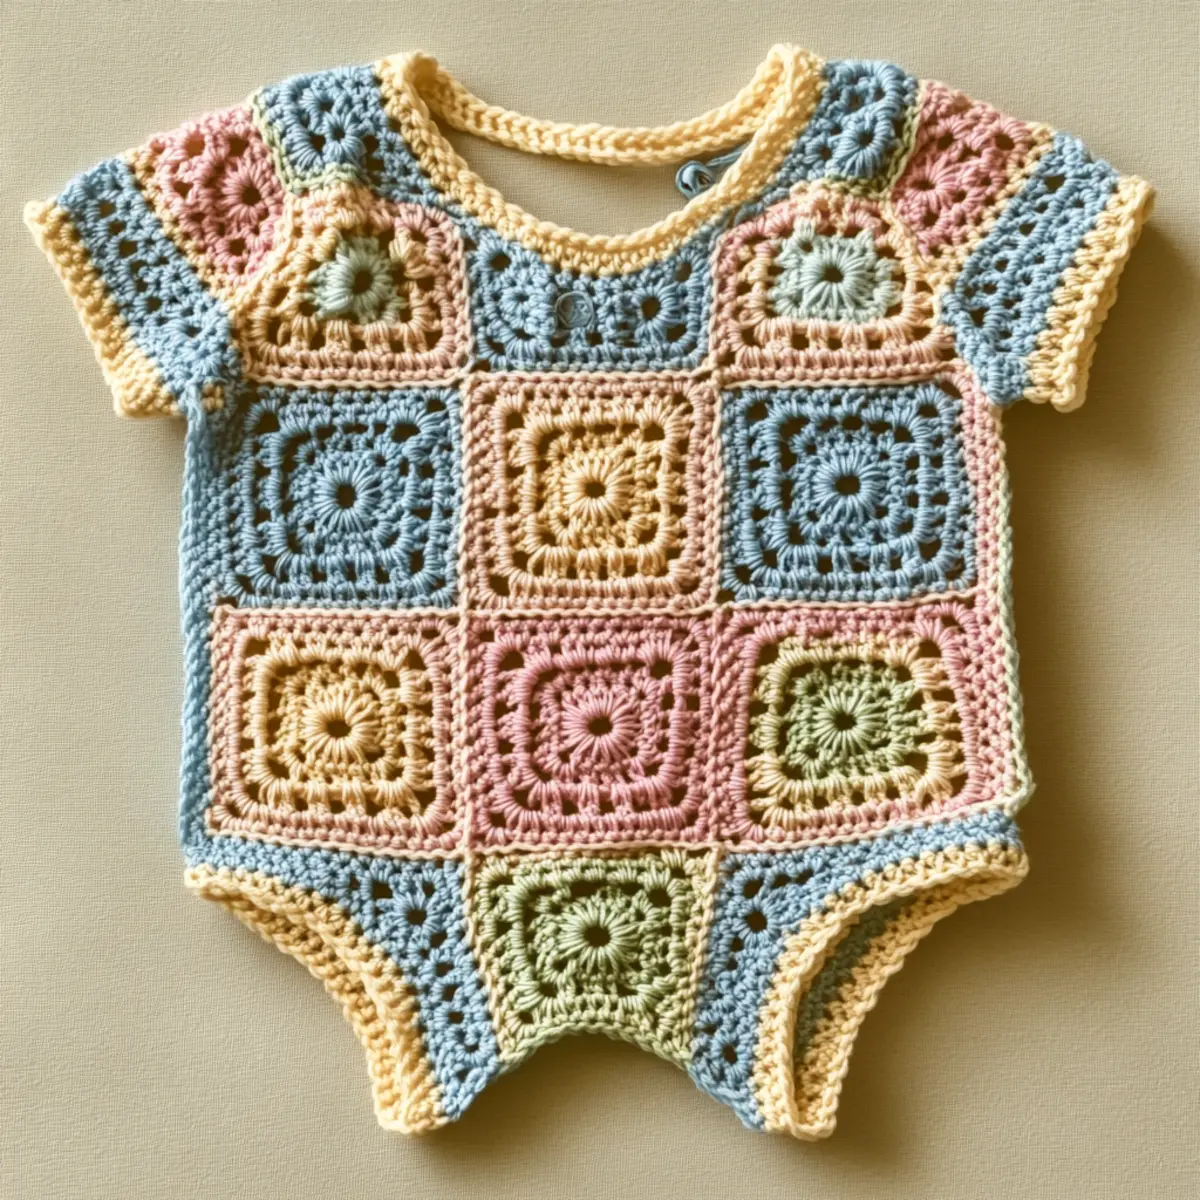
Baby Romper Crochet FAQs
What yarn substitutions can I use for this project?
Absolutely! You can substitute cotton yarn with a softer bamboo blend for a luxurious feel that’s also gentle on a baby’s skin, or explore other acrylic options for practicality.
How can I adjust the sizing of the baby romper?
Don’t panic! Adjust the size by adding or removing granny squares in the bodice or altering the starting chain length for the leg rounds. Just keep track of your stitch count for a balanced fit!
What should I do if I drop a stitch?
No worries! If you drop a stitch, quickly insert your hook back into the stitch to catch it. Then, continue working. For larger projects, a lifeline can help secure your progress.
Is there a recommended hook size?
Yes! A 4.5 mm crochet hook is ideal for this baby romper crochet pattern, ensuring the right tension and a good result.
Will the granny squares curl up?
This can happen due to inconsistent tension or skipping stitches. Block your completed squares by wetting and laying them flat to reshape them and prevent curling.
What embellishments should I consider?
Adding decorative flowers or contrasting borders around armholes can enhance your romper’s charm. Feel free to get creative with your personal touches!
Leave a Reply