
There’s something about creating cozy accessories that brings me endless joy, and the Earflap Adventure Baby Hat is no exception. This charming earflap hat crochet pattern is the perfect blend of warmth and playful style, ensuring your little ones stay snug during chilly adventures. What I love most about this hat is how quick it is to make—ideal for those of us who may not have all day to dedicate to crafting. Plus, it’s a fantastic stash-buster, letting you utilize that yarn you’ve been hoarding for just the right project. The earflaps provide extra coverage, adding both functionality and an adorable touch. I remember the first time I saw a baby wearing a similar hat; it turned ordinary winter outings into something extraordinary! So, are you ready to dive into a project that’s not just practical but also an exciting journey into the world of crochet? Let’s explore this pattern together and embark on the earflap adventure!
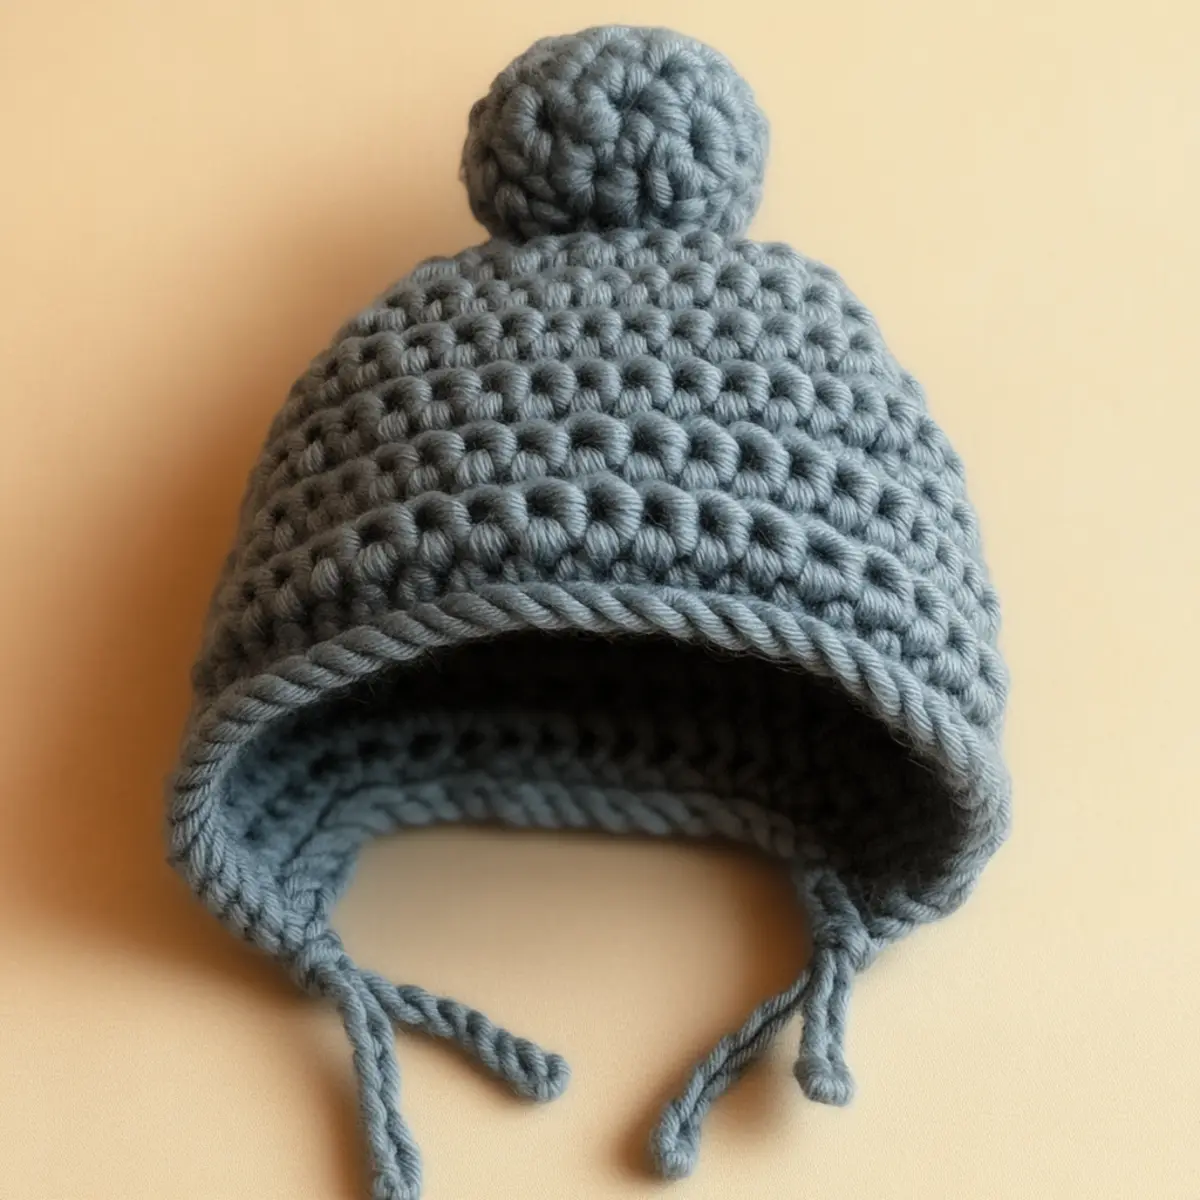
Earflap Hat Crochet Materials & Tools
Yarn
Bulky weight yarn (#5) – Approximately 100-120 yards of your favorite color to make the earflap hat crochet project a reality.
Tools & Notions
5.5 mm crochet hook (US I-9) – This size is perfect for achieving the right gauge with bulky yarn.
Tapestry needle – Essential for weaving in yarn ends after your crocheting is done.
Scissors – Always have a trusty pair handy for trimming yarn.
Pom-pom maker (optional) – If you want to create a fluffy top hat feature, this tool makes it easy.
Stitch markers – Useful for keeping track of rounds when constructing the hat.
Why You’ll Love This Pattern
Simplicity is at the heart of this earflap hat crochet project, making it accessible for everyone, from seasoned crafters to eager beginners. Texture is another captivating aspect; the bulky yarn creates a luscious, cozy fabric that feels soft against baby skin. Additionally, this design is stash-friendly—perfect for using up leftover yarn or experimenting with new colors. You can even check out our easy guide on color combinations to get inspired. Customization takes this hat to the next level; you have the freedom to modify the size or add fun elements like a unique pom-pom or decorative buttons that speak to your style. If you’re looking to save time, this pattern works up quickly, so you won’t have to wait long to see your adorable creation come to life. Lastly, the aesthetic appeal is undeniable; imagine your little one sporting this adorable hat while staying toasty warm. It’s not just a project; it’s a delightful gift for any baby in your life!
Gauge & Sizing Notes for Earflap Hat Crochet
Checking gauge is vital for the earflap hat crochet to ensure the perfect fit for your baby. A standard gauge for this project should be 4×4 inches (10×10 cm) = 12 sc and 14 rows in the round using the recommended bulky weight yarn (#5). If your swatch doesn’t match these measurements, adjust your crochet hook size or yarn tension accordingly. For resizing, consider modifying the starting chain by adding or removing stitches evenly while maintaining the stitch count requirements. It’s also feasible to increase the number of rows if you’re aiming for a larger size, such as for toddlers or older children. Re-check your tension as you go; inconsistent gauge can lead to an ill-fitting hat. It’s highly beneficial to aim for consistency as you work through this project; not just to achieve an ideal fit, but to enhance the overall look of the finished earflap hat crochet.
Step-by-Step Pattern for Earflap Hat Crochet
Row 1: Start the Crown
Begin with a magic ring, chaining 4. Work 8 single crochets (sc) into the ring, then pull tight to close. This sets the foundation for your earflap adventure baby hat, creating the cozy crown. (8 sc)
Row 2: Increase for Size
In this round, chain 1 and do 2 single crochets in each stitch. Focus on keeping your tension even as you create a larger base for the hat, essential for a snug fit. (16 sc)
Row 3: Build Your Base
Chain 1 again, and this time do 1 sc in the first stitch, then 2 sc in the next. Repeat this pattern around. Ensure you maintain your stitch count as you grow the crown of the earflap hat crochet. (24 sc)
Row 4: Continue Expanding
As you progress, start with a chain 1. Now, work 2 sc in the first stitch, followed by 1 sc in the next 2 stitches. This method keeps the hat’s shape while increasing size efficiently. (32 sc)
Row 5: Stabilize the Base
For this round, chain 1, then sc in each stitch around. It creates a stable base and ensures your pattern stays nice and neat before moving on. (32 sc)
Row 6-10: Build the Sides
Continue the straight sc around without increasing. Repeat this step for a total of 5 more rows, maintaining 32 sc. This is where the height of the earflap hat crochet takes form. You’ll want to reach about 2 inches less than your desired total height.
Row 11: Start the Earflaps
To create the earflaps, chain 10 for your first flap. Sc in the second chain from the hook and continue with sc in each chain until you reach the end. This creates a solid foundation for shaping the flap. (9 sc)
Row 12: Shaping the Flap
On this row for the first earflap, chain 1 and sc across again. For this round, begin reducing by skipping the last stitch of the previous row. Pay attention to maintaining your earflap’s shape as you progress. (8 sc)
Row 13: Continue Decreasing
Chain 1 once more, working sc across but skip another stitch this time. You’ll keep the earflap narrow and cute as you decrease. Feel free to insert a stitch marker to keep track. (7 sc)
Row 14: Finalize the Flap
For the final earflap round, chain 1 and sc across, decreasing one last time at the end. It’s crucial to ensure both earflaps match for a polished look on your crochet hat. (6 sc)
Row 15: Attach the Flaps
With your completed earflaps, carefully align them with the sides of the hat. Using a slip stitch (sl st), join the flaps to the hat. This gives it a sturdy fit and lovely finish. Now, your earflap hat crochet is nearly ready!
Row 16: Add the Finishing Touch
To complete the hat, work a border of sc around the bottom edge and earflaps. This adds a professional finish while preventing the edges from curling up. Consider your final stitch count when working around the hat. (approx. 40 sc)
Row 17: Create the Pom-Pom
Using a pom-pom maker or your fingers, create a fluffy pom-pom with leftover yarn. Attach it securely at the top of the hat for that playful, whimsical touch that makes the earflap adventure baby hat truly pop!
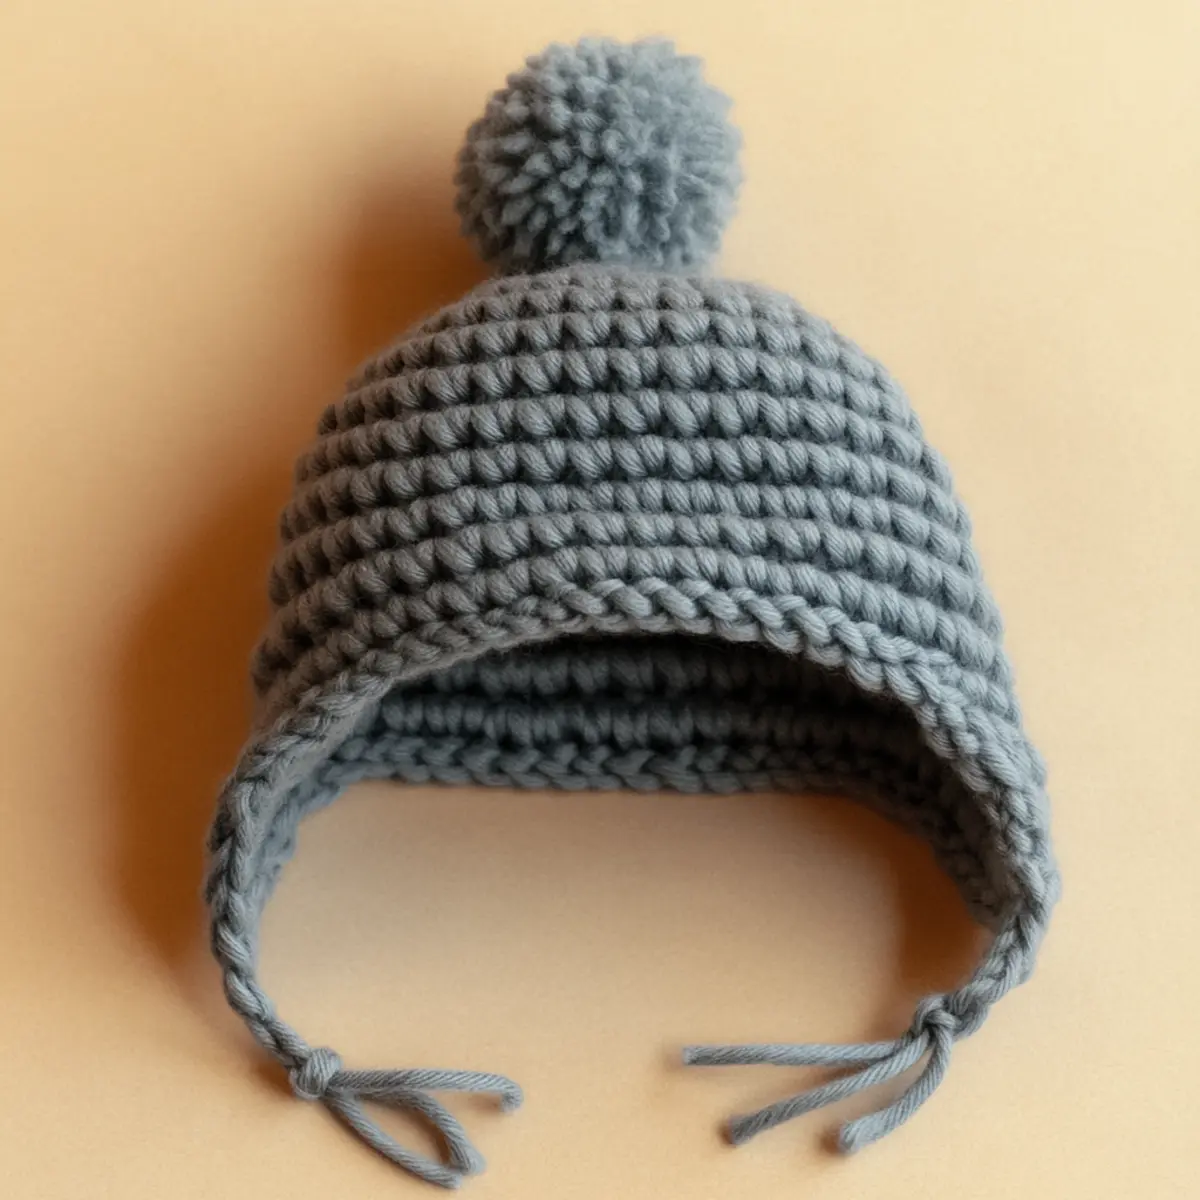
Expert Tips for the Best Earflap Hat Crochet
Consistent Tension: Maintain even tension throughout your project to avoid misfit or uneven shapes. It directly influences the hat’s final structure and comfort.
Count Carefully: Use stitch markers to keep track of your stitches and help prevent losing count, especially in the earflap decreases.
Twisted Chains: Ensure your foundation chain isn’t twisted before starting your rounds. A twisted chain can lead to an unsightly start and poorly fitting hat.
Double-check Gauge: Always check your gauge before starting. If your swatch is off, adjust your hook size to fit the earflap hat crochet perfectly.
Blocking: Don’t skip blocking your finished hat! It flattens out stitches and enhances the lovely texture of the yarn, giving the hat a polished look.
Earflap hat crochet
Feel free to personalize your earflap hat crochet project! Here are some fun variations you might consider:
- Color Swaps: Choose bright or pastel colors to match any season, adding a playful flair.
- Variegated Yarn: Using self-striping or variegated yarn creates a unique effect, keeping each hat different and exciting!
- Fiber Alternatives: Try cotton for warmer months; it offers breathability and comfort during spring and summer.
- Size Adjustments: Easily modify the pattern to create hats for various ages, from newborns to toddlers, ensuring versatile gifting options.
- Textured Stitches: Incorporate stitches like bobbles or shells into the design for added visual interest and a more dynamic texture.
Consider creating a matching set, such as an earflap hat and scarf. This not only elevates the accessory but also makes it a beautifully coordinated gift for new parents. The cohesive look can make any baby’s wardrobe more stylish, ensuring they are cozy and fashionable.
- Embellishments: Add buttons or crocheted appliques for a pop of charm, making each creation uniquely yours! You may want to check out how to embellish crochet for more inspiration.
Ultimately, your choices can turn a simple earflap hat crochet into a stunning, personalized piece that showcases your creativity and skill!
How to Wash and Care for Your Earflap Hat Crochet
Machine Washing: Use a gentle cycle and cold water for machine washing. This helps prevent shrinkage and maintains the hat’s original shape.
Hand Washing: Hand wash in lukewarm water with mild detergent. Gently squeeze to clean, but avoid wringing out to maintain the integrity of the fabric.
Drying: Lay the hat flat on a clean towel to dry. Avoid hanging it, as this can stretch the fabric and deform the structure of the earflap hat crochet.
Storage: Store the hat in a cool, dry place to avoid moisture accumulation. Keep it away from direct sunlight to prevent fading.
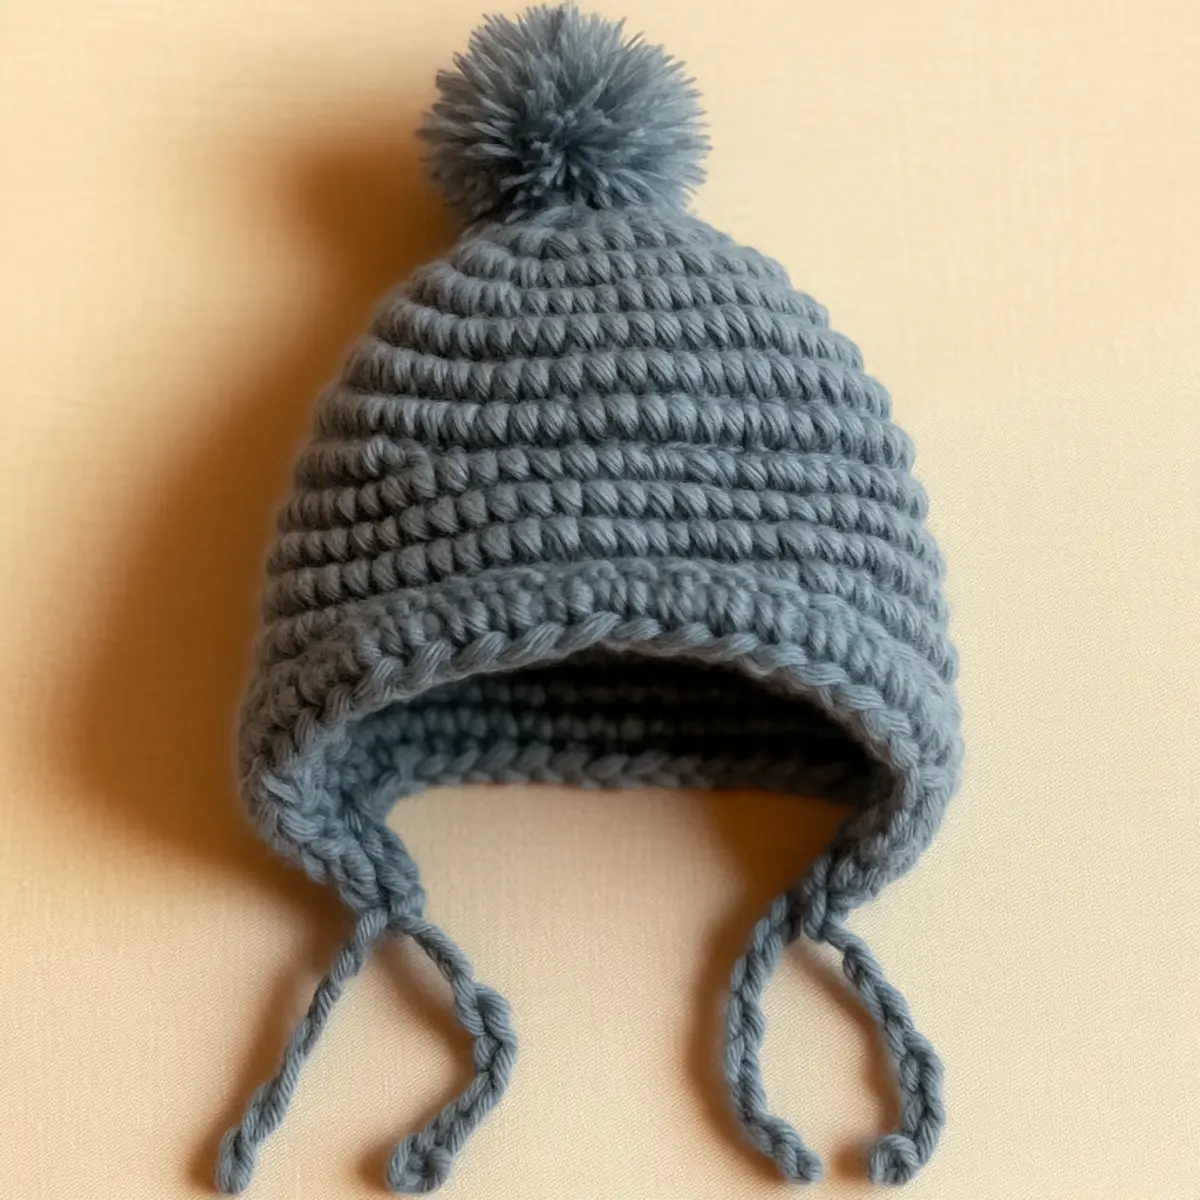
Earflap Hat Crochet FAQs
Can I use different yarn types for this pattern?
Absolutely! You can experiment with different fibers; for example, try cotton yarn for a lighter summer version of the earflap hat crochet.
What size hook should I use?
For this project, a 5.5 mm (US I-9) crochet hook is recommended. It helps achieve the right gauge for bulky yarn.
How do I adjust the size for older children?
If you’re making a larger size, add more stitches to the starting chain and extend the number of rows. Make sure to frequently check gauge to ensure a comfortable fit.
What should I do if my hat is curling?
Curling can often be due to tight stitches or an inappropriate hook size. Relax your tension or switch to a larger hook to ensure an even finishes edge.
I dropped a stitch. What now?
Don’t panic! Simply use a crochet hook to re-insert the dropped stitch back into place carefully. This way, you can maintain the integrity of your work.
Can I add decorations to my hat?
Yes! Decorate your earflap hat crochet with buttons or embellishments to personalize your project. Just ensure they are securely attached for safety.
Leave a Reply