
The moment I picked up a hook and some luscious dark red yarn, I felt a rush of creativity flow through me. It’s incredible how a simple skein can transform into something beautiful, don’t you think? For this blog post, I’m thrilled to share my delightful crochet rose pattern. It’s not only a quick project but also serves as a fantastic stash-buster! Perfect for beginners and those looking to hone their skills, this pattern allows you to create a lovely decorative piece in no time. Imagine adorning your home with these enchanting roses or gifting them to loved ones who appreciate handcrafted beauty. Each petal is an opportunity to express your creativity, and the best part? You can customize the colors based on your preferences or the seasons. Whether you want a classic red rose for romance or a vibrant twist with pink or lavender, the choice is yours. I’m excited to guide you through this whimsical journey, and I can’t wait to see what lovely creations you’ll make!
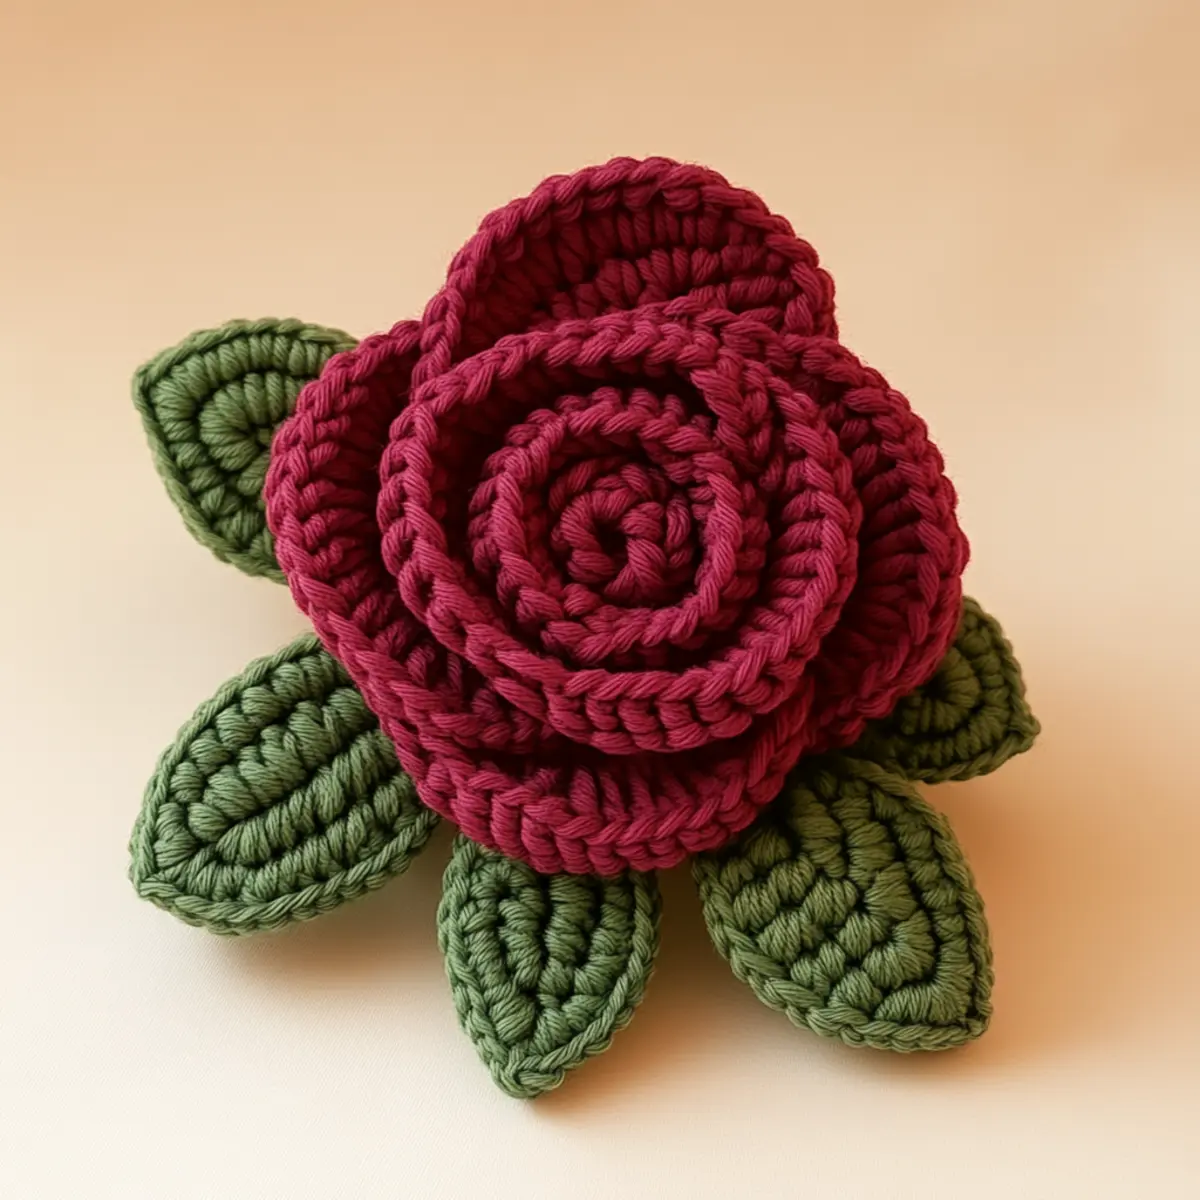
Crochet Rose Pattern Materials & Tools
Yarn
- Medium weight yarn – Choose a rich dark red for the rose and deep green for the leaves, about 100-150 yards total should suffice. This yarn type gives the rose a plush texture and structure.
Tools & Notions
- 4.0 mm crochet hook – A standard size for achieving tight stitches that define your flower’s shape. This is essential for creating beautiful, defined petals.
- Tapestry needle – Use this for sewing in ends and securing your rose, ensuring a clean finish to your project.
- Stitch marker (optional) – Helpful for keeping track of rounds if you are creating multiple flowers, allowing you to maintain clarity in your work.
What Makes This Crochet Rose Pattern Special?
Quickly whip up an enchanting floral masterpiece that adds character to any space! Simplicity is the cornerstone of this pattern—it’s designed to ensure that even beginners can feel confident. Plus, the textured appearance of the rose and leaves adds depth, making your creation stand out. What’s more, this pattern is a stash-friendly option; you can use leftover yarn to experiment with colors and styles. Dive into the world of crochet flowers for more inspiration on how to combine roses with other blooms. This pattern instills a sense of accomplishment due to its time-saving nature, making it ideal for crafters who appreciate efficient projects. As you get deeper into the technique, you might also find yourself inspired by our beginner-friendly crochet red roses guide!
Gauge & Sizing Notes for the Crochet Rose Pattern
Checking your tension is crucial for the crochet rose pattern because it impacts the overall size and shape of your final piece. A targeted 4×4 inch (10×10 cm) gauge measurement typically involves achieving around 14 DC stitches per 4 inches. Adjust your starting chain to upscale or downscale the size; for example, adding or subtracting chains by 4 stitches can yield a larger or smaller rose, respectively. If your swatch doesn’t match, you may need to try a larger hook for a looser fit or a smaller hook to tighten your stitches. It’s essential to ensure the rose maintains its inviting texture while achieving a plush yet firm finish, which is key for decorative applications!
Step-by-Step Pattern for Crochet Rose Pattern
Row 1: Create the Petal Base
Chain 26, then work 3 double crochet (DC) stitches into each chain stitch. This will create a textured foundation for your petals. Initial petal base completed with a stitch count of 78 DC at the row end.
Row 2: Shape the Petals
Chain 1 and work 4 DC stitches into the top of each previous DC. This step helps to shape the petals more fully, giving them a rounded appearance and ensuring the rose has a beautiful, voluminous look. You should have 312 DC stitches in total after shaping.
Row 3: Curl the Petals
Once your petals are formed, carefully curl the strip into a spiral shape. Secure the base of the spiral with a slip stitch (sl st) to hold your petals in place. You’ll create a delightful natural flow for your rose as you finish this stage.
Row 4: Assemble the Rose
Next, assemble your rose by securing the curled petals tightly together. Use a tapestry needle to sew the base and ensure the petals stay in their beautifully curled formation. Take your time here to make sure the rose shape is pretty.
Row 5: Start the Leaves
For the leaves, create two small leaves by chaining 10 stitches. Then, work 1 single crochet (sc) into the next stitch, and continue with 3 hdc stitches (half double crochet) into the following 5 stitches to shape your leaf’s point.
Row 6: Complete the Leaves
To finish each leaf, work a reverse back along the leaf, completing additional hdc and sc stitches before leaving a long tail for sewing. The final leaf should measure around 4 inches in length. Repeat this for the second leaf, ensuring consistency in size.
Row 7: Attach the Leaves
Using your tapestry needle, attach the completed leaves to the base of the rose. Position them to enhance the rose’s natural appearance. This step adds realism and balance to the finished piece. You can adjust the angle for aesthetic value!
Row 8: Final Touches
After assembling the rose and leaves, check for any loose ends. Secure these with a tapestry needle where necessary. This final touch helps achieve a clean and polished finish, enhancing the crochet design.
Row 9: Block the Rose
Consider blocking your finished rose to help set the petal shape. Soak the completed piece lightly and pin it on a blocking mat, allowing it to dry naturally. This step enhances the appearance and allows individual petals to stand out beautifully.
Row 10: Color Variations
Feel free to experiment with different shades of yarn for the rose. You could create shades like pastel pink or deep purple to accentuate different aesthetics. Each color brings a unique style to the crochet rose pattern, expressing your creativity vividly.
Row 11: Leaf Size Adjustment
If you prefer larger leaves, simply adjust the stitch count in your chain for the base of the leaf. This allowance lets you customize the size while maintaining the overall shape and effect of your design.
Row 12: Explore Different Yarn Types
Lastly, consider using various yarn types such as cotton or bamboo for a different texture and sheen. Each material brings its charm to the finished crochet rose pattern, allowing versatility in your project. Have fun experimenting with unique results!
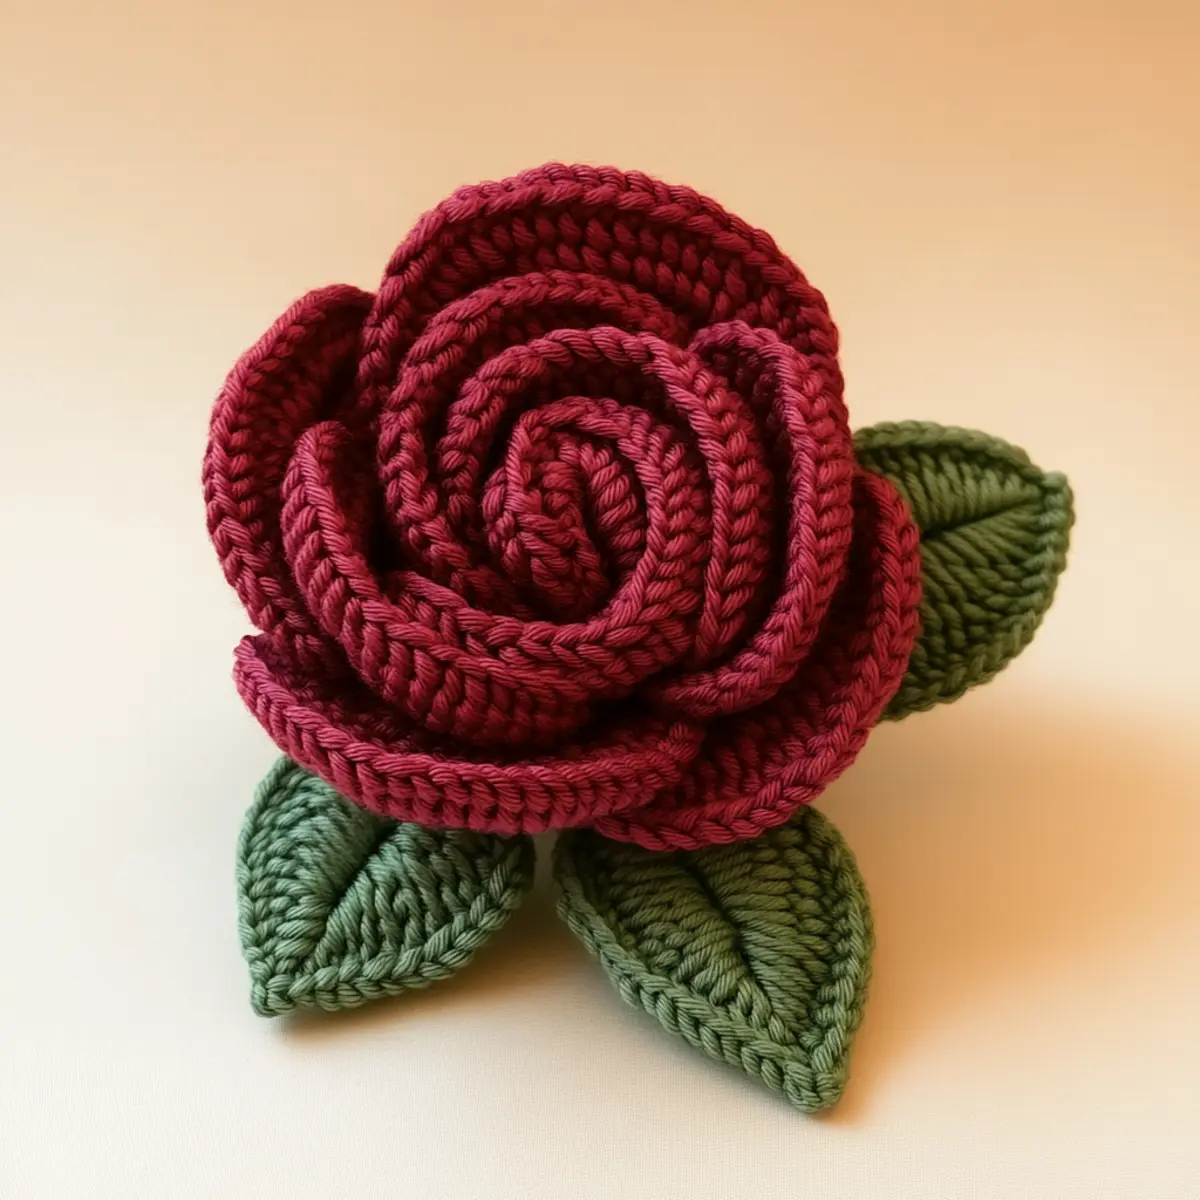
Helpful Tricks for Your Crochet Rose Pattern
Consistent Tension: Maintain consistent tension throughout the project to achieve uniformity in your rose and leaves. Experimenting with hook sizes may help you find the desired drape.
Count Carefully: Keep a close watch on your stitches, especially when working on multiple petals and leaves, to avoid running out of yarn or creating uneven shapes.
Twisted Chains: Ensure your foundation chain isn’t twisted when starting the rose. A twisted chain will make the project difficult and may cause inconsistencies in the finished piece.
Stitch Markers: Use stitch markers, especially if creating multiple roses, to keep track of your rounds and preserve clarity in your work. This simple tool can save time and reduce mistakes.
Blocking for Shape: Don’t skip blocking! It helps to set the shape of the petals and enhances the overall appearance of your crochet rose pattern.
crochet rose pattern Variations
Feel free to get creative with this crochet rose pattern! You can adjust colors, sizes, and yarn types to make it truly unique.
- Color Variation: Experiment with shades like pink, white, or even blue for a fresh twist on the classic rose, making it seasonally adaptable.
- Leaf Size Adjustment: Tailor the leaf size by changing the initial stitch count. Larger leaves can add drama, while smaller ones provide elegance.
- Yarn Type Swap: Swap medium weight yarn for luxury alternatives like cotton or alpaca, giving your rose a different texture and sheen that enhances its visual appeal. Yarn choice affects the overall drape, allowing for more customization.
- Embellishments: Add buttons, beads, or even fabric remnants to the center of the rose for a personalized touch that reflects your style. This could transform a simple rose into a statement piece!
- Mixing Textures: Consider combining yarn types, such as blending a soft wool for petals with a sturdy cotton for leaves. This contrast may result in a captivating, multi-dimensional rose.
- Functional Trimmings: Why not add a brooch pin on the back? This way, your beautiful crochet rose can double as an accessory.
- Thematic Collections: Create a series based on seasons, varying each rose accordingly. For fall, consider rich oranges and rusts, while winter could feature whites and silvers.
- Blocking Techniques: Don’t forget, how you block will greatly influence the finished look. Different techniques can yield softer or crisper edges on your petals, enhancing the overall aesthetic of your crochet rose pattern. Happy crafting!
How to Wash and Care for Your Crochet Rose Pattern
Machine Washing: Use a gentle cycle in cold water with like colors. Avoid harsh detergents that could affect the yarn’s color or integrity.
Hand Washing: For a more delicate approach, hand wash in lukewarm water. Gently swish and rinse without wringing to maintain shape and texture.
Drying: Always lay your finished crochet rose flat to dry. Avoid hanging to prevent distortion and ensure the shape sets well after washing.
Blocking: Consider re-blocking your crochet rose pattern after washing to maintain its petals’ shape and enhance the overall appearance, allowing the yarn to retain its vibrancy.
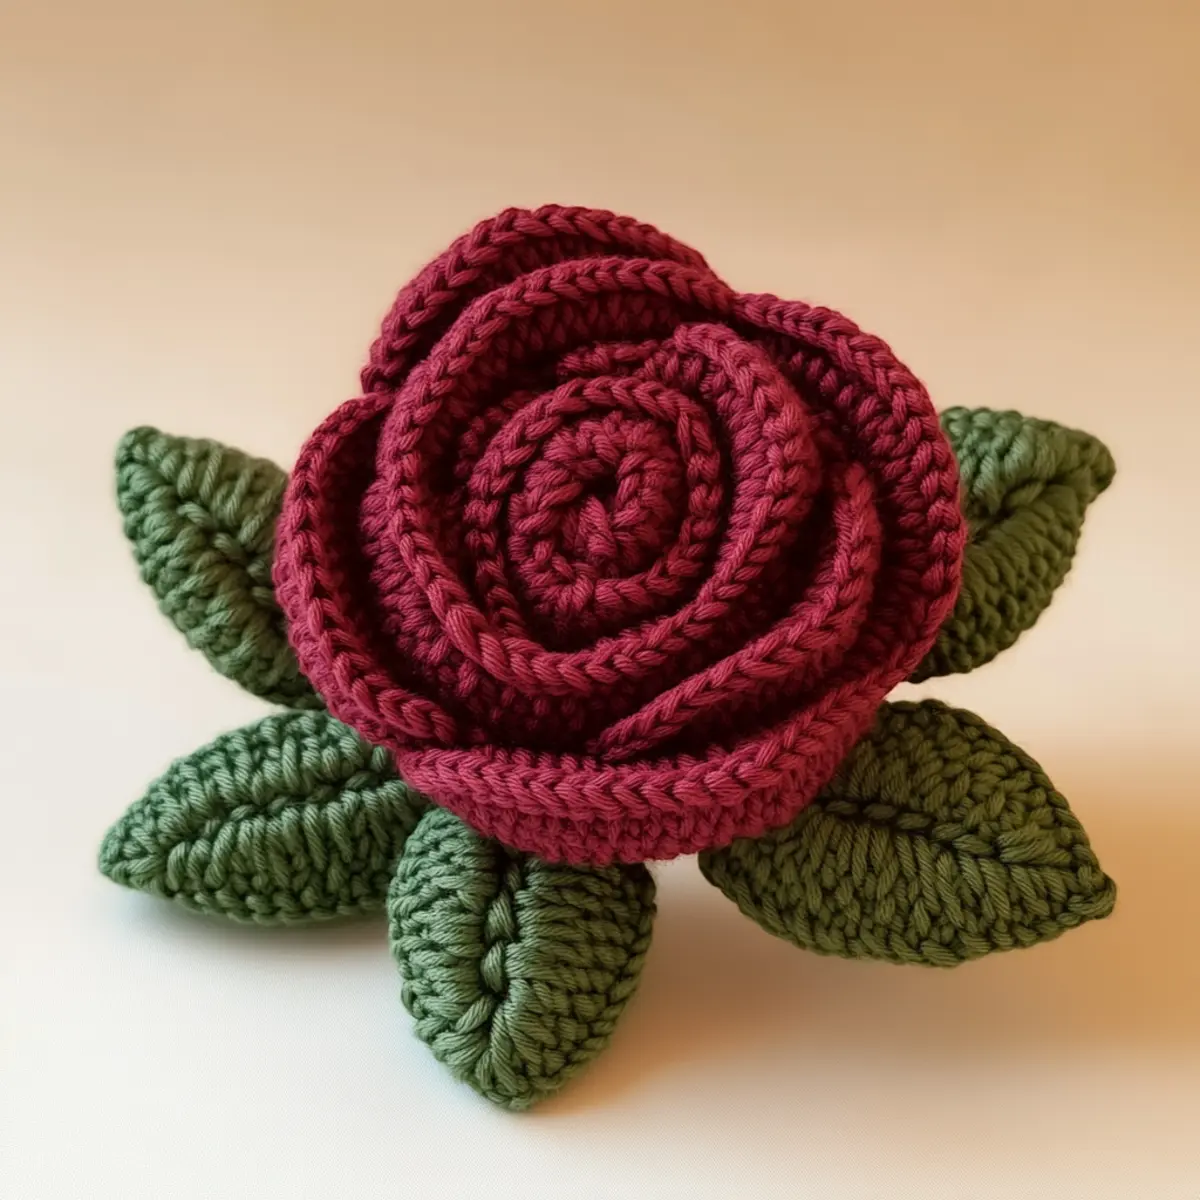
Crochet Rose Pattern FAQs
Can I substitute the yarn with a different type?
Absolutely! While medium weight yarn (category 4) is recommended for the crochet rose pattern, you can try cotton or bamboo for different textures and drapes. Just keep in mind that different yarns may yield varying results in size and appearance.
How do I adjust the size of the finished rose?
Don’t panic! You can adjust the size by changing your starting chain length and the number of stitches in your petals. Adding or subtracting a few chains can help you create either larger or smaller roses according to your preference.
What if I drop a stitch while crocheting?
No worries! To fix a dropped stitch, locate the loop and return it to the hook. Always keep a close eye on your work by regularly counting your stitches to minimize issues.
What hook size should I use?
A 4.0 mm crochet hook is recommended for this pattern to achieve the tight stitches needed for your rose. However, feel free to experiment with different sizes to see what works best for your chosen yarn.
What’s the best way to prevent curling at the edges?
To avoid curling, ensure you are keeping steady tension throughout your work. If it persists, try blocking your finished rose, which helps set its shape beautifully and flatten any curls.
Can I add embellishments to the rose?
Of course! Although the original design emphasizes the beauty of the rose alone, you can personalize your crochet rose pattern by adding buttons, beads, or sequins to create a unique piece. Get creative!
Leave a Reply