
Surprise! As I was rummaging through my yarn stash last week, I stumbled upon an emerald green that whispered to me, urging me to create something whimsical. That’s how I found myself wrapped up in the delightful world of the crochet phrog. This charming amigurumi project not only serves as a delightful display piece but is consistently quick and beginner-friendly—perfect for anyone exploring the enchanting realm of crochet. I’ve always admired how simple stitches can come together to create something utterly adorable, and this phrog is no exception. With a bright, cheerful demeanor, it’s bound to bring a smile to your face or become a delightful gift for someone special. The best part? You still have room to get creative with colors and expressions! Are you ready to hop into this crafty journey with me and discover all the joy a tiny phrog can bring?
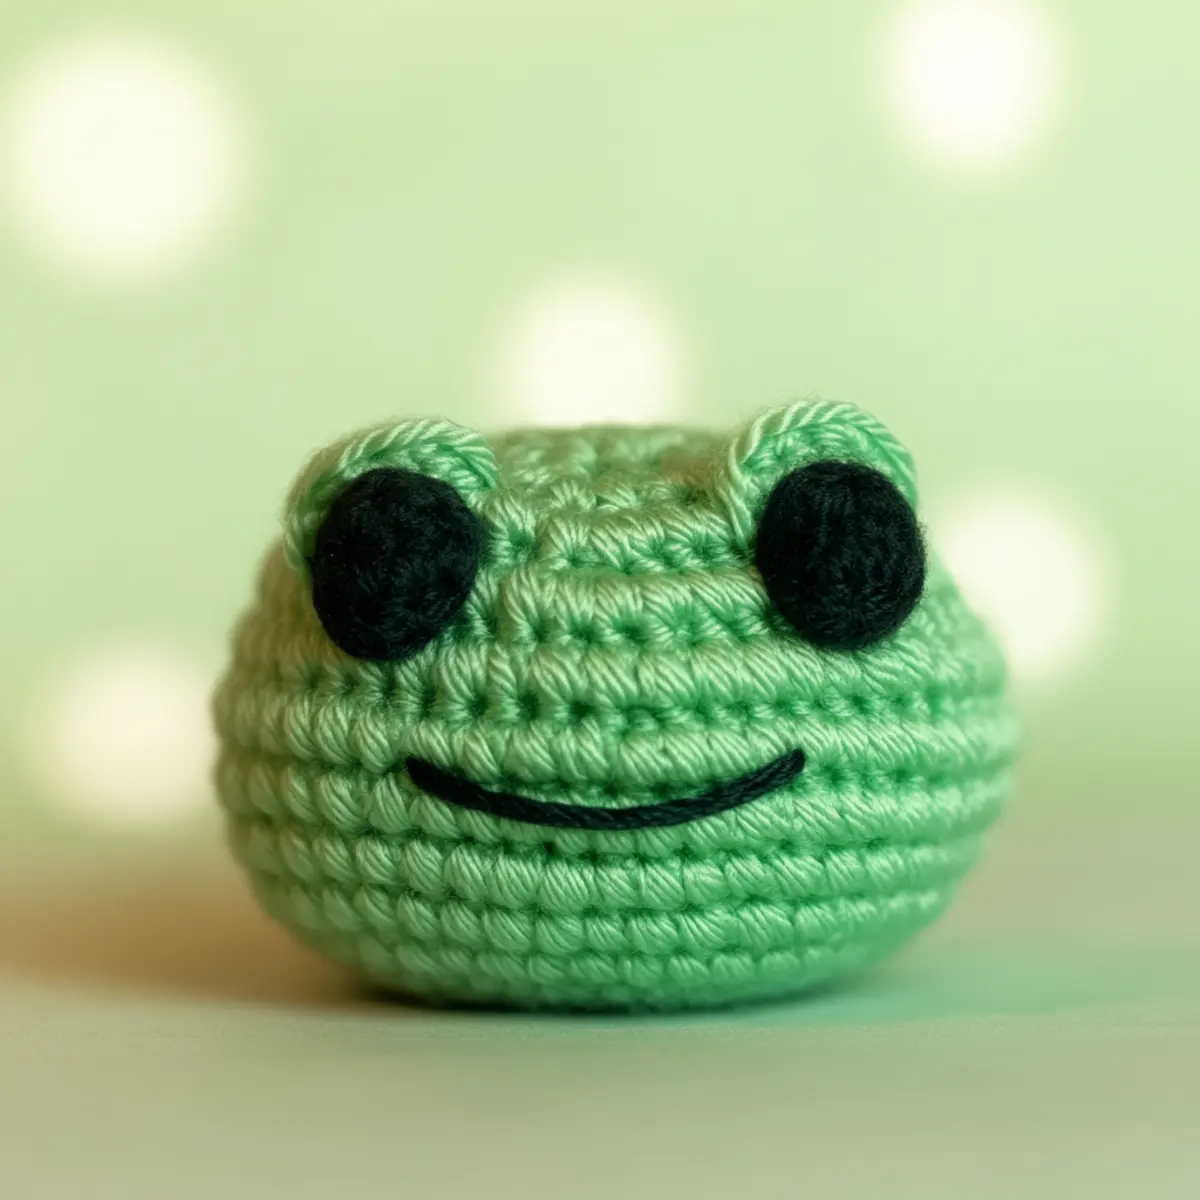
Crochet Phrog Materials & Tools
Yarn
Worsted weight yarn – Aim for about 30-50 yards in your favorite color for this crochet phrog. Acrylic or cotton blend works best for a soft, plush finish.
Tools & Notions
3.5mm (E) or 4mm (G) crochet hook – Use this size to keep your stitches tight and prevent stuffing from poking through.
Safety eyes – For that adorable phrog expression! Make sure they’re securely attached.
Yarn needle – Essential for finishing off and making any facial embroidery on your crochet phrog.
Scissors – Handy for trimming your yarn ends neatly while working on your crochet phrog.
Why You’ll Love This Pattern
Simplicity is the name of the game with this delightful crochet phrog! The easy-to-follow rounds make it accessible for crafters at any skill level, from beginners to experienced yarn enthusiasts. Aesthetic appeal shines through its cute rounded shape, bright color, and potential for fun personalization with varying facial expressions and accessories. Plus, this pattern is a fantastic stash-buster—perfect for using up leftover yarn from other projects. Want to create a beautiful gift for a little one? The Cozy Baby Crochet projects will inspire many add-ons! Time-saving aspects make it even more appealing; you can complete this project in just a few hours. Dive into the vibrant world of amigurumi with the crochet phrog and create your own collection of delightful creatures, maybe even expanding into patterns like the Compostela Baby Blanket for cozy combos!
Gauge & Sizing Notes for Crochet Phrog
Checking your tension is crucial for achieving the adorable proportions of the crochet phrog. Aim for a gauge of 6 sc = 1 inch (or 15 sc per 4 inches) using a 3.5mm (E) or 4mm (G) crochet hook. This gauge ensures your structure remains soft and dense, which is essential for a plush look in amigurumi-style projects. If your swatch doesn’t match, adjust your hook size accordingly or increase/decrease the starting chain for resizing. To alter the size, remember that using a bulkier yarn with a larger hook will create a bigger phrog, while a thinner yarn will result in a smaller version—allowing for a delightful collection. Keep that in mind while working; a charm-filled crochet phrog can measure approximately 5-6 inches tall and 4 inches wide, making a perfect fit for anyone’s collection!
Step-by-Step Pattern for Crochet Phrog
Row 1: Begin with a Magic Ring Start by creating a magic ring (mr) using your worsted weight yarn. Ch 1 to secure, then work 6 sc into the ring, pulling it tight to close. This will form the base of your crochet phrog’s body. (6)
Row 2: Increasing the Base In this round, inc 6 times to increase your starting count to 12 stitches. To do this, (sc, inc) repeated gives the fullness necessary for the body. Make sure to mark your rounds! (12)
Row 3: Build up the Form Continue to build by crocheting in the round without any increases; simply stitch around with 12 sc. It’s crucial to keep your tension consistent to maintain a structured shape. (12)
Row 4: Shaping the Body This row introduces increases for a fuller body. Work (sc, inc) for a total of 18 stitches around. The form should start to look more rounded, bringing your crochet phrog to life! (18)
Row 5: Accentuate the Curves For a gentle increase, do (2 sc, inc) repeated around, resulting in 24 stitches. Keep counting your stitches as you work; it’s essential for keeping the body uniform. (24)
Row 6: Continue to Inflate Work (3 sc, inc) around to expand your body further, leading to a total of 30 stitches by the end of the row. This adds lovely breadth to your crochet phrog, making it feel plush! (30)
Row 7: Final Round for the Base Complete the stuffed body by working (4 sc, inc) to finalize at 36 stitches in this round. Ensure you’re regularly counting stitches after each increase to track your progress. (36)
Row 8: Start Shaping the Head Now, you’ll want to decrease starting into the shaping of the head. Do 10 rounds of 36 sc to build the head, maintaining the tension to keep all stuffing neatly inside. (36)
Row 9: Head to Neck Transition Transitioning from the head to the neck, work (4 sc, dec) repeated going down to a total of 30 stitches. You should notice the shape starting to slope. (30)
Row 10: Further Head Shaping Continue decreasing with (3 sc, dec) to bring your stitch count down to 24. This round leads into the facial area shaping of your crochet phrog. (24)
Row 11: Begin Facial Binding Continue working by doing (2 sc, dec) until your stitch count is at 18. At this stage, check your work and adjust stuffing if necessary to ensure a plump head. (18)
Row 12: Finishing the Face To finish off the head of your crochet phrog, continue with (sc, dec) to round down to 12 stitches. Begin stuffing lightly if you haven’t done so, as it helps shape your phrog’s face. (12)
Row 13: Closing Up Finally, work a row of 6 dec to close it up; this gives the head a perfect pop of shape. Once the last dec is completed, fasten off and weave in your ends. (0)
Assembly and Details: Attach safety eyes at the designated spots for the sparkling cute appeal. You could also opt to embroider a small smile using matching yarn at this stage. Block lightly if desired, to enhance shape. Enjoy your delightful crochet phrog!
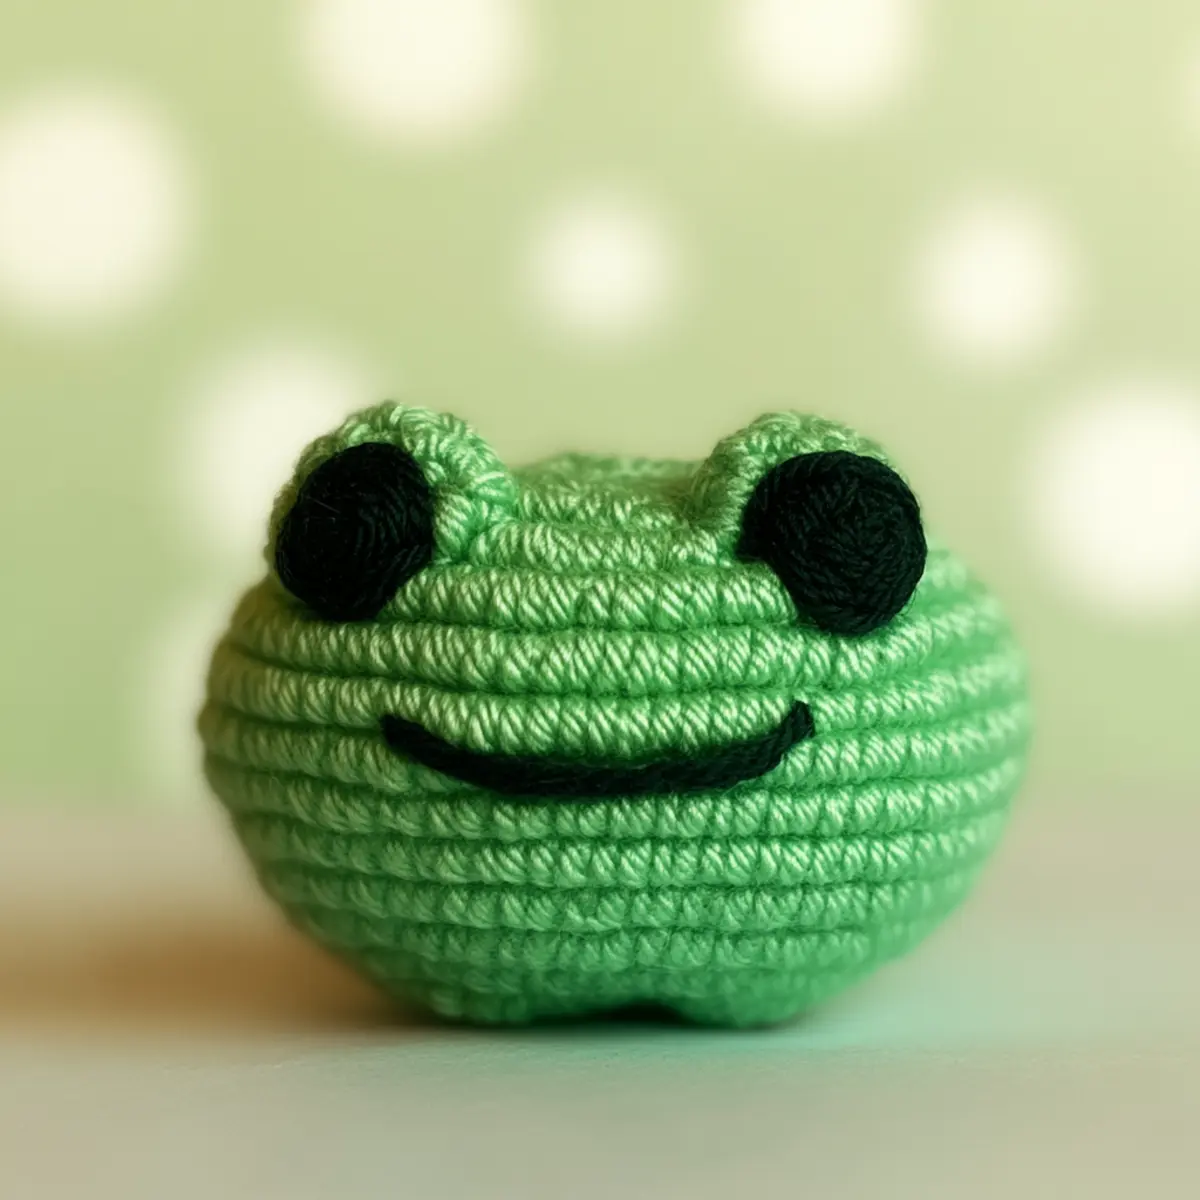
Crochet Phrog Variations
Feel free to customize your crochet phrog with these fun ideas!
- Pastel Colors: Experiment with soft pastel shades for a whimsical collection of phrogs that brighten any room.
- Sparkle Yarn: Use a sparkle or variegated yarn to add personality and flair, creating a unique phrog that stands out.
- Size Alteration: Adjust the size by using a bulkier yarn and larger hook for a big plush phrog or go smaller with finer yarn for tiny versions.
- Unique Textures: Mix different fiber types like bamboo or alpaca to create varied textures for your phrog.
- Accessory Additions: Accessorize your phrog with small hats or tiny scarves to give it extra charm and individuality.
You could even personalize expressions through varied embroidery techniques. Try adding a tiny crown or glasses—this fun element brings a new twist to the regular phrog. Each version reflects a part of your creative flair and extends the playful nature of this project. Check out some inspiration for Adorable Custom Baby Sweater if you’re looking to match outfits!
- Color-Blocking: Create a color-blocked phrog with distinct sections. This allows for an engaging visual experience, making your amigurumi even more charming. You might love pairing it with a Cozy Baby Crochet pattern that showcases a vibrant color palette!
- Facial Features: Modify the facial expressions through different embroidery stitches for a cute, personalized touch.
Expert Tips for Crafting a Crochet Phrog
-
Consistent Tension: Maintain even tension throughout your project to achieve a tight fabric, preventing stuffing from showing through.
-
Regular Counting: Count your stitches regularly, especially after rounds with increases or decreases. This ensures the uniform shape of your crochet phrog.
-
Prevent Twisting: Avoid twisting your foundation chain by laying it flat as you work. It helps keep the initial base even, crucial for the amigurumi shape.
-
Safeguard Against Dropped Stitches: Use stitch markers to keep track of your rounds. This helps avoid missing any essential stitches in your crochet phrog.
-
Blocking is Key: Lightly block your finished phrog to enhance its shape, especially if using cotton yarn, which can highlight curves beautifully.
-
Color Experimentation: Feel free to play with different yarn colors and textures to create unique variations of the adorable crochet phrog that suit your style.
How to Wash and Care for Your Crochet Phrog
-
Machine Washing: If using acrylic yarn, a gentle machine wash in cold water is fine. Place your crochet phrog in a mesh bag to protect it during the cycle.
-
Hand Washing: For delicate finishes or cotton yarns, hand wash with cold water and a mild detergent. Avoid wringing, as it can distort the shape of your crochet phrog.
-
Drying: Always lay your crochet phrog flat to dry, making sure to reshape it gently while damp. This preserves the structure and adorable features that make it so charming.
-
Storage: Store in a cool, dry place away from direct sunlight. Keep it out of damp areas to prevent mold issues, ensuring your precious crochet phrog stays delightful.
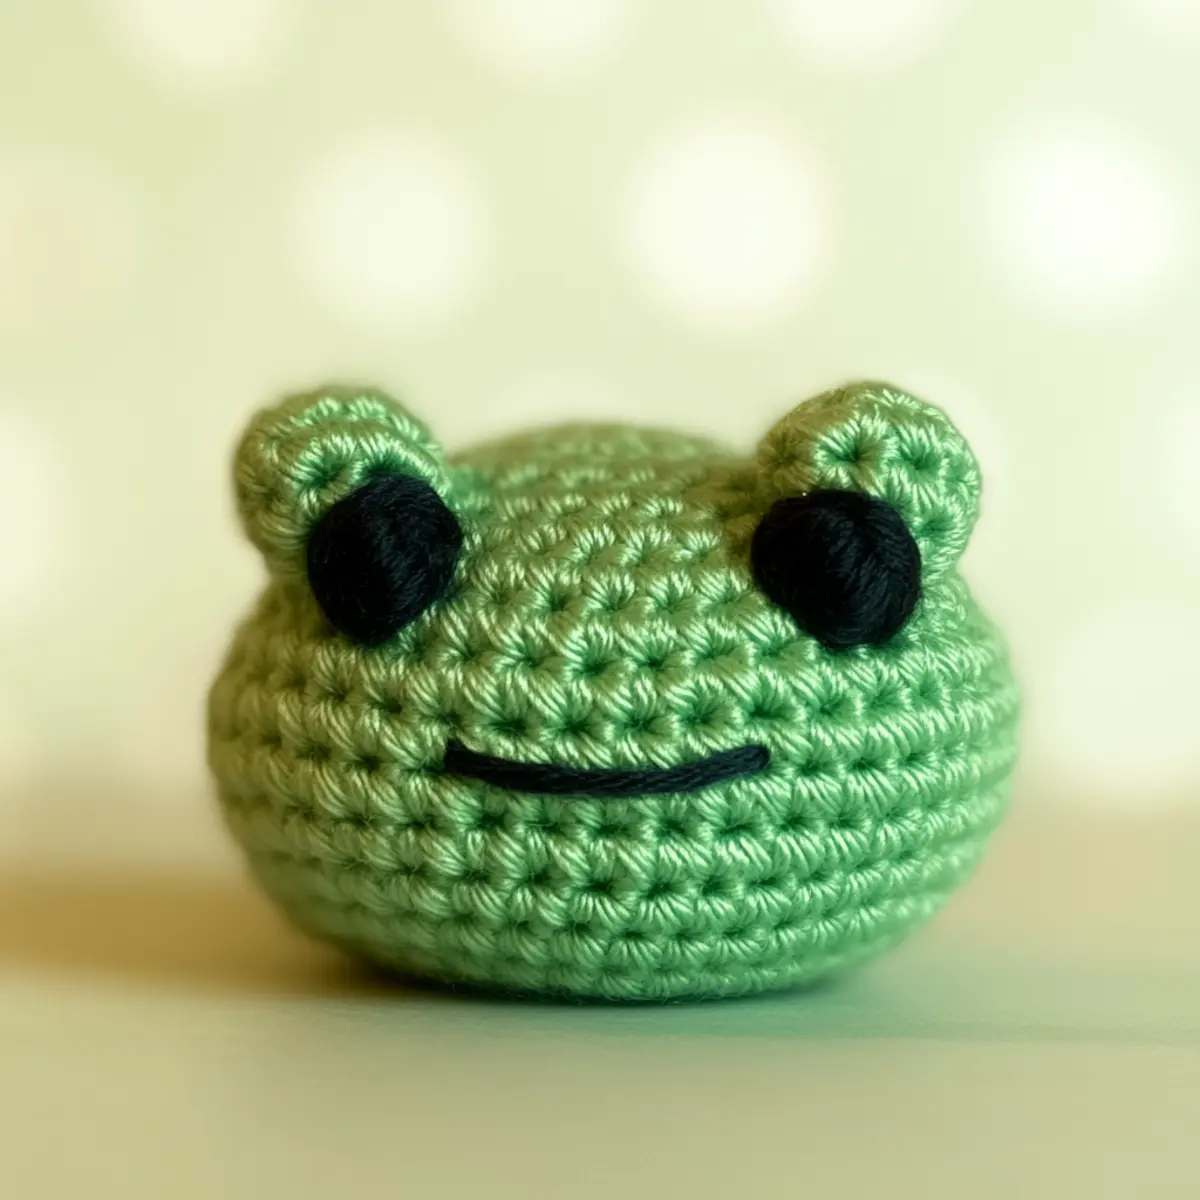
Crochet Phrog FAQs
Can I use different yarn types for this project?
Absolutely! You can substitute any worsted weight yarn like cotton or boutique blends. Just ensure it’s soft for that delightful plush feel in your crochet phrog.
How can I adjust the size of my phrog?
To make a larger amigurumi phrog, use bulkier yarn with a larger hook. Conversely, for a tinier version, opt for finer yarn and a smaller hook. This allows for a cute collection of sizes!
What to do if my phrog is curling?
Don’t panic! Curling often happens due to inconsistent tension. Ensure your tension is even throughout all rows or consider adding a few more rounds if necessary. Lightly blocking can also help.
What if I drop a stitch?
If you notice a dropped stitch, simply use a crochet hook to weave it back into place. This easy fix prevents gaps in your crochet phrog, keeping your work tidy.
What hook size should I use?
For this crochet phrog, a 3.5mm (E) or 4mm (G) hook is ideal. This size maintains a tight and secure structure, preventing stuffing from showing.
How do I add facial features?
You can securely attach safety eyes or embroider features directly onto your phrog’s face. Use contrasting yarn colors for fun expressions to give your crochet phrog personality. Embellishments like tiny hats or bows can also add character!
Leave a Reply