
The moment I finished my whimsical plush bird crochet project, I felt an overwhelming sense of joy wash over me. This charming creature is not just a toy; it’s a delightful companion that infuses a cozy spirit into any room. What I love most about creating this plush bird is its quick assembly, making it an ideal stash-buster for those leftover yarn scraps you’ve been saving. The fun begins as you select vibrant colors that reflect your own personality or the personality of the lucky recipient. Each stitch brings this playful bird to life, capturing the cheerful essence of childhood toys. Plus, the customization options are endless! You can create various expressions and outfits for your little feathered friend, making every creation truly unique. As you embark on making this delightful plush, you may find yourself wondering about all the creative possibilities that lie ahead. What color combinations will you dream up for your own cuddly companion?
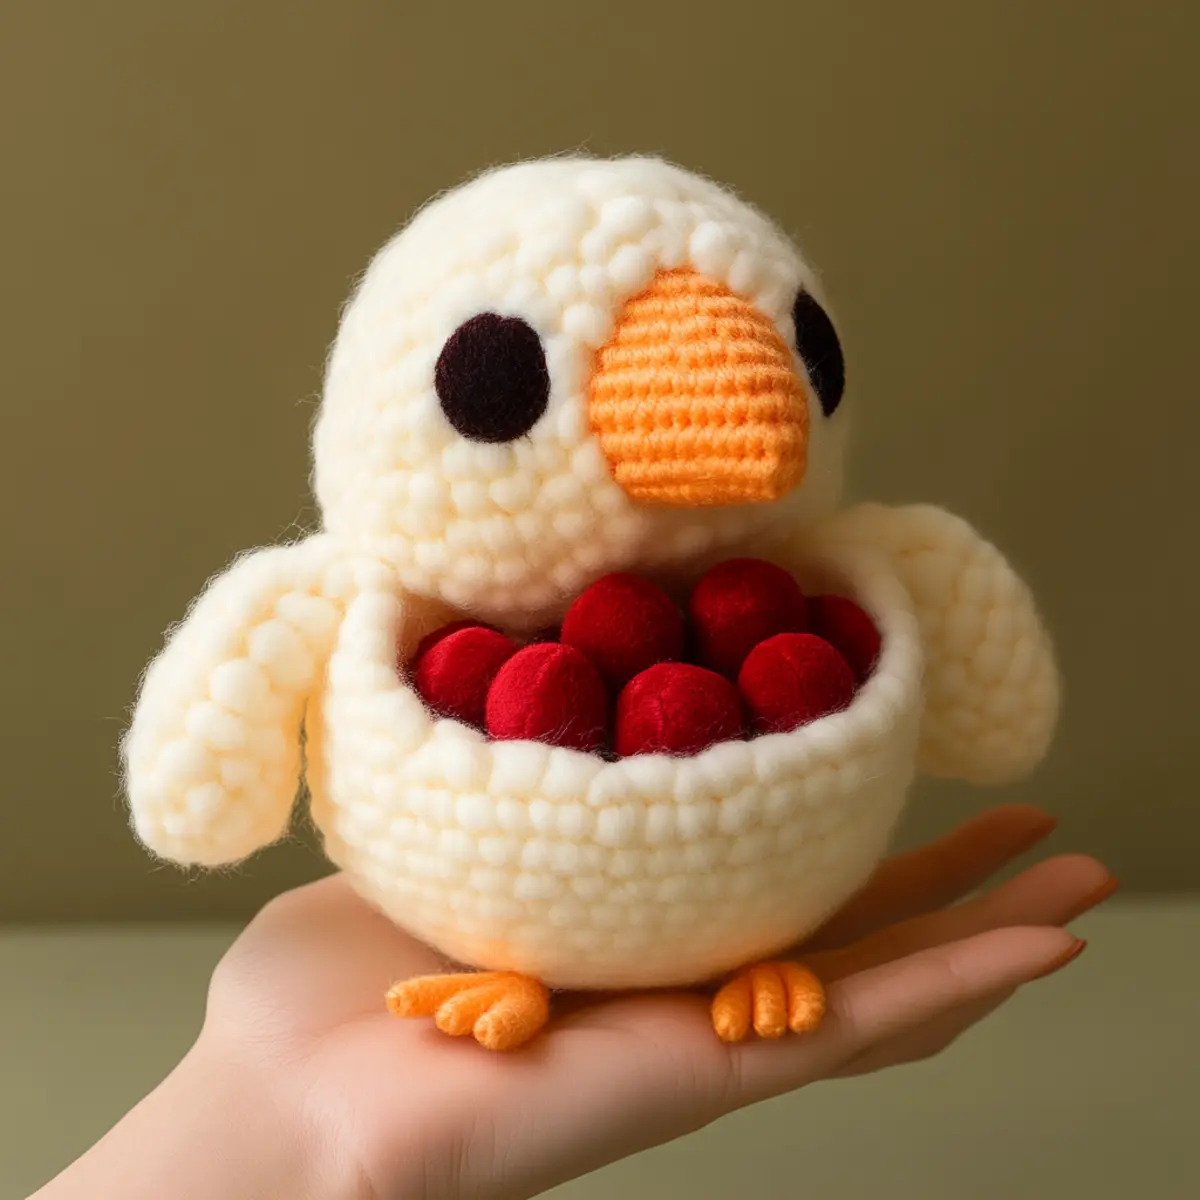
Plush Bird Crochet Materials & Tools
Yarn
100% Polyester Yarn – Choose a soft fuzzy yarn, ideally in multiple colors for versatility; 150-200 yards total for the plush bird crochet.
Tools & Notions
H Hook (5 mm) – A good size for creating a comfortable, dense fabric that keeps its shape.
Plastic Safety Eyes – Ensure your bird’s expression is cute and inviting; use 12mm eyes for a perfect fit.
Stitch Markers – Helps keep track of your rounds so you maintain uniformity in your stitches.
Other Supplies
Stuffing – Use polyester fiberfill for a plush feel; you’ll need enough to fill the body, beak, and pouch.
Yarn Needle – Essential for sewing on the beak and feet securely, ensuring they withstand cuddly play.
Scissors – For trimming yarn ends and to help with any necessary adjustments throughout your project.
Why You’ll Love This Pattern
Creating this adorable plush bird will bring a smile to your face and warmth to your heart. Simplicity is key with this design; even beginner crocheters can master the basic techniques involved. Texture plays a significant role, with the fuzzy yarn providing a cozy, huggable finish. You’ll love how this is a great stash-buster, perfect for using up those odd bits of yarn. Looking for a customizable project? You can easily modify the bird’s size or décor, making each one distinctive. If you enjoy practical projects, this plush bird is also time-saving, meaning you’ll have a cute toy ready in no time! Don’t forget to check out these Crochet Flowers Delightful for extra flair or explore our guide on Friendly Tunisian Crochet for other engaging textures.
Gauge & Sizing Notes for Whimsical Plush Bird Crochet
Checking the gauge is essential to ensure your whimsical plush bird crochet turns out perfectly. Achieving a standard gauge of 4×4 inches (10×10 cm) using medium (4) weight yarn with an H/8 (5mm) hook is crucial. If your tension is too loose, consider going down a hook size or using thicker yarn to maintain the desired density. For those wanting to resize, you can adjust the starting chain and increase or decrease the number of rounds to meet your preferred dimensions. The final plush bird will measure approximately 10 inches in height and 8 inches in width, making it a huggable cuddly buddy. If your test swatch doesn’t match, adjust your hook or yarn as needed, and keep experimenting until you find the perfect fit. This project is about fun and creativity, so embrace the process while refining your plush bird crochet!
Step-by-Step Pattern for plush bird crochet
Row 1: Starting the Body
Begin with a magic circle, ch 1, and work 6 sc into the circle. Pull the circle tight to close. This sets the foundation for the body of your whimsical plush bird. (6 sc)
Row 2: Increasing the Round
In the same circle, inc in each st around. You’ll create 12 sts total, shaping the initial round of the bird’s body. Count carefully to maintain your stitch count as this will become crucial for the bird’s form. (12 sc)
Row 3: Continue to Build
Work 1 sc in the first st, then inc in the next (repeat this pattern around). This rounded structure forms the body; you should have 18 sts at the end of this row. (18 sc)
Row 4: Round Expansion
Continue building the bird’s body by doing 2 sc in the first st, 1 sc in the next 2 sts (repeat this around). This gradual increase gives the body its signature shape while keeping it smooth to the touch. (24 sc)
Row 5-8: Forming the Body
For the next four rounds, work evenly, doing 1 sc in each st to maintain size without adding more width. This consistency leads to a robust and cozy feel. After the final round, you should have 24 total sts. (24 sc each)
Row 9: Shaping the Top
Begin to decrease for a tapered effect. Work 1 sc in the first 2 sts, then dec in the next st. Repeat this process to sculpt the top of the bird’s body, ending with 18 sts. (18 sc)
Row 10: More Decreases
Continue decreasing by working 1 sc in the first st and dec in the next (repeat). This creates an even tighter shape, refining your plush bird’s form. At the end, you should have 12 sts. (12 sc)
Row 11: Final Decrease
For the last round of the body, dec around to close it off. This step is crucial for giving the charming bird its smaller head shape, and your final stitch count here should be 6. (6 sc)
Row 12: Finishing the Body
Cut your yarn, leaving a long tail. Pull the yarn through the last loop and weave in ends securely. Now your body is ready for embellishments like its beak and pouch, making this plush bird crochet even cuter!
Step 13: Create the Beak
Start by chaining 6. Work in the second ch from the hook: 1 sc, 1 hdc, 1 dc, 1 hdc, 1 sc, and then sl st into the other end to form a tapered triangle shape. Attach securely to the front of the plush bird with your needle. (1 sc, 1 hdc, 1 dc, 1 hdc, 1 sc)
Step 14: Making the Feet
Using contrasting yarn, ch 4 and work 3 sl sts along the foundation to create tiny rounded feet. You will need two of these, and they add delightful detail to the base of your plush bird. (3 sl st)
Step 15: Forming the Pouch
For the pouch, use a magic circle. Work 6 dc in the circle and pull it tight. This puffy appearance will hold the stuffed fruit, adding character to your plush bird crochet. (6 dc)
Step 16: Assemble Your Bird
Securely sew the eyes, beak, and feet to the body using a yarn needle. Ensure these elements are stitched firmly to withstand any love from little hands! Check for any loose parts and reinforce if necessary.
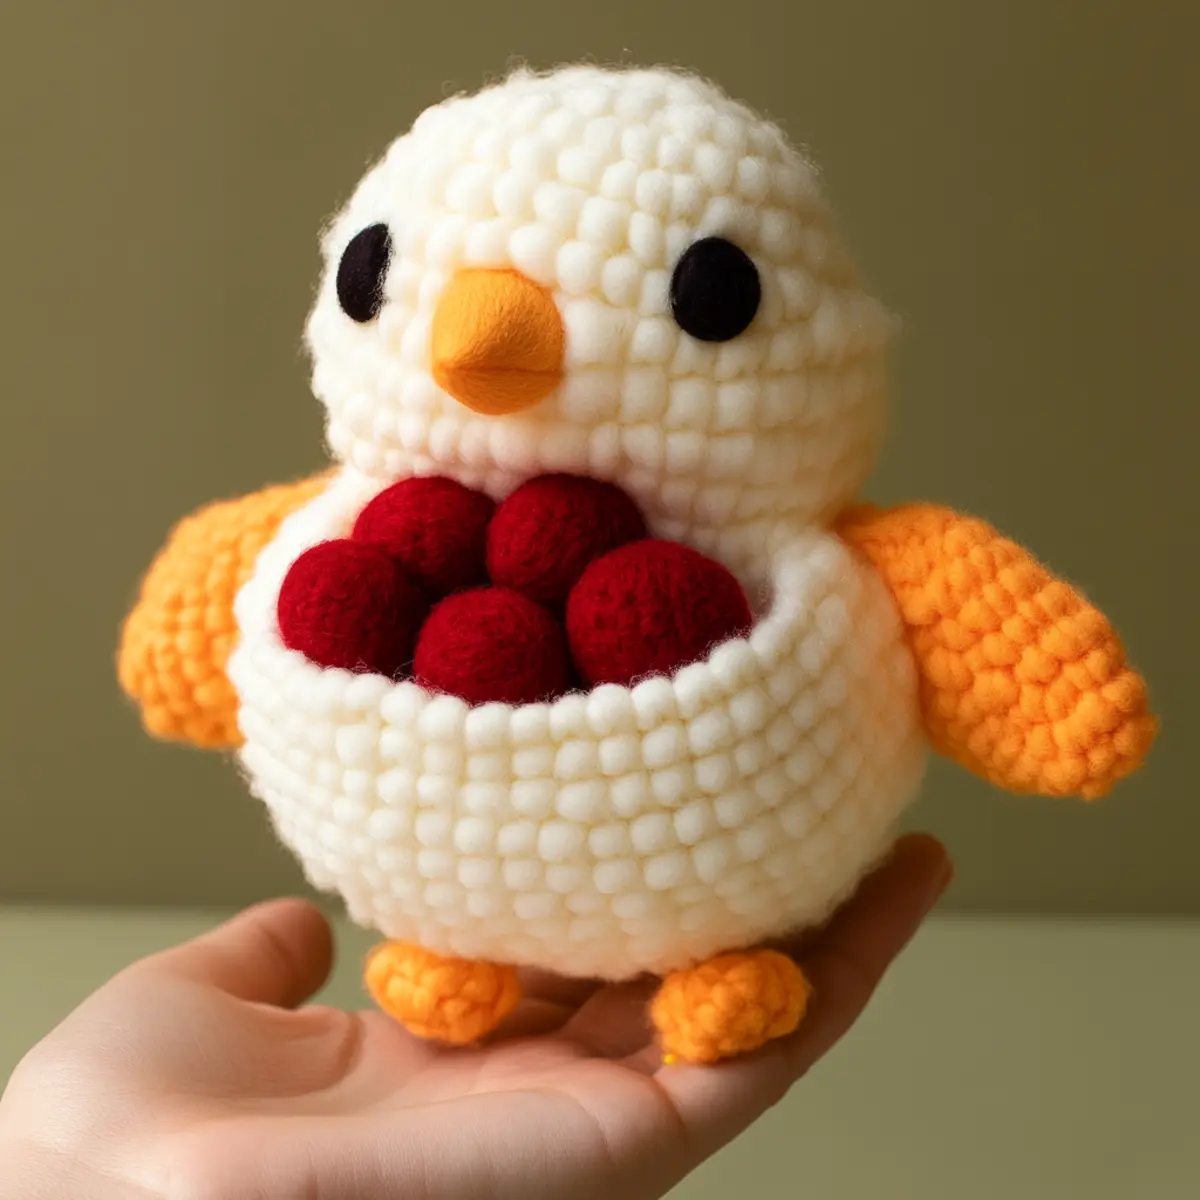
Expert Tips for Plush Bird Crochet
**Count Stitches: ** Always maintain a diligent stitch count in each round to avoid losing track, especially during increases or decreases for proper sizing.
**Consistent Tension: ** Ensure consistent tension throughout your rounds to prevent uneven shapes that can affect the final look of your plush bird crochet.
**Check Gauge: ** Swatch before starting to make sure your gauge aligns with the pattern; this will ensure your plush bird turns out the correct size.
**Foundation Chain: ** Avoid twisting your foundation chain; use stitch markers in the first stitch of each round to keep everything aligned and tidy.
**Final Assembly: ** When attaching the eyes, beak, and feet, make sure they’re securely stitched to withstand cuddly play, enhancing the durability of your plush bird.
**Personal Touch: ** Don’t hesitate to customize its expression; play with yarn colors and details to make your plush bird unique and reflect your personality.
Plush Bird Crochet Variations
Feel free to infuse your creativity into this project! Experiment with colors and styles to create a charming squad of birds.
- Different Yarn: Switch to cotton or bamboo yarn for a unique texture. This will give your plush bird a distinct feel that varies from the typical plushiness of polyester.
- Color Swaps: Create a tropical vibe by using vibrant yellows and greens for a summery feel or deep blues and whites for a wintry look. Each color combination can inspire seasonal creativity.
- Textured Features: Incorporate fun textures by using a combination of yarn types, like fuzzy yarn for the body and sleek yarn for the beak. This approach adds depth and interest to your plush bird.
- Sized Variations: Change the size by using bulkier yarn and a larger hook for a giant plush bird, perfect for pillow decoration or gifting.
- Outfit Additions: Add small crochet accessories, like hats or scarves, to your bird. These embellishments allow for changing seasons or themes, showcasing your creativity over time.
- Personal Expressions: Craft different facial expressions with varying eye positions and beak shapes. This gives each bird its own personality, making them perfect for gifting or collecting.
Consider using this approach while creating a flock of plush birds! You can explore a variety of expressions and designs that resonate with your personal style while also incorporating Crochet Flowers Delightful to accompany your bird and add a vibrant touch.
How to Wash and Care for Your Plush Bird
**Machine Washing: ** If necessary, use a gentle cycle with cold water; however, hand washing is recommended to maintain texture.
**Hand Washing: ** Use a mild detergent and cold water, gently swirling the plush bird without wringing out. This protects the yarn from damage.
**Drying: ** Lay the plush bird flat to dry completely; avoid hanging to prevent stretching and maintain its cuddly shape.
**Storage: ** Store in a cool, dry place. Avoid exposing your plush bird crochet to direct sunlight to prevent fading of vibrant colors.
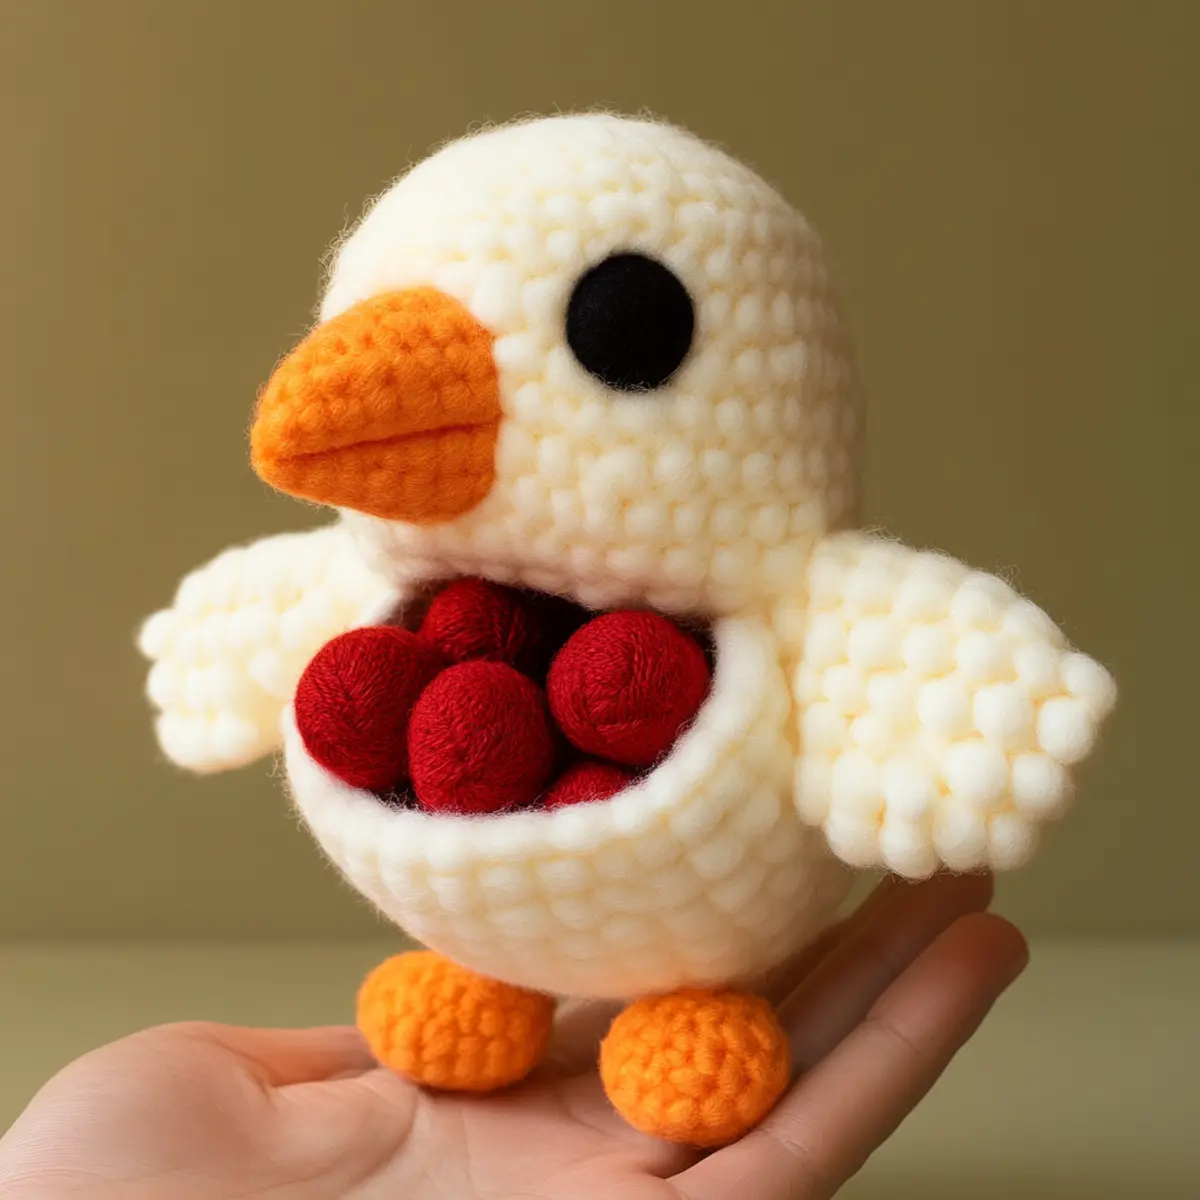
Plush Bird FAQs
Can I substitute the yarn?
Absolutely! You can use any medium (4) weight yarn, but for a similar plush feel, be sure it’s soft and fuzzy like polyester.
How do I adjust the size?
Don’t panic! To resize, simply adjust your hook size, or change yarn thickness while maintaining the correct gauge to keep proportions balanced.
What if my plush bird curls?
If it curls, your tension might be too tight. Try loosening your stitches or switching to a larger hook size while crafting your plush bird crochet.
What size hook should I use?
For this plush bird, I recommend using an H/8 (5 mm) hook to create a comfortable tight gauge that retains shape.
How can I prevent dropped stitches?
Use stitch markers to track each round, and carefully count stitches; always check your work after completing rounds to catch any mistakes early!
Can I add embellishments?
Yes! Feel free to personalize your plush bird with additional features like patterned wings or bows, which makes it even more delightful!
Leave a Reply