
Creating the cozy and charming Sunflower Baby Romper is a delightful journey that any yarn enthusiast will adore. This crochet pattern offers an irresistible way to marry playfulness with practicality, making it a standout choice for both parents and crafters alike. As a bonus, it’s an excellent stash-buster, allowing you to put leftover yarn to good use while creating an adorable piece. With its intricate sunflower motifs and button closures for easy diaper changes, this romper perfectly reflects a balance of beauty and functionality. Plus, the lightweight design ensures your little one stays comfortable during playtime or outings. Whether you’re a beginner looking to enhance your skills or an experienced crocheter in search of a quick project, this sunflower baby romper embodies the spirit of creativity and warmth. So, are you ready to add a touch of sunshine to your crochet collection?
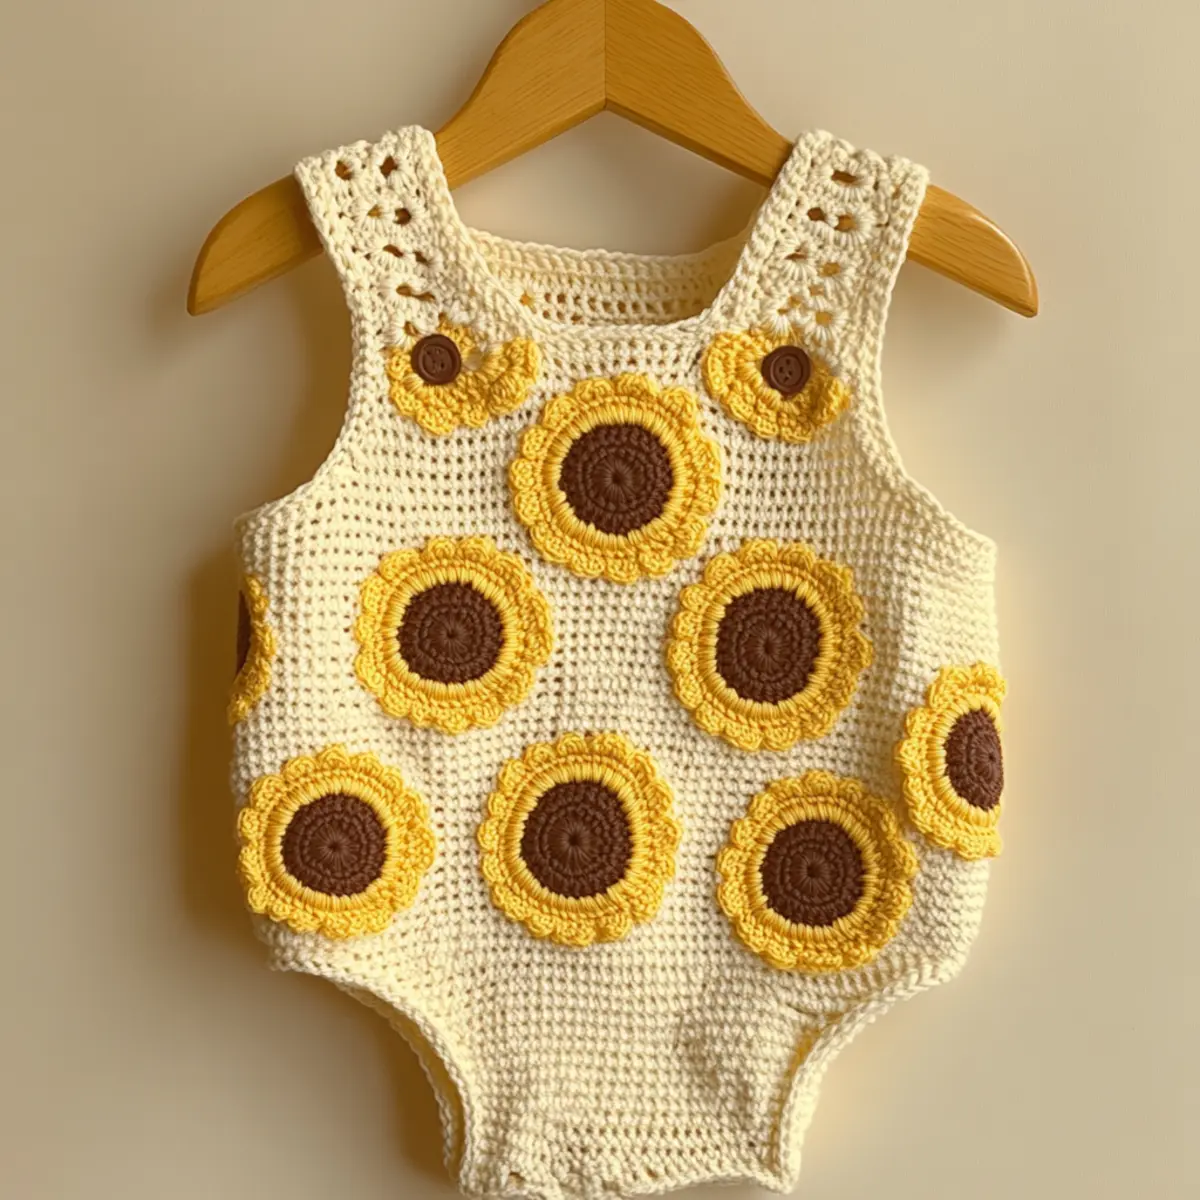
Sunflower Baby Romper Materials & Tools
Yarn
Worsted Weight Yarn – 400-500 yards; opt for soft cotton or a cotton blend for baby-friendly comfort.
Button – Several buttons; useful for ensuring easy diaper changes.
Tools & Notions
4.0 mm (G) Crochet Hook – Ideal for achieving the intricate details of the sunflower baby romper.
Stitch Markers – Keep track of your rounds to maintain consistency in your crochet work.
Tapestry Needle – For sewing the sunflower motifs onto the romper with ease and precision.
What Makes the Sunflower Baby Romper Special?
Versatility is at the heart of the Sunflower Baby Romper! Not only is it beginner-friendly, but it also allows for a range of customization options, making it perfect for various occasions. The textured floral motifs not only enhance its aesthetic appeal, but also provide a fun challenge for those looking to hone their skills. This project is also a stash-friendly gem, helping you utilize up yarn from previous projects. Want to switch things up? Check out our Baby Sundress Matching for a delightful twist! The lightweight design means your little one will stay cool and cozy during warmer days, enhancing the romper’s overall comfort. Plus, the stunning sunflower details ensure it becomes a cherished piece among treasured baby items, making it a fantastic gift. Dive into the world of crochet with this charming pattern that’s sure to turn heads!
Gauge & Sizing Notes for Sunflower Baby Romper
Checking your tension is essential for the Sunflower Baby Romper to ensure a proper fit for your little one. The standard gauge is 14 stitches and 16 rows per 4×4 inches (10×10 cm) using worsted weight yarn with a 4.0 mm (G) hook. If your swatch doesn’t match this gauge, adjust your starting chain or rounds to increase or decrease the size accordingly. If it is too tight, switch to a larger hook to achieve a looser gauge. To resize the romper, you can add or reduce the initial chain by multiples of 5 stitches for the width while maintaining proportions for length by monitoring the shell pattern. An estimated finished length of 18-24 inches ensures the romper fits comfortably for babies around 6-12 months. Ensure that you lightly block the finished romper for the best stitch definition, helping the sunflowers to shine in their full glory!
Step-by-Step Pattern for Sunflower Baby Romper
Row 1: Start the Bodice
Begin with a chain 60 (or your desired width), join with sl st to form a circle. Make sure the chain isn’t twisted, as this forms the base for the sunflower baby romper.
Row 2: Establish Rows
Ch 3, which counts as your first dc. Work dc in each chain across (60 total) to build a solid foundation for the bodice. Turn your work as you finish this row.
Row 3: Create Shells
In the next row, we’ll create lovely shell motifs. Skip 2 stitches, then work (5 dc) in the next stitch. Repeat this pattern across, ending with dc in the last stitch for a total of 12 shells.
Row 4: Increase for Body Width
Ch 2 for the next row. This time, work (1 hdc, 1 dc, 1 hdc) in the top of each shell to maintain the texture. Be sure to end with just dc before your final stitch.
Row 5: Set Up for Sunflowers
Now, change your color to create the sunflower motifs. This row will include 2 dc in the same stitch for the first shell, followed by 2 hdc in the top of each shell. You should have 12 very cheerful shells after this.
Row 6: Flower Motifs
To crochet the sunflower motif, begin by making a magic circle and work 12 sc into the circle. Pull it tight to secure, then finish with a sl st to close the circle. Attach it to the bodice, evenly spacing them.
Row 7: Straps Creation
Moving on to the straps, attach new yarn to the top of the bodice. Ch 50, then work sc back down the chain to create a sturdy strap. Repeat for the second strap. Make sure they’re even for a functional finish!
Row 8: Button Placement
For the button closure at the back, ch 10 for the buttonhole. Then, from the 10th stitch back, crochet 1 hdc to secure the draw. Repeat the process for each side of the romper to secure the buttons.
Row 9: Completing the Legs
Next, work around the leg openings, making sure to join with a sl st. Create a row of hdc around, repeating for 3 additional rounds for a comfortable fit for the baby’s legs (total of 4 rounds).
Row 10: Finishing Touches
To complete the sunflower baby romper, go around the entire piece with a final sl st to finish it securely. This will ensure everything is held together neatly while remaining comfortable for the little wearer.
Row 11: Blocking the Romper
Once finished, carefully block the romper by wetting and reshaping the piece for even drape and stitch definition. This helps the sunflower motifs to pop and elevates the entire design of the romper.
Row 12: Final Assembly
Finally, stitch each sunflower securely to the bodice with a tapestry needle and the same color yarn used for the flowers to keep the look cohesive. Ensure an even distribution of the sunflowers for visual balance as you assemble the romper.
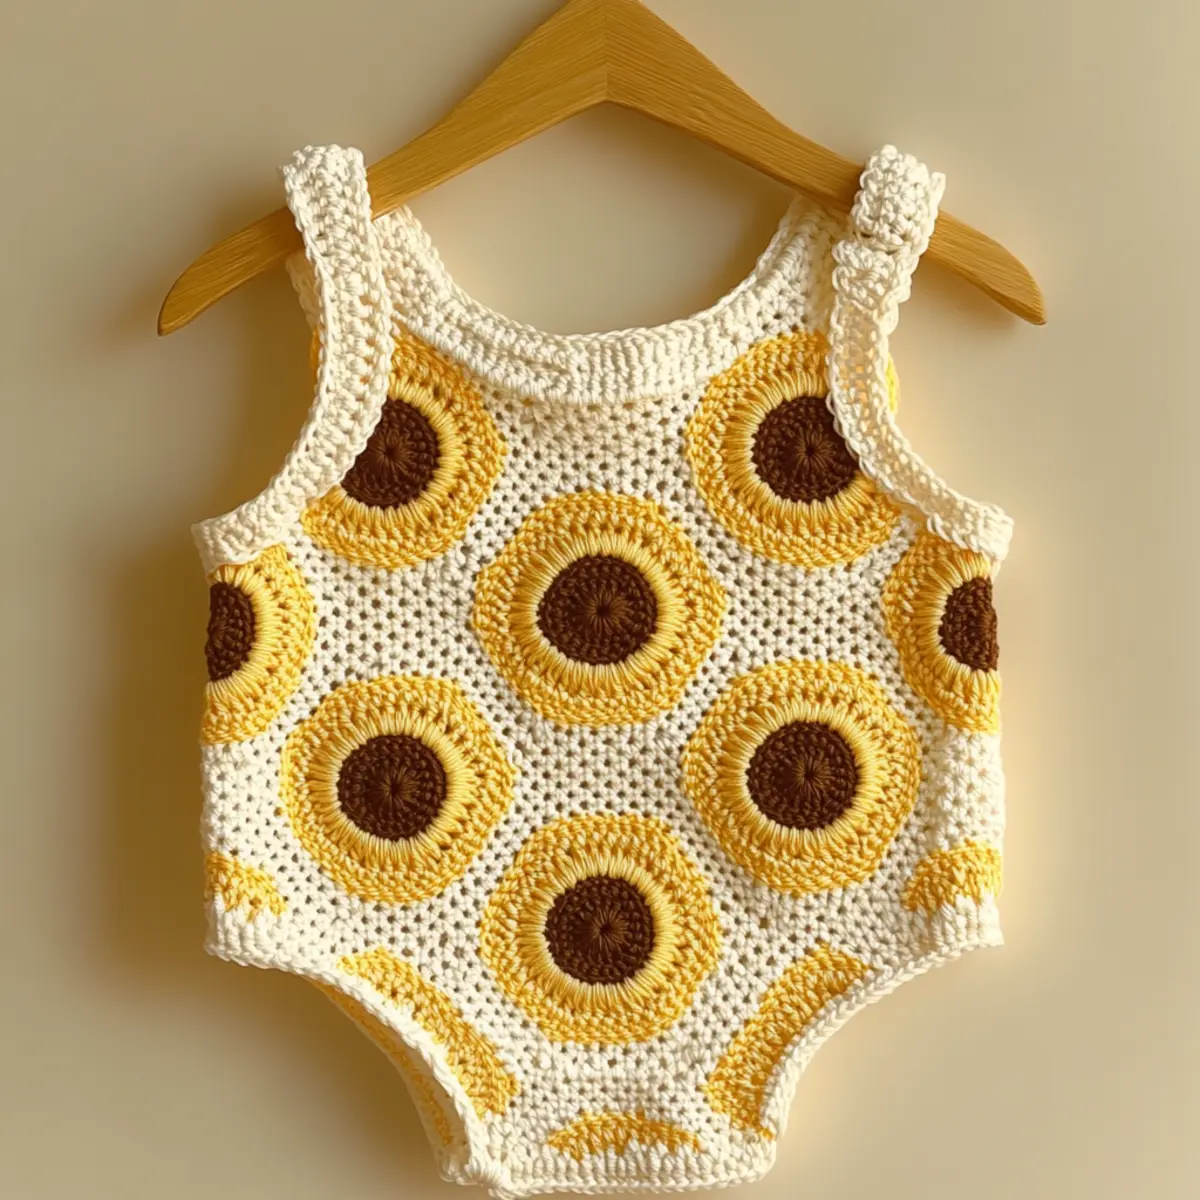
Expert Tips for the Sunflower Baby Romper
Stay on Count: Always double-check your stitch count after each row to avoid losing track, especially with intricate motifs. This ensures a consistent design.
Avoid Twists: When starting your foundation chain, make sure it’s not twisted before joining. A twisted foundation can ruin the overall shape of the sunflower baby romper.
Gauge Matters: Always crochet a gauge swatch first. Proper tension will ensure your romper fits perfectly and that your sunflower motifs look their best.
Utilize Stitch Markers: Use stitch markers to help track the beginning of each row and the placement of floral motifs. This saves time and prevents mistakes!
Finishing Touches: Blocking the romper after completion is crucial. It enhances stitch definition and helps maintain the overall shape of your sunflower baby romper.
How to Wash and Care for Your Sunflower Baby Romper
Machine Washing: Use a gentle cycle with cold water to prevent any agitation that could distort your romper’s shape and motifs.
Hand Washing: For best results, hand wash in lukewarm water. Use mild detergent and avoid scrubbing to keep the delicate details intact.
Drying: Always lay flat to dry after washing to maintain shape and prevent stretching. Avoid hanging to keep the romper’s form fitting.
Storage: Store in a cool, dry place to protect against pests and to maintain the quality of your yarn. Proper storage helps prolong the life of your sunflower baby romper.
Sunflower Baby Romper Variations
Feel free to customize your sunflower baby romper with these fun variations!
- Color Choices: Opt for different sunflower centers—orange or burgundy will add a unique flair.
- Background Colors: Try pastel pink or mint for a fresh twist on the traditional look.
- Seasonal Touches: Add pumpkin motifs during fall to transition the romper seasonally.
- Size Adjustments: Enhance versatility by resizing the romper for toddlers or larger infants, making it adaptable for different ages. For example, extending the size could turn this playful romper into a beloved outfit that lasts well into toddlerhood.
- Texture Modifications: Choose a fluffy yarn alternative, like a bamboo blend, for added coziness perfect for cooler days.
- Embellishments: Attach cute buttons or bows on the shoulder straps for added charm and personality.
- Animal Themes: Instead of just sunflowers, crochet a sweet bunny or bear motif as accents, bringing a whimsical aspect to your romper.
- Crochet Techniques: Experiment with stitching methods, like the cluster stitches seen in Cluster Stitch Baby, for different textures, making your design stand out even more.
Readers can explore ways to make this project uniquely theirs with these delightful variations, ensuring each pair of hands contributes personal touches with their yarn choices.
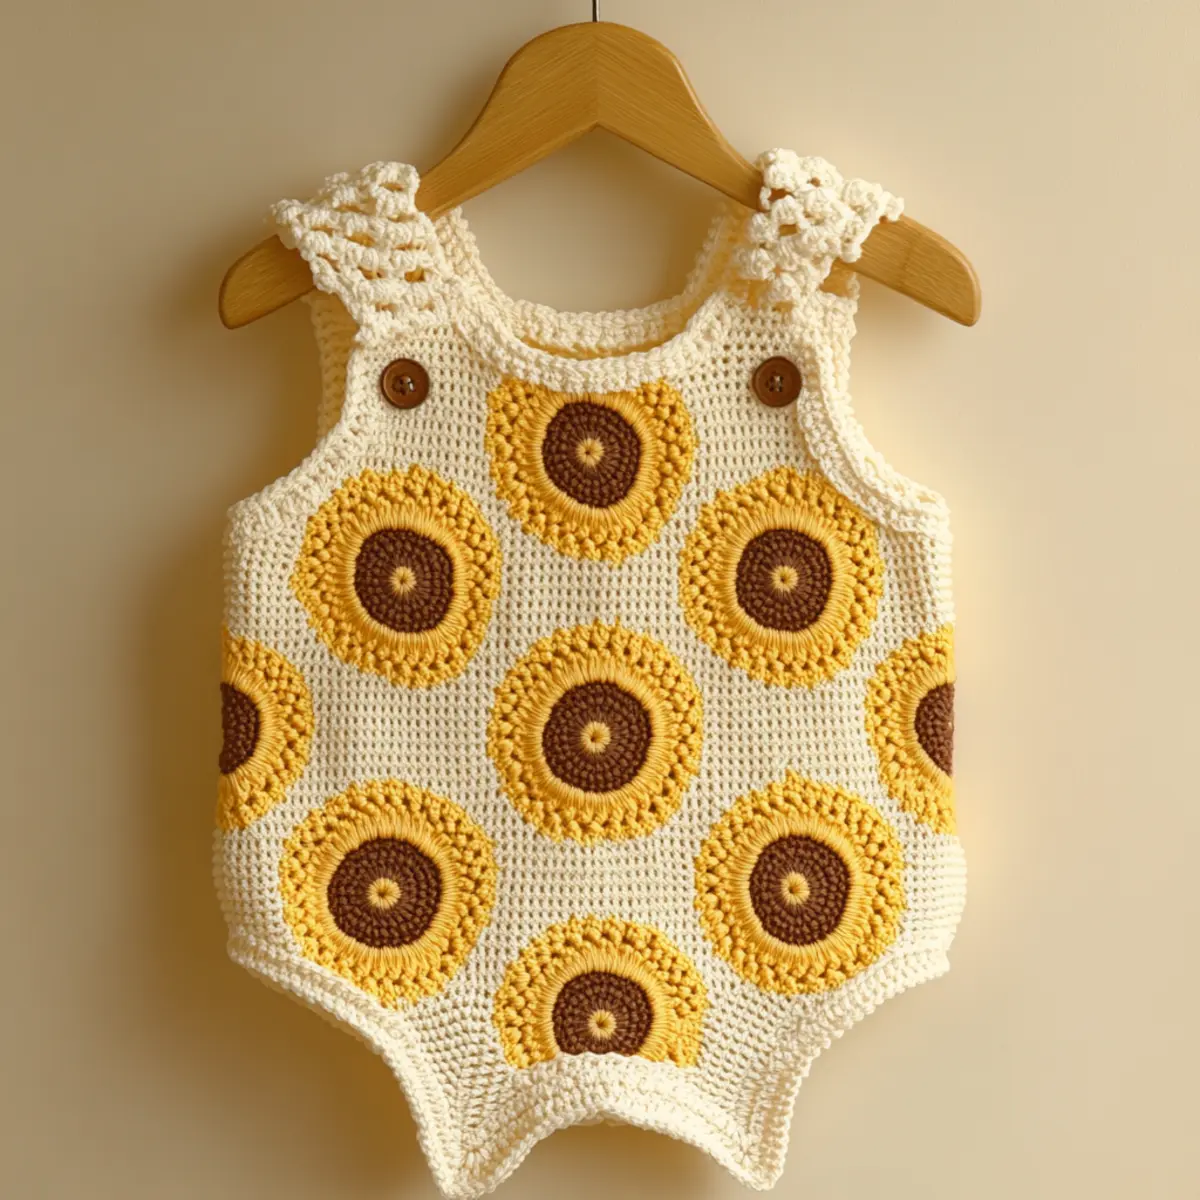
Sunflower Baby Romper FAQs
Can I use a different yarn for the romper?
Absolutely! You can substitute worsted weight yarn with similar fibers like acrylic or bamboo as long as they are soft and baby-friendly.
What if the romper is too small?
Don’t panic! To resize, adjust your starting chain by multiples of 5 stitches, and ensure you monitor your shell pattern to maintain proportions.
My sunflower motifs are curling. What should I do?
Curling can be resolved by lightly blocking your finished romper, which helps set the stitches and ensures that your sunflowers lay flat.
What crochet hook size should I use?
A 4.0 mm (G) hook works best for this pattern. If you’re getting too tight or too loose tension, you may want to adjust the size of your hook accordingly.
How do I ensure the romper fits my baby well?
Check your gauge before you start crocheting. The standard gauge for this romper is 14 stitches and 16 rows per 4×4 inches using worsted weight yarn.
Can I add extra embellishments to the romper?
Definitely! Feel free to embellish with different colors for sunflower centers or seasonal motifs—they can add a personal touch and make your sunflower baby romper truly unique.
Leave a Reply