
As I sift through my yarn stash, colorful skeins brimming with potential catch my eye, igniting a burst of inspiration. The Sunny Daisy Crochet Cardigan is my latest creation, a cheerful piece that effortlessly combines functionality with style to warm up any little one’s day. Crocheting this cardigan not only provides a cozy layer for chilly mornings but also stands out as a versatile addition to your child’s wardrobe. Additionally, the whimsical floral appliques add a fun touch that every child will adore, making it perfect for playdates and family gatherings. This project is sure to be quick and beginner-friendly, perfect for those just venturing into the world of crochet. As you embark on this journey, wouldn’t you love to see your little ones twirling in a cardigan crafted with love? Let’s dive into this delightful pattern that can blossom beautifully in your yarn stash.
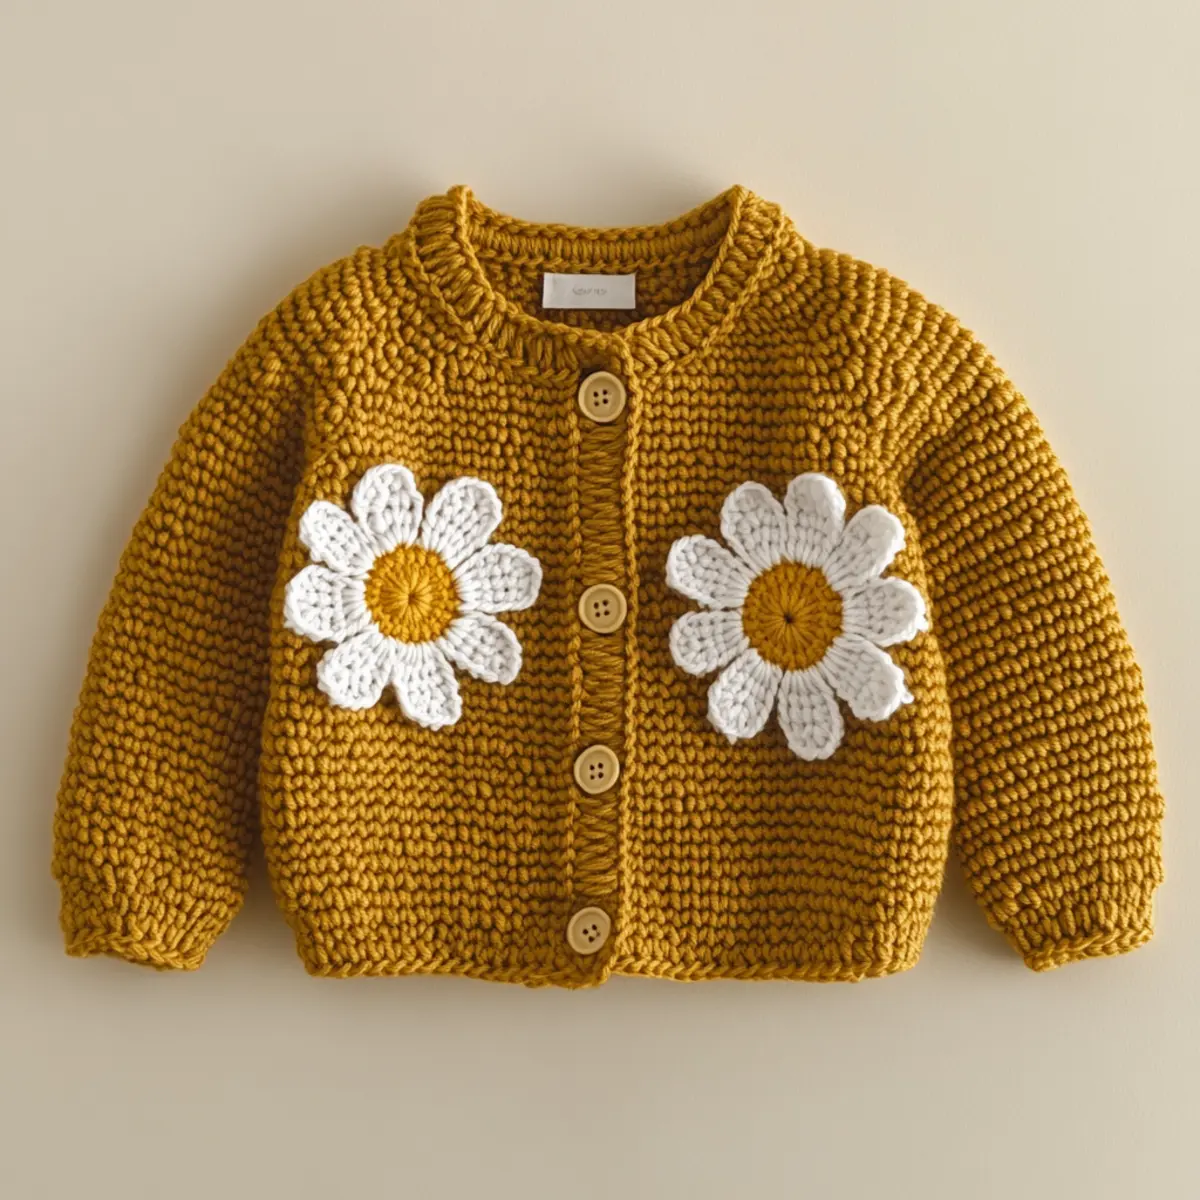
Crochet Cardigan Pattern Materials & Tools
Yarn
- Medium (worsted weight) – Choose a vibrant yarn like 100% acrylic or a soft cotton blend for comfort and easy care. About 300-400 yards will suffice for a standard 1-3 year old size.
Tools & Notions
- 5.0 mm (H/8) crochet hook – Ensure a comfortable grip for creating even stitches while working on the crochet cardigan pattern.
- Stitch markers – Helpful for marking increases and locations for sleeve attachment during assembly.
- One small button – Use to create a secure closure at the top for easy wearing.
Tips: Monitor your tension closely throughout the project to maintain consistency in size. Don’t forget to check your gauge with a swatch prior to starting to achieve the best fit.
What Makes This Cardigan Extra Special?
Transformative! The Sunny Daisy Crochet Cardigan pattern takes your basic crochet skills to a new level with its engaging design. Simple yet stunning, this pattern utilizes foundational stitches that cater to beginners while offering enough texture to captivate experienced crafters. Stash-friendly, you’ll find that it’s an excellent way to use up leftover yarn, allowing your creativity to shine with each stitch. For those looking to enhance their skills, consider checking out the Adorable Custom Baby Sweater with Flowers. Children will not only be cozy but fashionable, especially with seasonal alterations in mind. Customizable details such as unique flower designs or alternative color choices mean you can truly make it yours. The aesthetic appeal of the sunny mustard paired with delightful floral appliques is simply irresistible, capturing the whimsy of childhood while keeping it practical. The ease of assembly is a game-changer, especially with the simple button closure that adds that charming finishing touch.
Gauge & Sizing Notes for Sunny Daisy Crochet Cardigan
Checking your tension is crucial for achieving the perfect fit with the Sunny Daisy Crochet Cardigan pattern. Make a swatch of at least 4×4 inches (10×10 cm) to confirm you’re getting 10 dc by 12 rows gauge for the recommended size. If your swatch does not match, adjust your hook size up or down gradually until you reach the correct gauge. When altering the cardigan size, be sure to adjust your starting chain in multiples of 2 to maintain the project’s symmetry. The finished dimensions for this child’s cardigan will approximately be 18 inches across the chest and 12-14 inches in length, accommodating growth. With this practical information and the proper gauge, the crochet cardigan pattern will ensure a cozy fit, enveloping your little ones in warmth and comfort. Start crocheting with confidence, knowing that attention to tension will allow your Sunny Daisy Crochet Cardigan to shine beautifully in any child’s wardrobe!
Step-by-Step Pattern for crochet cardigan pattern
Row 1: Starting the Foundation
Begin by chaining 50 for the foundation row. Ensure the chain is not too tight for an easier start and to prevent distortion in the later rows.
Row 2: First Row of Double Crochet
In the 4th chain from the hook, yarn over and make 1 dc in each chain across the row. You should have 48 dc at the end of this row, ready to build the body of the Sunny Daisy Crochet Cardigan.
Row 3: Transition to New Color
Switch to the vibrant mustard color yarn. This next row will also be in dc; make 1 dc in each stitch, keeping your tension even. You’ll continue increasing your stitches as you progressively work toward the sleeves, ending with 48 dc.
Row 4: Establishing the Body
Repeat Row 3 maintaining the dc stitch. This step ensures that the body of the cardigan grows in size, so keep your count accurate and consistent for a polished look. You should still have 48 dc upon completion.
Row 5: Begin the Sleeve Increases
For this row, let’s introduce the sleeve shaping. Work 1 dc in the first 20 stitches and then 2 dc in the next stitch. Follow this with 1 dc in the last 27 stitches to end the row with 49 dc.
Row 6: Continue with Sleeve Shaping
In this row, you’ll create room for the sleeves again. Work 1 dc in the first 21 stitches, and then work 2 dc in the next stitch. Complete with 1 dc in the last 26 stitches achieving 50 dc.
Row 7: Maintain the Stitch Count
Repeat the pattern of Row 3 now, maintaining 50 dc while ensuring the body remains consistent. This step sets you up for the beautiful sleeve structure you’ll soon incorporate.
Row 8: Finalizing the Body
Continue with the dc stitches to complete your main body section. You are solidifying the shape of the Sunny Daisy Crochet Cardigan, continuing to count each dc to ensure a finished measurement around 18 inches across.
Row 9: Work on the Sleeves
Make two separate sleeves for a snug fit. Start with 30 chains, and then 1 hdc in the 2nd chain from the hook. Continue to work hdc until the end, resulting in 29 hdc per sleeve.
Row 10: Joining Sleeves to Body
Align your sleeves with the body of the cardigan, and sl st to attach. Use stitch markers for accurate placement, ensuring a snug and well-crafted fit that holds the shape.
Row 11: Create the Floral Appliques
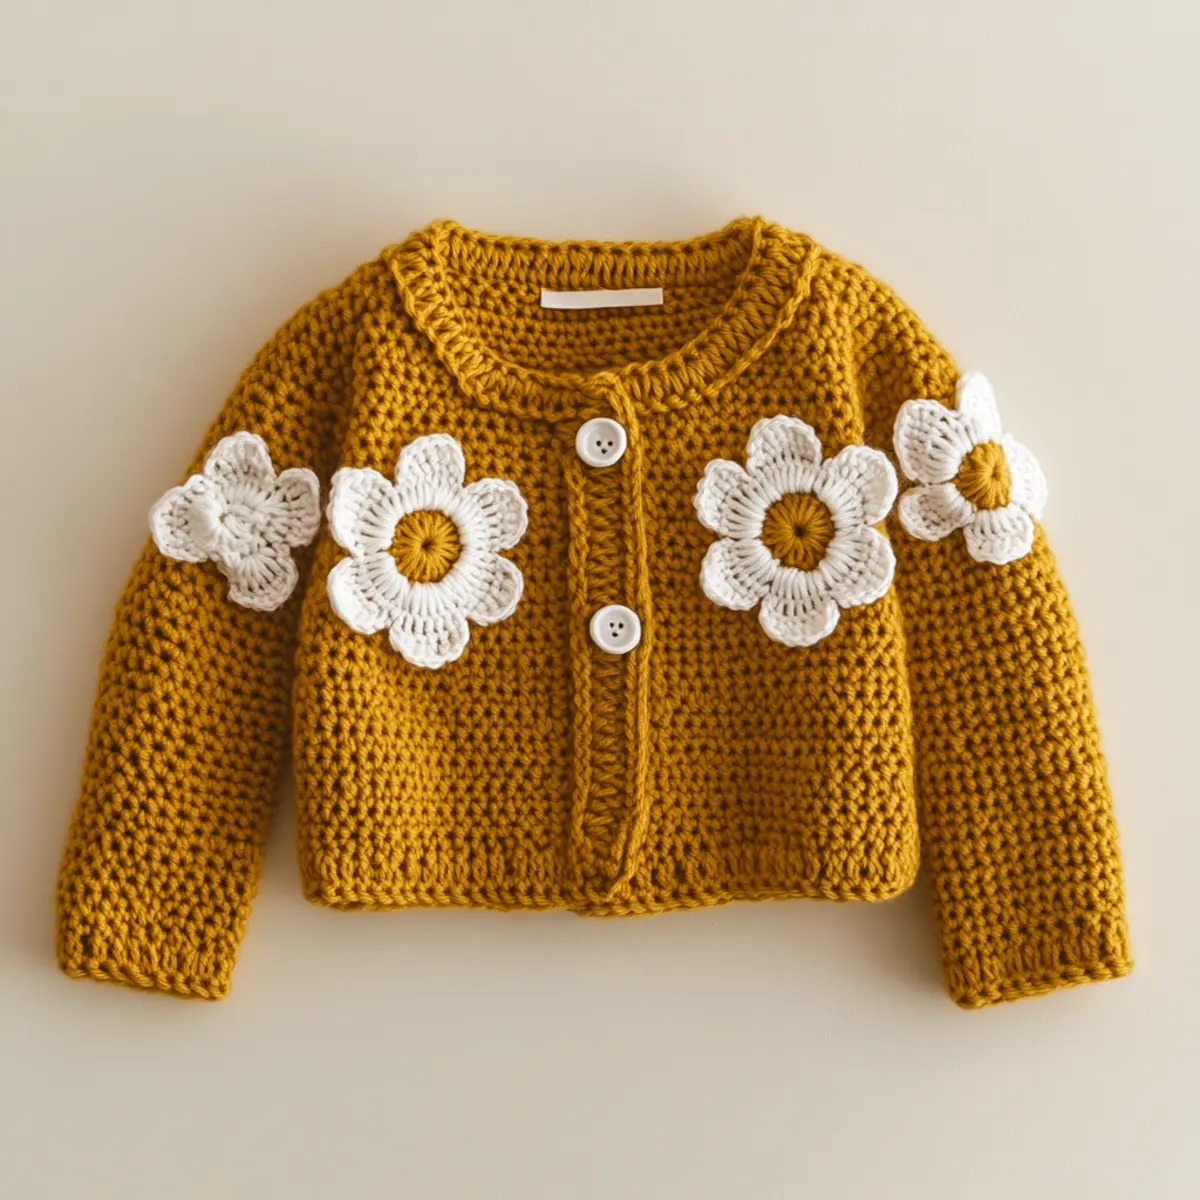
To add a whimsical touch, begin crocheting flowers with sl st and dc. Make 3 flowers to give your cardigan a playful, sunny finish when they are sewn onto the front.
Row 12: Finishing Touches
Attach the flowers using sc to secure them onto the chosen spots. Add the final button at the top to give a stylish finish. Lightly block the completed cardigan before wearing to enhance its drape and fit. This entire project is fully personalized and charming, ideal for the little ones!
Expert Tips for the Sunny Daisy Crochet Cardigan
Count Regularly: Always double-check your stitch count after each row to prevent losing track of your progress. This helps maintain the integrity of your crochet cardigan pattern.
Foundation Chain: Ensure your foundation chain is not too tight. A loose chain allows for better flexibility in your finished crochet cardigan, making it easier to work subsequent rows.
Gauge Swatch: Don’t skip testing your gauge! A quick swatch keeps your sizing accurate and ensures that the cardigan fits your little one perfectly.
Tension Check: Regularly monitor your tension throughout the project. This consistency is key to achieving a professional finish on your crochet cardigan pattern.
Block Before Assembly: Consider blocking your finished pieces lightly before assembly. This enhances the shape and drape of the crochet cardigan and makes sewing parts together easier.
Experiment with Colors: Feel free to change yarn colors for a unique twist! Invoking pastels or darker shades can transform the seasonal appeal of your crochet cardigan pattern.
Crochet Cardigan Pattern
Feel free to explore various options to enhance your Sunny Daisy Crochet Cardigan!
- Color Choices: Utilize bright pastel colors for spring or rich autumn hues to match the season.
- Yarn Swaps: Experiment with a soft cotton blend instead of 100% acrylic for a breathable option during warmer weather.
- Flower Variations: Incorporate unique flower designs, such as butterflies or stars, to diversify your cardigan’s look.
- Adjustable Sizes: Modify the number of foundation chains for different sizes, ensuring the cardigan fits perfectly as your child grows.
- Short-Sleeved Version: Create a sleeveless design for summer, keeping the core aesthetic intact while providing more comfort.
- Texture Changes: Switch between half double crochet and double crochet across the body for increased texture and visual interest.
For a truly eye-catching design, consider adding embroidery or additional embellishments such as buttons or lace. Changing up the main stitch pattern can also provide a unique flair, making each finished product one-of-a-kind! Don’t forget to check out other projects like the Gingerbread Dress Festive or the Adorable Custom Baby sweater for even more inspiration.
How to Wash and Care for Your Sunny Daisy Crochet Cardigan
Machine Washing: Use a gentle cycle with cold water when machine washing to maintain the fabric’s integrity. This helps preserve the vibrant color and structure of your crochet cardigan pattern.
Hand Washing: For best results, hand wash in cool water with mild detergent. This minimizes any agitation, keeping your cardigan looking fresh and beautiful.
Drying: Always lay flat to dry to avoid stretching or misshaping the cardigan. Keep it out of direct sunlight to protect the acrylic fibers from fading.
Storage: Store the cardigan in a cool, dry place. Avoid hanging it to prevent any distortion of the shape and ensure longevity.
Sunny Daisy Crochet Cardigan FAQs
Can I use a different yarn?
Absolutely! You can substitute yarn for a soft cotton blend or a different worsted weight yarn but make sure to check your gauge for optimal sizing.
How do I adjust the size?
To size up or down, adjust your starting chain in multiples of two to stay aligned with the crochet cardigan pattern while also checking your gauge swatch regularly.
What if I dropped a stitch?
Don’t panic! If you drop a stitch, simply rework the row carefully, making sure to bring that stitch back up to the current row level without compromising the stitch count.
What hook size should I use?
For the Sunny Daisy Crochet Cardigan, a 5.0 mm (H/8) crochet hook is ideal. This size helps create the right tension and allows for even stitches.
Why is my cardigan curling at the edges?
Curling edges can result from tight tension. Check your gauge and relax your grip while crocheting to maintain a flatter finish on your crochet cardigan pattern.
Can I add more embellishments?
Absolutely! You can personalize your cardigan with additional flowers, buttons, or even embroidery for a unique flair that suits your child’s style.
Leave a Reply