
While wandering through my local yarn store, I stumbled upon a whimsical idea that sparked my creativity: a taco turtle crochet plush! Imagine the joy this quirky project could bring, combining the cheerful essence of a turtle with the delicious design of tacos. As I delved into the taco turtle crochet, I found this project to be both a fun and engaging escape. Creating this plush toy is a fantastic way to sharpen your crochet skills while expressing your unique style. With its variety of textures and colors, it becomes a delightful addition to any space and a cozy gift for loved ones. Plus, it’s surprisingly beginner-friendly despite the charming complexities! Crafting the taco turtle is a quick journey through a world of stitches that you can conquer one colorful yarn strand at a time. As I dove deeper into this vibrant world, the question arose: how can I make this plush even more special? Let’s embark on this creative adventure together.
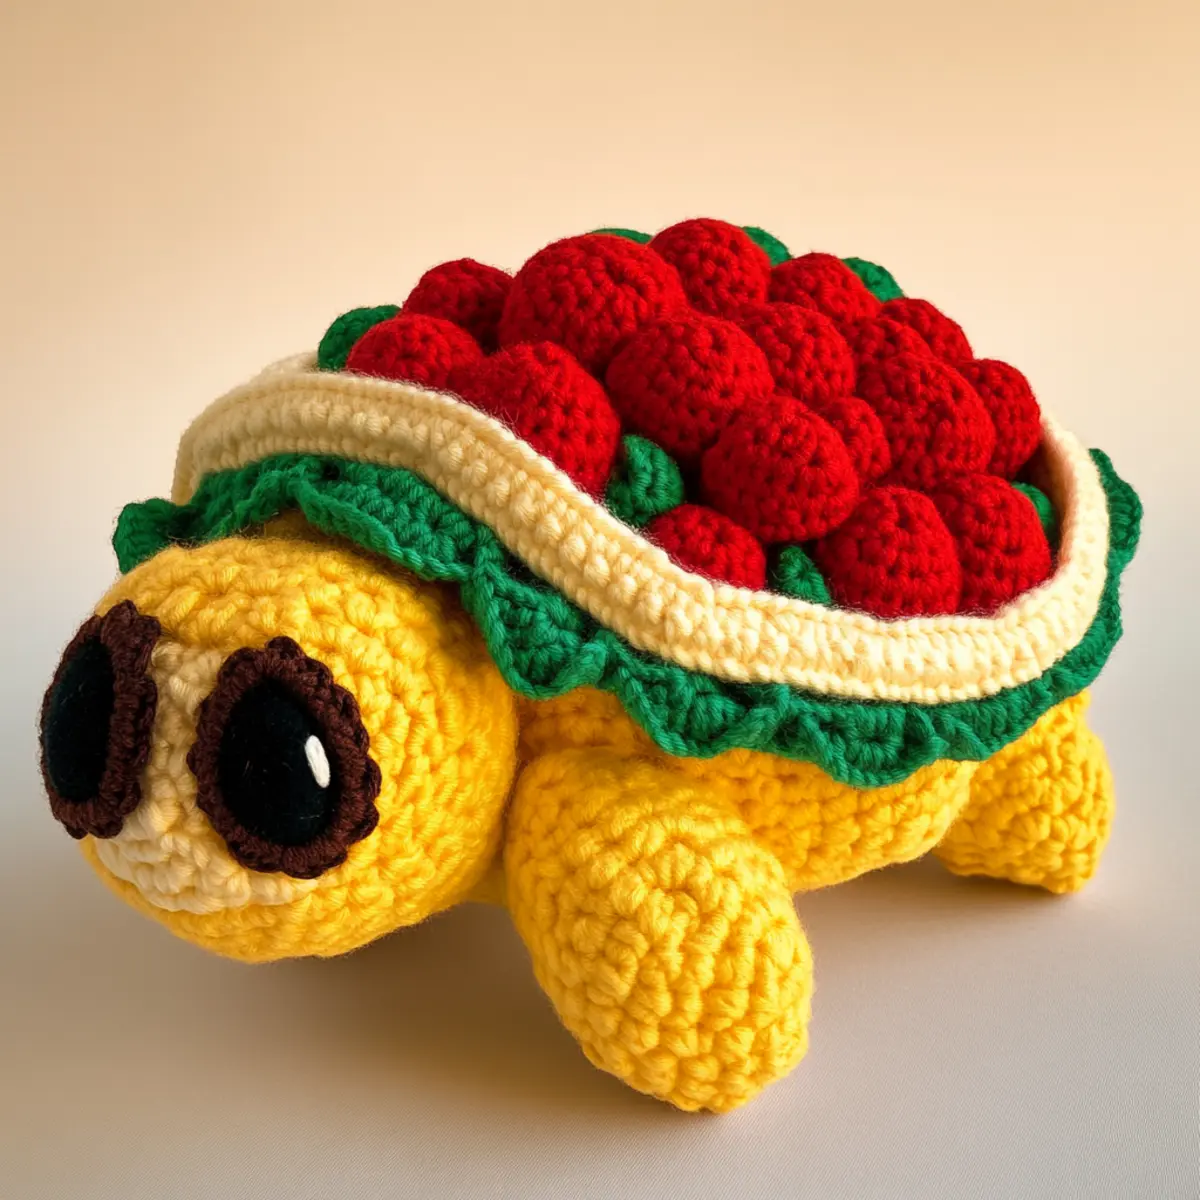
Taco Turtle Crochet Materials & Tools
Yarn
- Bulky soft yarn – about 300-500 yards in various colors for the taco shell and turtle body will keep your taco turtle plush cozy and colorful.
- Polyester or acrylic yarn – offers a soft feel and durability, perfect for cuddly toys.
Tools & Notions
- 8 mm (L) crochet hook – recommended for plush yarn to achieve a comfortable drape while working through each stitch.
- Stitch markers – helpful for tracking row counts and preventing confusion during color changes.
- Large safety eyes – ensure a fun and cute expression, crucial for your taco turtle’s face.
- Embroidery floss – optional for adding personalized details like names or initials.
Why You’ll Love This Pattern
Crafting this taco turtle combines creativity and a dash of humor, making it an enjoyable experience. Easy to customize, you can play with colors and textures, tailor your plush to suit any recipient, or match your home decor. The stunning textures created from various stitches add depth and visual interest, making them perfect for any crochet enthusiast. Additionally, this project is a fantastic stash-buster – grab those leftover yarns and bring them to life! Inspired by playful patterns like the Crochet Fall Garland or the adorable Pumpkin Lovey Crochet, this taco turtle can embody your specific style. Lastly, it’s a time-saver as each session is rewarding, making the plush grow quickly into a vibrant work of art you can be proud of.
Gauge & Sizing Notes for Taco Turtle Crochet
Checking your tension is essential for the taco turtle crochet project as it affects the shape and texture of your plush toy. The recommended gauge for the taco turtle is 10 sc and 12 rows in 4 inches (10 cm) square with bulky yarn. If your gauge is not matching, adjust by either changing your hook size or altering your tension. To resize the turtle, you can modify the initial chain/rounds; for instance, increase starting stitches if aiming for a bigger plush. The estimated final size of the taco turtle plush is around 12 inches long and 7 inches high, making it the perfect cuddly companion. Remember that yarn type and how tightly you crochet will affect the outcome; maintaining consistency across stitches will help achieve that charming rounded form of the turtle while enhancing your crochet experience.
Step-by-Step Pattern for Taco Turtle Crochet
Row 1: Create the Body Start with a magic ring, crocheting 6 sc into it for a snug beginning. Pull the ring tight to form the turtle’s rounded base. (6)
Row 2: Increase the Base Work 2 sc in each stitch around to create a wider base. This forms the turtle’s belly shape, getting it ready for its legs. (12)
Row 3: Continue Expanding In this round, make 1 sc, then inc in the next stitch, repeating this pattern. This gradual increase shapes the turtle’s rounded body. (18)
Row 4: Firm Up the Shape Make 2 sc, followed by inc in the next stitch, continuing this pattern to add to the turtle’s bulge. (24)
Row 5: Craft the Lower Body For this round, crochet 3 sc, then inc in the next stitch. Keep shaping the turtle to maintain its plump form. (30)
Row 6: Finish Lower Body Create 4 sc, followed by inc, repeating until the round is complete. This solidifies the turtle’s bottom. (36)
Row 7: Start the Legs Crochet 3 sc, then dec to reduce stitches, forming a leg shape. Make sure to position them evenly around the body. (30)
Row 8: Shape the Legs Continue forming the legs by doing 2 sc, dec; repeat to sculpt them closer together. This makes the legs shorter for the turtle. (24)
Row 9: Attach the Shell Begin with a contrasting color and attach it at the center back; work 1 sl st for stabilization. This will be the turtle’s taco shell. (1)
Row 10: Craft the Taco Shell With the contrasting color, work 3 hdc in the next stitch, adding texture to the shell. This stitch will begin the taco design. (3)
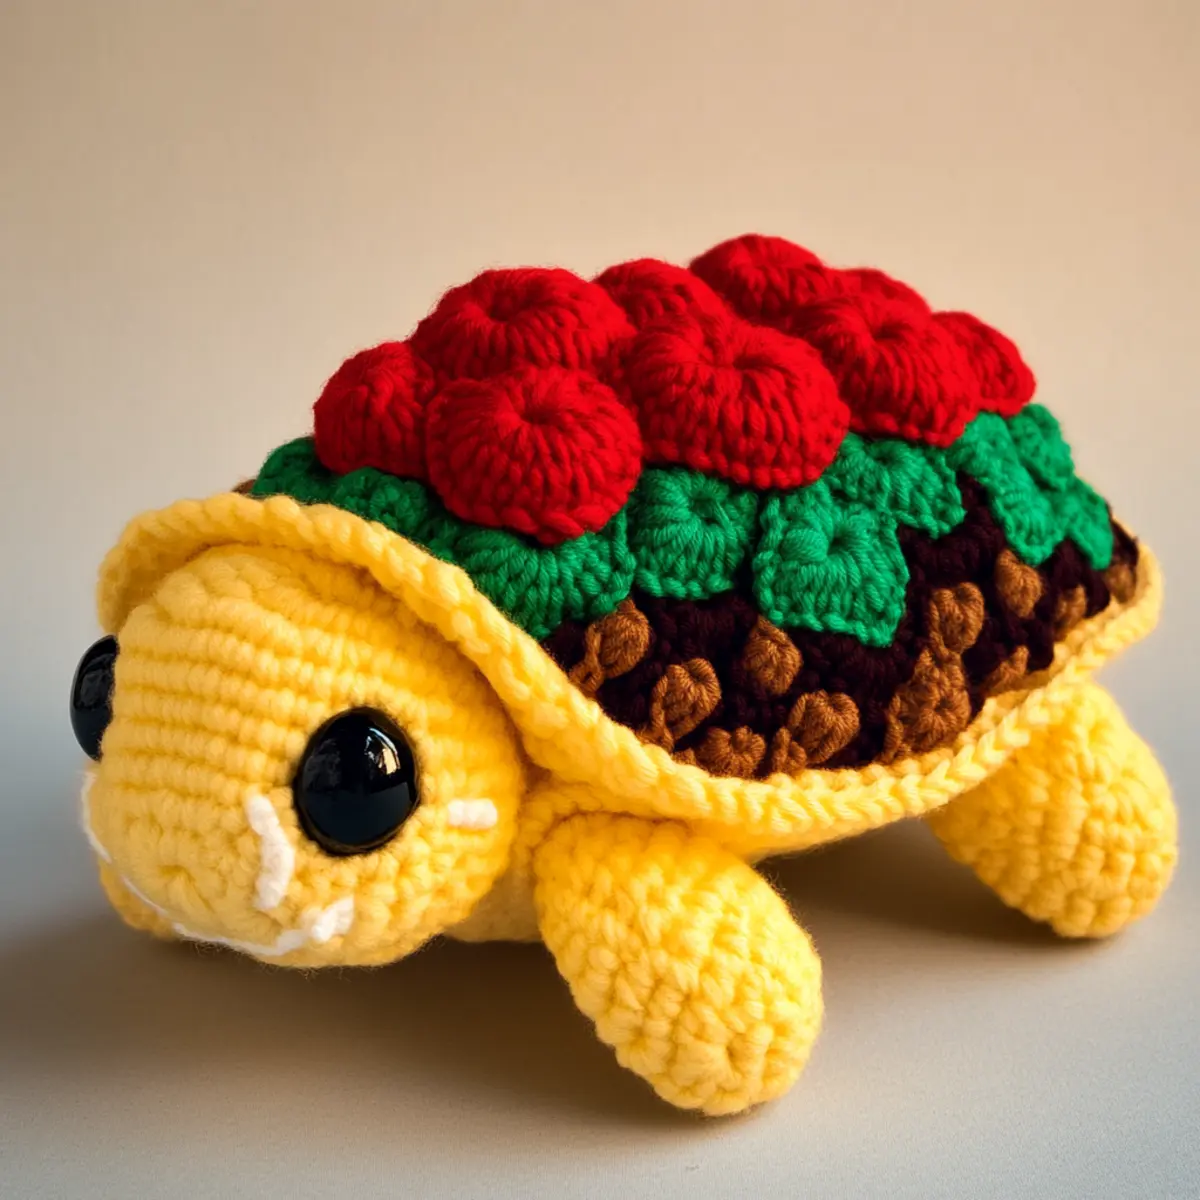
Row 11: Continue the Taco Shell Using popcorn stitches, crochet 1 popcorn in the next stitch to form the taco layer. This gives a beautiful raised look resembling taco toppings. (1)
Row 12: Finalizing the Shell Add layers of shells, alternating colors with 3 dc in each stitch, giving depth to the taco turtle’s shell. Finish shaping this with more hdc and sl st to stabilize the edges for a clean finish. (Varied)
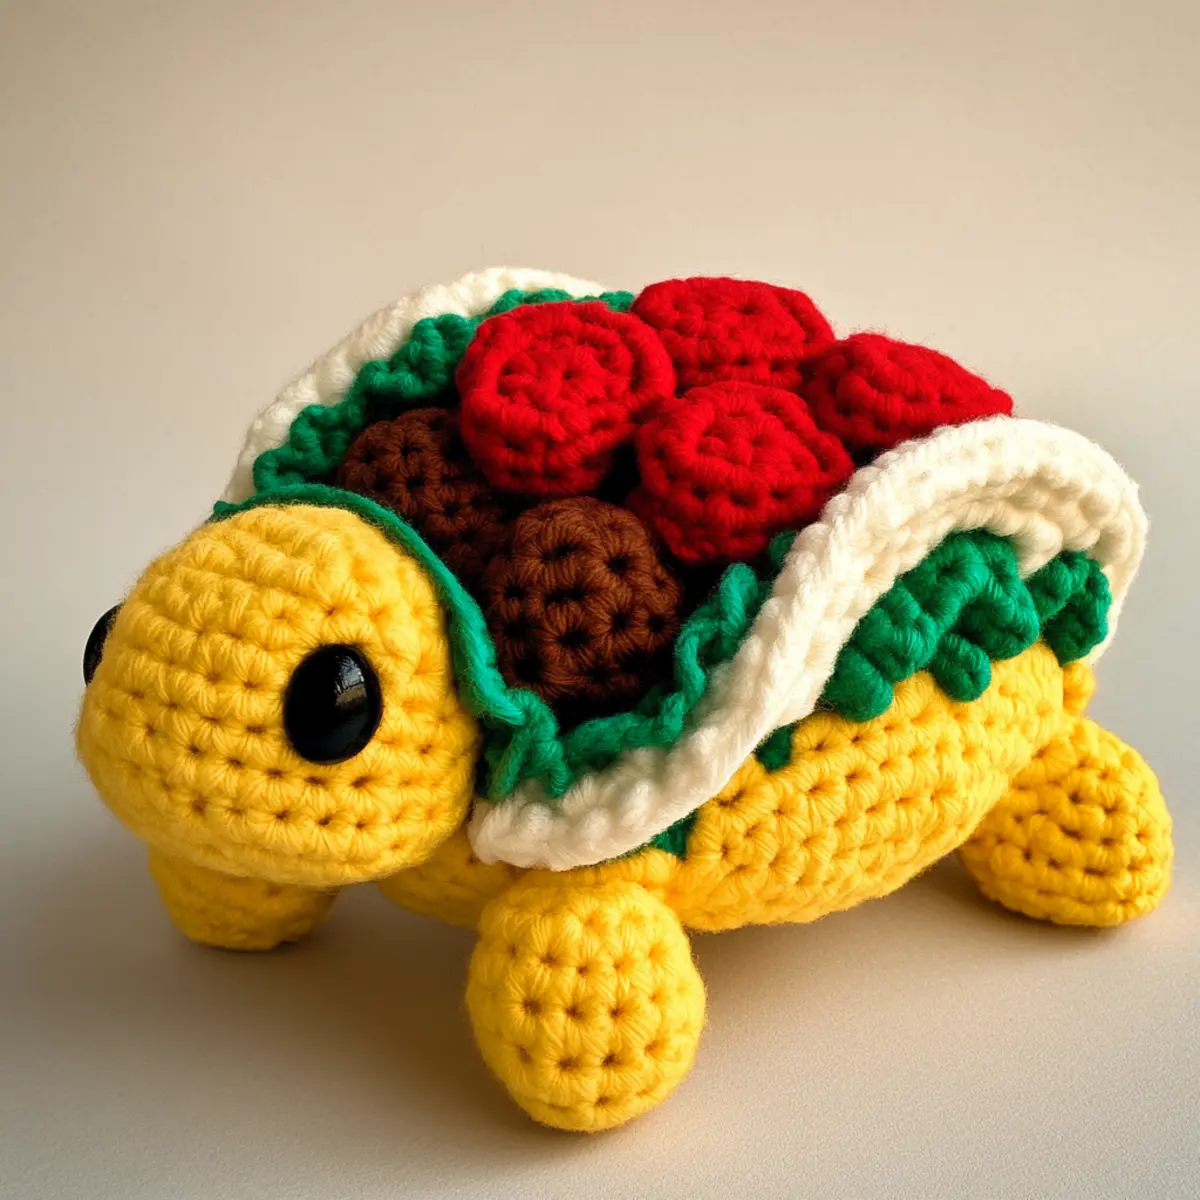
Attach safety eyes securely to the turtle’s head, ensuring they are evenly placed to enhance character. Finally, assemble the plush by sewing the body parts together, and add any desired embroidery for personalization on the taco shell.
Expert Tips for Taco Turtle Crochet
Watch Your Tension: Ensure your tension is even while working with plush yarn to avoid tight spots.
Use Stitch Markers: Keep track of your rows and color changes with stitch markers to avoid losing count.
Count Carefully: Losing count due to switching stitches can be common; consider keeping a notebook for notes.
Avoid Twisting: When crafting the foundation chain, check for twists as this can lead to uneven stitching later on.
Secure Safety Eyes: When adding safety eyes, make sure they are securely fastened to prevent them from falling off during playtime.
Customize Boldly: Experiment with different yarn colors and textures; each variation brings your taco turtle crochet to life in unique ways.
Taco Turtle Crochet Variations
Feel free to experiment and customize your taco turtle plush to create unique styles!
- Pastel Palette: Use soft pastel colors instead of bright shades, making the plush appeal to younger children or creating a gentle decor piece.
- Cotton Blend: Swap your bulky yarn for a cotton blend to achieve a more structured feel but still provide durability with a touch of elegance.
- Embroidered Details: Personalize the taco shell with embroidered initials or names, giving your plush a special touch for gifting.
- Size Options: Craft a larger or smaller version of your taco turtle. Adjust the yarn weight to either increase or decrease the dimensions for varied cuteness.
- Texture Play: Experiment with textured yarn or add surface crochet techniques to create a more dynamic and engaging turtle shell design.
Consider mixing yarns as well! Combining fibers creates interesting textures and colors. For example, using a blend of cotton and plush acrylic can help define your turtle’s features while keeping it soft for cuddling. You might also find that different yarn weights enhance the overall appearance—be daring in your choices! Don’t forget to check out more ideas in our Beginner Friendly Crochet article and bring even more cheer to your crafting journey.
How to Wash and Care for Your Taco Turtle Crochet
Machine Washing: Use cold water and a gentle cycle for machine washing, placing your taco turtle in a mesh laundry bag to protect it.
Hand Washing: When washing by hand, use mild detergent and lukewarm water. Gently agitate and rinse thoroughly to maintain colors.
Drying: Lay the taco turtle flat to dry, avoiding direct sunlight to prevent fading of colors and maintaining its plush texture.
Storage: Store your plush toy in a cool, dry place inside a breathable cotton bag to keep it fresh and loved.
Taco Turtle FAQs
Can I substitute yarn?
Absolutely! Consider heavier weight yarns suitable for plush toys like bulky cotton or acrylic for a cozy touch. Just keep in mind that yarn weight will affect the size of your taco turtle.
What if my plush toy is curling?
Curling can occur if your tension is too tight. Adjust by loosening your stitches or changing your hook size. Blocking isn’t generally needed for plush, but manipulating the stuffing can shape it nicely.
How can I adjust the size of my taco turtle?
To resize, modify the initial stitches or rows of your taco turtle. For a larger plush, increase the base rounds for added width and height. Your choice of yarn thickness will also dictate the final size.
What hook size should I use?
For this taco turtle crochet, an 8 mm (L) crochet hook is ideal for plush yarn. If your yarn feels different or if you’re working tighter than usual, switch to a larger hook for better drape.
How do I fix dropped stitches?
Don’t panic! If you spot a dropped stitch, use your crochet hook to pick up the loose yarn, and rework the stitch up to where you left off. This tool makes it easy to catch and secure those unwanted loops!
Can I personalize my taco turtle?
Definitely! Use embroidery floss to add names or initials on the taco shell, making your plush even more special. It’s a delightful touch that adds to its charm!
Leave a Reply