
Cozy Snapshot: I find immense joy in the delicate dance of yarn slipping through my fingers as I craft the most enchanting things with my crochet hook. Today, I’m excited to share my Crochet Peony Flower pattern, which not only brings a touch of elegance but also serves as a delightful stash-buster. Perfect for both intermediate crafters and advanced beginners, this project fits beautifully within your crochet repertoire, enhancing your skills while creating something visually stunning. One of the most irresistible benefits of this floral pattern is its versatility; you can incorporate it into bouquets, hair accessories, or even whimsical decor in a child’s room. Secondly, the vibrant colors and intricate stitches offer an artistic outlet that results in a unique, eye-catching decoration that brings warmth and charm. As you embark on this crochet adventure, let’s explore the intricate petals and layering techniques that make this peony flower truly special. I can’t wait to see how you might personalize it with your own touch!
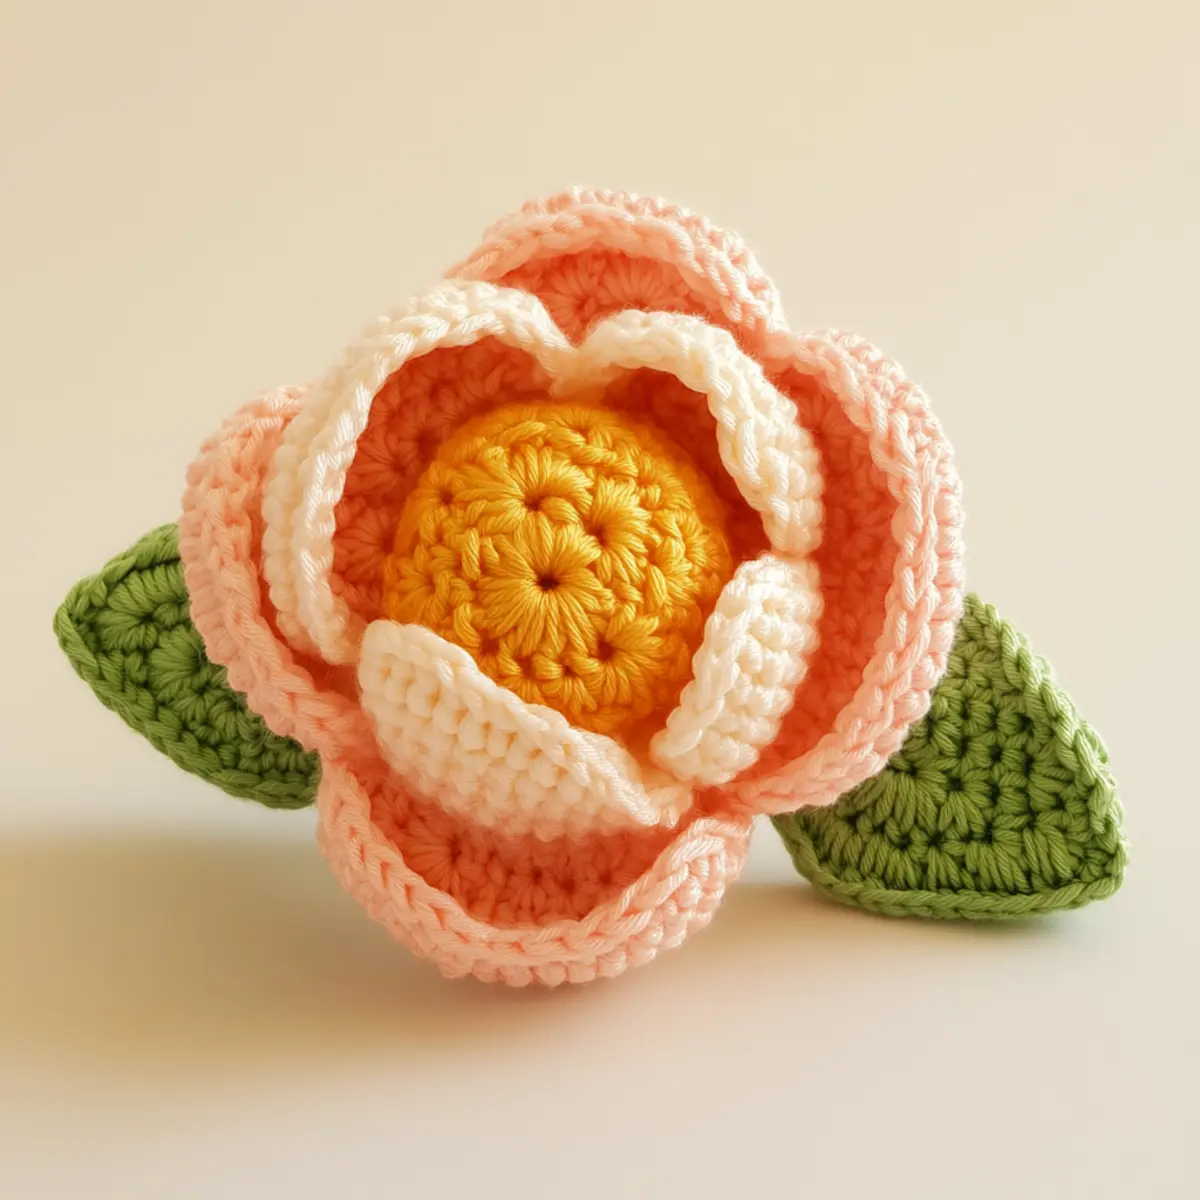
Crochet Peony Flower Materials & Tools
Yarn
- Medium-weight yarn – Use a cotton blend for durability; approximately 150-200 yards of various colors (peach, yellow, green) is ideal for this crochet peony flower.
Tools & Notions
- 4 mm (G/6) crochet hook – This size works well for achieving a tight stitch structure essential for floral designs.
- Yarn needle – Essential for weaving in ends for a polished look.
- Floral wire or stem – Provides sturdy placement for your finished flower, ensuring it stands out beautifully.
- Safety eyes or embellishments – Add a touch of whimsy by incorporating these into your flower’s center or petals.
Why You’ll Love This Pattern
Simplicity is key with this pattern; despite the intricate appearance, you’ll find the step-by-step instructions ensure an enjoyable experience that won’t overwhelm you. The textured petals add a delightful dimension, elevating your crochet flower beyond the ordinary. Plus, it’s incredibly stash-friendly—perfect for using up those leftover yarn scraps! This crochet peony flower allows for easy customizability; choose your colors and sizes, and even embellish with beads for a fun twist! You’ll also save time compared to other floral patterns, making it a satisfying and quick project to showcase your skills. Looking for more crochet inspiration? Check out these delightful Boho Crochet Coasters and Crochet Flower Pattern links for exciting ideas.
Crochet Peony Flower Gauge & Sizing Notes
Checking your tension is crucial for the Crochet Peony Flower to ensure all petals and layers fit together harmoniously. Aim for a standard gauge measuring 4×4 inches (10×10 cm) using medium-weight yarn (#4). Begin with a starting chain of 24 if you wish to resize the petal openings. If your swatch doesn’t match the specified gauge, adjust your hook size—go down for tighter stitches or up for looser ones until consistent tension is achieved. A well-measured foundation will enhance the overall aesthetic of the flower. This crochet peony flower should result in an approximate finished size of 5-6 inches in diameter. Use this to guide your work and feel free to explore varying yarns and colors to make your crochet peony flower uniquely yours.
Step-by-Step Pattern for Crochet Peony Flower
Row 1: Central Yellow Center
Begin with a magic ring. Chain 1, then make 6 sc into the ring, pulling tightly to close. Join with a sl st to the first sc (6).
Row 2: Forming the Base
Ch 3 (counts as 1 dc), make 2 dc in each sc around. Join with a sl st to the top of the ch 3 (12).
Row 3: Expanding the Petals
Ch 3, (dc, ch 1, dc) in the same st for a petal, then skip 1 st. Repeat around, joining to the top of the ch 3 (12 petals).
Row 4: First Layer of Petals
Ch 1, 2 sc in the next ch 1 space, 1 hdc in the next space, 2 dc in the next space, then sl st back in ch 1, repeat around, join with sl st (around 24 total stitches).
Row 5: Second Layer of Petals
Ch 1, 1 sc in the next st, 3 dc in the next st, repeat around, join with sl st (24).
Row 6: Ruffled Edge
Ch 1 and make 1 sl st in the same st, ch 2, skip 1 st; repeat around to create ruffled edges, join with sl st (12 ruffles).
Row 7: Additional Petal Layers
Ch 1, make 1 sc in the next st, 3 hdc, and 2 dc in the next st; repeat around, join with sl st (36).
Row 8: Adjusting Texture
Ch 4, skip 2 st, 1 sl st into next, ch 4; continue creating loops for added texture (18 loops).
Row 9: Shaping the Blossom
Remove flower from hook and gently stretch the petals to create a natural shape. If desired, steam block petals for defined edges and volume.
Row 10: Attaching Leaves
With green yarn, ch 8, hdc in 3rd ch from hook, dc in next, hdc in next; repeat back to flower, attach with sl st to base. (make 2 leaves).
Row 11: Final Touches
Weave in all ends using a yarn needle. If using floral wire, wrap it around the base of the flower for stability before placing in arrangements.
Row 12: Personalizing Your Flower
Feel free to embellish the center with beads or glitter for additional charm. Adjust color and size as desired, allowing customization to really shine.
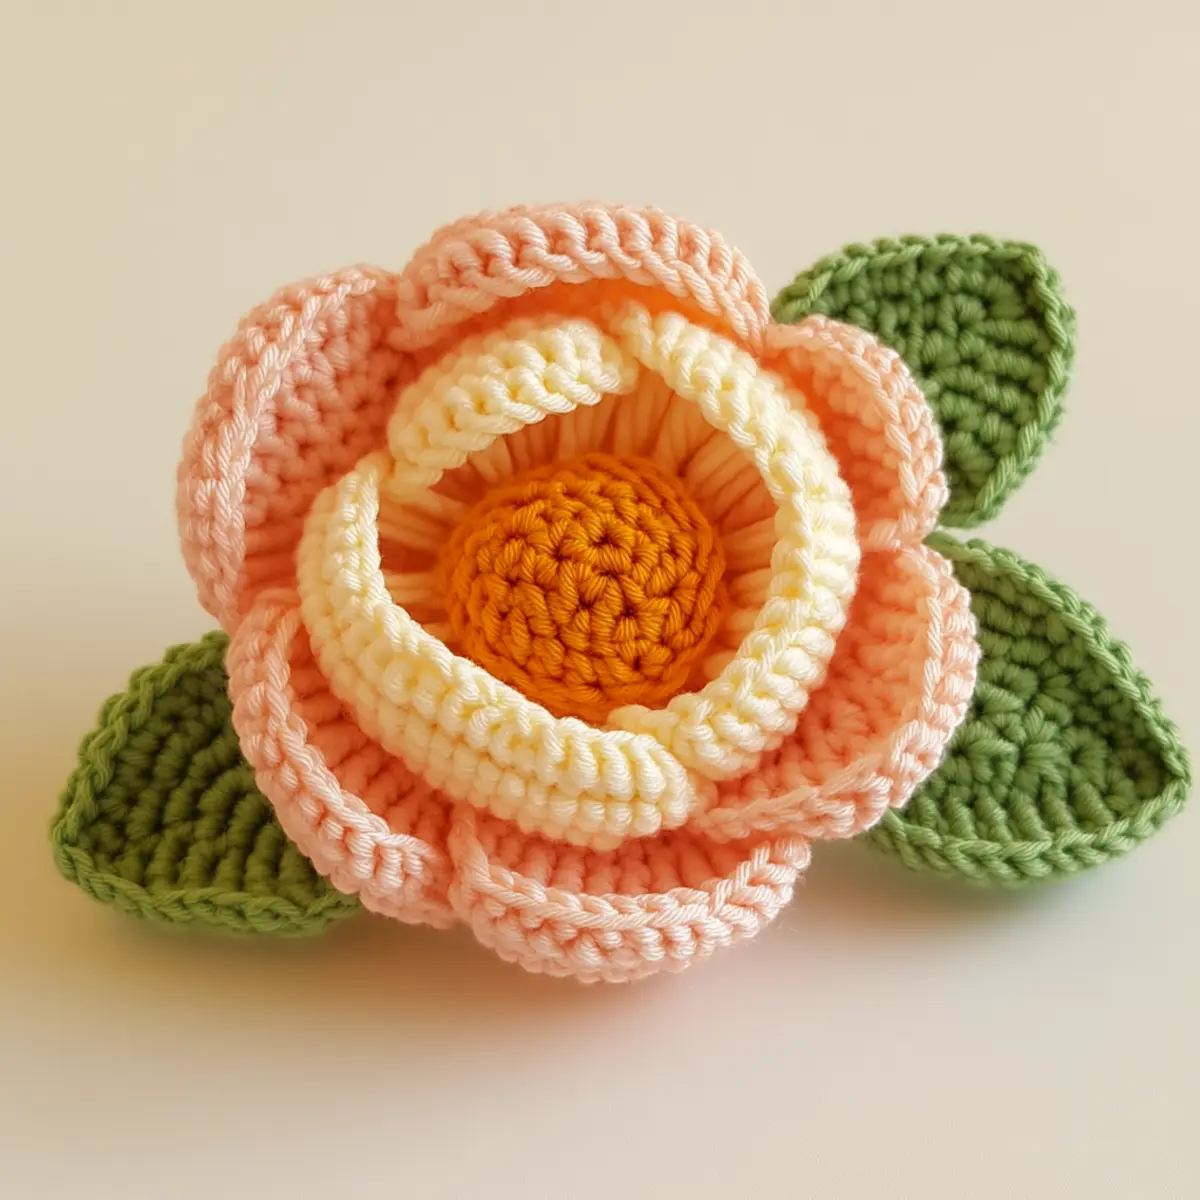
How to Wash and Care for Your Crochet Peony Flower
Machine Washing: Use a gentle cycle with cold water and a fabric softener. Avoid too much agitation to keep your crochet peony flower intact.
Hand Washing: To prolong its beauty, hand wash in cool water with mild detergent. Gently squeeze—don’t wring—to maintain shape and texture.
Drying: Always lay flat to dry to prevent misshaping. Avoid hanging your crochet peony flower to maintain its ruffled edges and delicate petals.
Long-term Storage: Store in a cool, dry place away from direct sunlight. Prevent dust accumulation by keeping it in a breathable bag, preserving the vibrancy and charm of your crochet peony flower.
Expert Tips for Crochet Peony Flower
Consistent Tension: Maintain even tension throughout to ensure petals are uniform. Uneven stitches can disrupt the flower’s graceful appearance.
Track Your Stitches: Use a stitch marker to keep count, preventing dropped stitches and missed petals during layering and assembly.
Blocking: After completing the petals, steam block them to define shapes, enhance texture, and achieve a beautiful, polished look for your crochet peony flower.
Foundation Chain: Avoid twisting your foundation chain by checking it regularly. A twisted chain can complicate your project and lead to misaligned petals.
Color Experimentation: Try using contrasting colors for the center and petals to create a striking visual. Different color combinations allow for personalized designs, making your crochet peony flower unique.
Yarn Choices: Feel free to experiment with different yarn weights or blends, like using wool for warmth or sparkle for festive appeal. Variety will enhance the final design.
Crochet Peony Flower Variations
Feel free to explore various versions of the crochet peony flower! Customize it to fit your style.
- Bold Colors: Try vibrant pinks, yellows, and reds for a striking look. These bold choices can transform the peony into a standout piece.
- Different Fibers: Experiment with wool or bamboo blends instead of cotton for unique textures and warmth. Each fiber lends a different feel to this floral project.
- Color-Blocking: Create a two-tone peony by alternating petal colors. This adds a dynamic flair that can elevate any floral arrangement.
- Size Changes: Use a larger hook to make an oversized peony or a smaller one for dainty accents in hairpins or gift wraps. Consider adjusting yarn weight for further modifications to final dimensions.
- Textured Surface: Incorporate other stitch techniques, such as popcorn or bobble stitches, into the petals for added depth and intrigue, enhancing the visual appeal.
- Beaded Center: For a whimsical touch, integrate beads or sequins in the center. This not only personalizes your flower but can add sparkles for special occasions.
- Layered Petals: Play with the number of layers and spacing between petals to create a fuller or slimmer flower. More layers will yield a lush look, while fewer can keep it sleek and modern.
- Embellished Leaves: Crochet leaves with variegated yarn or introduce beads to transform them into beautifully intricate components that complement your peony flower. This variety can take the finished piece to the next level.
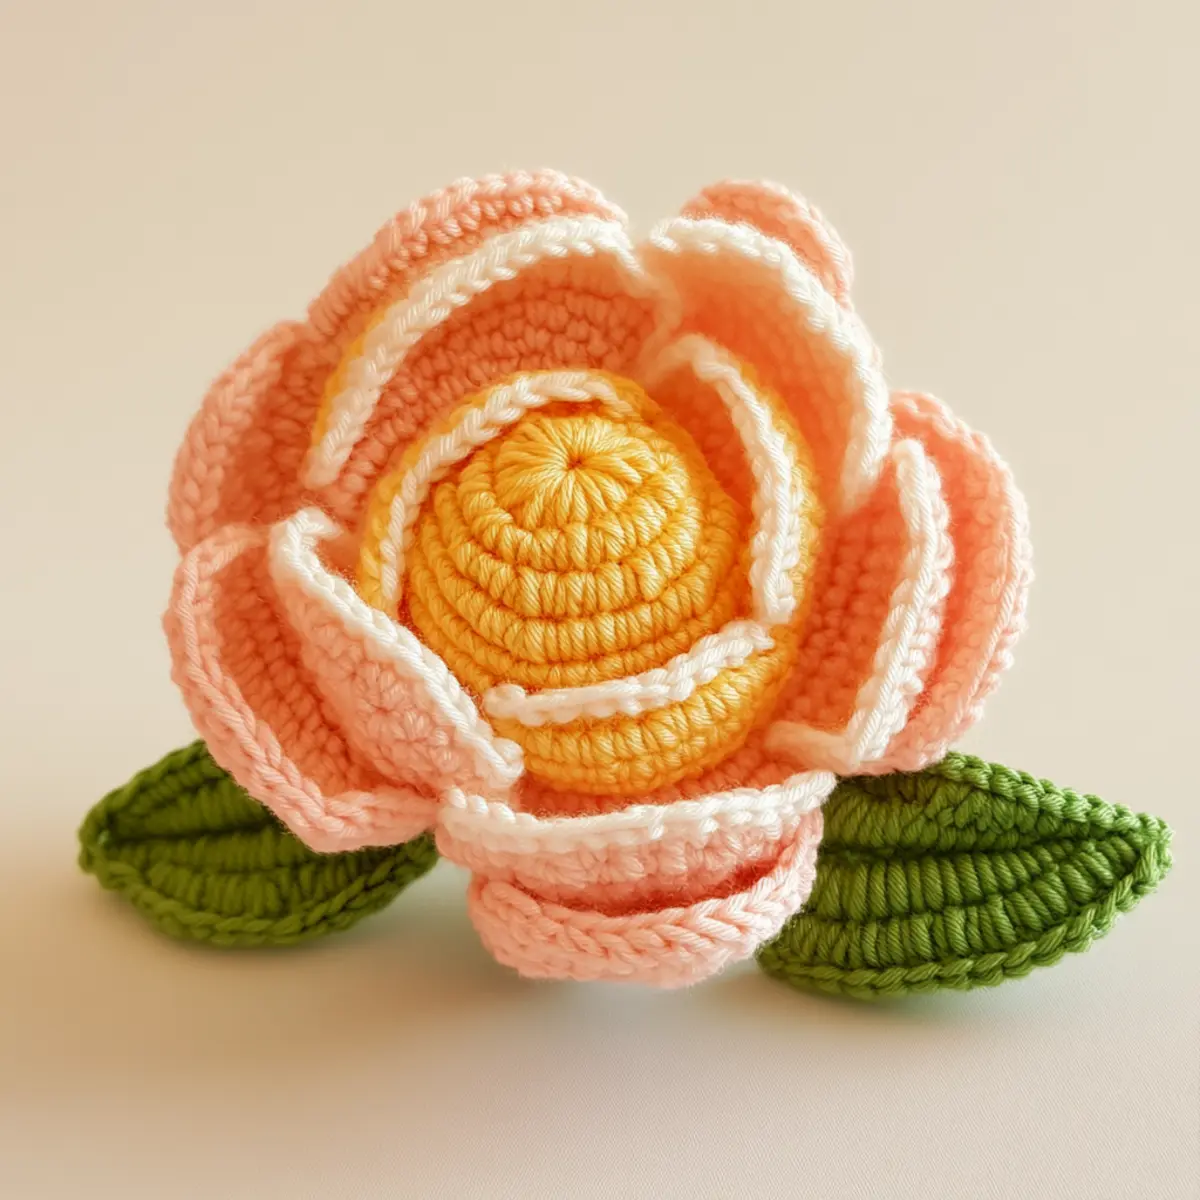
Crochet Peony Flower FAQs
Can I substitute yarn for the crochet peony flower?
Absolutely! You can use any medium-weight yarn as long as it achieves a similar gauge. Wool blends provide warmth, while cotton offers durability.Choose colors that inspire you!
How do I adjust the sizing of my crochet peony flower?
To increase or decrease the size, alter your hook size. Additionally, adjust the starting chain for the petal openings. Experimenting ensures you achieve your desired size effortlessly!
What if my petals are curling?
If your petals curl up, don’t worry! This is commonly fixed by blocking them. Steam blocking can work wonders in flattening and defining the petal shapes, creating a more lifelike appearance.
What hook size should I use for this project?
A 4 mm (G/6) crochet hook is recommended to create tight stitches crucial for floral designs. This helps maintain structure and shape throughout the project.
How can I fix dropped stitches while crocheting?
Don’t panic! Simply identify the dropped stitch and gently pull the yarn to create a loop. Insert your hook into the stitch and continue crocheting, ensuring you keep your tension consistent.
Can I embellish the flower further?
Certainly! Adding beads, glitter, or even small faux gems in the center can personalize your crochet peony flower, making it a unique piece that reflects your style and creativity.
Leave a Reply