
As I sat surrounded by vibrant yarns, ready to embark on a delightful adventure, the idea of creating a crochet jellyfish mobile sparked a wave of excitement. There’s something truly enchanting about crafting whimsical decor that not only accentuates a child’s room but also engages us as crafters! This crochet jellyfish project is not only visually stunning but is also beginner-friendly, making it an ideal stash-buster for any yarn lover. The process allows you to explore various textures and techniques while creating something that brings joy to both maker and viewer. As you dive into this project, you’ll discover how the shapes and colors can bring your imagination to life in a unique way. And who could resist the allure of a cozy, handcrafted piece gracing a child’s wall? Exploring this magical journey awaits you, so let’s unravel the details together!
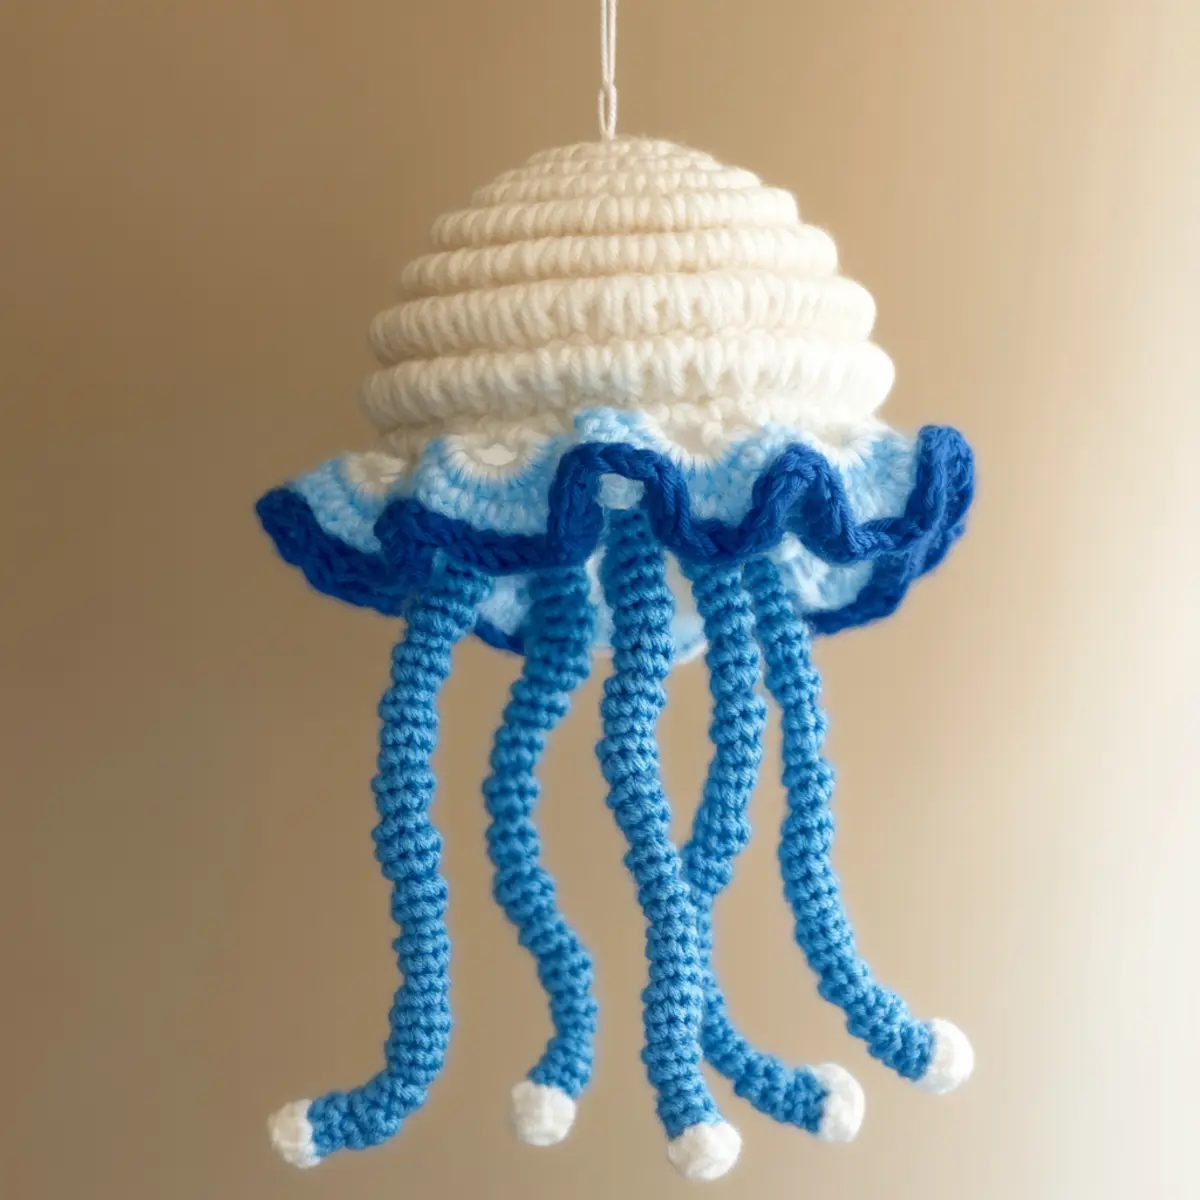
Crochet Jellyfish Materials & Tools
Yarn
– Choose lightweight worsted weight yarn (approximately 4) for optimal drape. A cotton blend works beautifully for a soft yet sturdy jellyfish. Expect to use about 100-150 yards.
Crochet Hook
– Use a 4.0 mm (G/6) crochet hook for detailed stitch work, allowing you to create smooth transitions between techniques.
Notions
– Having stitch markers will help you keep track of your progress, especially when altering stitches or counting rounds. A yarn needle is essential for weaving in ends and finishing.
Extras
– Consider adding beads to the tentacles for added flair, and don’t shy away from experimenting with glow-in-the-dark yarn to create a mesmerizing effect for nighttime decor.
Why You’ll Love This Pattern
Crafting this crochet jellyfish mobile is a fantastic way to expand your crochet skills while creating a beautiful decor piece. Not only is it simple to follow, but this project’s engaging textures and vibrant colors make it an ideal choice for any yarn enthusiast. It’s also a great stash-buster, giving you the chance to use up leftover yarn from past projects. Plus, you can easily customize the colors and sizes to match your decor themes or children’s preferences. For additional tips on enhancing your crochet experience, check out our guide on crochet basics for beginners to strengthen your skills. Lastly, this pattern is a breath of fresh air for your crafting routine, providing a joyful escape into the world of whimsical designs.
Gauge & Sizing Notes for Crochet Jellyfish
Checking your tension is crucial for the crochet jellyfish project to ensure your piece turns out as intended. Aim for a 4×4 inch (10×10 cm) gauge swatch of approximately 20 dc and 22 rows. If your swatch doesn’t match, consider adjusting your hook size or yarn tension. To resize the jellyfish mobile, alter the starting chains for the tentacles or increase the number of rounds in the head. For a larger jellyfish, simply add additional rows, while retaining the ruffling pattern. This unique crochet jellyfish will typically measure between 12-15 inches long and 6-7 inches wide, offering a delightful addition to any child’s room or nautical-themed space. Keep experimenting until you find the perfect size and shape that works for your design!
Step-by-Step Pattern for Crochet Jellyfish
Row 1: Create the Jellyfish Head Start by making a magic circle. Ch 3 (counts as dc), then work 11 dc into the magic circle. Pull the loop tight to close the circle and sl st to the top of the first dc (12 dc).
Row 2: Double the Stitches Ch 3, then dc in the same stitch. Work 2 dc in each stitch around for a total of 24 dc. Sl st to the top of the first dc to join.
Row 3: Begin Ruffling Ch 3, work (dc in next stitch, 2 dc in next) around. You should have 36 stitches at the end of this round. Remember to sl st to join the round.
Row 4: Continue Ruffling Ch 3, then work (dc in next 2 stitches, 2 dc in the next) all the way around. This will leave you with 48 stitches. Sl st to the first dc to join round.
Row 5: Transition to Ruffles Ch 1, sc in each stitch around (48 sc). This creates a base for the ruffle.
Row 6: First Ruffle Layer Ch 3, sk 1, 5 dc in the next stitch, sk 1, sl st in the next. Repeat from * to * around for a wavy ruffled edge. Sl st to first ruffle to finish.
Row 7: Tentacle Foundation For the jellyfish tentacles, ch 30 for each tentacle. Work 1 sc back into the second ch from the hook and down the chain (29 sc).
Row 8: Tentacle Spiral Now, begin forming a spiral by working 1 sc and 1 inc (2 sc) in the next stitch. Repeat down the tentacle chain until you reach near the end. Leave a long tail for sewing (approx 10”).
Row 9: Attach Tentacles Use your long tails from each tentacle to sew them into the bottom of the jellyfish head using sl st. Distribute evenly for a balanced look.
Row 10: Add Hanging Loop Ch 10, sl st to the top of the head where you want to hang the mobile. Cut and finish off the yarn securely.
Row 11: Block the Jellyfish Once finished, gently block the jellyfish with steam to set its shape, ensuring ruffles stay prominent and all pieces hang well.
Row 12: Final Touches Feel free to add beads or embellishments to the tentacles for extra whimsy! Choose beads that coordinate with your yarn colors for a beautiful finish.
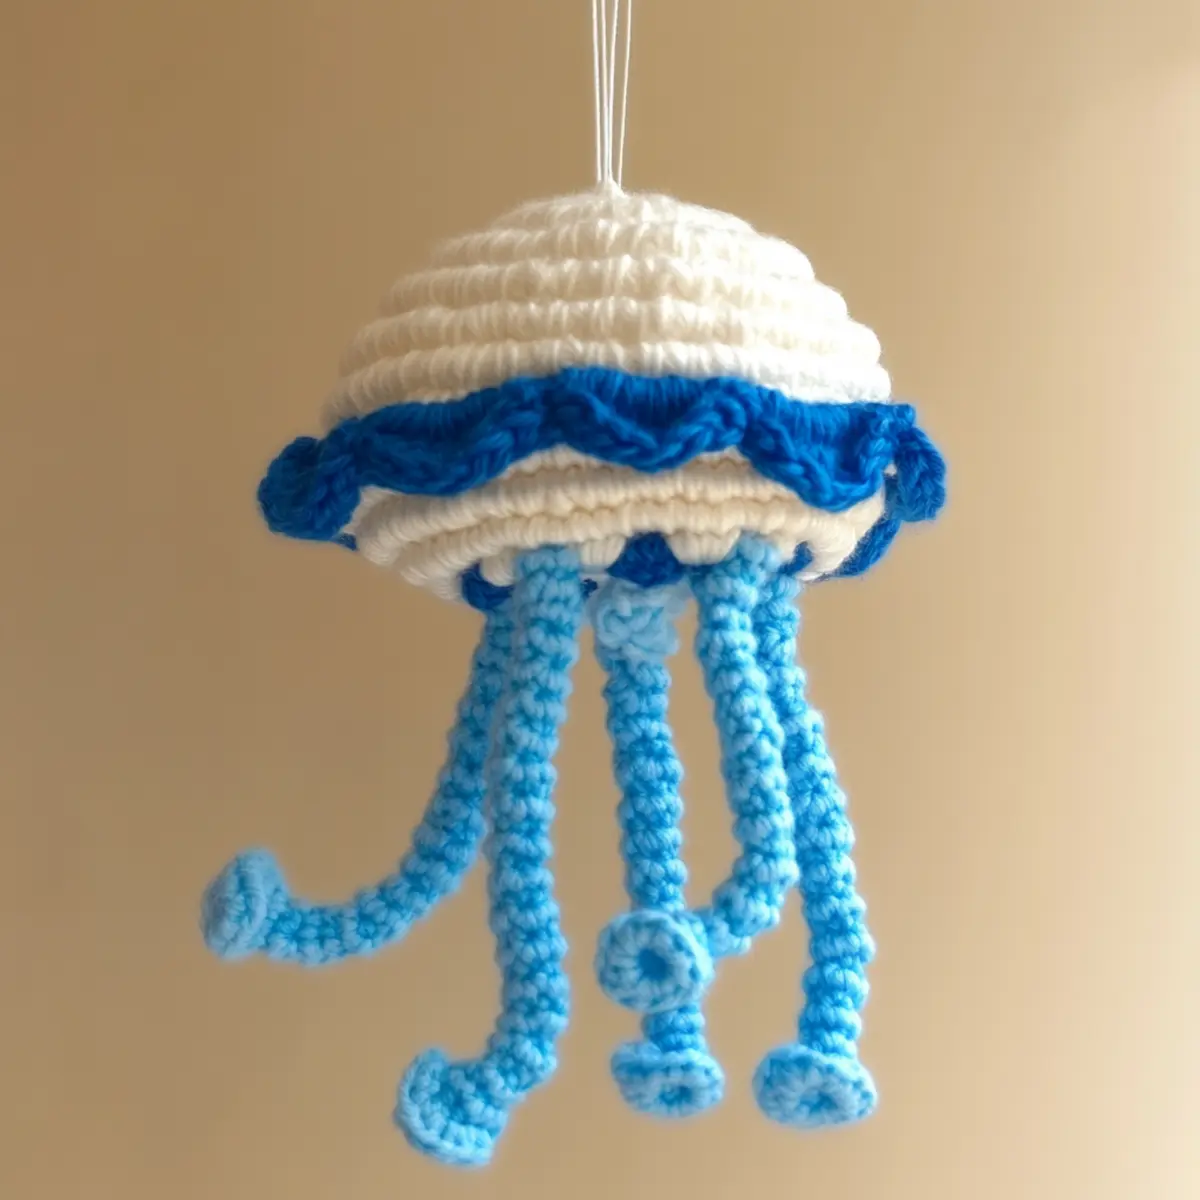
Expert Tips for the Best Crochet Jellyfish
Track Stitches: Keep a count of your stitches during the head construction to avoid any miscounts, ensuring a beautifully shaped jellyfish.
Focus on Tension: Be mindful of your tension while working on the ruffle edges. Too tight or too loose can affect the appearance of your project.
Use Stitch Markers: Utilize stitch markers to assist in keeping track of rounds and stitches, especially when creating the tentacles and the jellyfish body.
Practice Ruffling: If you’re new to ruffles, practice on a scrap piece to become familiar with the technique before starting on the jellyfish.
Experiment with Yarn: Don’t hesitate to try different lightweight yarns in various textures and colors to create a unique crochet jellyfish that stands out.
Add Extra Flair: Consider embellishing the tentacles with beads or using glow-in-the-dark yarn to create a captivating night-time effect for children’s rooms.
How to Wash and Care for Your Crochet Jellyfish
Hand Washing: Always hand wash your crochet jellyfish in cool water with a gentle soap to prevent disfiguration and maintain its shape.
Blocking: After washing, use steam blocking to set the ruffled edges, ensuring that all parts are distinct and beautifully displayed.
Drying: Lay flat to dry away from direct sunlight, which can cause yarn colors to fade. Avoid wringing or twisting the jellyfish to preserve its form.
Storage: When not in use, store the crochet jellyfish in a cool, dry place, avoiding compression to prevent deformation.
Crochet Jellyfish Variations and Substitutions
Crafting your jellyfish mobile allows for plenty of personalization! Here are some fun ideas:
- Color Choices: Experiment with vibrant colors such as pink or green to match your decor.
- Yarn Swap: Try a bamboo yarn for a softer feel and an eco-friendly touch.
- Beaded Tentacles: Adding beads can give your tentacles a playful shine, enhancing visual appeal.
- Texture Play: Consider using a textured yarn for the jellyfish head to create added depth.
- Size Adjustment: To make a larger jellyfish, increase your crochet hook size and adjust yarn weight.
- Glow-in-the-Dark: Opt for glow-in-the-dark yarn for a magical effect at night, making it an enchanting nightlight.
- Different Ruffle Patterns: Explore various ruffle patterns in different rounds for a unique touch.
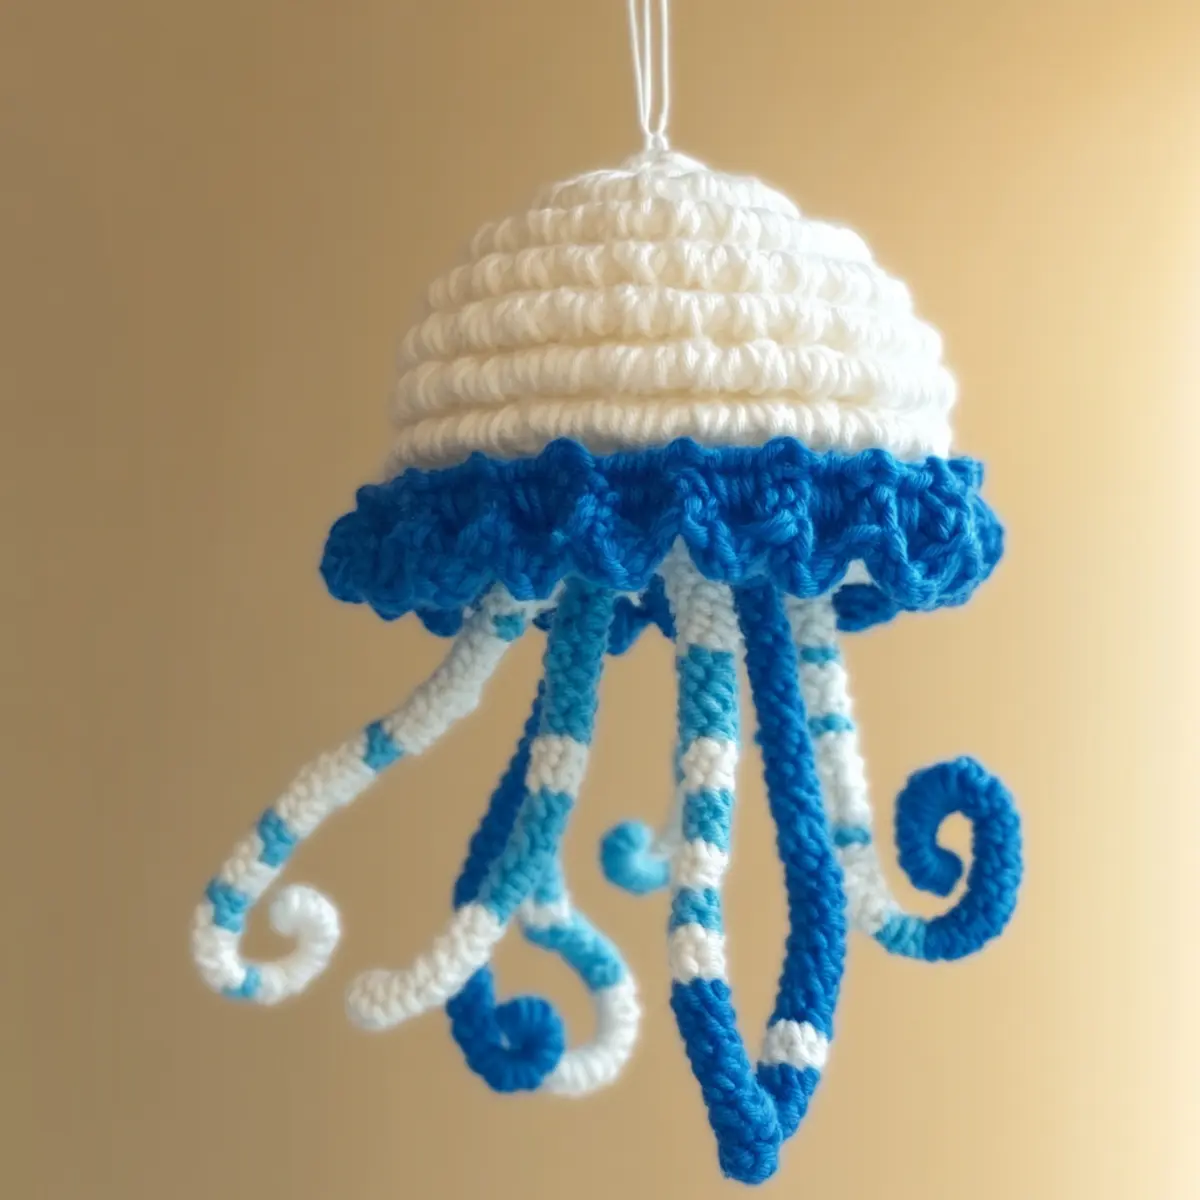
- Tentacle Variations: Try various lengths and widths for the tentacles to create a whimsical underwater scene. Each jellyfish can have its own character.
When customizing, keep in mind that these changes can create different atmospheres in a child’s room, making the jellyfish mobile a special addition to their space. With modifying colors, sizes, and yarn types, this project can fit a variety of styles and tastes! Check out related yarn explorations for more fun options as you craft.
Crochet Jellyfish FAQs
Can I use different yarn types for this project?
Absolutely! You can substitute with any lightweight worsted weight yarn, but keep in mind that different fibers may alter the final drape and shape.
How can I adjust the sizing of the jellyfish?
To resize, simply manipulate the number of chains in your tentacles or increase rounds in the jellyfish’s head construction. Test your gauge for best results.
What should I do if my jellyfish curls up?
Don’t panic! Curling can happen due to tension issues. Gently steam block the finished jellyfish to flatten and hold the desired shape.
What if I drop a stitch while crocheting?
If you drop a stitch, no worries! Carefully pick it up using a crochet hook to ensure it stays in place. You can also use a stitch marker to prevent drop issues in the future.
What hook size should I use?
For this crochet jellyfish, a 4.0 mm (G/6) hook is suggested. This size strikes a balance between neat stitches and ease of handling.
Can I add beads or other decorations?
Absolutely! Adding beads to the tentacles not only enhances visual interest but can also provide a tactile experience. Make sure they are securely sewn in for safety.
Leave a Reply