
Have you ever felt the warmth of a cherished plush toy in your arms? Creating a crochet weighted ferret is not only an exciting project but also a delightful way to embrace the cozy textures that crochet offers. With its soft and snuggly appeal, this cute plush serves as both a comforting companion for kids and a charming decoration for any room. It’s a quick project that allows you to tap into your creativity while using yarn from your stash, making it perfect for intermediate crocheters looking to enhance their amigurumi skills. Plus, the soothing weighted feature brings an extra element of comfort that will leave you and your loved ones feeling hugged by yarn! Let’s dive into this charming project and unlock the secrets to creating your very own cuddle-worthy crochet companion. Are you ready to learn how to make your own adorable crochet weighted ferret?
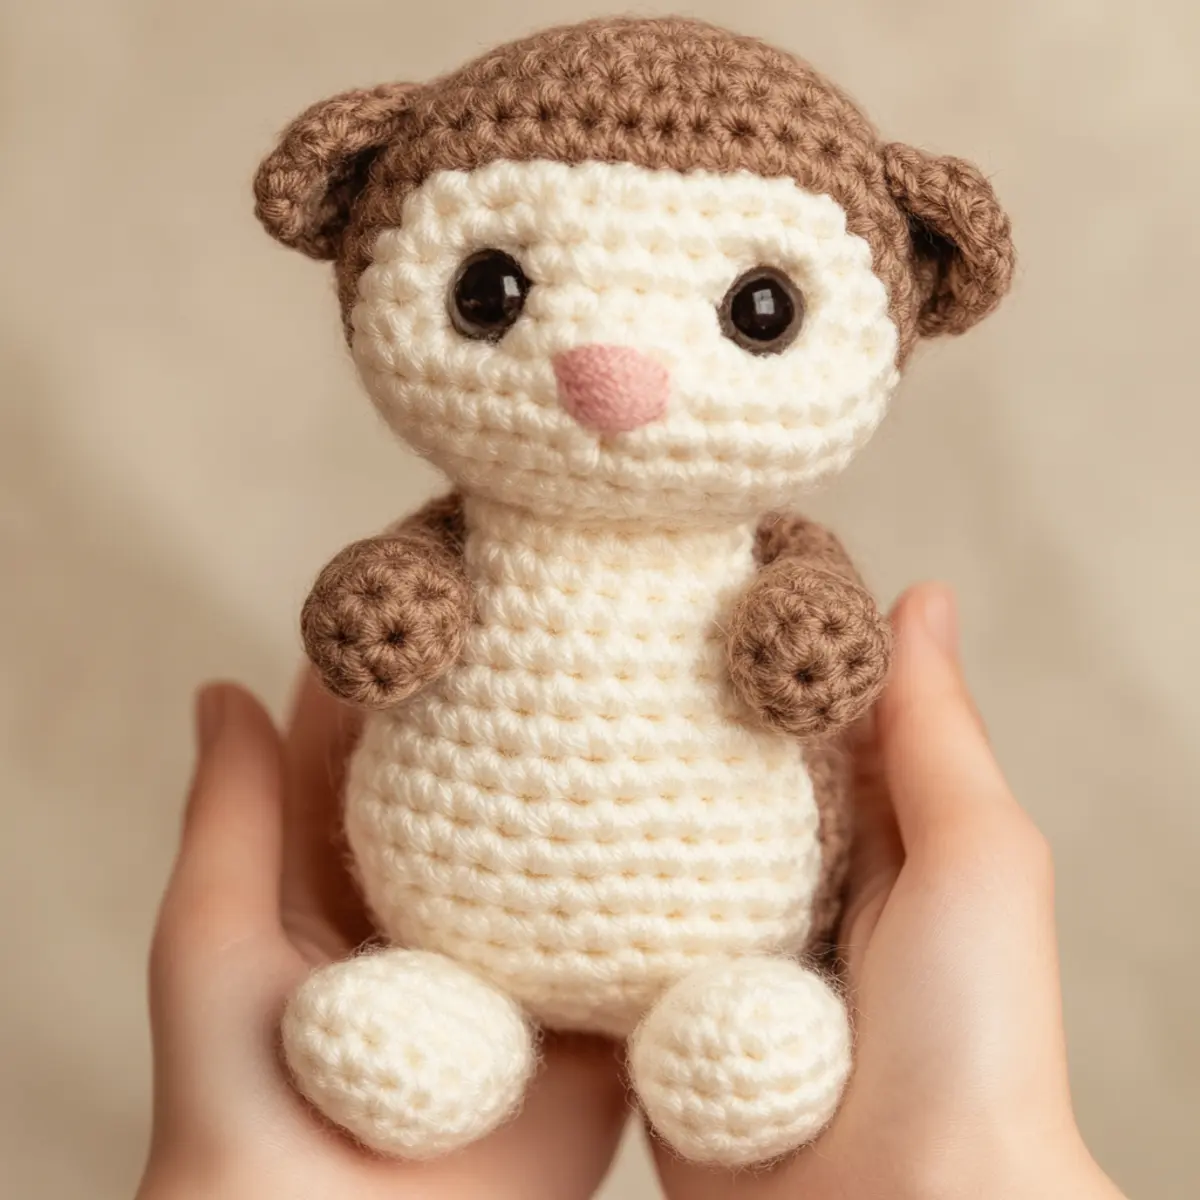
crochet weighted ferret Materials & Tools
Yarn
- Medium-weight yarn – Aim for plush polyester or a blend to achieve that ultra-soft cuddle factor for your crochet weighted ferret, using about 200 yards in total.
- Beige or cream yarn – 100 yards for the body, ensuring a cozy base color.
- Light brown yarn – 100 yards for the head and limbs, giving your ferret a delightful contrast.
Tools & Notions
- Crochet hook (4.5mm, US 7) – Perfect for creating tight stitches that hold the stuffing securely in place.
- Safety eyes – These give your ferret an adorable expression while ensuring safety for children.
- Crafting needle – Useful for stitching pieces together and adding final touches like the nose and mouth.
- Weight filling (glass beads or pellets) – Adds that soothing weighted feel, distributing comfort throughout your crochet weighted ferret.
Why You’ll Love This Pattern
This crochet weighted ferret pattern is an absolute keeper for several reasons. First, it’s incredibly simple to follow, making it accessible for those who are familiar with basic amigurumi techniques. Second, the unique texture you achieve with plush yarn adds a tactile richness that’s simply hard to resist. Third, it’s a stash-buster project; you can use leftover yarn from previous projects, giving them a fresh lease on life. You’ll also find that this design’s customizability allows for creative color choices that can reflect the personality of the recipient. Want to explore more unique yarns? Check out our guide on choosing the right yarn for amigurumi. Lastly, this pattern is a time-saver—you’ll be amazed at how quickly you can create this adorable friend! If you’ve ever wanted to create something that is both aesthetically appealing and filled with comfort, this crochet weighted ferret is your go-to project.
Gauge & Sizing Notes for Crochet Weighted Ferret
It’s essential to check your gauge when making this crochet weighted ferret to ensure your plush toy maintains its intended size and shape. The standard gauge for this project is 4×4 inches (10×10 cm) = 8 stitches across with 8 rows in single crochet. If you find your swatch doesn’t match this gauge, adjust the hook size or yarn thickness accordingly. For resizing, you can alter the starting chain or adjust the number of rounds in the body and limbs. If your tension is too loose, the finished product may appear saggy, so tighten your stitches or switch to a smaller hook to achieve the plush density required. Making these adjustments will help ensure that your finished crochet weighted ferret is a perfectly cuddly and well-proportioned companion.
Step-by-Step Pattern for Crochet Weighted Ferret
Row 1: Magic Ring
Start by creating a magic ring. This will be the foundation of your crochet weighted ferret’s body. Make sure to leave a long enough tail for later weaving in, and pull tight to form the ring. (1)
Row 2: Sc in Ring
Crochet 6 single crochet (sc) stitches into the magic ring. Pull the tail to close the ring tightly. This will create the first round of your ferret’s body, providing a closed base to work from. (6)
Row 3: Increase Round
Begin increasing by making 2 sc in each stitch around the previous row. This shapes the body to be rounded and plush. Keep your tension tight, especially when working with plush yarn to avoid gaps. (12)
Row 4: Continue Increasing
For this round, crochet 1 sc in the first stitch, then 2 sc in the next stitch. Repeat this pattern around to further round out the body. This gradual increase creates an adorable chubby form for your crochet weighted ferret. (18)
Row 5: Establish Body Shape
Continue without increases, crocheting 1 sc in each stitch around. This will establish height for the body. Make sure to keep your stitches consistent as you progress to maintain a tidy appearance. (18)
Row 6: Create the Base of the Body
Crochet 1 sc in each stitch, then in the next stitch, add 1 sc followed by an increase. This creates a subtle flare shaping the ferret’s bottom. Use a stitch marker to track the first stitch of each round. (24)
Row 7: Start Shaping the Head
To transition to the head, begin by placing 3 sc together in the next 3 stitches. This will create a rounded shape, which is the foundation for the ferret’s adorable head. Adjust your yarn tension to ensure the stuffing stays snug. (27)
Row 8: Head and Neck Connection
Crochet 1 sc in the next 3 stitches, then 2 sc in the next stitch. This creates a smooth taper between the body and head, while keeping the shape compact and cute, ideal for your crochet weighted ferret. (30)
Row 9: Form the Head
Crochet 1 sc in each of the next 3 stitches. Continue to work in a spiral form. This method will encourage a seamless transition as you move up into the head. Keep measuring for a balanced look. (30)
Row 10: Accent the Head Shape
Begin the shaping of the face by embedding 1 decrease (dec) into the next stitches, followed by 1 sc. Repeat this to create a defined head shape you’ll love. This will help in creating room for the facial features later. (27)
Row 11: Create the Ears
For the ears, crochet 4 more rounds of 1 sc in each stitch and then create a separate piece with a magic ring for a rounded ear shape. This shaping will add dimension and is crucial for that identifiable ferret look. (4)
Row 12: Assemble Ears and Features
Sew the ears onto the head using your crafting needle. Position them just above the eye area for that classic ferret silhouette. Secure with additional yarn of a contrasting color to embroider the nose and mouth, finishing up your beautiful design. (complete assembly)
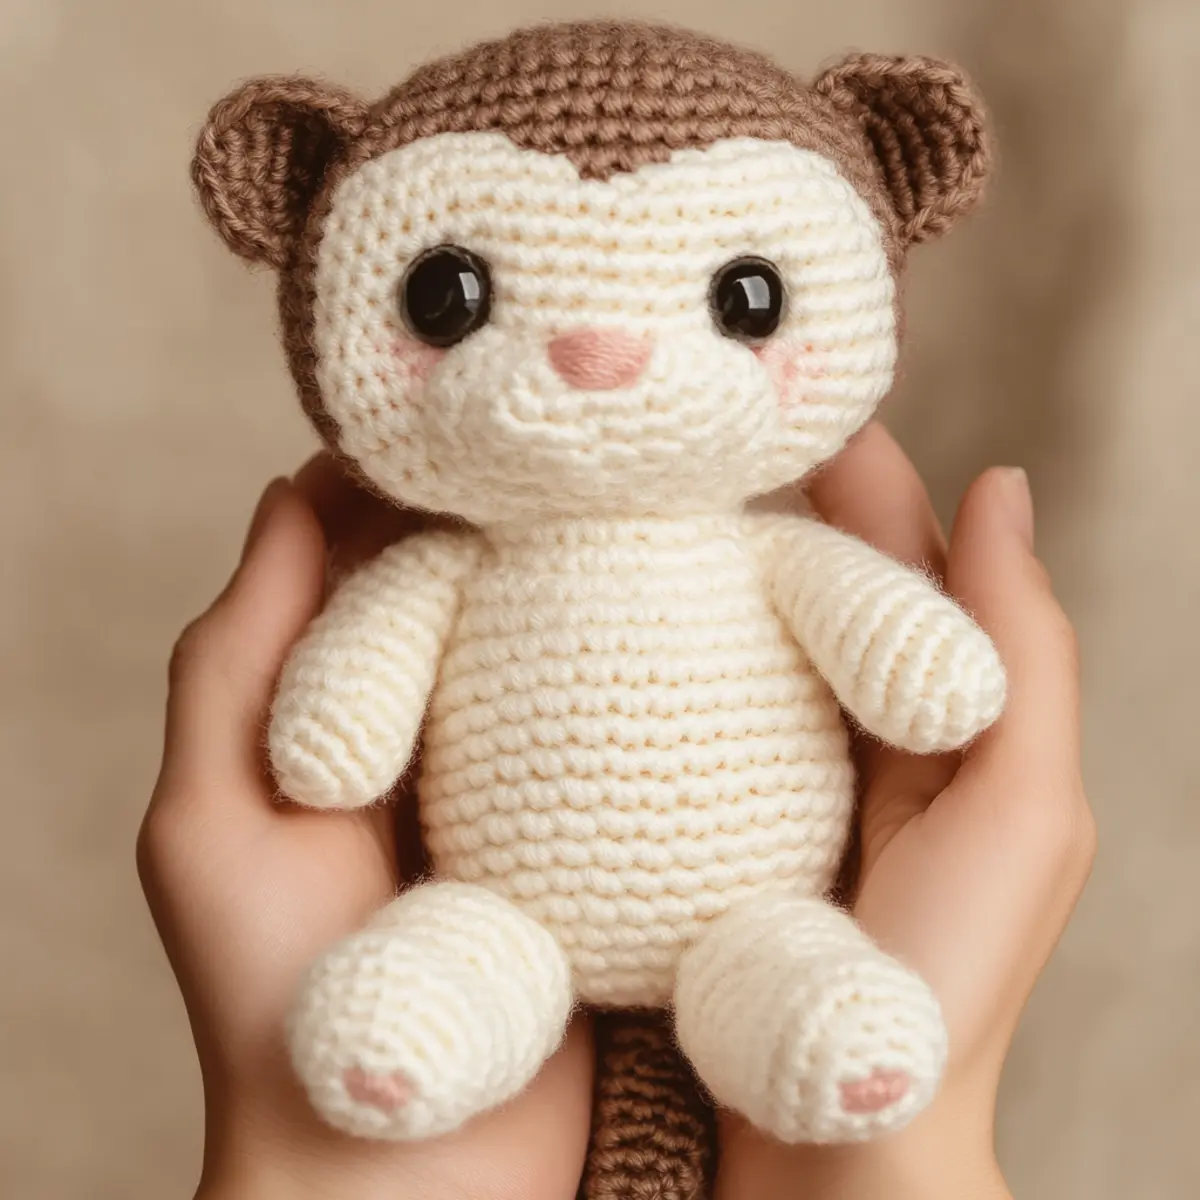
Expert Tips for Your Crochet Weighted Ferret
- Stitch Tightness: Ensure you crochet tightly, especially with plush yarn. This prevents stuffing from escaping, giving your ferret a well-shaped body.
- Tension Control: Always check your tension before starting. A loose stitch can distort the shape of your crochet weighted ferret, making it seem too floppy.
- Foundation Chain Caution: Be cautious with your foundation chain as a twisted chain can lead to a twisted project. Double-check before proceeding to avoid wrecking your work!
- Count Your Stitches: Keep track of your stitch count after every round to avoid dropped stitches. A stitch marker can be your best friend here!
- Blocking Tips: Lightly block the pieces before assembly to enhance overall shape and detailing, especially for the head and limbs.
How to Wash and Care for Your Crochet Weighted Ferret
- Machine Washing: Use a gentle cycle with cold water. Place your ferret in a mesh bag to protect its shape during washing.
- Hand Washing: For the safest option, hand wash in cold water with mild detergent. Avoid scrubbing to maintain the plush texture.
- Drying: Lay your crochet weighted ferret flat on a clean towel to dry. This maintains its shape and prevents any stretching from hanging.
- Storage: Store your crochet weighted ferret in a cool, dry place. Avoid damp areas to prevent mold and ensure it stays plush for years.
crochet weighted ferret Variations and Substitutions
Feel free to customize your crochet weighted ferret for a unique twist!
- Color Swaps: Choose vibrant neon colors for a trendy pop or soft pastels for an enchanting look.
- Yarn Blend Alternatives: Instead of polyester, experiment with cotton blends for a classic texture that maintains a firm structure.
- Size Modifications: Adjust the hook size and yarn weight to create a mini version for a pocket-sized plush or a large version for a cozy cuddle buddy!
- Weighted Features: Instead of standard fills, introduce small pouches of weight in the design for responsive huggability.
- Ear Shapes: Customize ear shapes—consider larger floppy ears for a whimsical character or pointy ones for a sleek design. Think about styles as you craft your crochet weighted ferret to really make it your own!
- Textured Fabrics: Use boucle or sherpa yarns for a luxurious fuzzy texture, making your ferret even more snuggly to the touch. These variations not only enhance the aesthetic but also the tactile experience.
- Facial Expression Variety: Change the eye placements or add accessories such as bows or hats to personalize your ferret even more!
- Crochet Techniques: Incorporate different stitches such as bobbles or shells for added texture in various parts. Try experimenting with each of these variations to add excitement to your crafting journey. Don’t forget to explore Amigurumi Techniques to elevate your skills further!
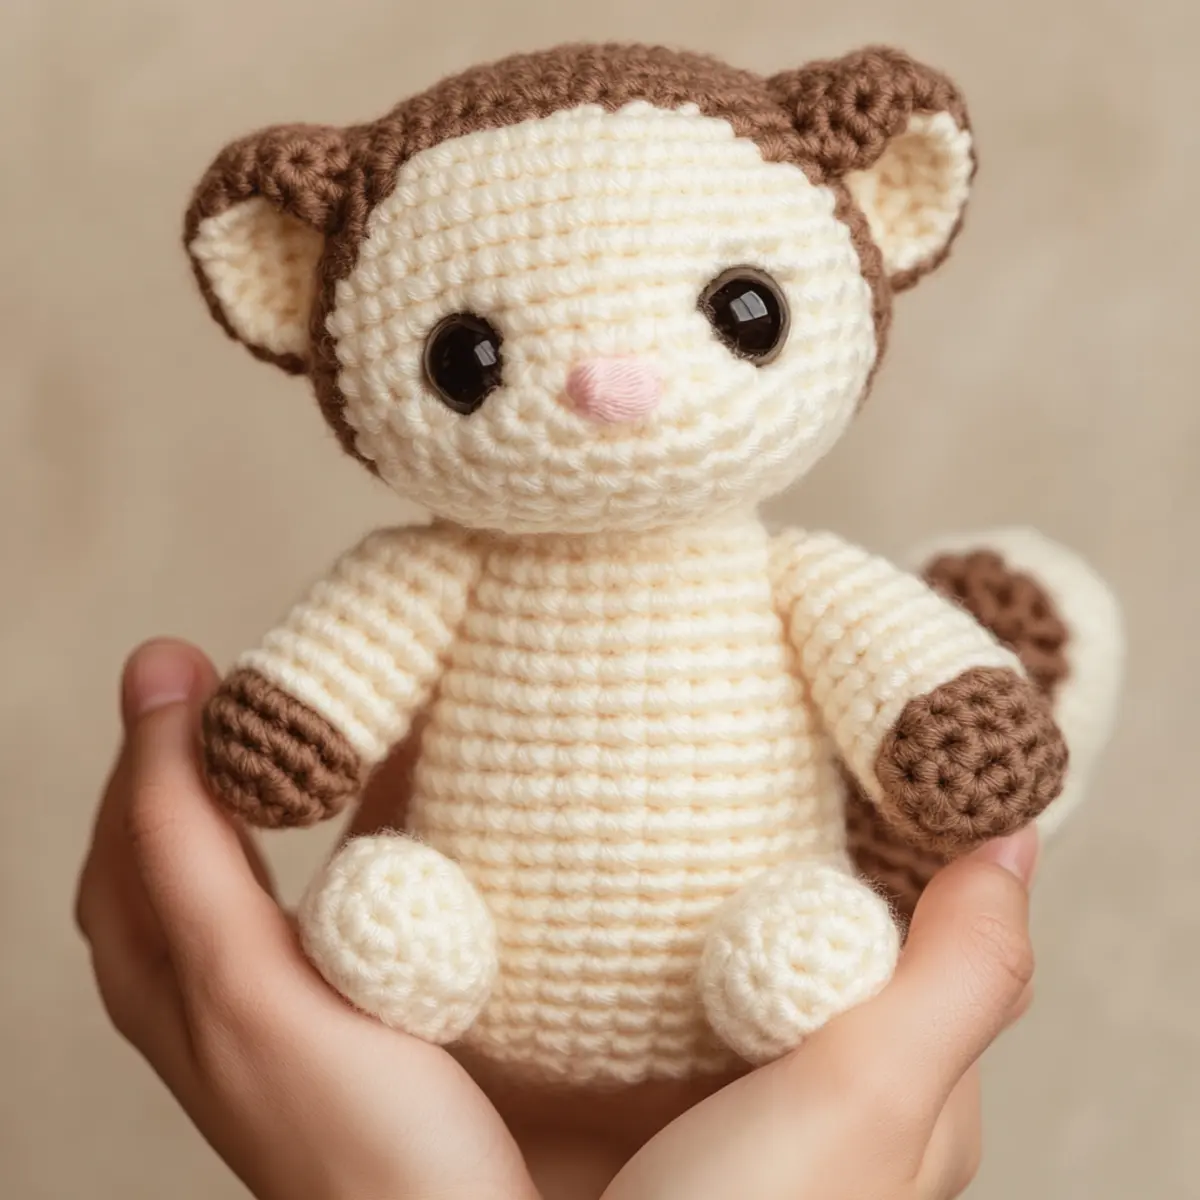
Crochet Weighted Ferret FAQs
Can I use different yarn types for this project?
Absolutely! You can use a cotton blend for a lighter version of the crochet weighted ferret. Just keep in mind that the texture and weight will differ.
What if my stitches are curling?
Don’t panic! If you encounter curling, it may be due to inconsistent tension. Consider blocking your work or adjusting your hook size to fix the issue.
How can I make size adjustments?
You can alter the size by adjusting the yarn weight and hook size. For a mini version, use lighter yarn and a smaller hook, or increase both for a larger plush.
What hook size should I use?
A 4.5mm (US 7) crochet hook is recommended. This size helps create tight stitches which are essential for holding the stuffing securely. Experiment if you find your work too loose or too tight!
What if I drop a stitch during assembly?
Don’t worry! To fix a dropped stitch, carefully unpick back to the last row where your stitches are intact and continue crocheting. It’s part of the learning process!
How do I add extra weight to the ferret?
You can introduce a weighted blanket feature by adding pouches of weight into the body. Glass beads or pellets work well for this purpose. Just ensure they’re securely contained.
Leave a Reply