
While flipping through my yarn stash, I stumbled upon vibrant yellows and luscious greens that instantly danced in my mind. Enter the Sunflower Pocket Doll—an adorable amigurumi project designed specifically for beginners. This playful doll captures the essence of a summer garden with its cheerful colors and charming simplicity. With just a few hours of quick assembly, you’ll have a pocket companion that spreads joy wherever it goes. The best part? The materials you need are likely hiding in your stash, making this a delightful stash-buster project! You’ll find yourself infusing warmth into your crafting space as you work on this whimsical piece. The cozy aesthetic, combined with the ease of construction, is enough to spark curiosity for your next crafting adventure. How might you personalize your very own sunflower pocket doll?
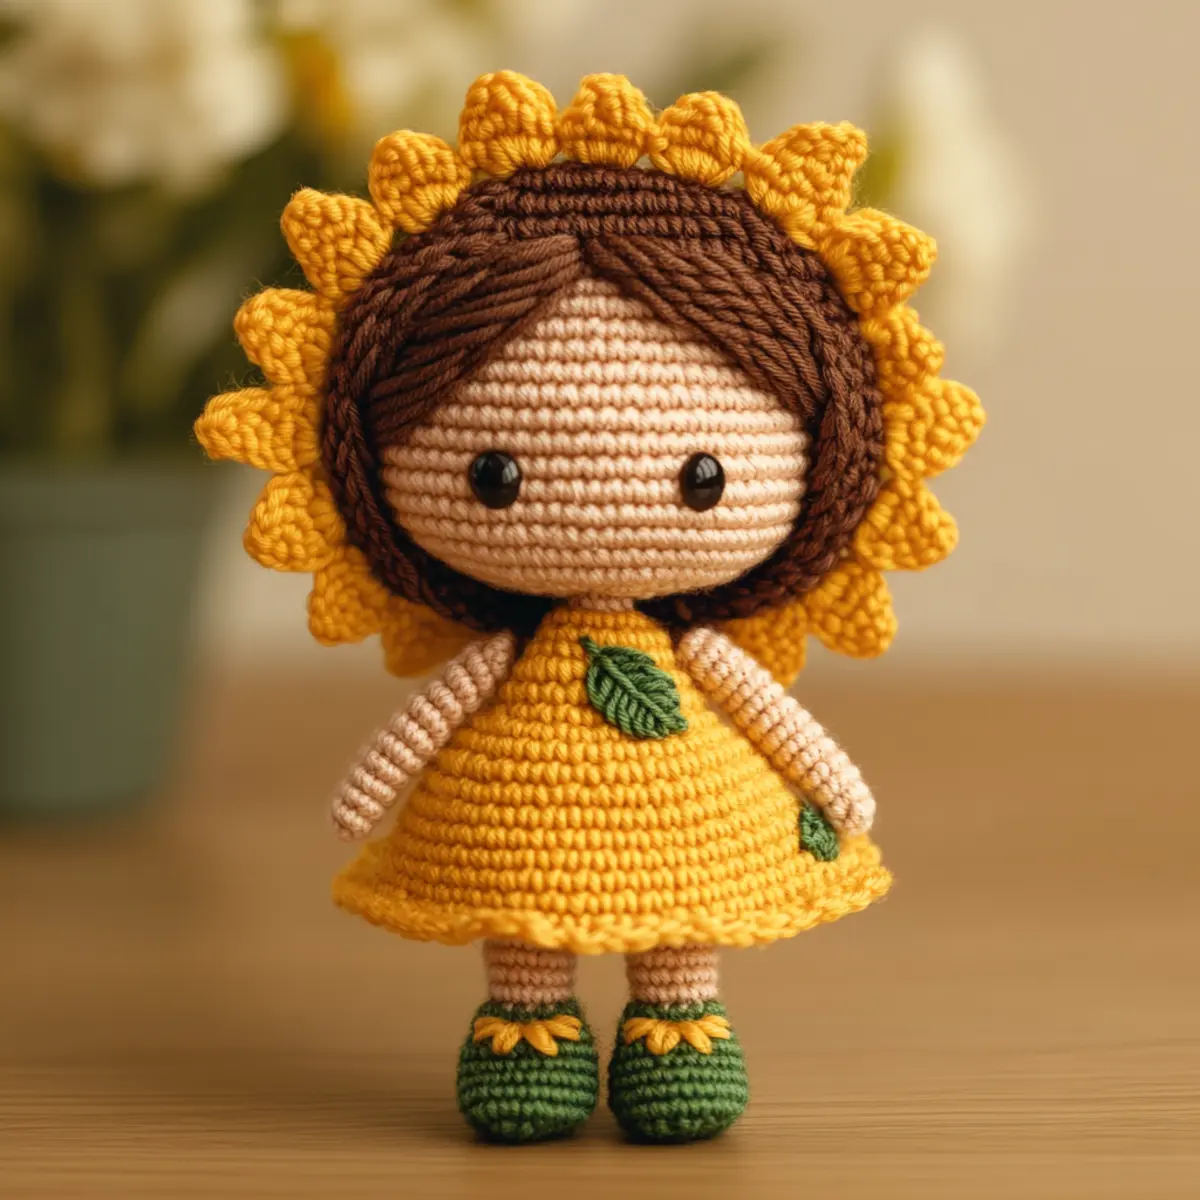
Sunflower Pocket Doll Materials & Tools
Yarn
Sport-weight cotton yarn – Approximately 150-200 yards total; use vibrant yellow for the dress and petals, rich brown for the hair, soft cream for the face, and fresh green for the leaf accent and shoes.
Tools & Notions
2.25 mm to 2.75 mm crochet hook – Use these sizes to create tight stitches for the doll’s body.
Yarn needle – Essential for weaving in ends neatly.
6 mm safety eyes – For an adorable facial expression that brings your sunflower pocket doll to life.
Polyester fiberfill stuffing – Provides a plush, cuddly finish to your completed doll.
Scissors – To cut your yarn smoothly while crafting.
Stitch markers – Helps keep track of your rounds as you crochet the doll, preventing confusion later.
Why You’ll Love This Pattern
First, you’ll appreciate the simplicity of this pattern, making it perfect for those just starting their crochet journey. With a straightforward construction method, even novice crafters can confidently create their own customized companion. Next, the texture of the finished product is delightful, featuring soft cotton yarn that feels great against the skin. You can also enjoy the stash-friendliness of this project, as it utilizes sport-weight yarn remnants you may already have. For those looking to add a personal touch, this pattern allows for easy customizability—experiment with colors and embellishments like beads for a unique flair! Additionally, the Sunflower Pocket Doll exudes aesthetic appeal, providing a cheerful presence in your home or as a thoughtful gift. Whether you’re making it for yourself or a loved one, this project echoes the joy of crafting. Also, be sure to check out these ideas to enhance your experience: Explore unique embellishments.
Gauge & Sizing Notes for Sunflower Pocket Doll
Checking your tension is crucial for the Sunflower Pocket Doll project. This piece measures approximately 5 to 5.5 inches (13-14 cm) tall when completed. A standard 4×4 inch (10×10 cm) gauge is vital to ensure that your doll is the perfect size; any discrepancies may affect the overall look and portability. If your gauge swatch isn’t matching, try using a smaller hook size or varying your yarn tension for tighter stitches. To resize your doll, simply adjust the starting chain or rounds—use a longer chain for a bigger doll, and keep the stitch counts proportional for even shaping. Adjusting tension and understanding your gauge will lead to a successful and adorable Sunflower Pocket Doll every time!
Step-by-Step Pattern for Sunflower Pocket Doll
Row 1: Create the Head
Start with soft cream yarn and make a magic ring. Work 6 sc into the ring and tighten. This forms the base of the head, ensuring a solid foundation for the doll’s features. (6)
Row 2: Build Up the Head
In this round, add 2 sc in each st around to increase size. It’s important to keep your tension even for a smooth finish. Keep track of stitches to maintain a round shape. (12)
Row 3: Continue Shaping the Head
Work 1 sc in the next st, 2 sc in the next st to slowly increase the size. This technique keeps the shape uniform while gently growing the head. (18)
Row 4: More Increases
For this round, switch to 1 sc in each of the next 2 sts, 2 sc in the next. This creates a nice rounded form on the head, crucial for achieving the pocket doll’s charming features. (24)
Row 5: Final Head Round
Continue with 1 sc in the next 3 sts, 2 sc in the next. This will create a larger opening for stuffing. Remember to count your stitches carefully to maintain a consistent shape. (30)
Row 6: Stuffing the Head
Now it’s time to stuff the head with polyester fiberfill. Ensure it’s evenly distributed for a nice round shape. Tension in your stitches should keep the stuffing from escaping.
Row 7: Closing the Head
To shape the head, start decreasing by using 1 sc in the next 3 sts, dec. This begins pulling the head closed. Maintain your tension for an even finish. (24)
Row 8: Final Decrease Round
For this round, work 1 sc in the next 2 sts, dec all around. Continue to pull the head tighter. Use a yarn needle to weave in any ends after stuffing fully. (18)
Row 9: Add Hair
Using rich brown yarn, create curls. Start by making curls with small loops of yarn and attach them to the top of the head using slip stitches. Position them around to frame the doll’s face nicely.
Row 10: Create the Body
With yellow yarn, chain 2 and start the body with 6 sc in the 2nd ch from the hook. This will form a solid base for the darling Sunflower Pocket Doll’s dress. (6)
Row 11: Build the Body
Continue increasing with 2 sc in each st around for the next round. This allows the dress section to widen, giving the doll an adorable skirt effect. (12)
Row 12: Add Ruffle Effect
For a ruffled look, work 1 dc in each st for the following round. This playful design feature adds character to the doll, making it visually appealing. (12)
Row 13: Attach the Arms
For the arms, create two small tubes with yellow yarn using sc and attach them to the body with slip stitches. Place them symmetrically to enhance the charm of the doll.
Row 14: Finish with Legs and Leaves
Finally, use green yarn for the legs and leaves. Chain 5 and sc back down to create simple legs. For leaves, use a combination of stitches to form the pointed shape and attach to the body securely.
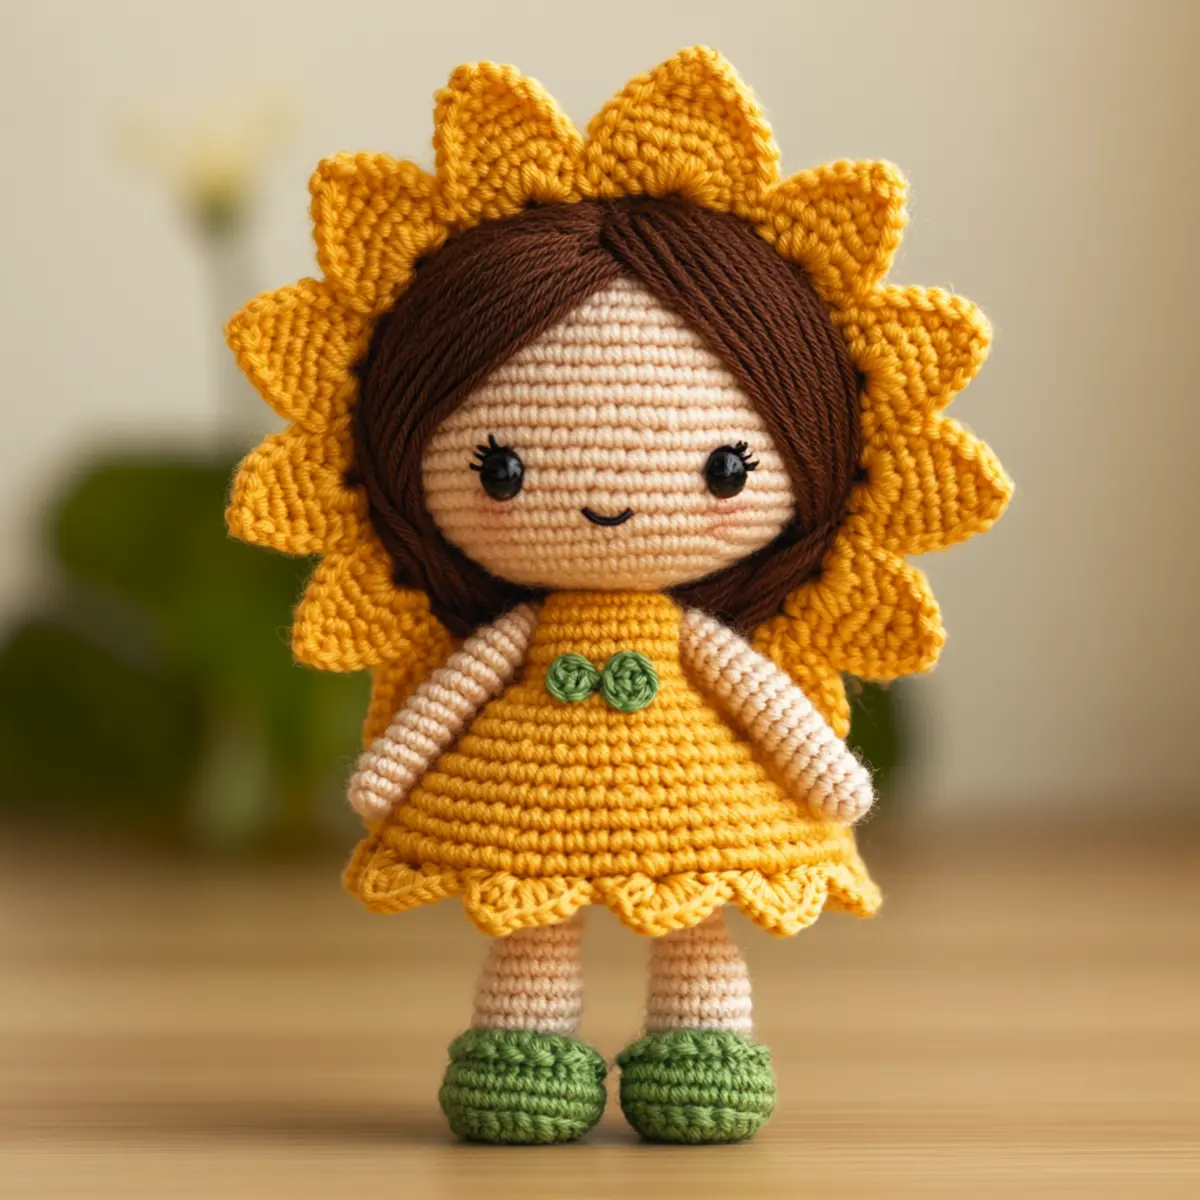
How to Wash and Care for Your Sunflower Pocket Doll
Machine Washing: If necessary, place the doll in a mesh bag and use a gentle cycle with cold water to prevent damage to delicate stitches and embellishments.
Hand Washing: It’s best to hand wash your sunflower pocket doll in cool water with mild detergent. Gently squeeze out water without wringing to preserve the shape.
Drying: Always lay your doll flat to dry, reshaping any areas that may have squished during washing. Avoid direct sunlight to prevent color fading.
Storage: When not in use, store your sunflower pocket doll in a cool, dry place away from direct sunlight to maintain its vibrant colors and soft texture.
sunflower pocket doll variations
Feel free to let your creativity shine by customizing your sunflower pocket doll!
- Color Combos: Experiment with different dress shades like light pink or lavender for a whimsical effect that captures attention.
- Yarn Types: Swap out cotton for soft bamboo yarn to give your doll a unique texture and a different drape.
- Accessories: Add fabric flowers or beads as embellishments to personalize your doll and enhance its character.
- Size Options: Change the doll’s dimensions by using a thicker yarn or larger crochet hook, giving you a plush, bigger version for display.
- Facial Features: Use embroidery floss for facial details or unique safety eyes to create different expressions—a fun way to create a collection.
- Footwear Fun: Instead of crocheted shoes, consider attaching tiny felt or faux leather boots for a trendy touch!
- Embellishment Techniques: Incorporate unique stitches for hair, like the popcorn stitch, to give your sunflower pocket doll more personality. This adds depth and visual interest to the project, encouraging even more skill exploration.
- Theme Variations: Create themed versions such as seasonal dolls, or party dolls that match your celebration themes, making your crochet journey even more enjoyable. Diving into these variations not only enhances your making experience but also sparks joy every time you see your customized doll! Check out some color trends for inspiration and share your creations beneath our community platform.
Expert Tips for the Best Sunflower Pocket Doll
Tension Control: Ensure that your tension is consistent; too loose stitches can create gaps when stuffing. Strive for a tight, uniform appearance.
Count Your Stitches: Properly counting your stitches is crucial. Using stitch markers will help keep track of your rounds and prevent mistakes.
Twisted Chains: Avoid twisting your foundation chain; this common mistake can mess up the entire shape of the doll. Always check before beginning the first row.
Doll Assembly: Assemble the limbs securely; ensure they are firmly attached to the body for stability. This will enhance both the look and the durability of your sunflower pocket doll.
Finishing Touches: After finishing, lightly blocking the doll will help enhance its shape. A gentle mist and flat lay dry method work wonders for details like the ruffled skirt.
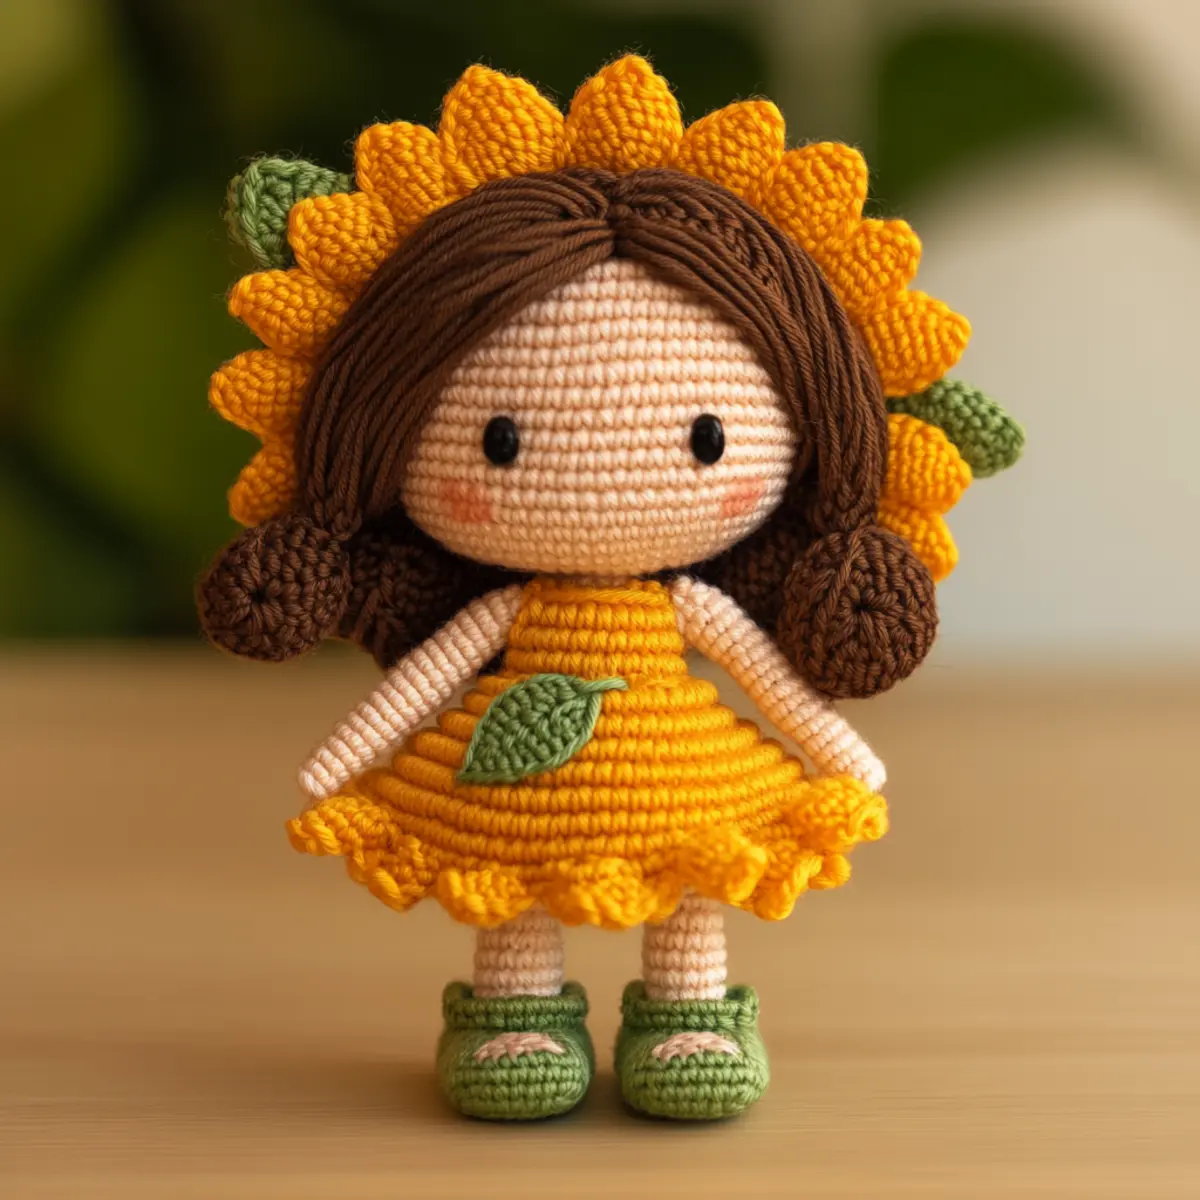
Sunflower Pocket Doll FAQs
Can I use different yarn for this project?
Absolutely! You can use any sport-weight yarn that suits your desired colors. Just ensure that you maintain a similar gauge for the best results.
What if I want to make a larger doll?
To resize, use a thicker yarn or a larger hook size. This approach will yield a bigger sunflower pocket doll without compromising the overall design.
How can I fix dropped stitches while crocheting?
Don’t panic! You can always use a crochet hook to pick up the dropped stitch and pull it through the last row, ensuring it’s tight and secure.
What hook size should I use?
For the sunflower pocket doll, a crochet hook between 2.25 mm and 2.75 mm (US B-1 to C-2) is recommended to ensure tight stitches and proper structure.
How do I customize the facial features?
You can personalize the doll’s face by using embroidery floss for added detail or vary the color of safety eyes to create diverse characters in your collection.
What if my stitches curl up?
Curling is usually due to too tight tension or too few stitches. Ensure your tension is even throughout, and follow the increase steps closely to prevent this issue.
Leave a Reply