
Walking through a yarn shop last weekend, I stumbled upon the most delightful mint green yarn, instantly transporting me back to childhood memories of rubber ducks floating in bathtubs. Inspired by that nostalgic moment, I decided to design a crochet rubber duck that would bring joy not just to kids, but to anyone who appreciates a whimsical DIY project. This adorable amigurumi rubber duck is not only beginner-friendly but also a quick stash-buster, making it perfect for crafters at any skill level. The simple techniques required will boost your confidence as you work, allowing you to create a cuddly companion that can be customized in color and accessories. Just think of the endless possibilities to personalize your new friend! With such a charming pattern in hand, I can’t help but wonder what unique twist you’ll add to your own rubber duck creation.
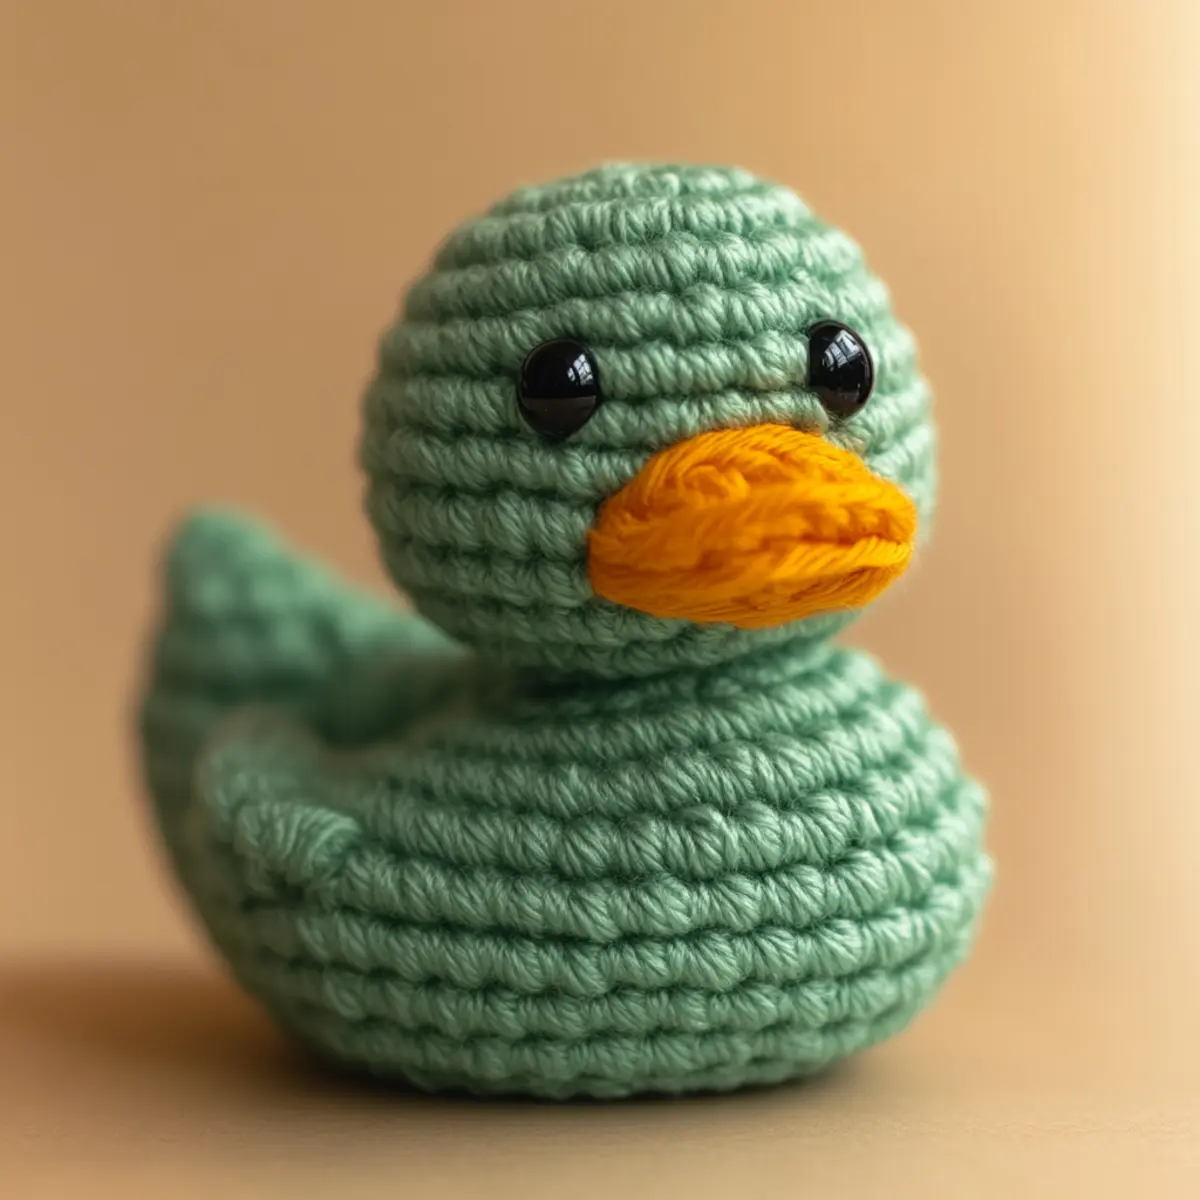
Crochet Rubber Duck Materials & Tools
Yarn
Medium worsted weight yarn – Approximately 100 yards of mint green yarn for the duck body, small amounts of yellow for the beak, and black for the eyes.
Tools & Notions
4.0 mm (G) or 5.0 mm (H) crochet hook – Choose a size based on your tension preferences for a well-shaped duck.
Safety eyes (10-12 mm) – Position them carefully to enhance the duck’s cuteness.
Yarn needle – Essential for sewing in ends and attaching the beak.
Stitch markers – Helpful for tracking your rounds, especially in amigurumi patterns.
Why You’ll Love This Pattern
Crafting this amigurumi rubber duck is a delightful experience that offers multiple enticing features. Simplicity is a key factor—the basic stitches make it easy for beginners to follow along, ensuring a satisfying crafting journey. Texture plays a significant role in making this rubber duck so cuddly; the yarn’s plush feel adds an inviting touch to its round form. If you love stash-busting, this project utilizes only about 100 yards of yarn, making it a fantastic opportunity to use up those leftover skeins. Customizability is another standout quality; whether you choose traditional yellow or a fun neon hue, you can make this duck your own. Not to mention, finishing your duck quickly means you’ll be able to enjoy your creation sooner, too. Check out our Yarn Guide for tips on selecting the best materials, and don’t forget to explore our Amigurumi Basics for more techniques to enhance your new skills!
Gauge & Sizing Notes for Crochet Rubber Duck
Checking your tension is fundamental for crafting this crochet rubber duck, as it ensures that your final product has a consistent and appealing shape. The standard gauge measurement is 4×4 inches (10×10 cm) for 12 dc stitches and 10 rows. If you find that your swatch doesn’t match the gauge, adjust your hook size accordingly—use a larger hook if your gauge is tight, or a smaller hook if too loose. Since tension can significantly affect the size of your finished duck, you may also modify the starting chain and rounds. For instance, if you want a smaller duck, reducing the starting chain by a few stitches can lead to a cute mini version! A final tip: if your rubber duck appears too big or too small, revisit those initial rounds and make adjustments to achieve that perfect size suited for little hands or as a delightful decor item.
Step-by-Step Pattern for Crochet Rubber Duck
Row 1: Create the Base Start with a magic ring and 6 sc into the ring, tightening the magic ring as you finish. This forms the base of your rubber duck’s body; remember to count your stitches, you should have (6).
Row 2: Increase the Body Work 2 sc in each st around for a total of 12 sc. This crucial round starts giving your duck its round shape, an important feature for the adorable look of your crochet rubber duck (12).
Row 3: Continue Growing Make 1 sc in the first st, and then inc in the next st; repeat around for a total of 18 sc. You’ll be shaping the body more distinctly, encouraging the roundness that makes this creature so huggable (18).
Row 4: Keep Expanding Now, sc in the first 2 st, then inc in the following; repeat around for a total of 24 sc. This step helps balance the increase while keeping the shape uniform, so your crochet rubber duck appears perfectly rounded (24).
Row 5: Creating Height Sc in the first 3 st, then inc in the next; repeat all around for 30 sc. The body should start taking its true form now, starting to grow vertically while maintaining its charming shape (30).
Row 6: Further Shaping It’s time to sc in the first 4 st, then inc in the next. Continue this pattern around for a total of 36 sc. You are building a robust and whimsical presence for your rubber duck with this step (36).
Row 7: Begin Neck Transition Now sc in the first 5 st, then inc in the next; repeat this around for a total of 42 sc. This transition towards the neck is vital for shaping your rubber duck’s head in the next few rows (42).
Row 8: Move to the Neck Sc in the next 6 st and then inc in the following st; repeat for 48 total sc. It is key to ensure the formed neck is proportionate to the body, as your crochet rubber duck will need balance (48).
Row 9: Start the Head Sc in the first 7 st, then inc; repeat around for 54 total sc. This round features more increases to give your duck a prominent head, further enhancing its cute features (54).
Row 10: Keep Building the Head Sc in the first 8 st, then inc in the next; repeat for a total of 60 sc. As the head begins shaping, focus on ensuring a smooth transition to allow for easier assembly later (60).
Row 11: Create the Beak Ch 5, then sc in the second ch from your hook and in each of the next 3 ch, leaving you with 4 st. This forms the beak’s base, which is crafted separately for accurate placement later on (4).
Row 12: Connecting Features Attach the beak to the head using your yarn needle; it’s best placed just above the body’s neck. With careful finishing, it will give the crochet rubber duck that signature charm, making it instantly recognizable. Securely weave in all ends and safely attach safety eyes for a delightful expression, placing them about 4-5 rows above the beak.
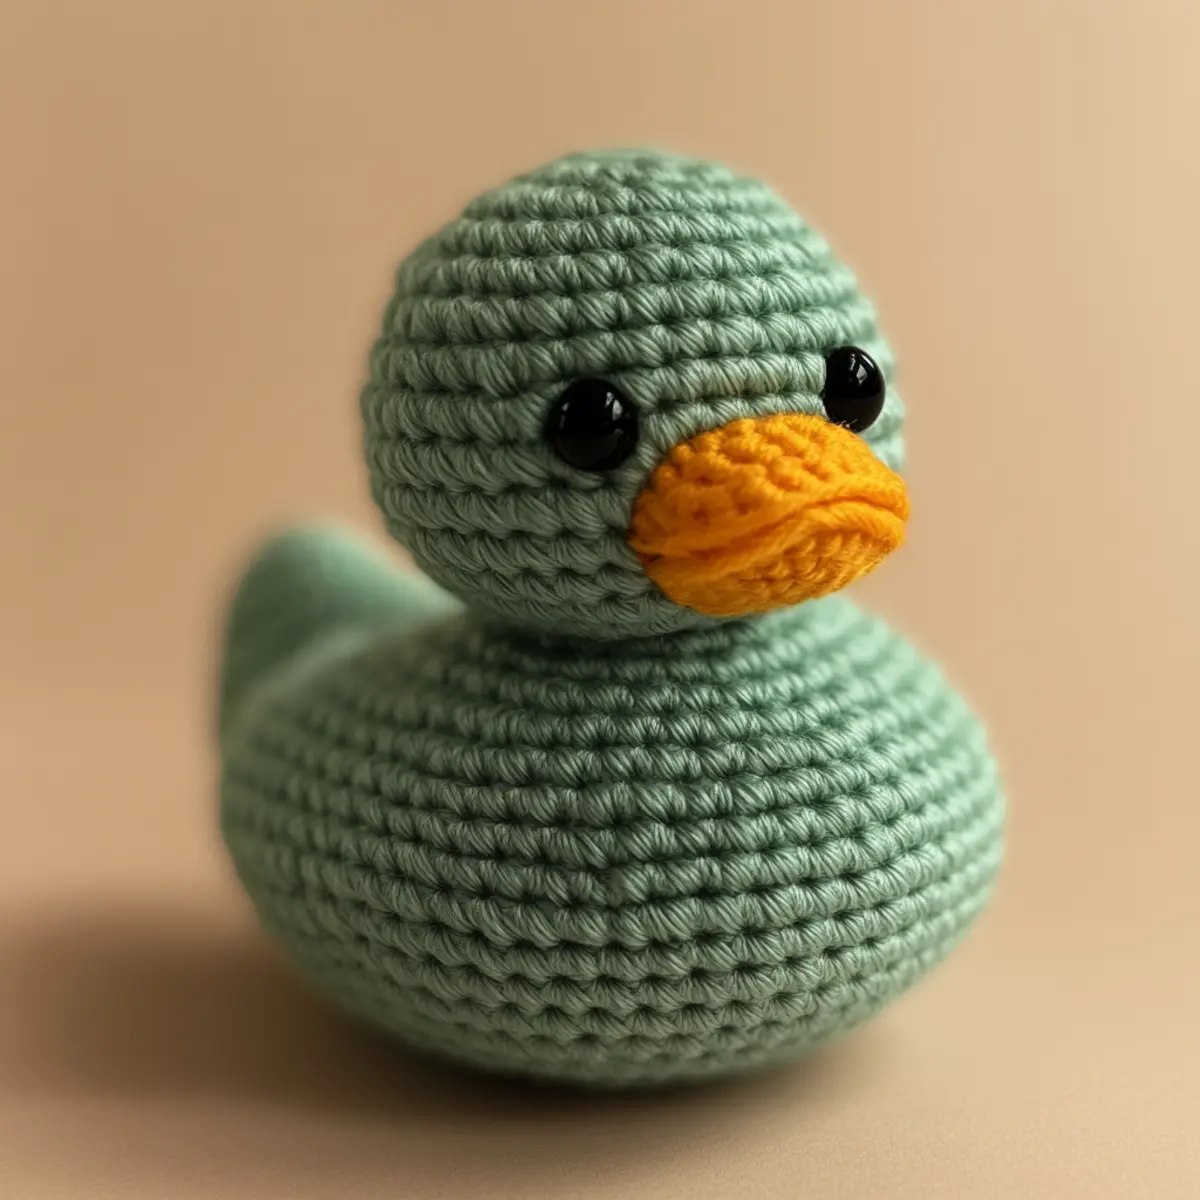
Expert Tips for Crochet Rubber Duck
Stitch Counting: Always count your stitches after each round, especially after increases. Losing count can lead to an uneven shape.
Use Stitch Markers: Place a stitch marker at the beginning of each round. This will help you keep track of your progress and avoid dropped stitches.
Foundation Chain: Ensure your magic ring is snug but not too tight. A twisted foundation chain can lead to a malformed duck; tug on it gently before you start.
Watch Tension: Maintain consistent tension throughout your work. Loose stitches can result in gaps for stuffing to poke through, ruining the cute charm of your crochet rubber duck.
Eye Placement: Pay careful attention to where you place the eyes. Improper positioning can alter the adorable demeanor of your duck dramatically!
Crochet Rubber Duck Variations
Feel free to personalize your amigurumi rubber duck with these fun ideas!
- Color Options: Choose classic yellow for nostalgia or vibrant neon shades for a modern twist.
- Yarn Types: Swap acrylic yarn for cotton blends for a softer, eco-friendly finish, maintaining durability.
- Size Change: Use a larger hook and bulkier yarn for a big, huggable duck, or fine yarn for a mini version.
- Accessory Additions: Dress up your duck with a cute bow tie or a whimsical hat made from scrap yarn to enhance individuality.
- Texture Play: Incorporate different stitch techniques like bobbles or textures for an engaging and unique look.
Creating your rubber duck with a partnered buddy can be a fun experience! Imagine crafting ducks of different sizes and colors together, leading to a whole collection of whimsical friends. This collaborative spirit of crafting can turn a simple project into a fun memory, encouraging creativity. Don’t hesitate to check out our Basic Crochet Techniques and Amigurumi Tips for more guidance and ideas!
How to Wash and Care for Your Crochet Rubber Duck
Machine Washing: If you opt for machine washing, use a gentle cycle in cold water. Avoid any heavy agitation that could deform your rubber duck.
Hand Washing: For best results, hand wash in lukewarm soapy water, carefully squeezing the duck instead of twisting, to maintain its shape and plush texture.
Drying: Always lay your crochet rubber duck flat to dry. Avoid hanging, as this can distort the shape. Be patient to keep it looking divine!
Blocking: Blocking is usually unnecessary for amigurumi, but a gentle steam can smooth any uneven stitches without overdoing it. Just be cautious to keep heat away from safety eyes.
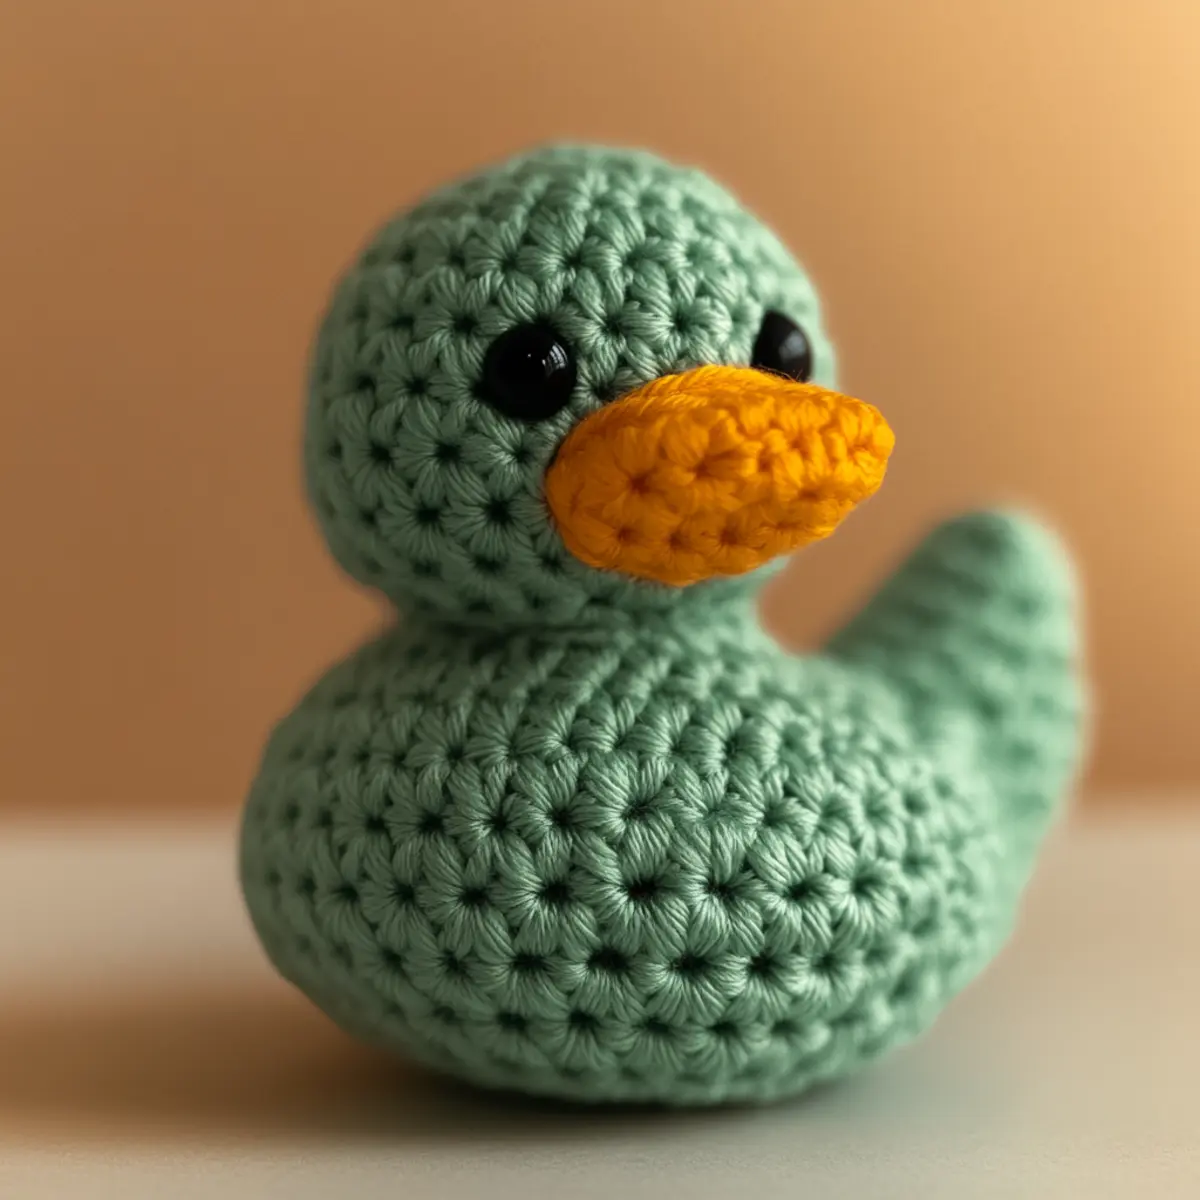
Crochet Rubber Duck FAQs
Can I use different yarn for crochet rubber duck?
Absolutely! You can use any worsted weight yarn; just adjust your hook size if the gauge changes. Cotton blends work great for durability and easy washing.
How do I make my rubber duck bigger?
To enlarge your duck, switch to a thicker yarn and use a larger hook. You can also adjust the number of rounds in the body, ensuring the proportions look cute!
What should I do if my stitches are too tight?
Don’t panic! If your stitches are tight, switch to a bigger hook to loosen your tension. This will ensure a more comfortable stuffing later on.
How do I troubleshoot curling edges?
If edges curl, it’s often because the tension is too tight. Checking your gauge and loosening your grip can help resolve this issue for a beautifully shaped crocoduck.
Can I adjust the size of the eyes?
Definitely! Using smaller or larger safety eyes can contribute to various adorable looks. Just keep in mind how their size will affect the overall cuteness of your crochet rubber duck!
What if I accidentally dropped a stitch?
Don’t stress! You can often crochet the dropped stitch back up. If it’s too far back, gently unravel a few rounds to fix the issue carefully.
Leave a Reply