
Crafting this whimsical watermelon turtle crochet pattern offers a delightful escape into creativity. As I sat down with my yarn, it quickly turned into a vibrant project that brings joy both in the making and the final reveal. This crochet turtle pattern serves as a charming reminder that crochet can be a playful and satisfying experience. What makes it truly irresistible is its quick assembly time—perfect for beginners and seasoned crafters alike. Plus, the soft, plush chenille yarn not only feels heavenly but doubles as a versatile piece, easily transitioning from a cuddly toy to a chic decorative element in your home. In this blog post, I’ll guide you through the journey of creating your very own watermelon-themed turtle, providing tips to make the process seamless and enjoyable. Plus, there’s always room for creativity! Would you opt for a different color palette or embellishment?
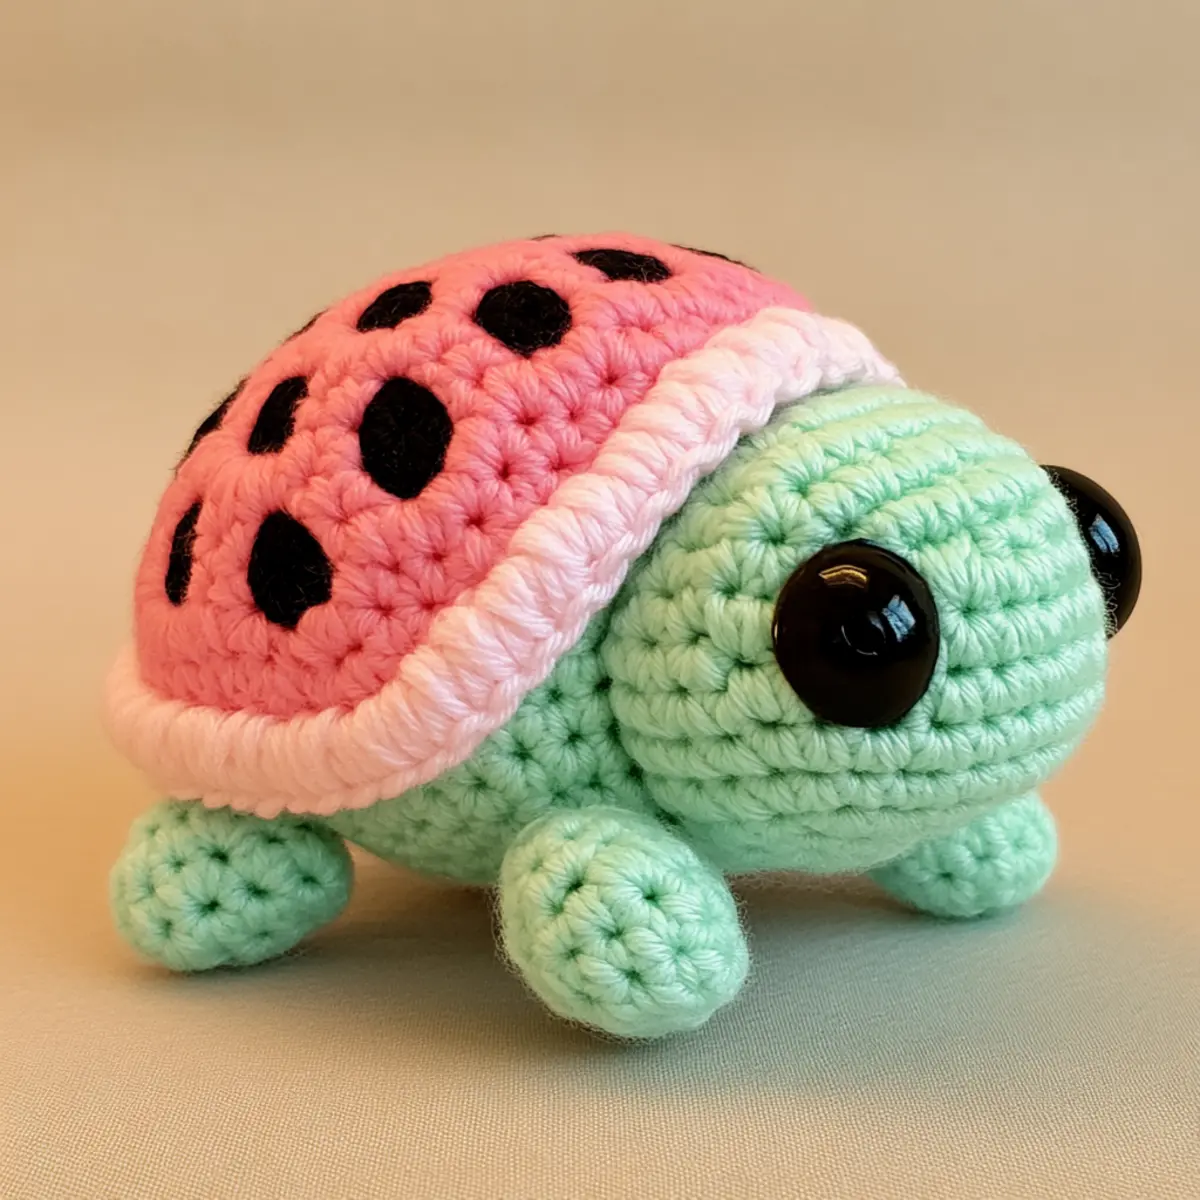
Crochet Turtle Pattern Materials & Tools
Yarn
Plush chenille yarn – Choose pastel pink and mint green to replicate the watermelon effect; approximately 150 yards should suffice.
Tools & Notions
Crochet hook – Use a 4.5 to 5 mm (US G-H) hook for your crochet turtle pattern.
Safety eyes – An 8 mm black safety eye will bring your turtle to life.
Polyester stuffing – Helps maintain the plush feel and adds durability to your cute creation.
Yarn needle – Necessary for assembly, ensuring all parts fit together seamlessly.
Scissors – Perfect for any necessary yarn cuttings during the making process.
Why You’ll Love This Pattern
Simplicity is at the forefront of this crochet turtle pattern, making it accessible for crafters of all skill levels. Textured with the plush vibes of chenille yarn, your finished turtle will radiate coziness, enhancing any decor. It’s a fantastic stash-buster, allowing you to utilize leftover yarn remnants while creating something fun and visually appealing. You’ll appreciate its customizability—mix up colors or tweak sizes to suit your creative vision. Not to mention, it’s a time-saving project that can easily be completed in a weekend, giving you a satisfying sense of accomplishment. Check out the tips for crochet beginners or explore different designs to elevate your crafting game; you won’t regret diving into this whimsical world of crochet!
Gauge & Sizing Notes for Crochet Turtle Pattern
Maintaining proper tension is vital while crafting your crochet turtle pattern to ensure that each part fits snugly together during assembly. A standard gauge of 4×4 inches (10×10 cm) should yield approximately 12 sc across and 14 rows down. If you find that your gauge does not match, be prepared to adjust your starting chain or rounds to resize your turtle. If your swatch ends up larger, consider using a smaller hook, and if it’s smaller, switch to a larger one. Remember, the adorable watermelon turtle should eventually measure about 8 inches in length. With consistency and skill, your crochet turtle pattern can be personalized further—maybe experimenting with different colors or yarn types that suit your creative vision. Don’t forget, the plush chenille yarn enhances the overall cozy feel!
Step-by-Step Pattern for Crochet Turtle Pattern
Row 1: Make the Head Begin by creating a magic ring (MR) and crocheting six single crochet (sc) into it. This will form the base of the head, establishing a solid start for your whimsical watermelon turtle (6 sc).
Row 2: Increase the Head In the next round, make an increase (inc) in each stitch around, totaling twelve stitches. This shaping begins to provide a rounded look at the top of your turtle’s head, allowing it to swell satisfactorily (12 sc).
Row 3: Continue Increasing Now, crochet one sc in the first stitch, then inc in the next stitch. Repeat this pattern around to have eighteen stitches. This helps to build out the shape of the head further without making it too big just yet (18 sc).
Row 4: Shaping the Head Crochet two single crochets in each of the first two stitches and one in the next. Repeat this for a total of twenty-four stitches. You will notice the head becoming more defined with each round (24 sc).
Row 5: Final Head Row Continue to maintain the shape by crocheting three sc in the first three stitches and an increase in the next. Close this round with thirty stitches, completing the head structure (30 sc).
Row 6: Start the Body Transition to making the turtle’s body by again starting with a magic ring. Crochet six sc. This initial round is crucial for supporting the structure and establishing the core of the watermelon design pattern (6 sc).
Row 7: Body Foundation Create an inc round similar to before, ensuring all aspects match the head. This will give consistency in size, allowing smoother assembly later on. You are aiming for a total of twelve stitches once done (12 sc).
Row 8: Shape the Shell Work a round consisting of two sc followed by an inc stitch, repeating this for a count of eighteen. Introduce your first color change into the alternating rounds to get that watermelon vibe going. Color changes enhance the cute visual cue (18 sc).
Row 9: Further Shaping For round nine, crochet one sc in each of the first three stitches, followed by an inc. Your shell should start to bulge nicely, rounding out the body of your turtle with a total stitch count of twenty-four (24 sc).
Row 10: Round the Body This round builds even more volume. Use the method of four sc in the first four stitches followed by an inc, repeating around for a total of thirty stitches. It should look significantly fuller and cuter at this stage (30 sc).
Row 11: Legs Creation For the turtle’s legs, start with six sc in a magic ring. Make a total of four legs, keeping everything uniform in size. They need consistency for a balanced look. Each leg should measure with six sc at the base (6 sc).
Row 12: Finishing Touches Lastly, crochet the tail using a basic magic ring of four sc and round off the body by sewing the legs and tail onto the completed shell with a yarn needle. Ensure everything is stitched securely for final assembly, resulting in an adorable turtle ready for rooting (4 sc).
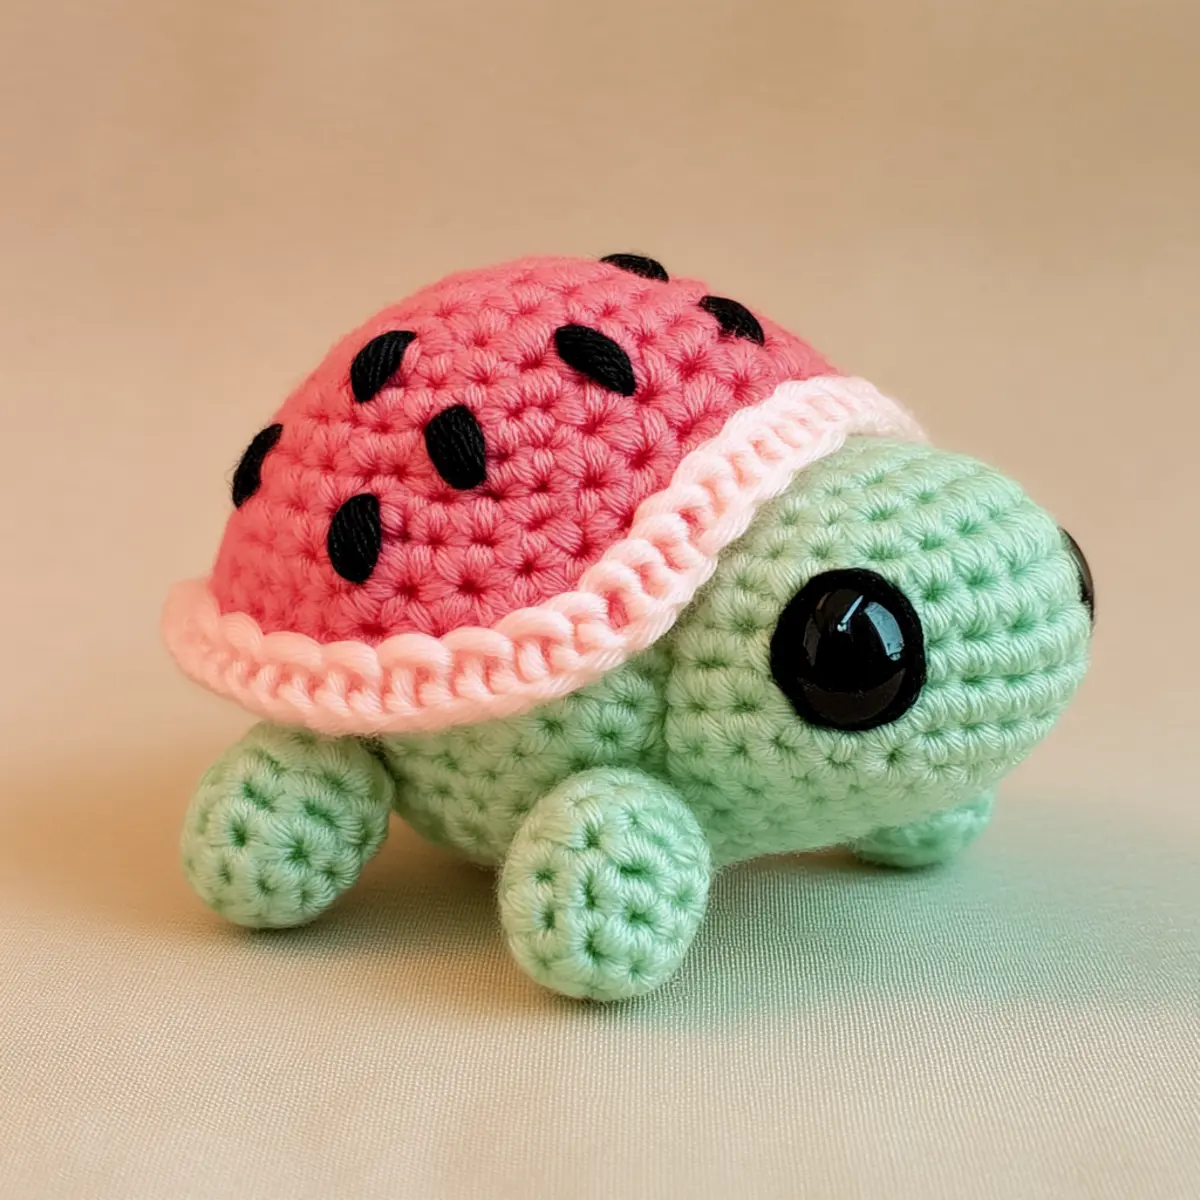
How to Wash and Care for Your Crochet Turtle
Machine Washing: If you choose to wash it in a machine, use a gentle cycle with cold water to maintain the integrity of the plush chenille yarn. Always place it in a mesh bag.
Hand Washing: For better results, hand wash your crochet turtle in lukewarm water with mild detergent; gently press without wringing to remove dirt.
Drying: Lay your turtle flat on a clean towel to dry. Avoid hanging it up as it may stretch or lose its shape.
Storage: Store it in a cool, dry place away from direct sunlight to prevent color fading. Maintain its plush texture by ensuring it is stored without heavy compression.
Expert Tips for Crochet Turtle Pattern
Track Your Stitches: Using stitch markers can help you keep track of rounds and prevent losing count. Losing track can lead to an uneven shape.
Avoid Dropped Stitches: Make sure to pay attention while crocheting to avoid dropped stitches, especially in the intricate shell part of the turtle.
Consistent Tension: Maintain a consistent tension while crocheting, particularly during the increases for the head and body to achieve a uniform look.
Twisted Chains: Ensure your foundation chain is not twisted initially. A twisted chain can cause frustration during assembly.
Experiment with Colors: Feel free to mix up the pastel colors or use bright hues for a modern twist on the traditional watermelon turtle. Your crochet turtle pattern can stand out uniquely!
Blocking for Shape: Once finished, consider blocking your turtle to help it hold its shape better, especially the shell which can be more prominently defined.
crochet turtle pattern variations
Feel free to personalize your project with these fun twists!
- Color Swaps: Easily change the colors to incorporate bright oranges and yellows for a tropical vibe. This changes the entire theme and can attract attention.
- Yarn Alternative: Substitute plush chenille yarn for cotton yarn for a more durable finish, making it suitable for outdoor decor.
- Size Adjustments: Alter your hook size to create a larger or smaller turtle. This can be particularly useful for different gift sizes or display preferences.
- Embellishments: Personalize with additional features like a patterned shell or a cute bow on the turtle’s neck. This adds character and uniqueness to your project.
- Species Variations: Create different species such as a bright sea turtle using teal and navy yarn. This encourages experimenting with patterns and provides great variety in your collection.
- Textural Changes: Introduce a textured yarn for the body for an eye-catching look. This adds visual interest and makes your turtle stand out.
- Crochet with Friends: Host a crochet party and create a collection of turtles each with different themes. Share stories and tips while enjoying the creative process together.
- Add Safety Features: If this is intended as a gift for a child, consider stitching all eyes and embellishments securely to avoid choking hazards. Safety first while crafting with love!
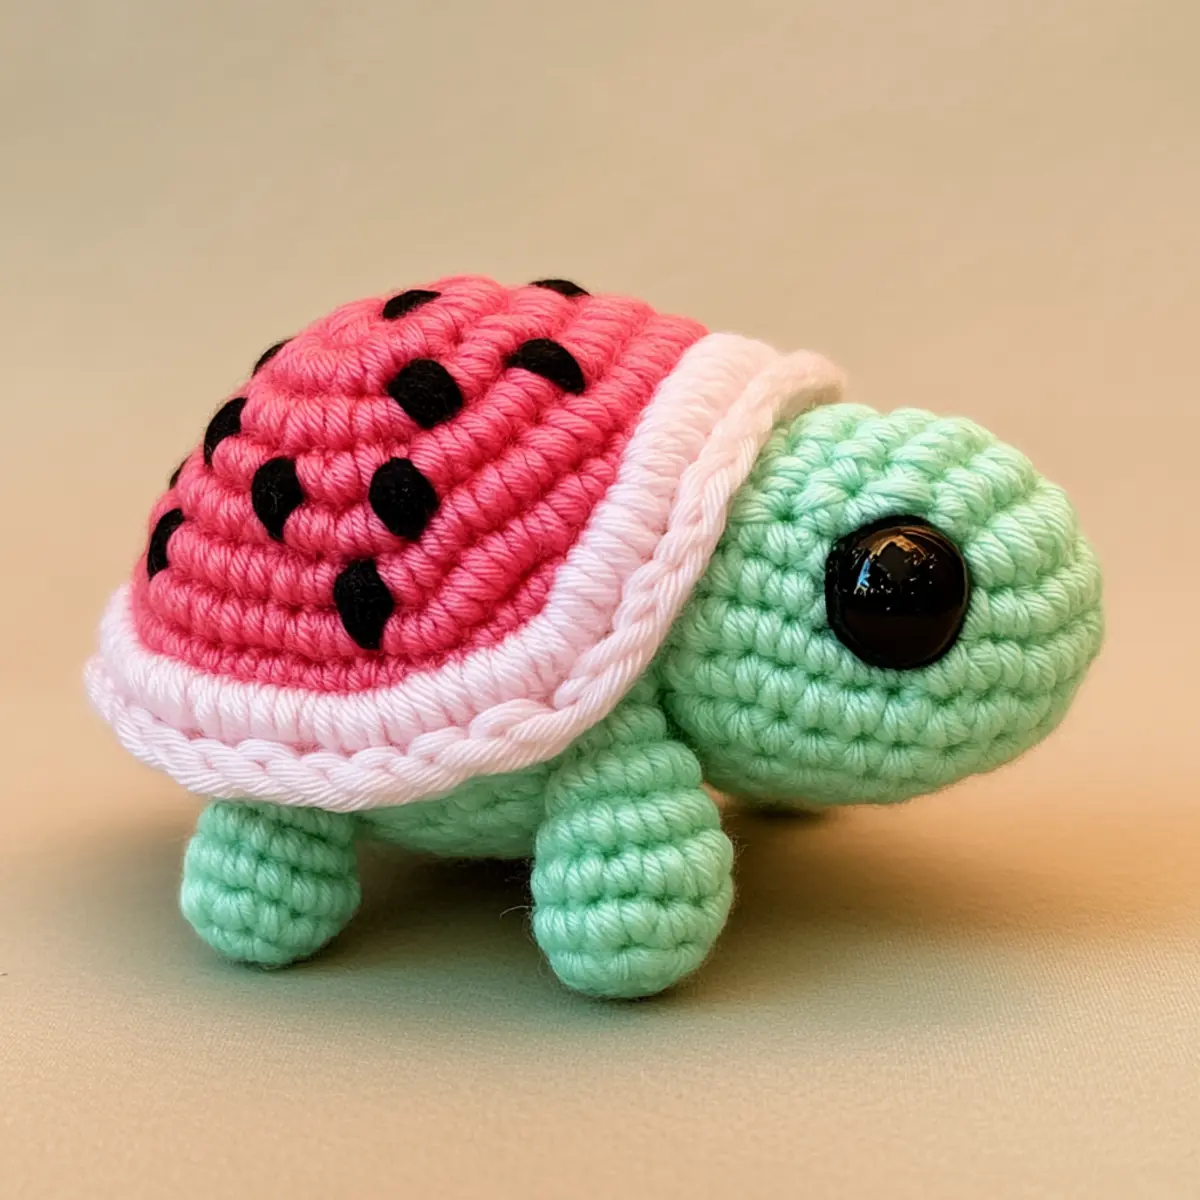
Crochet Turtle Pattern FAQs
Can I use different yarn for this pattern?
Absolutely! While the plush chenille yarn is recommended for a soft feel, you can use cotton or acrylic yarn; just make sure it’s of similar weight for best results.
How do I adjust the size of the turtle?
You can adjust the size by changing your hook size. A larger hook will create a bigger turtle, while a smaller hook will yield a smaller figure, allowing you to personalize your project as desired.
What should I do if my stitches are curling?
Don’t panic! Curling often occurs due to tension issues. Checking your tension and ensuring you work in the right yarn weight can help resolve this. Additionally, blocking may help flatten any curled edges.
How do I fix a dropped stitch?
To fix a dropped stitch, simply rip back to the last solid row where you can securely crochet again. Being mindful of your stitches during the process can help avoid this issue in the future.
What crochet hook size should I use?
For this crochet turtle pattern, a 4.5 to 5 mm (US G-H) hook is ideal. It provides the right balance for the plush chenille yarn to create vibrant stitches without being too loose or tight.
Can I personalize my turtle with additional features?
Absolutely! You can add bows, extra facial features, or even different color patterns to give your turtle a unique twist. Let your creativity shine while following the crochet turtle pattern!
Leave a Reply