
There’s something truly magical about the tactile joy of crochet. The other day, I found myself swept away by the vibrant yarns in my stash, and just like that, the Charming Daisy Crochet Pouch came to life. This delightful project not only allows you to express your creativity with playful colors but also serves as an excellent stash-buster, making it perfect for beginners and experienced crafters alike. The daisy motif offers a nostalgic touch that will add a cheerful vibe to your everyday essentials. Plus, you’ll have a unique pouch to store your treasures! This crochet pouch embodies versatility—use it as a makeup bag, a storage solution, or a stylish little clutch that complements any outfit. As I sat there stitching together the squares, I couldn’t help but feel the warm fuzz of satisfaction that comes from creating something beautiful with my own hands. Are you ready to discover the joy of making your own charming accessory? Let’s dive into this project together!
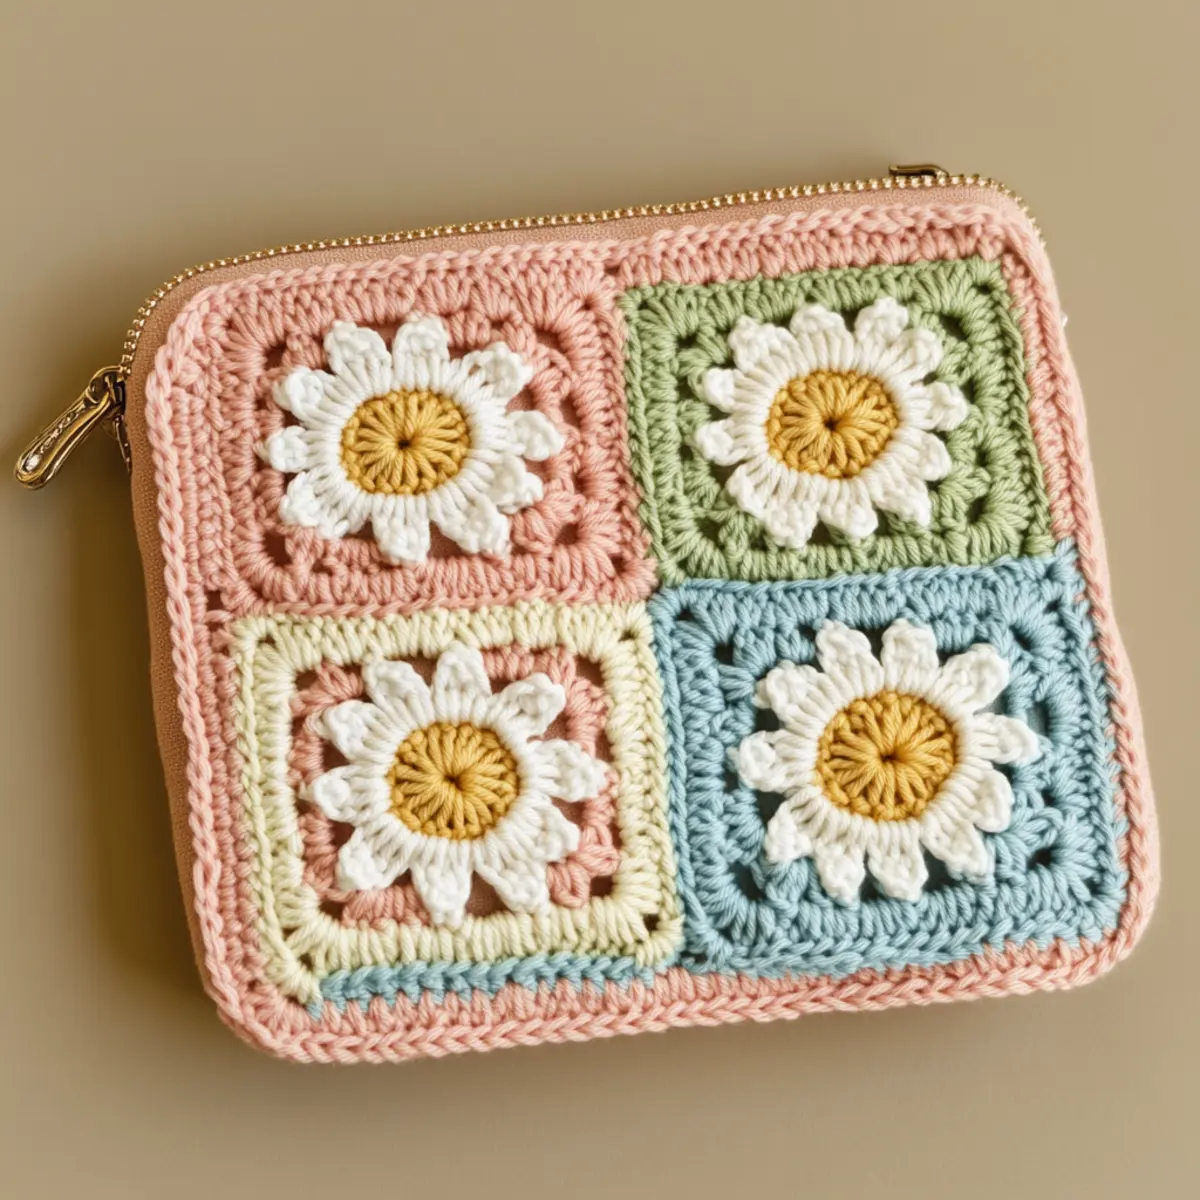
Daisy Crochet Pouch Materials & Tools
Yarn
- Medium weight yarn – Choose cotton or acrylic for softness; you’ll need about 300-400 yards in pink, green, cream, and blue for your daisy crochet pouch.
Tools & Notions
- H-8 (5.0 mm) crochet hook – Perfect for achieving the defined stitches required for granny squares.
- Stitch markers – Essential for keeping track of rounds; use them to measure your progress as you work on the squares.
- Zipper – Look for a closure that fits your pouch dimensions to keep your essentials secure.
- Fabric for lining (optional) – Lining gives your pouch a polished, finished look and additional support.
What Makes This Pouch Special?
The Charming Daisy Crochet Pouch stands out in several delightful ways! Simplicity is at the heart of this design, allowing even beginners to create striking pieces—why not try your hand with colorful accents? Texture is enhanced through the classic granny square pattern, making every angle visually interesting and inviting. It’s also a stash-friendly project, helping you clear out leftover yarn while crafting something useful. Plus, this pouch offers ample customizability—choose your colors, motifs, and even embellishments like tassels or pom-poms for a personal touch. You can find more inspiration in our post about Beginner-Friendly Crochet Projects that pave the way for your DIY journey. Not to mention, the pouch brings a whimsical aesthetic appeal that fits beautifully into various styles, from cottagecore to boho chic. With each stitch, you create a unique piece, making it not just a project, but a heartfelt expression of your creativity.
Gauge & Sizing Notes for Daisy Crochet Pouch
Checking your tension is crucial for the Daisy Crochet Pouch to achieve the right dimensions and shape. A standard 4×4 inch (10×10 cm) gauge should yield approximately 16 dc and 10 rows. If your swatch doesn’t match, consider adjusting the hook size; larger hooks will create looser stitches while smaller ones will tighten your work. Keep in mind that the number of squares used affects the overall size of your pouch; for wider or taller pouches, increase the number of granny squares as needed. This delightful pouch should measure approximately 8-10 inches wide and 6-8 inches tall when finished, so plan your starting chain or rounds accordingly. Each square’s size can be tweaked as you learn, providing versatility in your final product. Whether you wish to make a dainty mini-pouch or a larger statement piece, the daisy crochet pouch is your canvas for creativity!
Step-by-Step Pattern for Daisy Crochet Pouch
Row 1: Create the Daisy Center Start with a magic ring and ch 1. Work 6 sc into the ring and pull to tighten (6 sts).
Row 2: Form the Petals Ch 3 (counts as dc), then dc in the next stitch, ch 2, sl st into the same stitch. Repeat this for a total of 6 petals, ensuring you finish after a sl st (12 sts).
Row 3: Attach Color for Granny Square Switch to your base color; join with a sl st to the first petal. Work 3 dc in each petal’s ch-2 space for a total of 6 clusters around (24 sts).
Row 4: Expanding the Square In the corner spaces created by the clusters, work (3 dc, ch 2, 3 dc) for the corners. In between clusters, make 3 dc, continuing this pattern until you complete the round (48 sts).
Row 5: Create the Next Round Ch 3, dc in the next 3 sts, then work a corner into the corner space. Repeat around, joining with a sl st to the beginning ch (72 sts).
Row 6: Adjust Size if Needed If you wish for a larger square, continue increasing by adding ch-3 spaces or extra dc stitches between corners. Always make sure to maintain the same structure.
Row 7: Finishing the Square When desired size is met, finish with a final round of slip stitches around the edges for a clean finish. This will provide the base for all your squares (calculated based on your increases).
Row 8: Create Additional Squares Repeat steps 1-7 to create 4 squares for your daisy crochet pouch. You can change colors with each square for a cheerful look!
Row 9: Assembly of Squares Lay out your squares in an arrangement you like. Start by sl st to connect the squares together, aligning the edges to form a rectangle or desired shape (keep stitch counts in check!).
Row 10: Adding Zipper Once assembled, lay the zipper against the top edge. Use your hook or sewing needle to securely attach it to the pouch. Be careful to catch both layers (approximately 1 1/2 inches from the top edge).
Row 11: Lining the Pouch (Optional) Cut a piece of fabric lining to match dimensions of the outer crochet pouch. Pin it inside, then sew along the edges, ensuring the lining sits smoothly (this can also be done with fabric glue!).
Row 12: Final Touches Weave in all yarn ends for a polished appearance. If desired, add embellishments like a tassel to the zipper pull for extra flair. Display your charming daisy crochet pouch with pride, ready to store your essentials!
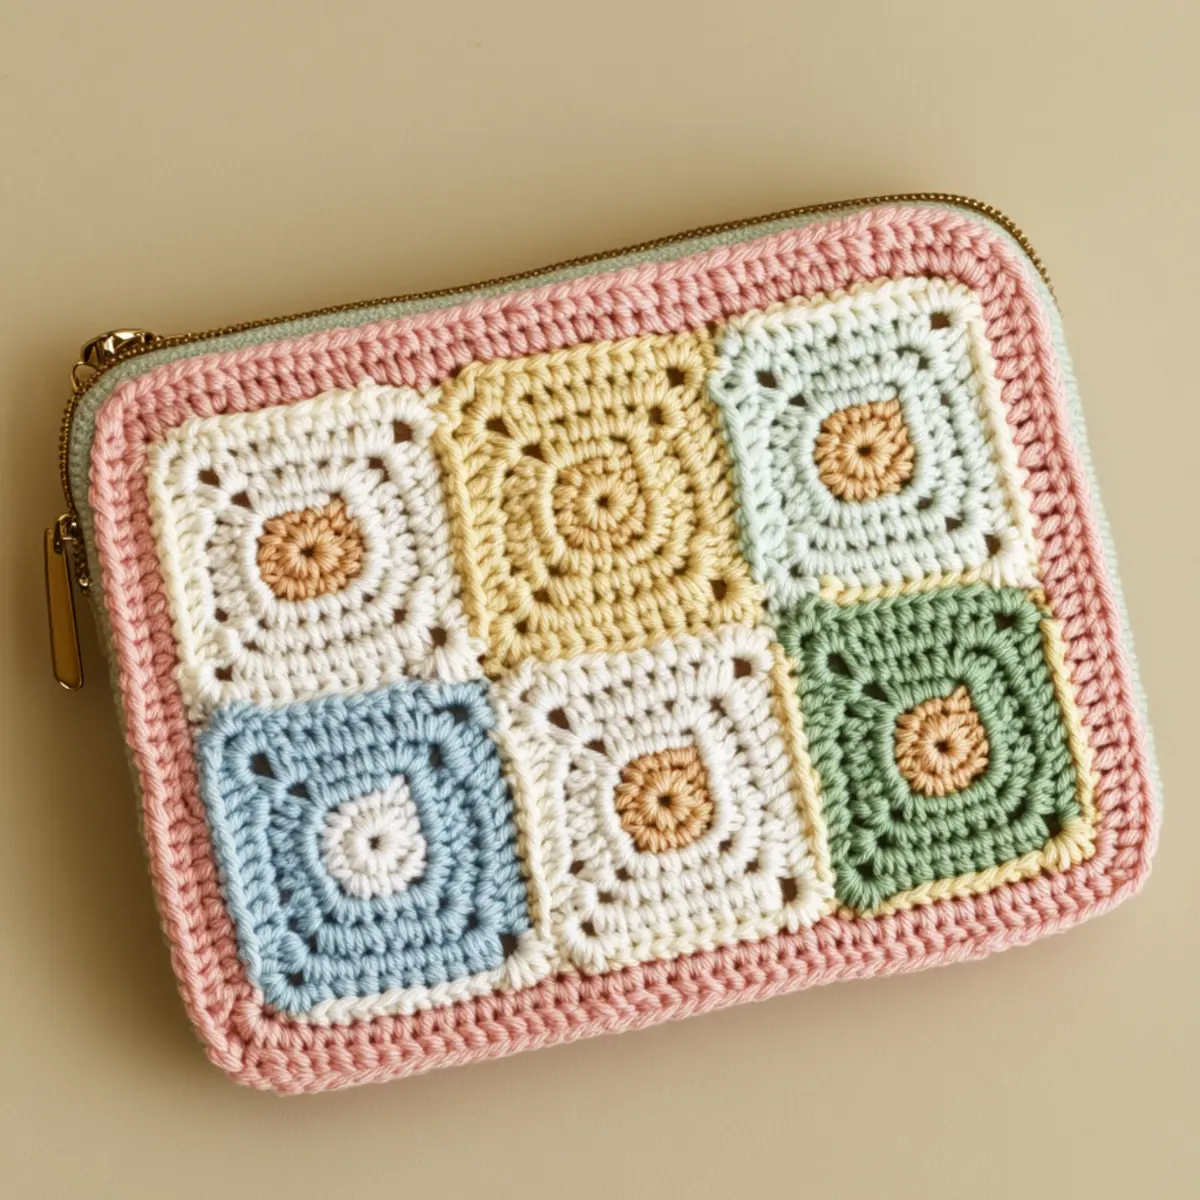
daisy crochet pouch variations
Feel free to make this project your own with a few creative twists!
- Color Combinations: experiment with bold or pastel shades to create a unique look tailored to your style.
- Flower Motifs: swap out the daisy for different flowers like tulips or sunflowers to add diversity.
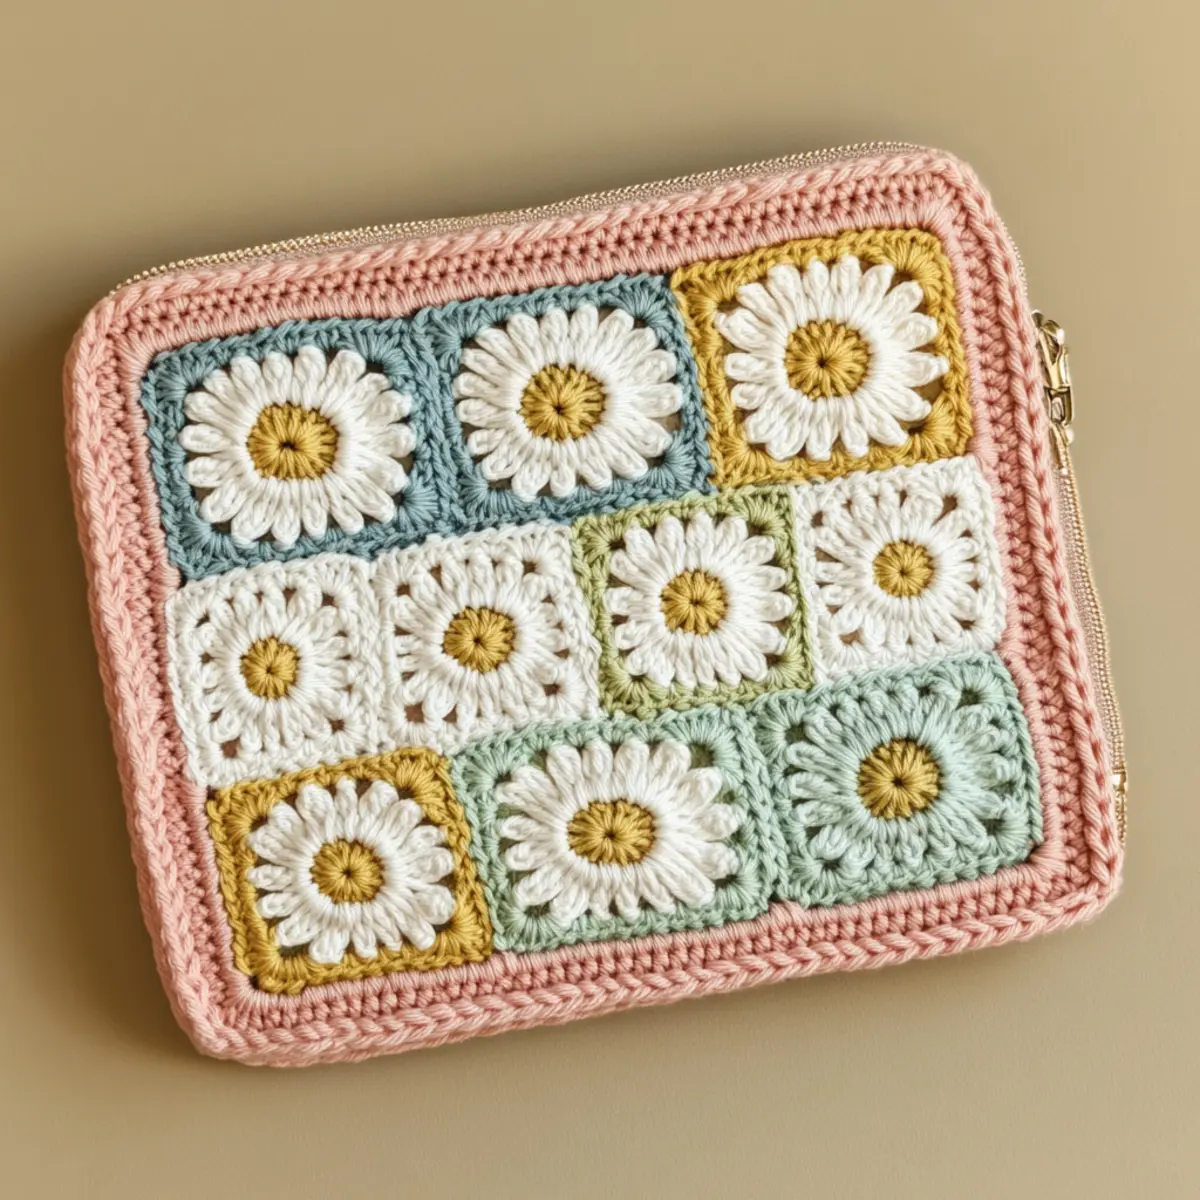
- Size Alterations: adjust the dimensions by using more or fewer squares or changing yarn weight for a smaller pouch.
- Textured Yarn: try using textured yarns like boucle or chenille for added softness and a comfy feel.
- Embellishments: add fun items like pom-poms or tassels to personalize your pouch further.
- Lining Options: choose patterned or solid fabric to line your pouch, giving a fresh pop of style inside.
- Closure Choices: instead of a zipper, experiment with snap fasteners or decorative buttons for a unique approach.
- Strap Inclusion: considering a wristlet strap or a longer shoulder strap can enhance functionality, making it a versatile accessory. Mini-paragraph variation: Mix and match colors to create a striking daisy crochet pouch even within the same hue family to maintain coordination while keeping it visually interesting. Every twist or turn can reflect your personal flair! Check out our guides on color theory for more inspiration and tips.
Expert Tips for the Daisy Crochet Pouch
Count Carefully: Always keep track of your stitches—losing count can lead to uneven squares.
Use Stitch Markers: Place markers to signify round beginnings, helping avoid dropped stitches and maintain even tension.
Twist-Free Chains: Make sure not to twist your foundation chain; a twisted chain can distort the entire structure of your daisy crochet pouch.
Choose Quality Yarn: Opt for a medium weight yarn for the best texture and softness; avoid overly heavy or thin fibers to maintain pouch integrity.
Practice Blocking: After finishing your squares, block them to ensure they retain their shape and optimize the assembly process.
Experiment with Colors: Don’t hesitate to mix and match hues! A vibrant palette can elevate the charm of your daisy crochet pouch while expressing your unique style.
How to Wash and Care for Your Daisy Crochet Pouch
Machine Washing: Use a gentle cycle with cold water and a mild detergent to keep your daisy crochet pouch looking fresh without damaging the fibers.
Hand Washing: For extra care, hand wash in cold water, gently squeezing out dirt without twisting or wringing the fabric.
Drying: Lay the pouch flat on a towel to dry—this prevents stretching or deformation while maintaining the bag’s beautiful structure.
Storage: Store your pouch in a cool, dry place away from direct sunlight to preserve color vibrancy and prevent any fading.
Daisy Crochet Pouch FAQs
Can I use a different yarn weight?
Absolutely! While a medium weight yarn is ideal for the daisy crochet pouch, you can experiment with lighter or heavier yarns. Just keep in mind that this will alter the pouch’s final size and texture.
What hook size should I use?
For the best results on your daisy crochet pouch, I recommend using an H-8 (5.0 mm) crochet hook, which is perfect for achieving the defined stitches that granny squares require.
How can I adjust the size of my pouch?
You can adjust the size by changing the number of granny squares you use or by selecting a different yarn weight. To make a smaller pouch, use fewer squares or a lighter yarn; for a larger pouch, simply add more squares.
What if my squares curl?
Don’t panic! Curling can often be fixed by blocking your squares after finishing. Wet them lightly, shape them flat, and let them dry; this should help eliminate any unwanted curling.
Can I add embellishments to my pouch?
Definitely! Feel free to customize your daisy crochet pouch with additional elements like tassels or pom-poms. This personal touch will not only enhance the aesthetic but make your pouch truly one-of-a-kind.
What if I drop stitches while crocheting?
If you drop stitches, simply go back to the last completed row and fix it. Using stitch markers will help prevent dropping stitches in the future by keeping your place accurate.
Leave a Reply