
As I sat on my couch, surrounded by a rainbow of yarn, I found myself transported back to childhood memories of playing with vibrant dolls and dreaming up fanciful gardens. Inspired by those whimsical days, I designed the Crochet Barbie Rose—a beginner-friendly floral pattern that allows you to create charm and elegance for any home decor or special gift. This delightful project not only works up quickly but also encourages customization, making it perfect for crafters of all skill levels. Whether you’re a seasoned artisan or just starting your crochet journey, you’ll find joy in crafting these everlasting blooms. Let’s get those hooks moving as we bring a touch of nature’s beauty into our lives!
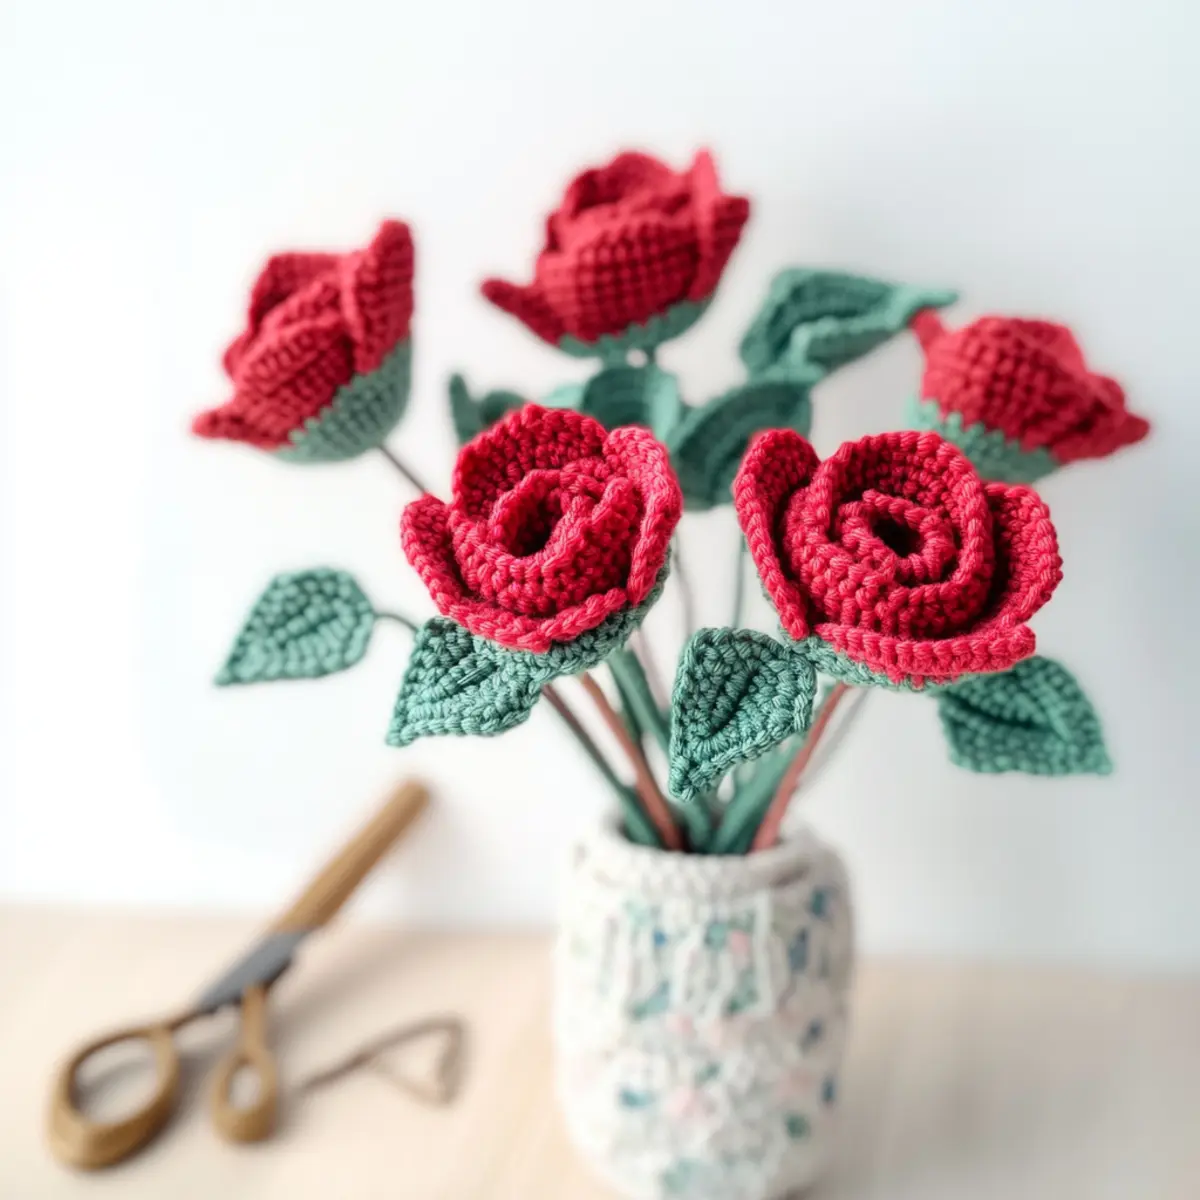
Crochet Barbie Rose Materials & Tools
Get ready to create your own stunning Crochet Barbie Rose with the following supplies!
Yarn
• 4-Ply Milk Cotton Yarn – Choose vibrant shades like Green 24 or Red 66; you’ll need about 50-100 meters per flower.
Tools & Notions
• 2.5 mm (US C/2) Hook – This size is perfect for creating the delicate petals of your rose.
• Stitch Markers – Helpful for keeping track of your rounds and maintaining stitch count.
• Fabric-Friendly Glue – Use this to securely assemble your flower components without mess.
• Scissors – Essential for trimming yarn ends and cutting any other materials needed.
• Flower Rod (35 cm long, gauge 3) – This rod provides structure and stability to your finished rose.
• Iron Wire (0.5mm and 0.6mm diameter) – Use to thread your flower components; it adds durability and shape!
Why Choose the Crochet Barbie Rose?
Beginner-Friendly: This pattern is designed to welcome new crocheters with easy-to-follow instructions, ensuring everyone can create their own floral masterpiece.
Vibrant Customization: Feel free to explore your creativity! Switch up yarn colors for unique shades or patterns that suit your style, just like our floral designs page showcases.
Quick-to-Make: With just a few components and straightforward techniques, you can whip up a lovely rose in no time—perfect for last-minute gifts!
Textured Elegance: The combination of different stitches creates a delightful, multi-layered look, adding depth and interest to each flower.
Timeless Decoration: These fabric blooms are forever lasting, making them excellent for brightening up your home or adding splashes of color to special occasions.
Gauge & Sizing Notes
Don’t skip the gauge swatch! Ensuring your tension is perfect is essential for creating an exquisite Crochet Barbie Rose, as incorrect gauge can lead to flowers that don’t hold their shape. Aim for a standard gauge of 12 stitches by 10 rows in a 4×4 inch (10×10 cm) square. If you wish to make your flowers larger or smaller, you can adjust the size by changing the number of petals or the starting chain in multiples of 4. Should your tension be too tight, consider going up a hook size; if it’s too loose, try a smaller hook. Happy crocheting!
Step‑by‑Step Pattern for Crochet Barbie Rose
Round 1: Flower Center
Start with the red yarn and make a magic ring. Work 6 sc into the ring, pulling it tight. This forms the center of your Barbie Rose. Slip stitch to the first sc to close the round. Your work should form a small circle (6 sts).
Round 2: Increasing Rounds
Ch 2 (counts as first dc), then in the same stitch, make 2 dc. Now, in each stitch around, work 2 dc in each sc. Slip stitch to close the round. You should have a total of 12 stitches for this round, creating a bit of a ruffled appearance (12 sts).
Round 3: Shaping Petals
Ch 3, then skip the next stitch; in the following stitch, make 1 dc, ch 1, and 1 dc for the petal. Repeat this pattern around, spacing each petal out. Slip stitch to close, and your petals will start to fan out beautifully (6 petals).
Round 4: Petal Structure
Continue with the petal shape: Ch 4, skip the next ch-1 space, and in the following ch-1 space, make 1 dc, 1 hdc, and 1 sc. This will create bulk to each petal. Slip stitch to close the round, ensuring each petal looks plush and inviting (6 sts).
Round 5: Petal Finishing
For added detail, ch 5, then work 1 sc in the second ch from the hook; continue with 2 dc in the next two chs. Join this picot with a sl st in the base of each petal. Do this around to enhance your Barbie Rose with a delicate finish (6 picots).
Round 6: Buds Creation
To create the buds, switch to the green yarn. Start with a magic ring, work 4 sc into the ring, and pull it tight. Slip stitch to close the round, forming a compact base for the buds (4 sts).
Round 7: Bud Shaping
Ch 2, in each sc work 1 hdc. Repeat this across the round for each bud, enhancing their size. Slip stitch to close; your shape should begin to resemble a small, adorable bud (4 sts).
Step 1: Leaves Formation
Using the green yarn again, ch 10 for each leaf. Work 1 sc in the 2nd ch from the hook, 1 hdc in the next ch, and 1 dc in the next 2 chs. Create a smooth curve and end with 1 sl st in the last ch. Your leaf should have a lovely curve (1 leaf).
Step 2: Final Assembly
Now, glue the petals and buds on the flower rod. Start with the flower center, then layer petals around it, followed by the smaller buds at the top. Attach leaves to the base for that blooming floral look. Ensure everything is secured and neat for a beautiful finish.
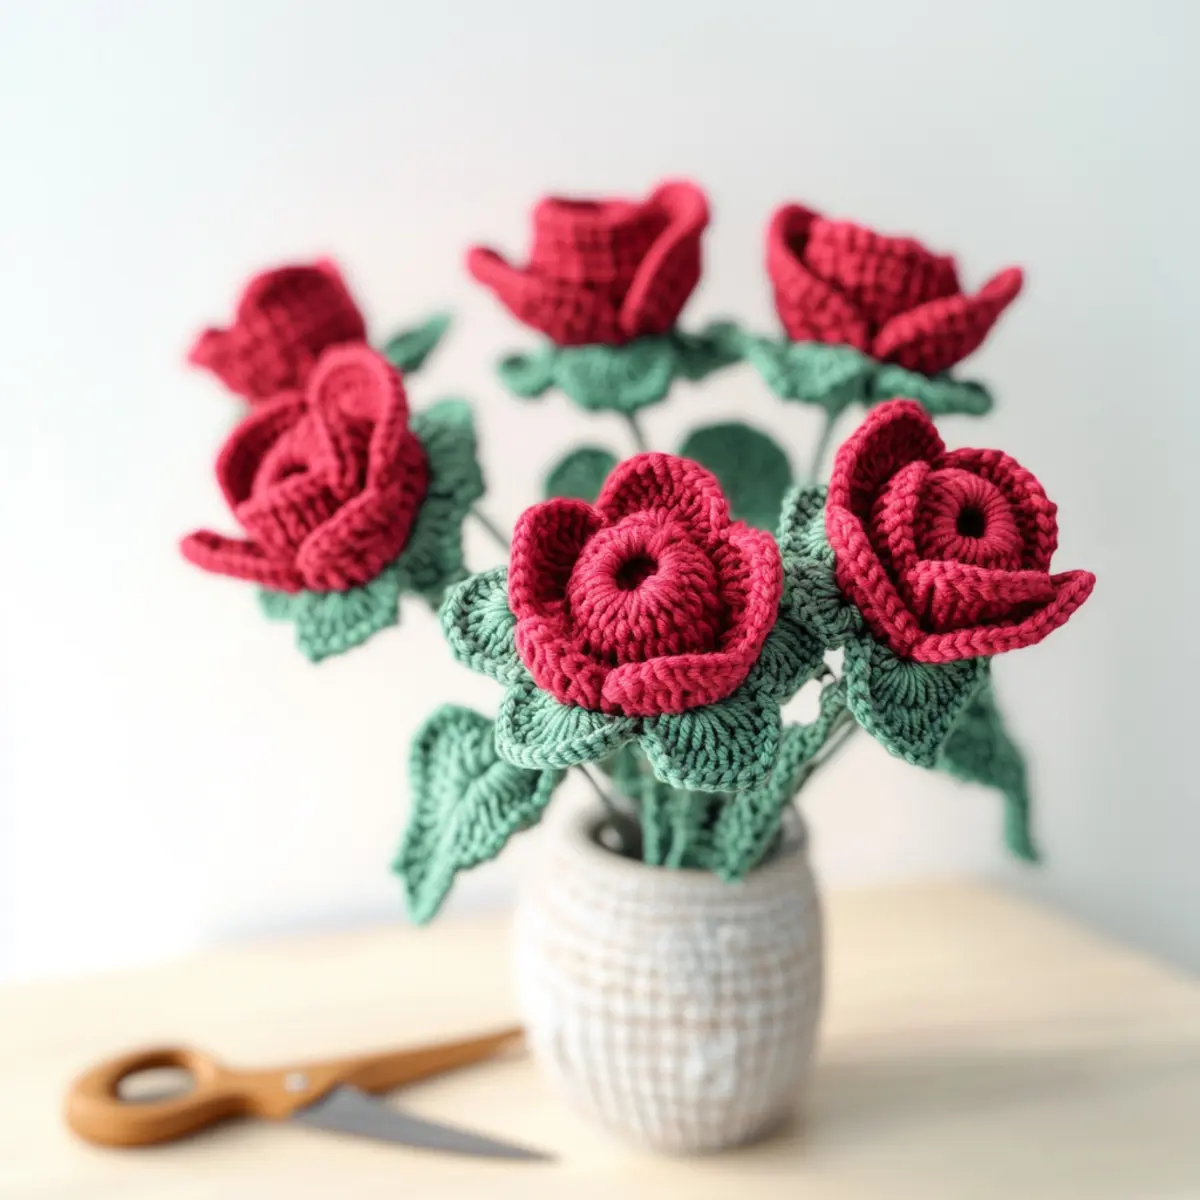
Barbie Rose Crochet Variations
Feel free to unleash your creativity and transform your Barbie Rose with personal touches that resonate with your unique taste!
-
Yarn Weight Swap: Change to a bulky yarn for a bolder look. This adjustment enhances texture and creates a more substantial flower.
-
Color Play: Combine vibrant colors for a playful twist! Picture a sunflower-inspired rose, bright yellows and browns, bringing life to your décor.
-
Fiber Alternatives: Use cotton or bamboo yarn for a softer finish. These fibers create an airy feel while maintaining the rose’s fresh appearance.
-
Petal Count Adjustments: Reduce or increase the number of petals to create variations in fullness. Less can be more, offering a sleek and modern rose.
-
Leaf Size Modifications: Alter leaf dimensions by adding or subtracting stitches for a unique silhouette. Larger leaves contrast beautifully with smaller blooms.
-
Texture Twist: Add fringed edges to create a whimsical touch. This simple modification elevates the overall aesthetic, making each flower a delightful surprise!
-
Pom-Pom Center: Replace the traditional bud with a colorful pom-pom. This whimsical twist adds charm, perfect for playful home styling.
-
Decorative Borders: Enhance your rose with a delicate sc border. It’s a little detail that adds a polished finish, ensuring your flower stands out beautifully.
For further ideas, explore more on customizable floral designs or check out our tutorial on creative crochet techniques. Enjoy the journey of crafting your enchanting Barbie Rose!
Washing & Care for Your Barbie Rose
-
Hand Washing: Always hand wash your Barbie Rose in cold water to preserve its delicate shape and prevent any potential felting.
-
Avoid Agitation: When cleaning, gently swish the rose instead of agitating it. This helps prevent pilling and maintains the integrity of those lovely petals.
-
Drying/Blocking: Lay your finished rose flat on a clean, dry towel to air dry. This ensures it retains its beautiful form without distortion.
-
Storage: Store your crocheted blooms in a cool, dry place, away from direct sunlight to avoid fading. This helps keep your Barbie Rose looking fresh for years to come!
Expert Tips for Crafting the Barbie Rose
-
Maintain Tension: Consistent tension is key to achieving uniform petals. Practice holding your yarn loosely and steadily as you crochet.
-
Count Your Stitches: Regularly check your stitch count, especially while working in rounds. Keeping a tally prevents distortion and ensures a perfectly shaped rose.
-
Watch the Rounding: Pay attention to increases and shaping in the petals. Miscounting can lead to uneven curves; use stitch markers to help guide you.
-
Minimal Glue Use: When assembling your flower, limit glue application to avoid excess, ensuring a clean and neat finish for your Barbie Rose.
-
Take Your Time: Enjoy the process! Each stitch brings you closer to a beautiful creation, so embrace the journey of making your crochet flower.
Crochet Barbie Rose FAQs
What yarn can I use as a substitute for the recommended 4-Ply Milk Cotton Yarn?
Absolutely! You can substitute with any similar weight yarn, such as acrylic or bamboo blends. Just ensure the yarn behaves similarly; for instance, if you’re using acrylic, check that it has the same drape and softness as the cotton for the best results.
How can I adjust the size of my Barbie Rose?
To make your rose larger or smaller, you can modify the dimensions of the petals and leaves. For a bigger bloom, add more rounds to each petal or increase the number of petals you create. Conversely, if you’d like a smaller rose, you can reduce the stitch counts or the length of your leaves.
Why is my crochet flower curling at the edges?
Don’t panic! Curling often occurs due to uneven tension or premature finishing of the petals. Make sure to keep your tension consistent as you crochet. If your petals are already finished and still curl, blocking them can help reshape them beautifully.
What hook size should I use for the Barbie Rose?
For this pattern, a 2.5 mm (US C/2) hook is recommended to achieve the right gauge. However, if you find your stitches are too tight or loose, don’t hesitate to switch to a larger or smaller hook—your comfort and the final look of the flower are what truly matters!
How do I fix dropped stitches in my crochet project?
If you discover a dropped stitch, it’s an easy fix. Simply locate the row where the stitch dropped and use a crochet hook to pull the yarn back through to the correct spot. Don’t hesitate to tug gently; this can help stabilize the stitch without creating tension issues.
Can I wash my finished Barbie Rose? How should I care for it?
For best results, I recommend hand washing in cold water and laying your rose flat to dry. This helps preserve the shape while keeping your crafted flower looking fresh and vibrant for years to come!
Leave a Reply