
As I wrapped myself in a cozy blanket while watching the rain dance on my window, it hit me how comforting a handmade piece can be. That’s why I’m thrilled to share my Beginner-Friendly Ripple Blanket pattern with you! This quick project not only allows you to blend colors and textures, but it’s also perfect for using up those scraps from previous projects. It’s an ideal gift, radiating warmth while showcasing your love for crochet. With its inviting design that’s simple enough for beginners, you’ll find joy in each stitch as you create a blanket that brings comfort and nostalgia to your space. Ready to stitch your way into a cozy crochet rhythm? Let’s dive in!
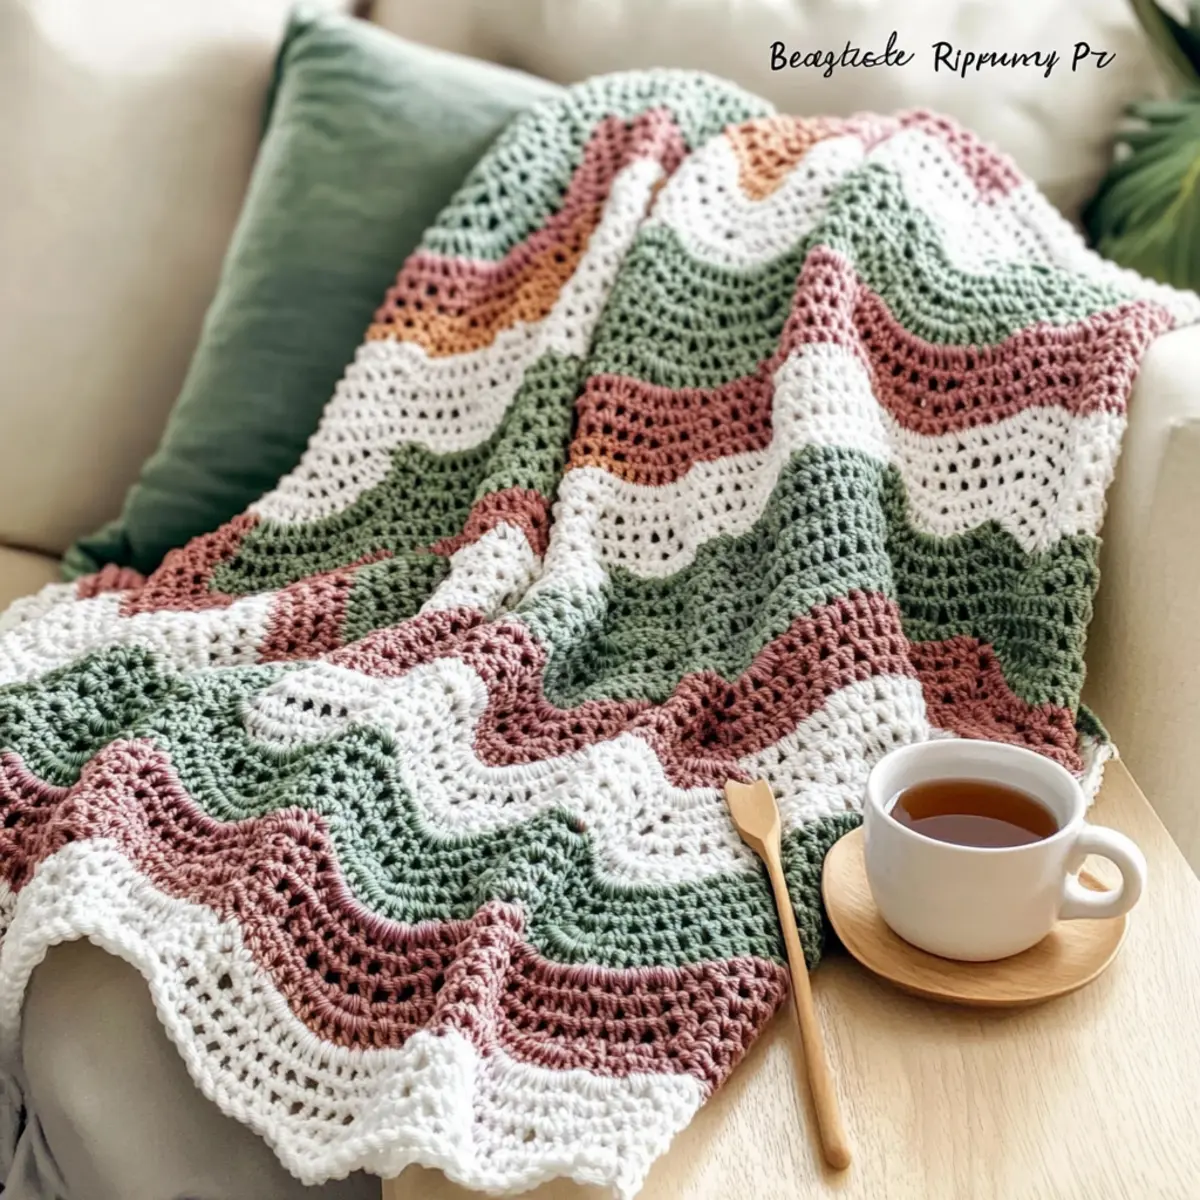
Beginner-Friendly Ripple Blanket Materials & Tools
Note: Gather these supplies to create your cozy ripple blanket masterpiece!
Yarn
• Worsted Weight Yarn (4) – Approximately 1000 yards in your choice of colors; acrylic is recommended for easy care and vibrant options.
Tools & Notions
• 5.5 mm (I-9) Hook – Ideal for creating those lovely double crochet stitches with ease.
• Tapestry Needle – Essential for weaving in ends and ensuring a neat finish.
• Stitch Markers – Helpful for keeping track of your rows as you work through the pattern.
Why Is This Ripple Blanket a Must-Try?
Beginner-Friendly: This pattern is perfect for those just starting their crochet journey—no complicated techniques required!
Quick to Create: You’ll whip this up in no time, thanks to the straightforward ripple pattern that keeps the project engaging without being overwhelming.
Textured Elegance: Each double crochet stitch creates a delightful texture that adds warmth and coziness to your blanket.
Versatile Customization: Feel free to personalize your blanket with vibrant color combinations or sizes to fit any home decor.
Thoughtful Gift: Handmade with love, this blanket makes a heartfelt gift for friends and family, whether for a baby shower or a cozy holiday surprise.
Dive deeper into your crafting journey with this easy pattern that promises satisfaction with every stitch!
Gauge & Sizing Notes
Don’t skip the gauge swatch! Checking your tension is essential for ensuring your Beginner-Friendly Ripple Blanket turns out just the right size. For this project, a standard gauge is 4×4 inches (10×10 cm), which should equal 12 double crochets by 10 rows. If you want your blanket larger, simply increase your starting chain in multiples of 12 and adjust your repeats accordingly. If your swatch is too small, try going up a hook size to achieve a looser tension; conversely, if it’s too large, switch to a smaller hook. Paying attention to your gauge will help create the perfect cozy masterpiece!
Step‑by‑Step Pattern for Beginner-Friendly Ripple Blanket
Row 1: Foundation Chain
Chain 100 to create the foundation for your ripple blanket. This base will determine the width of your blanket; adjust as needed for your desired size. Your chain should be loose enough to ensure flexibility, but not so loose that it gaps widely.
Row 2: Starting Ripples
In the 3rd chain from the hook, make 1 double crochet (dc). This begins your ripple. Now, dc in the next 5 chains (6 dc total), then make a dc2tog by crocheting two double crochet stitches together in the next chain. Continue this pattern across until the last three stitches remain, ending with 1 dc in the last 3 chains (30 sts).
Row 3: Continuing the Ripple
Turn your work and chain 2 (this counts as your first dc). Next, make 1 dc in the first stitch. Then, dc in the next 5 stitches, and perform dc2tog in the next stitch. Proceed to follow the established ripple pattern until the row ends, finishing with 1 dc in the last 2 stitches (36 sts).
Row 4: Building Up the Texture
Repeat Row 3, maintaining the stitch count and visual ripple pattern. Your blanket should start to form gentle waves, creating a beautiful textured effect. Keep an eye on your stitches to ensure they remain consistent and even as you crochet along.
Row 5: Continue the Pattern
Turn your work and chain 2 to begin Row 5. Maintain the established pattern by creating 6 dc followed by a dc2tog, repeating until you reach the end of the row. Make sure to have 1 dc in the last two stitches, keeping your count accurate (42 sts).
Row 6: Repeat and Expand
Continue to repeat the established rows as you work up the blanket, increasing the stitch count as the ripples deepen. Each time you complete a row, visually check that the fabric is curling gently and the ripples are becoming appropriately pronounced.
Row 7: Completing the Body
Keep alternating your rows of dc and dc2tog until your blanket reaches approximately 56 rows total. Each row should feel satisfying and you’ll notice the textured waves really taking shape, providing a warm embrace as you progress.
Step 8: Edging the Blanket
Once you’ve reached your desired length, it’s time to add a simple border. Work a round of sc (single crochet) around the entire blanket to create a beautiful finish. In each corner, make 3 sc to help the blanket curve smoothly.
Final Step: Weaving in Ends
After completing your blanket and border, weave in any loose ends using a tapestry needle. This step ensures that all your hard work shines through without any stray yarns, creating a polished and professional look for your finished textured ripple blanket.
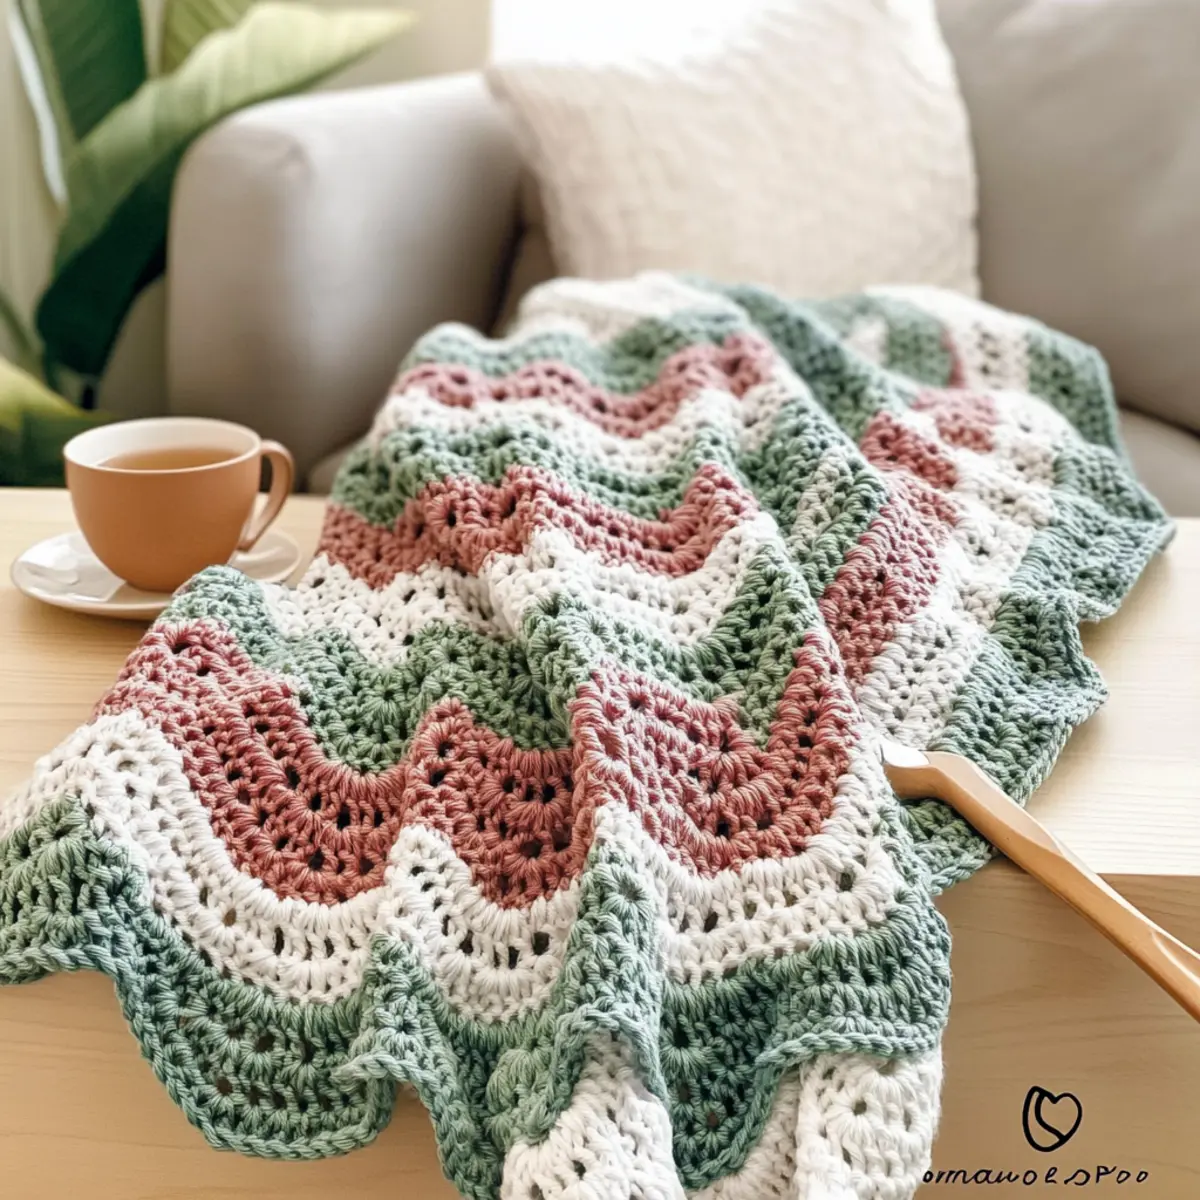
Expert Tips for the Ripple Blanket
-
Count Your Stitches: Consistently count your stitches at the end of each row to avoid losing or accidentally adding stitches, ensuring a beautiful ripple pattern.
-
Maintain Tension: Keep your tension even throughout the project by holding the yarn consistently; this helps the blanket maintain its lovely, textured look.
-
Color Changes: When changing colors, do not finish the last double crochet with the current yarn. Start the new stitch with the next color for a seamless blend.
-
Foundation Chain Care: Be careful with your foundation chain; it’s the basis of your blanket! Ensure it’s not twisted before beginning your first row.
-
Finish Strong: Weave in the ends carefully with a tapestry needle for a clean finish. This not only enhances the aesthetic but also ensures durability for your textured blanket.
Creating a ripple blanket can be a delightful experience, and these tips will help you navigate any challenges along the way!
Ripple Blanket Variations & Substitutions
Embrace your creativity while crafting this cozy blanket, making it truly yours with delightful adjustments.
-
Larger Size: Increase the foundation chain for a bigger blanket, perfect for cuddling up on the couch.
-
Yarn Alternatives: Swap acrylic yarn for cotton for a lighter, breathable feel, ideal for warm weather.
-
Color-Blocking: Add bold color blocks to create a unique pattern that reflects your personal style.
-
Textured Edging: Finish with a lovely scalloped border to enhance the blanket’s overall aesthetic. Consider adding a fun fringe for a bohemian touch.
-
Seasonal Stripes: Incorporate seasonal colors for stripes, celebrating holidays with a splash of festive cheer.
-
Mini Blankets: Create several smaller blankets, such as baby-sized or lap blankets, perfect for gifting or keeping in the car.
-
Different Fiber Blends: Experiment with bamboo or wool blends for warmth or softness, each offering a distinct drape and feel.
These variations open a world of creativity, making it easy to customize your project. For more ideas, check out this guide on yarn choices and explore ways to incorporate textures into your work through crochet borders. Happy crocheting!
Washing & Care for Your Ripple Blanket
-
Machine Washing: Use cold water and a gentle cycle to wash your ripple blanket to maintain its beautiful texture and prevent damage to the yarn.
-
Hand Washing: If you prefer, hand wash your blanket in cool water with mild detergent; gently agitate it to avoid felting and pilling.
-
Drying/Blocking: Lay the blanket flat on a clean surface to dry, reshaping it if necessary. Avoid hanging as this may distort its ripple shape.
-
Storage: Store your blanket in a cool, dry place. For longer-lasting results, avoid folding it tightly; instead, roll it to preserve its shape and texture.
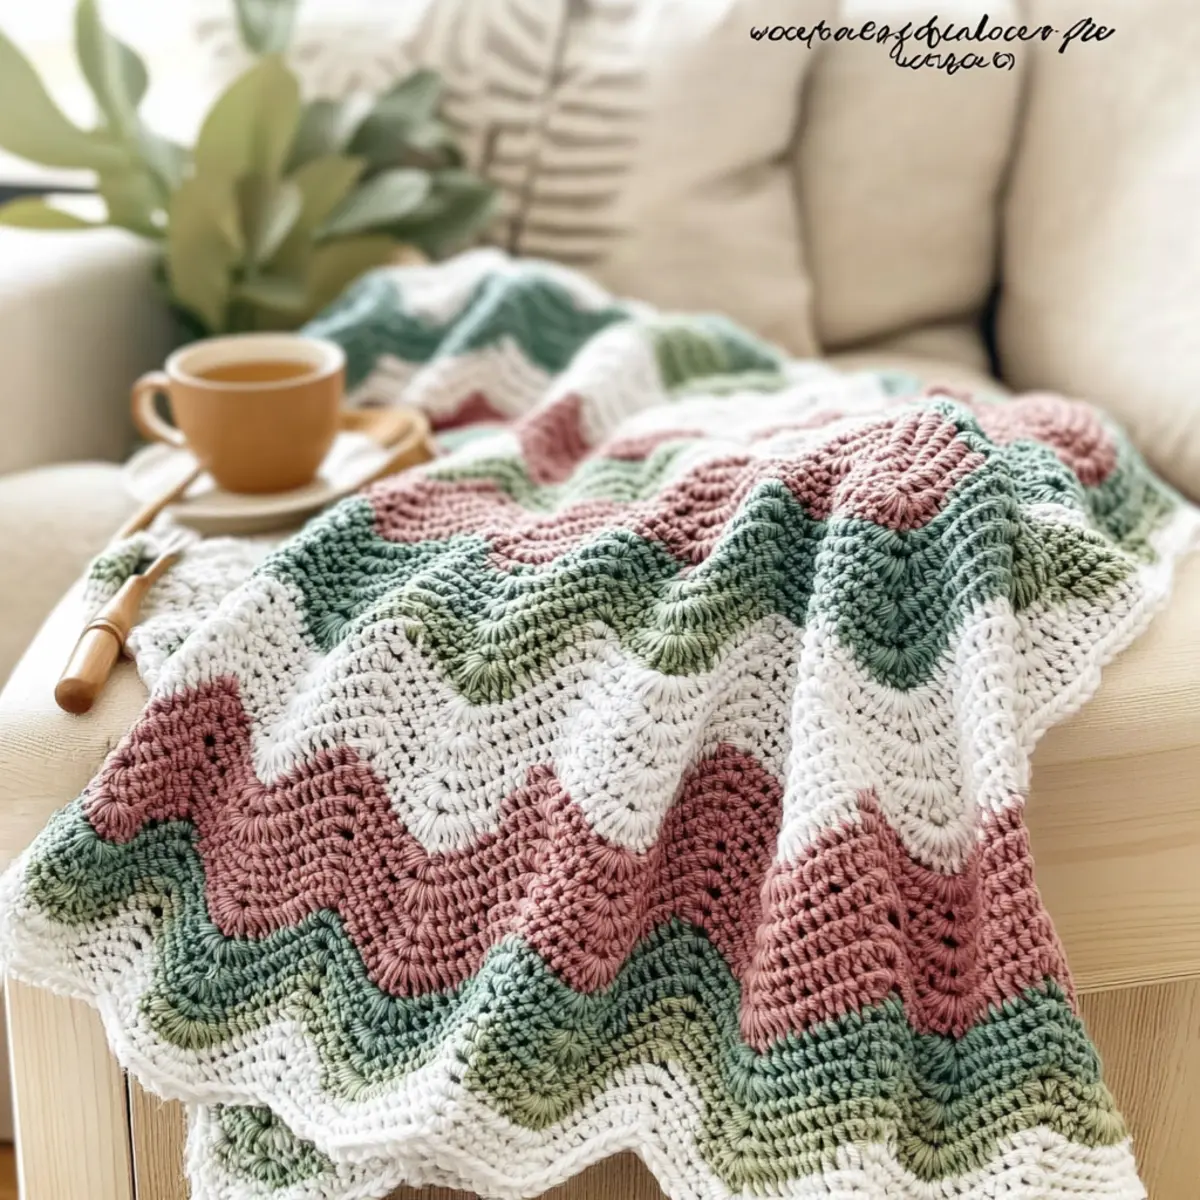
Beginner-Friendly Ripple Blanket FAQs
Can I substitute yarn for this project?
Absolutely! While the pattern calls for worsted weight acrylic yarn for ease of care and versatility, you can swap it for cotton yarn if you prefer a different texture. Just keep in mind that cotton may change the drape and stiffness of your blanket slightly, so adjust your hook size if needed.
How do I adjust the size of my ripple blanket?
If you wish to make your blanket larger or smaller, simply modify your foundation chain. For every multiple of 3 stitches plus 1, you can maintain the ripple pattern effectively. For a baby blanket, try chains of around 70; for a larger adult size, you can extend it to 130 or more.
Why is my ripple work curling at the edges?
Don’t panic! Curling is common in crochet, especially with ripple patterns. This can often be resolved by ensuring you’re maintaining consistent tension throughout each row. If curling persists, try adding a border around your blanket, which can also enhance its overall look.
What hook size should I use for my blanket?
The pattern recommends using a 5.5 mm (I-9) crochet hook. This size is perfect for worsted weight yarn and helps create an inviting, cozy texture. If you notice your stitches are too loose or tight, feel free to adjust your hook size accordingly for a better fit.
How do I fix dropped stitches in my ripple blanket?
It’s an easy fix! Simply take your hook and pull the dropped stitch up through the rows below until it reaches the top. Then, secure it by working it back into the fabric with a slip stitch or a single crochet to ensure it blends seamlessly with the surrounding stitches.
What should I do if my gauge is off?
If your gauge doesn’t match the recommended 12 stitches by 10 rows in 4×4 inches, adjust your hook size. A larger hook will create a looser gauge, while a smaller hook tightens your stitches. It’s important to achieve the right gauge to ensure your blanket turns out just as cozy and beautiful as envisioned!
Leave a Reply