
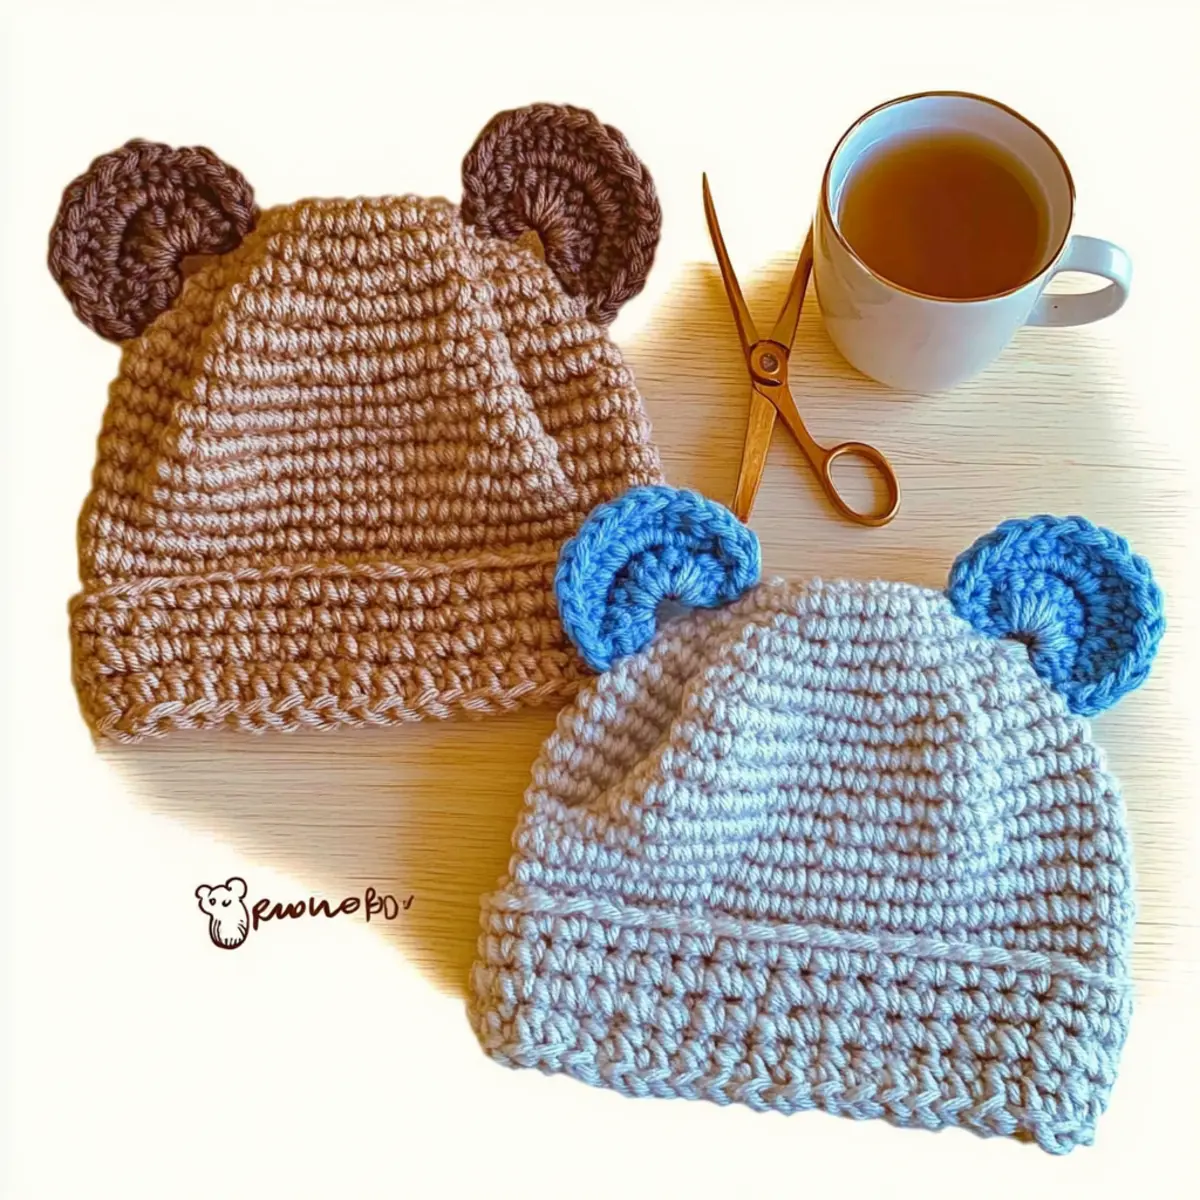
As I sat cozy on the couch, yarn in hand, I could hardly resist the call of a sweet little project that always brings smiles—this adorable Baby Bear Hat. With its snug fit and charming bear ears, this hat is a delightful addition to any little one’s wardrobe, making it perfect for baby showers or just a whimsical everyday wear. What I love most about this beginner-friendly pattern is how quickly it works up, allowing you to create a heartfelt gift without the stress. Featuring a stretchy ribbed brim, this cozy piece is versatile enough for any baby size, from Preemie to 12 months. Ready to craft something that wraps the littles in warmth and love? Let’s dive in and make some stitches together!
Baby Bear Hat Materials & Tools
Get ready to gather your supplies and unleash your creativity!
Yarn
• Worsted Weight Yarn (#4) – You’ll need approximately 120-150 yards to craft a cozy Baby Bear Hat.
Tools & Notions
• H-8 (5 mm) Hook – This size is perfect for creating a snug fabric while keeping your stitches even.
• Stitch Markers – Use these to keep track of your rounds for a smooth crochet experience.
• Tapestry Needle – Essential for weaving in your ends and making your finished hat look polished.
• Safety Eyes (optional) – Add these for extra charm, giving your bear hat a delightful personality!
With these materials, you’re all set to create the sweetest Baby Bear Hat that’s not just adorable, but also safely cozy for your little ones!
Why Choose This Baby Bear Hat Pattern?
Versatile Sizes: With options for Preemie, 0–3 months, 3–6 months, and 6–12 months, this pattern is perfect for all little ones, ensuring no baby is left out of the bear fun.
Quick and Easy: The simple, top-down construction means you can whip up this darling hat in no time, making it an ideal project for last-minute gifts or cozy days at home.
Charming Design: Those cute bear ears add a playful touch, while the stretchy ribbed brim provides a snug fit—it’s the perfect blend of function and whimsy!
Beginner-Friendly: Don’t worry if you’re new to crochet; this pattern uses basic stitches and offers helpful tips, allowing you to master the art of hat-making with confidence.
Customizable Touches: Feel free to experiment with colors or add embellishments like safety eyes to make this hat uniquely yours, ensuring it’s truly one-of-a-kind.
Whether you’re creating for your little ones or making heartwarming gifts, this Baby Bear Hat pattern is sure to spark joy in your crochet journey!
Gauge & Sizing Notes
Don’t skip the gauge swatch! Checking your gauge is crucial for achieving the perfect fit with the Baby Bear Hat. For this project, your tension swatch should measure 16 stitches and 10 rows over a 4×4 inch (10×10 cm) square in double crochet. If you find your measurements don’t match, don’t worry—adjusting your size is easy! To make the hat larger, simply increase your starting chain in multiples of 2 for the ribbed brim or add extra rows in the body to accommodate larger head circumferences. If your swatch is too small, try going up a hook size to create a looser tension. Happy crafting!
Step‑by‑Step Pattern for Baby Bear Hat
Row 1: Start the Crown
Begin by making a magic circle. Chain 2, and work 11 double crochets (dc) into the circle. Pull the magic circle tight to secure the stitches. This first round shapes the crown of the Baby Bear Hat; your work should form a small, rounded circle at this stage. (12 sts)
Round 2: Increase for Shape
In this round, work 2 dc in each stitch around. This increases the stitch count and creates the next layer of the hat. After completing this round, your work should show a slightly larger circle; make sure to count your stitches to ensure accuracy. (24 sts)
Round 3: Continue to Increase
Work 1 dc in the first stitch, then 2 dc in the next stitch (inc). Repeat this pattern around until you finish the round. This step will contribute to the shaping of the hat while keeping it snug for little heads. Your project will start to visibly expand. (36 sts)
Round 4: Maintain the Shape
For this round, place 2 dc in the first stitch, followed by 1 dc in the next 2 stitches. Repeat this sequence around. You are establishing enough space and depth for the Baby Bear Hat. Your circle should start taking on a classic hat shape. (48 sts)
Rounds 5-8: Continue Expanding
In these rounds, keep alternating the pattern by adding one more single dc between each increase. For example, do 1 dc in 3 sts, then 2 dc in the next. This will create a well-defined hat shape and will accommodate the size needed for a baby’s head. Ensure to maintain the counts. (60 sts)
Round 9: Transitioning to Ribbing
Now, prepare for the brim by working 1 dc in each stitch around, maintaining the total stitch count. This round smooths the base of the Baby Bear Hat and sets you up for the ribbed brim. Your work should feel uniform with a slightly thicker edge. (60 sts)
Round 10: Begin the Ribbing
Start the ribbed brim by working a front post double crochet (FPdc) into the first stitch, and then a back post double crochet (BPdc) into the next. Continue this around, alternating between FPdc and BPdc. This will create a lovely, stretchy texture for those cozy little heads.
Round 11: Complete the Ribbing
Continue with the same FPdc and BPdc pattern for another round. By the end of this round, your ribbed brim should feel snug and secure, making the Baby Bear Hat even cozier. The brim will also allow for easier fit and adjustment as the baby grows.
Step 1: Making Bear Ears
To create each bear ear, chain 8. In the 3rd chain from the hook, work 1 dc, then dc in the remaining chains. This forms a small piece that will become an ear, giving your hat that cute finish. Your work will look like a small rectangle at this stage. (6 sts)
Step 2: Shape the Ears
For the next row, turn your work and ch 2. In the first stitch, work 2 dc, and continue with 1 dc across. This increases the height of the ear slightly, which will give it a more rounded shape when stitched onto the hat. Repeat this for the second ear. (12 sts)
Step 3: Attach the Ears
Once the ears are complete, securely sew them onto the top of the Baby Bear Hat using a tapestry needle. Position them evenly to ensure they are aligned for the cutest bear look. Your project should now feature adorable bear ears, ready to charm anyone who sees it!
Expert Tips for the Baby Bear Hat
-
Count Every Round: Keep track of your stitch count at the end of each round to ensure a consistent shape. A little attention goes a long way!
-
Check Your Gauge: Before starting, make sure to check your gauge swatch. Adjust your hook size if needed to achieve the correct fit for this cozy hat.
-
Master the Magic Circle: If you’re not confident with the magic circle, feel free to start with a traditional chain. It’s crucial to avoid a hole at the crown for your Baby Bear Hat.
-
Secure Those Ears: When attaching the bear ears, make sure they are stitched on securely to withstand playful tugging and keep your adorable design intact.
-
Weave in Ends Neatly: Use a tapestry needle to weave in your ends carefully, giving your hat a clean finish and increasing its durability.
Washing & Care for Your Baby Bear Hat
-
Hand Washing: Gently hand wash in cold water using a mild detergent to preserve the soft fibers and intricacies of your Baby Bear Hat. Avoid agitation to prevent felting.
-
Reshape While Wet: After washing, reshape the hat while it’s still damp to maintain its adorable bear ears and snug fit.
-
Drying: Lay flat to dry on a clean towel, avoiding direct sunlight to prevent color fading. This method helps retain the cozy shape of the ribbed brim.
-
Storage: When not in use, store your Baby Bear Hat in a cool, dry place. Make sure it’s laid flat or in a breathable bag to maintain its delightful form.
Baby Bear Hat Variations & Substitutions
Embrace your creativity and make this adorable Baby Bear Hat your own with these fun variations!
-
Yarn Weight Swap: Try a lighter DK weight for a softer, airy feel perfect for spring. Just be sure to adjust your hook size accordingly.
-
Fiber Alternatives: Go for a cotton yarn instead of acrylic for warmer weather; it will keep little heads cool while still providing comfort.
-
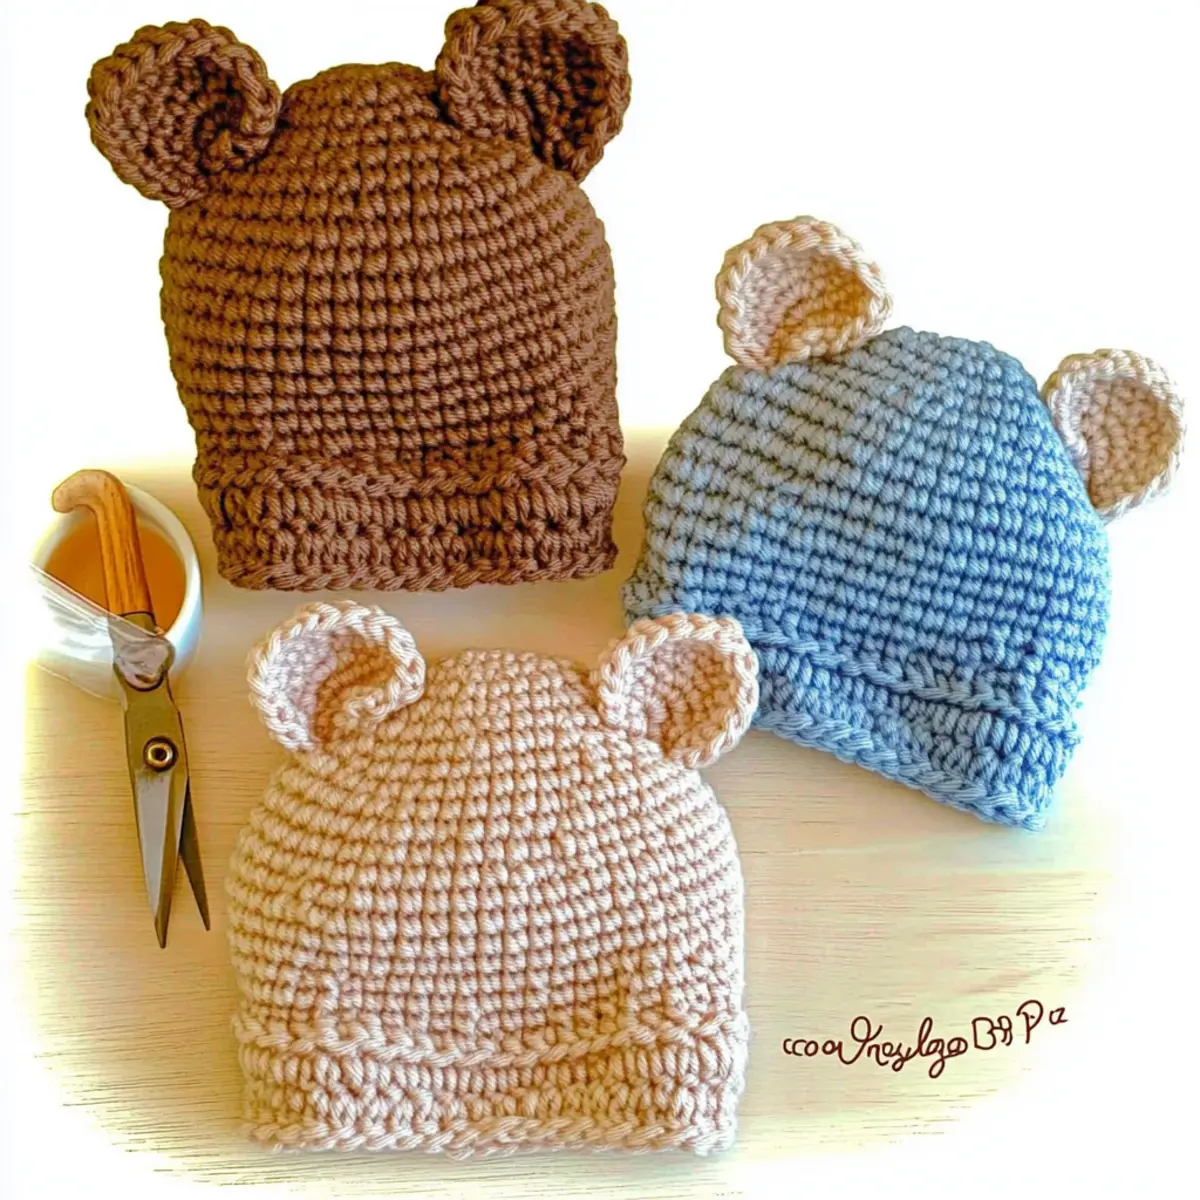
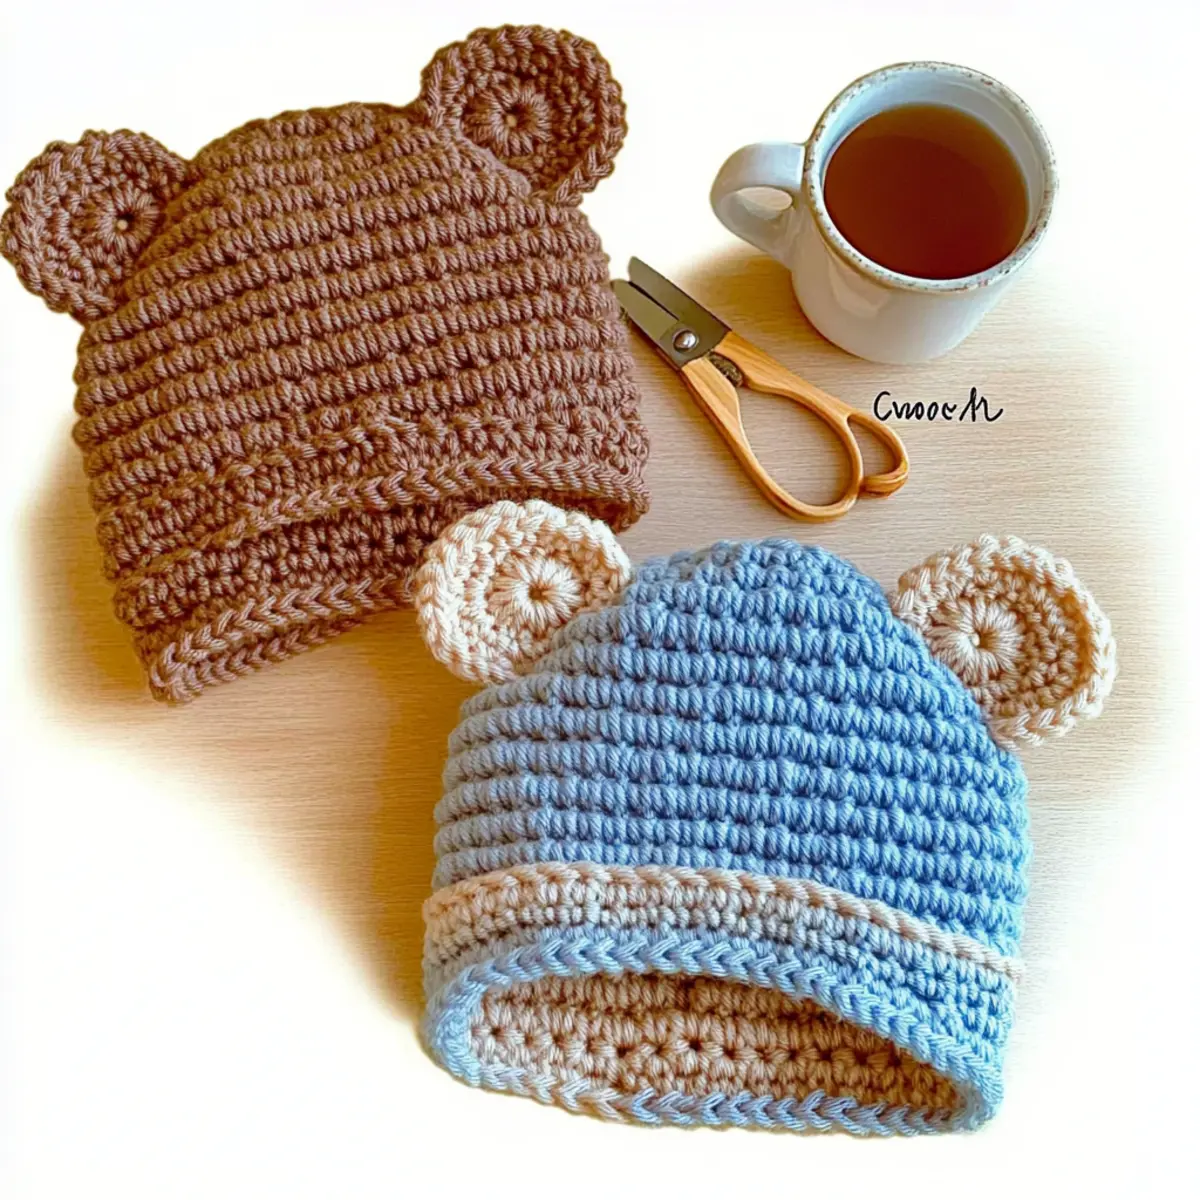
Color Block: Use two complementary colors—one for the body and another for the ears—to add a playful twist to this snug hat. You could explore color combinations that reflect your little one’s personality.
-
Size Adjustments: To fit different head sizes, simply add or reduce rows in the decrease rounds. This allows you to personalize the fit just right for your baby.
-
Texture Play: Consider adding a fluffy pom-pom on top or a cute fringe along the brim for extra flair. It can be such a charming finishing touch!
-
Bear Features: Personalize the design by adding safety eyes or an embroidered nose. It’s a small detail that brings your sweet bear to life! For more on adding these embellishments, check out my guide on crochet embellishments.
-
Ribbing Variation: Experiment with ribbing styles! Incorporate different post stitch combinations to create a unique brim texture that’s both stylish and cozy.
-
Seasonal Color Themes: Craft a hat for any season by changing the yarn colors to match holidays or themes. Imagine a pumpkin-orange for fall or pastel hues for spring!
With these variations, you’ll find endless ways to customize this Baby Bear Hat, wrapping your little one in love and warmth.
Beginner-Friendly Baby Bear Hat Crochet Pattern FAQs
What yarn substitutions can I use for this Baby Bear Hat?
Absolutely! Worsted weight yarn (#4) is the star here, but you can swap it for similar weight fibers like cotton or bamboo. Just keep in mind that the texture and warmth may change slightly—choose a yarn that gives you a cozy feel for that snug little head!
How can I adjust the size of the Baby Bear Hat?
Don’t panic! You can easily adjust the size by adding or removing rows in the body of the hat. For example, if you want a slightly larger hat, try increasing the stitch count. Just remember to keep your increases consistent through the rounds to maintain that adorable shape.
Why is my crochet work curling?
If your edges are curling up like a bowl, this usually indicates that you’re skipping a key step in your tension or stitch count. Check your gauge before starting, and avoid pulling your stitches too tight! A relaxed tension can help keep your work flat and beautiful.
What hook size should I use for this pattern?
You’ll want to grab an H-8 (5 mm) crochet hook for the best results! If you’re a tight crocheter or get fewer stitches per inch, feel free to move up a hook size. Always trust that gauge swatch to guide you to the correct fit!
How do I fix dropped stitches in my Baby Bear Hat?
It’s an easy fix! Simply pick up the dropped stitch with your crochet hook and pull the working yarn through, using a slip stitch to secure it back into place. If it happens repeatedly, consider slowing down and checking your stitch count more frequently!
What if I don’t know how to do a magic circle?
No worries! This pattern provides a traditional chain start as an alternative. Simply chain 3 and join into a ring with a slip stitch to begin. It’s a great way to ensure your hat starts off without a hole at the top!
Leave a Reply