
Nothing feels quite like the satisfaction of creating something adorable for a little one. With this crochet baby romper pattern, you’ll dive into a project that’s not only practical but also infused with love. As you work those soft, textured stitches, you’ll be crafting a timeless outfit perfect for any occasion, from playdates to family gatherings. This beginner-friendly pattern features simple steps that make it easy for crafters at any skill level to join in on the fun. Plus, it’s a fantastic way to use up some of that delightful stash yarn. Are you ready to create a cozy and charming romper that will surely become a cherished keepsake? Let’s get started on this delightful journey together!
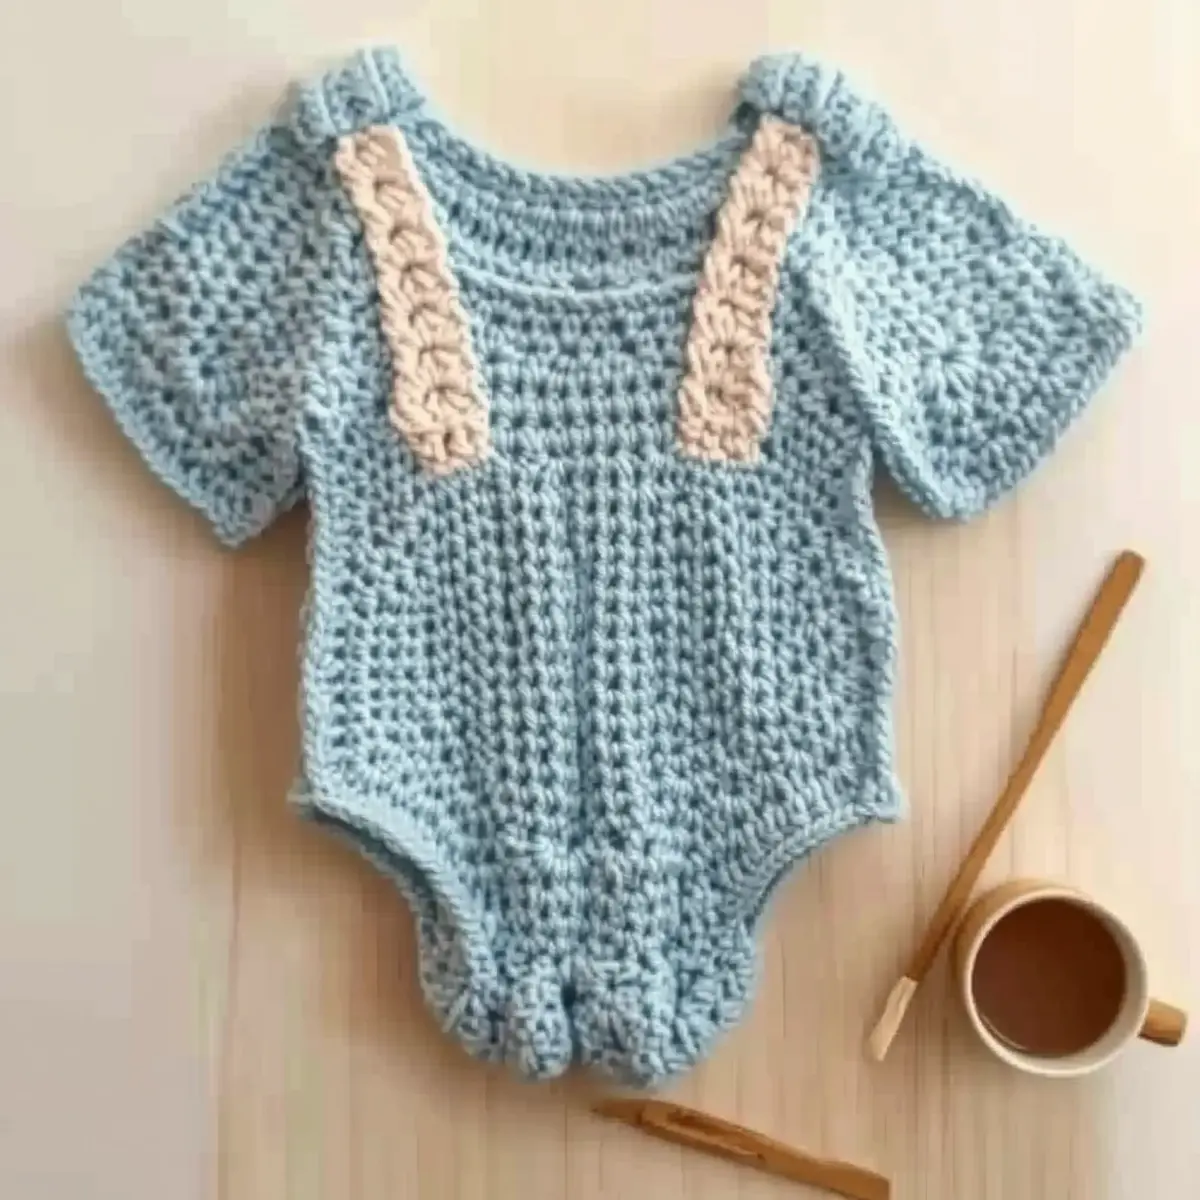
Crochet Baby Romper Materials & Tools
Crafting this adorable romper requires only a few materials, ensuring a smooth and enjoyable process as you create a cozy keepsake for your little one.
Yarn
• Lightweight Baby Yarn (Category 3) – Approximately 200 meters are needed for this charming romper, making it perfect for using up your stash!
Tools & Notions
• 3.5 mm (E) Hook – Ideal for working the ribbing for a snug fit around the waist and legs.
• 4.5 mm (G) Hook – This hook is used for the main body, helping to create that lovely textured finish.
• Stitch Markers – These handy tools will help you keep track of your rounds and maintain your stitch count effortlessly.
• Tapestry Needle – Use this for weaving in ends for a neat and professional finish to your beautiful crochet baby romper.
Get ready to enjoy the joy of crocheting a cozy piece perfect for little adventures!
Why You’ll Love This Crochet Baby Romper
Adorable & Functional: This crochet baby romper is not only cute, but its design is practical for everyday wear.
Beginner-Friendly: Easy-to-follow instructions make this pattern accessible for crafters at all levels, ensuring an enjoyable experience.
Textured Finish: The unique ribbed texture adds depth and comfort, making this romper a cozy choice for little ones.
Quick Project: With a moderate yarn requirement, you’ll find that it’s a time-saving project, perfect for last-minute gifts or baby showers.
Customization Options: Experiment with colors or add embellishments to create a one-of-a-kind piece that reflects your style! For further inspiration, check out our customization tips and become a design pro.
Gauge & Sizing Notes
Don’t skip the gauge swatch! Ensuring that your tension is just right is crucial for the adorable crochet baby romper, as it affects the fit and overall look of this sweet project. For the main body of the romper, aim for a standard gauge of 4×4 inches (10×10 cm) = 12 stitches by 10 rows. If you find that your tension does not match this, don’t worry! If your swatch is too small, try going up a hook size, or if it’s too large, consider going down a hook size. To make adjustments for a custom fit, remember to increase your starting chain in multiples of 12 for width or add extra rounds to lengthen the romper as needed. Happy crocheting!
Step‑by‑Step Pattern for Crochet Baby Romper
Row 1: Ribbing Start
Using a 3.5 mm hook, create a foundation chain of 6. Work 1 row of single crochet (sc) in back loops only (BLO) across the chain (5 sc). Turn your work; the ribbed texture will begin to form as it curls slightly. This will create the waistband of the crochet baby romper.
Row 2: Ribbing Continuation
Ch 1, and then work 1 sc in BLO across (5 sc). Continue this process for a total of 8 rows, so that your ribbing measures approximately 2 inches in height. Your work should have a stretchy, textured look that is perfect for a cozy waistband.
Row 3: Join Body Yarn
Switch to a 4.5 mm hook. At the end of the ribbing, ch 1 and turn. Push the ribbing down slightly to align with the top, then join yarn to work in the round, creating 5 sc along the top edge of the ribbing. (5 sts). Join with a slip stitch to the first sc to close the round and keep your stitches aligned.
Round 1: Main Body Start
Ch 2 (counts as first dc), then work 11 double crochets (dc) around for a total of 12 dc (12 sts). This round establishes the main body structure of the crochet baby romper. Your work should now begin to form a rounded shape, like a little cup.
Round 2: First Increase Round
Ch 2, and in the same stitch, work 2 dc (inc). Continue placing 1 dc in each of the next 10 stitches, then inc in the last stitch (14 sts). This gives your romper more room, ensuring it comfortably fits around baby’s body as you continue.
Round 3: Building the Body
Ch 2, work 1 dc in the first stitch, then inc in the next (2 dc in same stitch). Repeat 1 dc, inc around (21 sts). Your piece should be expanding nicely, forming the bottom shape of the crochet baby romper.
Round 4: Straight Body
Ch 2, and work 1 dc in each stitch around (21 sts). This round maintains the width without any increases, allowing your romper to grow in length while keeping its shape steady. You should see your work developing a more defined body.
Round 5: Shaping the Bottom
Ch 2, work 1 dc in the first stitch, 1 dc in the next, inc in the following stitch around (28 sts). This will help shape the bottom of your romper, making it roomier for those adorable little legs. Keep an eye on your stitch count to track your progress.
Round 6: Lengthening the Body
Ch 2, then work 1 dc in each stitch around (28 sts). Repeat this round until the body reaches your desired length for the baby romper, typically around 6-8 inches from the ribbing. This is a great time to try the romper for sizing!
Step 1: Shaping Panels
For the leg openings, ch 1, turn, and work 5 sc across the last row of the body piece for the first panel (5 sts). This will create the foundation for each leg opening. Repeat this for the other side after creating the first leg shaping.
Step 2: Leg Ribbing
Using the 3.5 mm hook, join new yarn at one leg opening and ch 1. Work 5 sc in BLO across (5 sts). After this, ch 1 and turn, continuing to work in BLO for 8 rows. This ribbing will match the main body ribbing, providing continuity for the crochet baby romper.
Step 3: Assembly of Romper
Position your leg ribbing flat against the body of the romper. Use a tapestry needle to whip stitch or slip stitch the ribbing securely onto the openings. Repeat with the other leg, ensuring that each leg opening lies flat and looks even.
Step 4: Finishing Touches
Weave in all loose ends with a tapestry needle. Check that your crochet baby romper has the intended shape and stretch, making any adjustments needed. The final piece should feel soft and cozy, ready for your little one to wear!
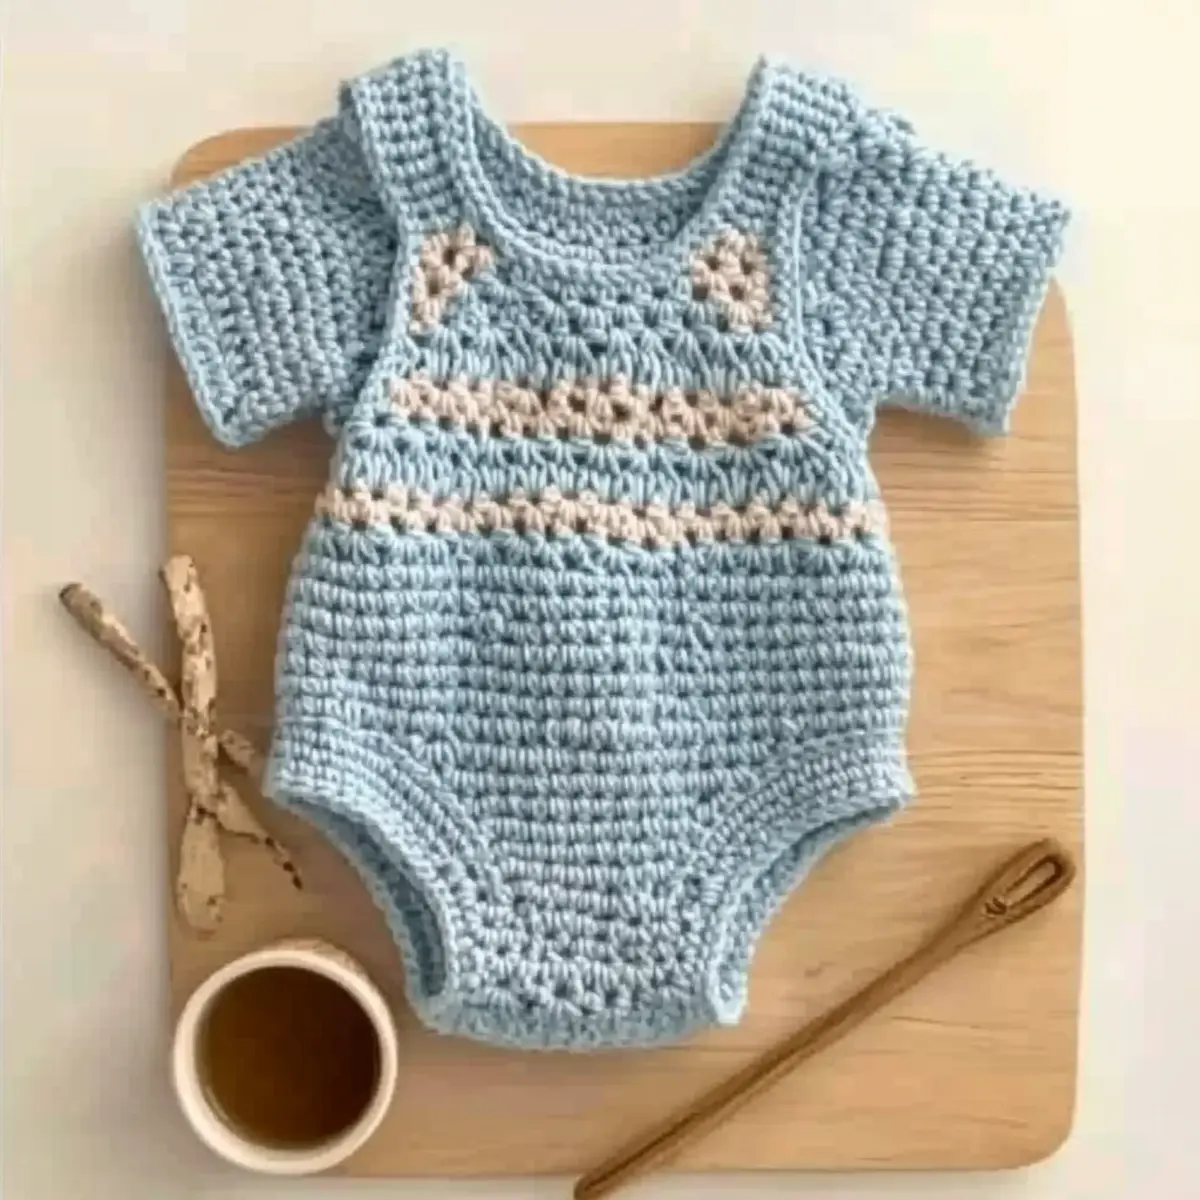
Expert Tips for Crochet Baby Romper
-
Stitch Tension Check: Regularly measure your tension to ensure the romper fits perfectly. Aim for 4×4 inches = 12 stitches by 10 rows in the main body pattern.
-
Count Your Stitches: Count stitches at the end of each round to prevent losing track. This helps avoid unexpected shaping inconsistencies in your crochet baby romper.
-
Mark Your Rounds: Use stitch markers to indicate your starting point for each round. This small tip makes it easier to track stitch changes and maintains the overall pattern integrity.
-
Secure Finishing: Weave in all ends securely to prevent unraveling. Ensuring every stitch is tight not only enhances durability but also keeps the romper looking neat.
-
Lay Flat to Dry: After washing, lay the romper flat to dry. This preserves the shape and texture, ensuring your cozy creation will last for many joyful wearings!
Washing & Care for Your Crochet Baby Romper
-
Hand Washing: Use cold water and a mild detergent while gently washing your crochet baby romper. Avoid harsh agitation to prevent damage to the delicate yarn.
-
Drying/Blocking: After washing, lay the romper flat on a clean towel to dry. Avoid hanging, as this can distort the shape.
-
Storage: Store your romper in a cool, dry place, ideally folded rather than hanging, to maintain its texture and integrity.
-
Mending: If your romper experiences minor wear, use a tapestry needle and leftover yarn for easy repairs to ensure it remains a cherished keepsake.
Crochet Baby Romper Variations & Substitutions
Embrace your creative spirit and add your personal touch to this delightful baby romper pattern!
- Yarn Substitutions: Opt for cotton yarn for a breathable summer romper or use a soft acrylic for warmth in cooler months. Each fiber brings a new life to the design.
- Color-Blocking: Try alternating colors for a playful striped effect, making it a vibrant piece that can match any baby outfit. Visualize the romper coming alive with layers of personality!
- Length Adjustments: Add a few more rounds to the body for a longer fit that grows with your little one. This extension keeps the romper usable longer, making it even more practical.
- Textured Modifications: Consider adding cute pom-poms at the leg openings or a charming fringe along the hemline for added flair. These little details can transform the romper into a showstopper!
- Ribbing Style Swaps: Experiment with different ribbing techniques for the waistband like puff stitches for an extra touch of texture. It’s an enjoyable way to play with depth in your creation.
- Sizing Adjustments: Need a larger size? Simply increase your stitch count or add more ease to the body for a roomier fit. Personalizing it ensures it’s perfect for any baby!
- Embellishments: Attach cute appliqués or embroidery to create a unique design. A little heart or star can make this romper feel cherished and special.
- Mixed Fiber Blends: Combine different yarn fibers for texture and visual interest. Mixing cotton with wool adds both warmth and softness, perfect for those sweet little cuddles.
Feel inspired? Explore even more ideas in our creative crochet tips to transform your crochet projects into masterpieces!
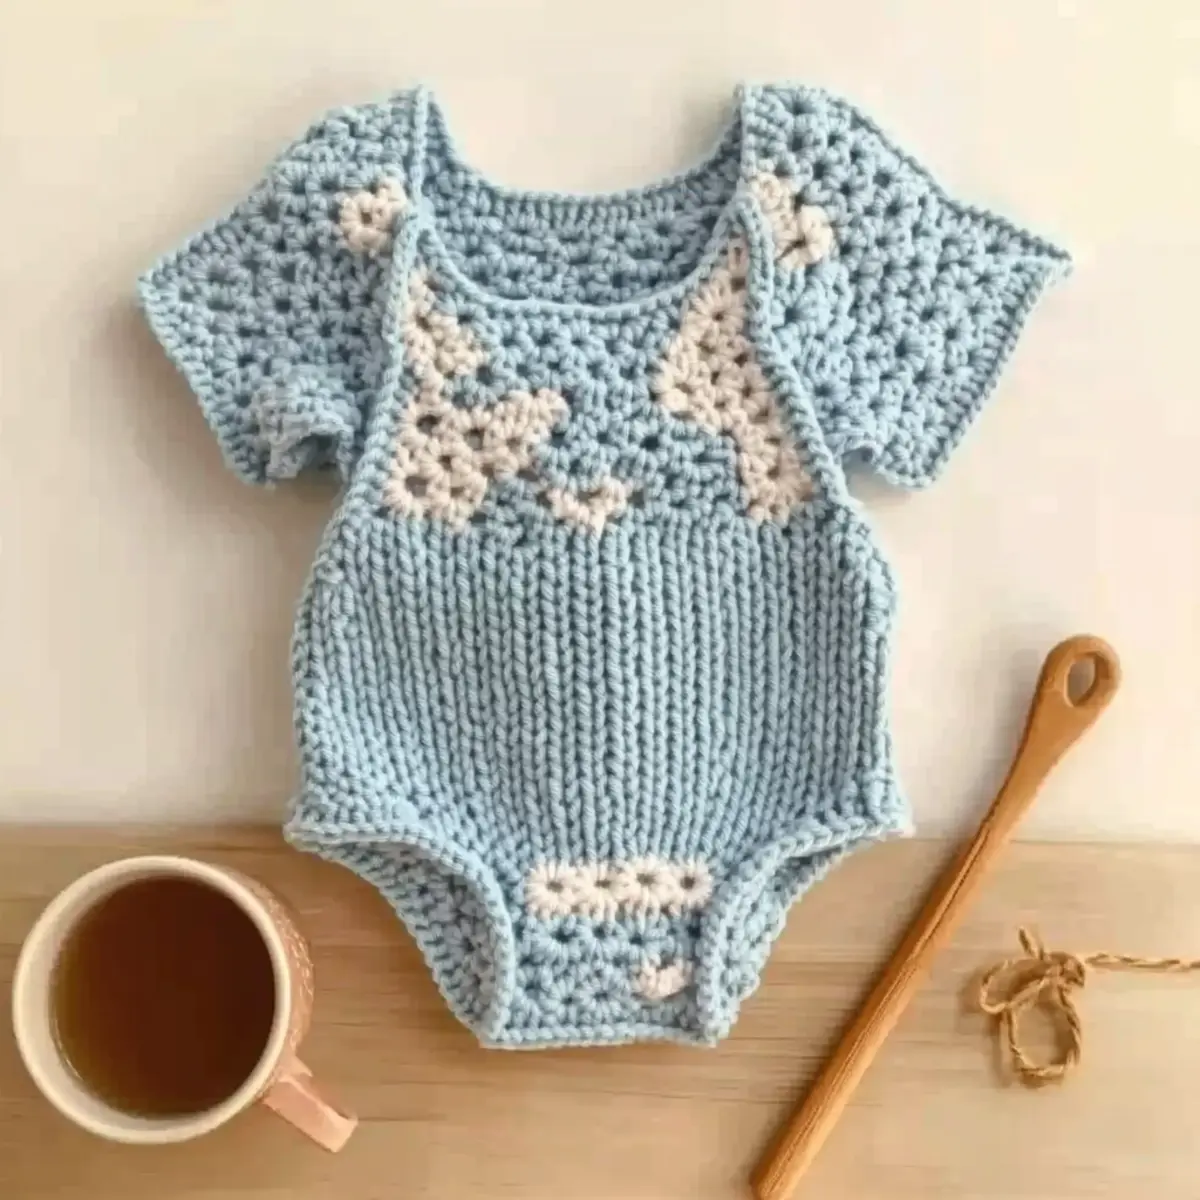
Adorable Crochet Baby Romper FAQs
Can I use a different yarn than what’s suggested?
Absolutely! While lightweight baby yarn (Category 3) is recommended for the best results, you can substitute with other soft yarns. Just keep in mind that using a heavier yarn may alter the fit and drape of the romper, so always check your gauge!
How do I adjust the size of the baby romper?
For larger sizes, you can add more rounds to the main body, especially before the ribbing. If you’re looking to make the romper smaller, just reduce the number of rounds. Make sure to try it on your little one to get that perfect fit!
Why is my crochet romper curling at the edges?
Don’t panic! Curling usually happens if your tension is too tight or if you’re using a hook size that’s too small. Make sure to keep your tension relaxed and, if needed, try switching to a larger hook to see if that helps.
What size hook should I use for this pattern?
For the ribbing, you’ll want to use a 3.5 mm (E) hook, and for the main body, switch to a 4.5 mm (G) hook. This change will give your romper a lovely balance between the stretchy ribbing and the main body texture.
How do I fix dropped stitches in my crocheting?
It’s an easy fix! Simply reinsert your hook into the stitch below where the drop occurred, then pull that loop back up to the current row, and continue stitching. This will hide the mistake within the project beautifully.
What is the best way to keep the romper’s texture after washing?
To maintain the cozy texture and shape, hand wash the romper in cold water with a mild detergent, then lay it flat to dry. This gentle treatment will help your lovely creation stay soft and snuggly!
Leave a Reply