
As I settled into my cozy nook, the soft feel of the yarn slipped through my fingers, and I suddenly felt inspired to create something special. Enter the Dimensional Pear Blossom Granny Square—perfect for bringing a burst of springtime cheer to any project! This beginner-friendly pattern features a charming five-petal flower, with a delightful pink center surrounded by green leaves that seem to dance in the breeze. Not only is it a quick and satisfying make, but it’s also a fantastic way to use up your yarn stash, adding vibrant texture to your crochet repertoire. I can’t wait for you to dive into this blooming crochet adventure; your next cozy creation is just a few stitches away!
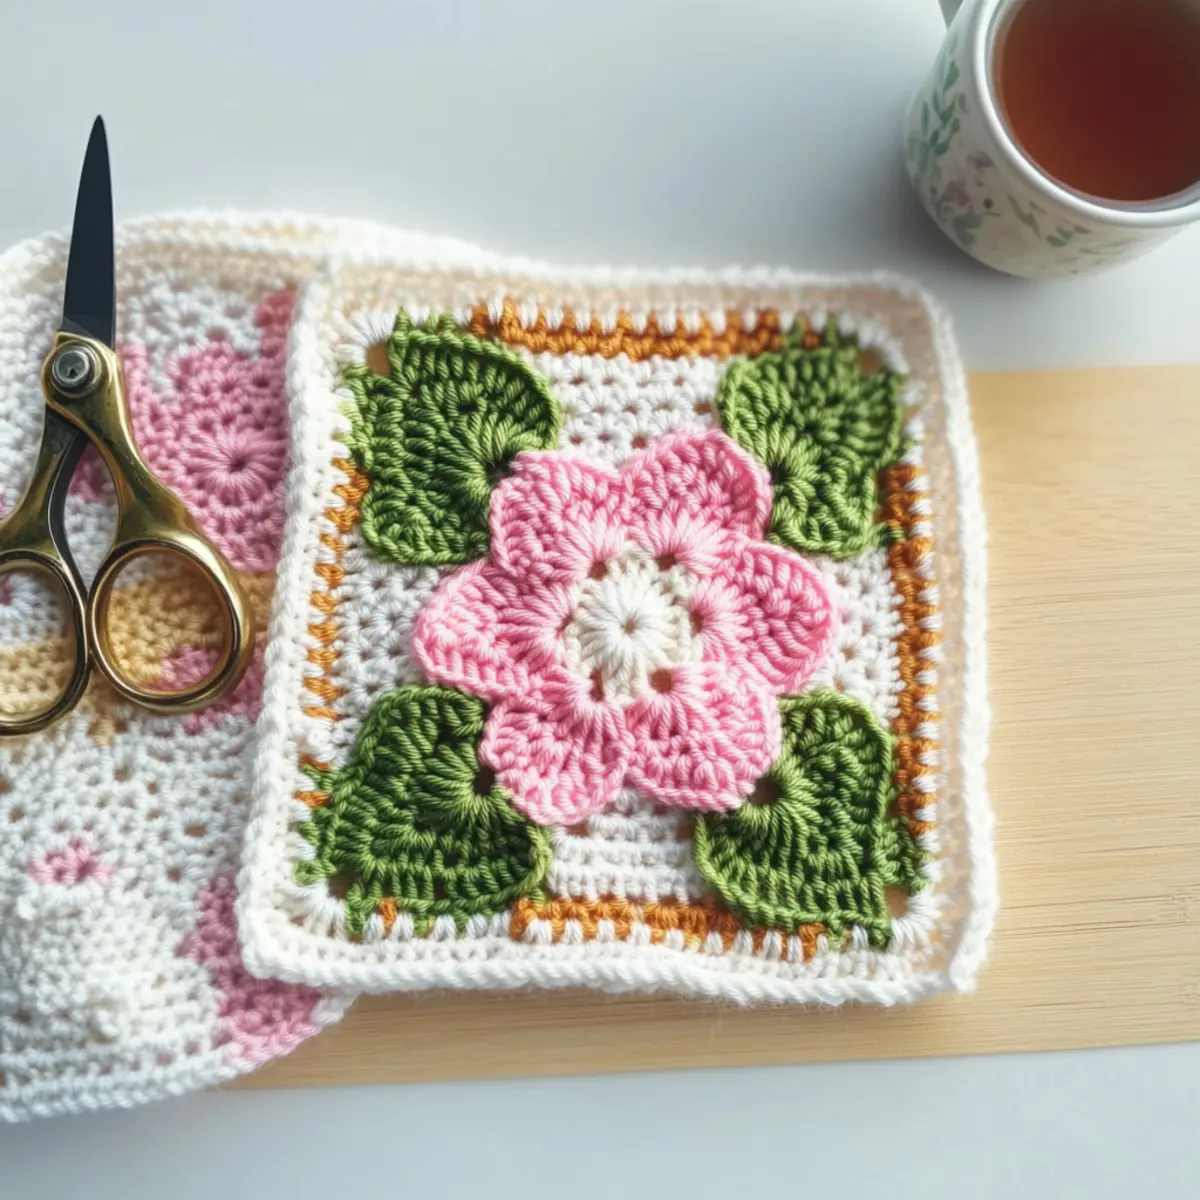
Cozy Pear Blossom Granny Square Materials & Tools
Yarn
• DK Sport-Weight Wool Yarn – Choose four colors for a delightful blossom effect, with approximately 50 yards of each color recommended.
Tools & Notions
• 3.00 mm (US size D) Hook – This hook size is perfect for creating the delicate stitches and dimensional flower design.
• Darning Needle – Essential for weaving in those pesky ends neatly to keep your square tidy.
• Scissors – Handy for cutting the yarn smoothly as you finish your project.
This cozy Pear Blossom Granny Square pattern is not just an enjoyable project but also a blossoming journey into the world of crochet!
Why is This Pattern a Must-Try?
Beginner-Friendly: You’ll find this Pear Blossom Granny Square easy to tackle, making it perfect for those just starting out on their crochet journey.
Dimensional Beauty: The clever use of double crochet bobbles creates stunning raised petals that truly pop, adding an eye-catching element to your work.
Quick Project: With its straightforward rounds, you can whip up this square in no time, making it a perfect option for last-minute gifts or relaxing afternoon crafting.
Stash-Buster: Use up leftover yarn scraps in your favorite colors to create unique combinations, keeping your stash neat while unleashing your creativity!
Versatile: Whether you want to create a vibrant blanket or add embellishments to bags, this pattern offers endless possibilities for your crochet adventures!
Dive deeper into your crafting journey and explore further at spring-inspired patterns.
Gauge & Sizing Notes
Don’t skip the gauge swatch! Achieving the perfect tension is crucial for your Pear Blossom Granny Square, as it ensures a consistent size and beautiful finished product. For this pattern, your gauge should be a 4×4 inch (10×10 cm) square, which equals 14 double crochets by 8 rows. If you wish to make your square larger or smaller, simply adjust your starting chain in multiples of 4. If your tension doesn’t match, don’t fret! If your swatch is too tight, try going up a hook size, and if it’s too loose, consider a smaller hook to achieve the ideal crochet gauge. Happy crocheting!
Step‑by‑Step Pattern for Dimensional Pear Blossom Granny Square
Round 1: Foundation Loop
Create a magic loop and ch 1, then work 10 sc into the loop. Pull the loop tight to form a circle. Join with a sl st to the first sc to close the round, keeping your work firm. Your foundation should lay flat and measure about 1 inch in diameter (10 sts).
Round 2: Flower Heart
Ch 3 (counts as first dc), then yarn over and create 4 bobble stitches (dc, yo, dc in same stitch) into the same sc from Round 1. Between each bobble, ch 1. After the last bobble, join with a sl st into the top of the ch 3. You should see a small flower shape starting to form, with five bobbles protruding from the center (5 bobbles).
Round 3: Petal Formation
Ch 5, skip the next bobble, and into the following bobble, work (dc, ch 2, dc) to create your first petal. Repeat this across the remaining bobbles for a total of 5 petals. After the last petal, join with a sl st to the base of the first ch 5. Your work should now feature five distinct petals, each arching gracefully (5 petals).
Round 4: Petal Borders
In each ch-2 space from Round 3, work (sc, ch 3, sc) to create a clear border for each petal. Join with a sl st to the first sc. This round adds definition and a lovely framing effect to the petals, enhancing the overall flower look (5 bordered petals).
Round 5: Leaf Stems
Start in any corner by joining your green yarn with a sl st. Ch 3, then (dc, hdc, sc) in the same stitch for the first leaf stem. Move to the next corner and repeat for a total of 2 leaf stems. Your square will now have a delightful touch of green adding to the floral design (2 leaf stems).
Round 6: Finishing Leaf Stems
In each leaf stem, ch 4 and sl st back into the stem to create the leaf points. Fasten off green yarn and weave in the ends using the darning needle. The leaves should now create an elegant droop, completing the dimensional flower theme around your granny square (2 finished leaves).
Round 7: First Square Frame
With your chosen color, join in any corner stitch and ch 3. Work (dc) in the same corner stitch then across each side, place a (dc, dc) into each corresponding stitch, ensuring to have 2 dc in each corner stitch. Join with a sl st to the top of the starting ch 3. The square will start to envelope your flower design, giving it a cozy feel (24 dc).
Round 8: Second Square Frame
Ch 3 to begin and work another round of (dc) around, increasing to 48 dc total around both sides and corners. Make sure that each corner remains consistent with two dc to maintain the squared shape. This round adds more substance and support to your granny square (48 dc).
Round 9: Contrast Border
Finish the granny square by changing to your contrast color. In any corner, join the yarn and ch 1, then sc all around the square, placing 3 sc in each corner to keep the edge smooth. Join with a sl st to the first sc. Your granny square should have a clean and polished look with the final border adding a beautifully finished touch (60 sc).
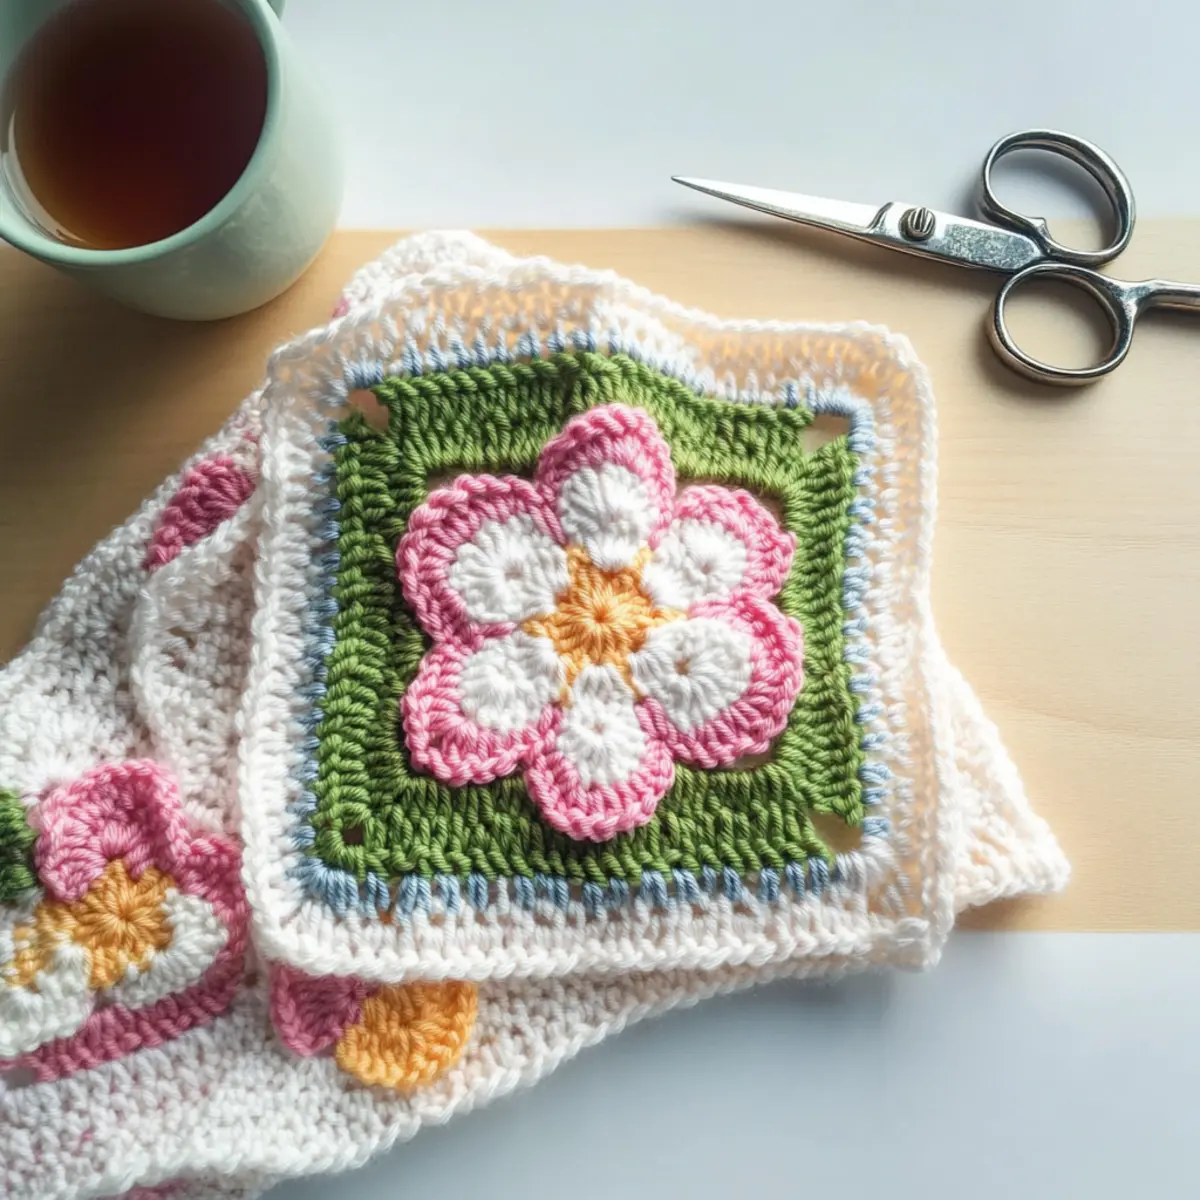
Expert Tips for the Pear Blossom Granny Square
-
Stitch Count Matters: Always count your stitches at the end of each round to maintain the square’s shape. It’s easy to lose track while crocheting!
-
Use a Stitch Marker: Place a stitch marker in your initial stitch of each round. This helps you keep track of where the round begins and prevents confusion later on.
-
Check Tension: Make a quick tension swatch before starting to ensure your stitches match the gauge. This will keep your granny square from being too tight or loose.
-
Finishing Touches: When weaving in ends, use a darning needle to hide the yarn tails securely. This will give your square a polished look and prevent unraveling.
-
Experiment Freely: Don’t hesitate to play with color combinations! The Pear Blossom Granny Square is perfect for using up scraps and expressing your unique style.
How to Wash and Care for Your Pear Blossom Granny Square
Machine Washing: Use a gentle cycle with cold water to avoid agitating the fibers, which can lead to felting or pilling.
Hand Washing: If you prefer, hand wash your Pear Blossom Granny Square in cold water with a mild detergent, gently pressing the water out without wringing.
Drying/Blocking: Lay your square flat on a clean towel to dry, reshaping it as needed. Avoid hanging to prevent stretching.
Storage: Keep your finished square in a cool, dry place, away from direct sunlight to maintain its vibrant colors and texture.
Pear Blossom Granny Square Variations
Invite your joyful creativity to blossom as you explore these delightful customizations for your crochet pattern!
-
Yarn Substitutions: Try using cotton yarn for a breathable, summery feel. It gives a crisp texture that’ll look lovely in warmer months.
-
Larger Petals: Increase the number of double crochets in your petals for a bolder flower appearance. More stitches create volume and make your blooms truly stand out.
-
Color Blocking: Alternate between different colors in each round to create a striking color-blocked effect. Playful hues can transform your granny square into a party of colors!
-
Textured Borders: Adding a fun texture by choosing a popcorn stitch or shell stitch for the final round creates a charming finishing touch. It gives your square character and dimension.
-
Sizing Up: To make a larger square, simply add extra rounds with the same stitch sequence. Bigger squares can be used for cushions or tabled decor!
-
Fringed Edges: Try adding fringe to the edges of your square for a modern twist. This playful touch adds movement and excitement to your project.
-
Layered Embellishments: Consider sewing on a small button or bead in the center of the flower for an extra decorative detail. It brings an unexpected sparkle to your creation.
-
Personalized Color Palette: Select colors that match your home decor or favorite season. Customizing colors can evoke personal memories or themes that resonate with your style.
Dive into more inspiration with these spring-inspired patterns that perfectly complement your crochet projects! Embrace the joy of crafting!
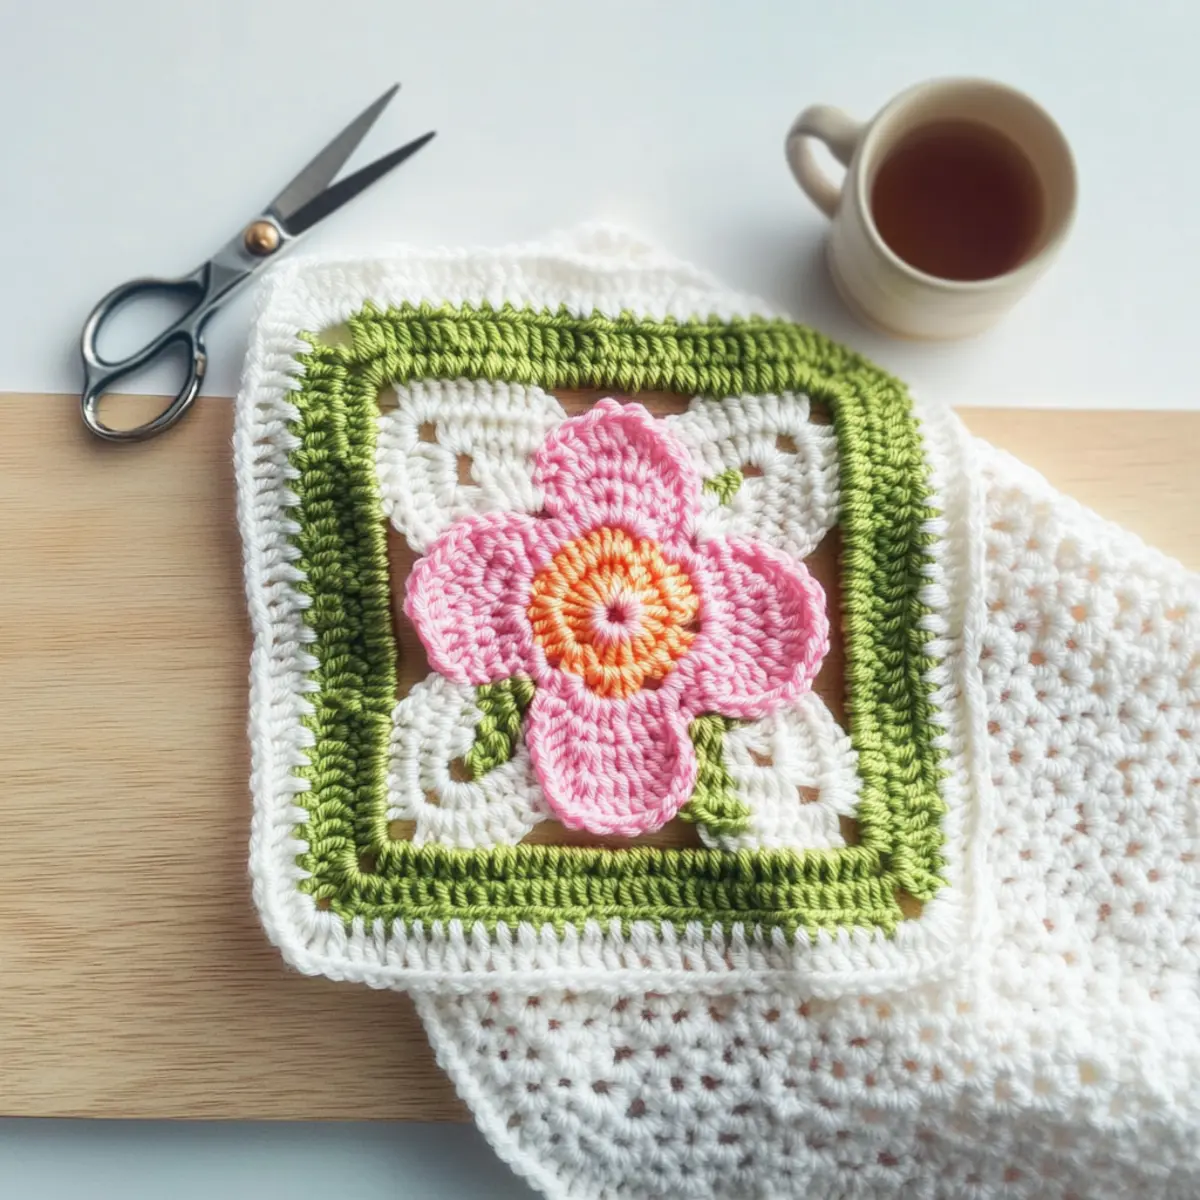
Dimensional Pear Blossom Granny Square FAQs
Can I use a different type of yarn for this pattern?
Absolutely! While this pattern is made with DK sport-weight wool yarn, you can substitute it with any yarn of your choice, like acrylic or cotton. Just be mindful that different yarn weights may impact the final texture and size of your granny square.
How can I adjust the size of my granny square?
To make your Pear Blossom Granny Square larger or smaller, you can add or subtract rounds. For larger squares, you can also switch to a larger crochet hook size, but remember to maintain stitch count for each round to keep a neat shape.
Why is my work curling or buckling?
Don’t panic! If your square is curling like a bowl, it often means you’re missing stitches or haven’t crocheted tightly enough. Go back and double-check your stitches. Sometimes adding an extra round of single crochet can help flatten it out beautifully.
What size hook should I use for this pattern?
This pattern recommends a 3.00 mm (US size D) crochet hook. However, if you notice your tension is off (too tight or too loose), feel free to adjust to a hook size that suits your comfort and creates a neat fabric.
How do I fix dropped stitches in my granny square?
It’s an easy fix! Simply find the dropped stitch and pull the working yarn through the stitch. Then, use a darning needle to weave in the yarn tail securely so that it blends in with your work, ensuring a tidy finish.
How do I care for my finished granny square?
For wool yarn, I recommend gentle hand washing and laying flat to dry. This will help maintain the shape and prevent any felting. Always check the care instructions on your specific yarn brand for optimal results.
Leave a Reply