
In a world filled with fleeting trends, the charm of a hand-crocheted baby dress never goes out of style. Introducing the “Strawberry Cream Tiered Baby Dress,” where soft rose pink and creamy hues dance together in a delightful vintage-inspired design. This beginner-friendly project is not only a joy to create, but it also works up quickly, making it perfect for those last-minute baby shower gifts. With its tiered skirt and easy techniques, you’ll enjoy every moment spent crafting this lovely piece that can be cherished for years to come. Whether you’re a seasoned crocheter or just starting on your yarn journey, this project promises to envelop you in creativity and warmth. Ready to bring some vintage flair into your crafting? Let’s dive in!
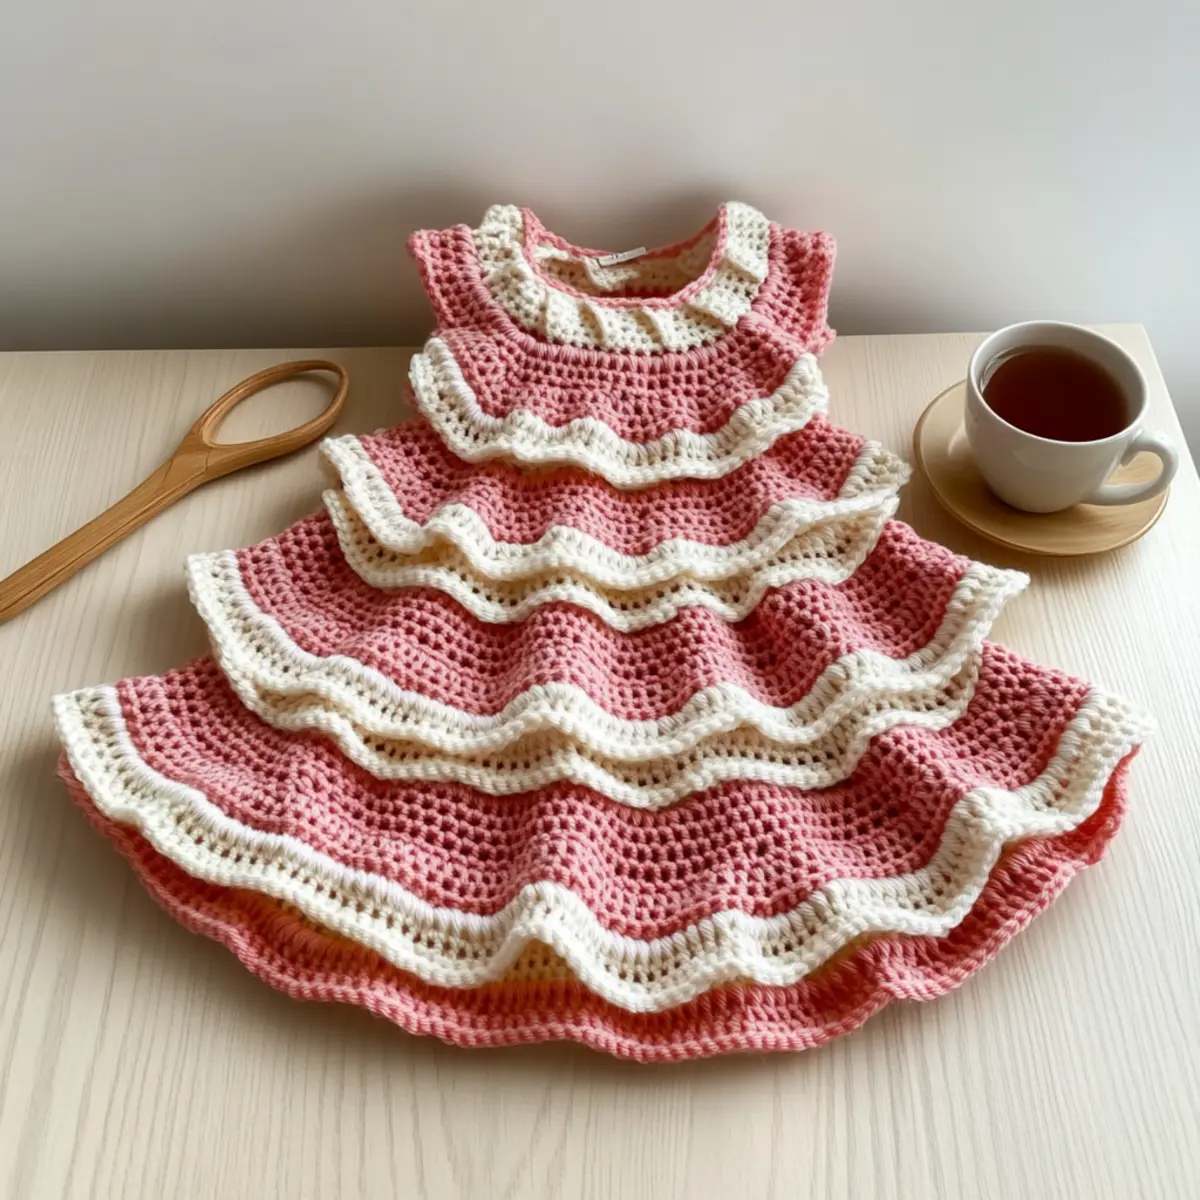
Vintage Tiered Baby Dress Materials & Tools
• Create your Strawberry Cream Tiered Baby Dress with ease using these essential materials!
Yarn
- DK Weight Cotton Yarn – Choose a smooth cotton or cotton acrylic blend for a lightweight feel and clear stitch definition; avoid fuzzy yarn.
- Yardage – You’ll need approximately 100-150 yards in each color: color A – Rose Pink and color B – Cream.
Tools & Notions
- 4 mm (US size G-6) Hook – Perfect for achieving the recommended gauge of this beginner-friendly project.
- Stitch Markers – Use these to keep track of your rounds and ensure the correct fit as you work through the pattern.
- Tapestry Needle – Essential for weaving in ends after finishing your dress for a polished look.
Feel ready to gather your supplies and embark on creating this gorgeous vintage crochet masterpiece!
Why Choose the Strawberry Cream Dress?
Timeless Style: This vintage-inspired design combines soft rose pink and cream colors, ensuring the dress is not just a gift but a lasting keepsake for any little one.
Easy for Beginners: With straightforward techniques like double crochet and shell stitches, this pattern is perfect for those who are just learning the art of crochet.
Quick to Complete: You’ll be amazed at how fast this project comes together; ideal for those last-minute baby shower gifts or crafting in batches.
Charming Details: The tiered skirt and scalloped edges provide an aesthetic appeal that stands out, making this dress not only functional but also a little work of art.
Personalization Options: Looking to customize? Adjust the tiers for length or mix colors for a fun twist to make every dress uniquely yours! For more ideas, check out our guide on customizing crochet patterns.
Crafting Community: Join fellow crafters and share your stunning creation with the world; it’s a great way to connect through your love for yarn!
Gauge & Sizing Notes
Don’t skip the gauge swatch! Checking your tension is crucial for ensuring that the Strawberry Cream Tiered Baby Dress fits beautifully. For this project, aim for a gauge of 18 stitches and 10 rows over a 4×4 inch (10×10 cm) square when working in double crochet. If you find your swatch is smaller than this, try increasing your hook size for a looser tension. To adjust the sizing of the dress, simply alter your starting chain in multiples of 6 to make it larger or smaller as needed. If your tension matches but you’d like a longer or shorter dress, consider adding or removing tiers accordingly. Remember, a well-measured dress is a cherished dress!
Step‑by‑Step Pattern for Strawberry Cream Tiered Baby Dress
Row 1: Start the Yoke
Ch 60 (or desired width), join with a sl st to form a ring. Ch 2 to begin the first row, then work 1 dc in each ch around. Place stitch marker to mark the end of the round. Your work should feel firm and circular (60 sts).
Row 2: Increase for Yoke
Ch 2, work 2 dc in the first st, and 1 dc in each of the next 29 sts, inc in the next st. Repeat from * to * until the end of the round. Your yoke will begin to take shape and feel slightly wider (62 sts).
Row 3: Continue the Yoke
Ch 2, work 1 dc in the next st and 2 dc in the next st. Repeat from * to * around the row. This creates beautiful shaping for the bodice of the Strawberry Cream Tiered Baby Dress, giving it a slight flaring effect (93 sts).
Row 4: Build Up Yoke Height
Repeat Row 3 without increasing. Ch 2, work 1 dc in each st around. This row continues to add height to the yoke, making it fit comfortably for your little one (93 sts).
Row 5: Prepare for Armholes
Ch 2, work 1 dc in 5 sts, inc in next st. Repeat from * to * around. This not only enhances the shape but also prepares your dress for armhole openings (111 sts).
Row 6: Separate for Armholes
Ch 2, dc in the first 35 sts, ch 15 for armhole, skip next 30 sts (these are for the other armhole), dc in remaining sts around. Your yoke will show clear openings for the armholes, giving it a fitted appearance.
Round 7: Begin Skirt Tier (Color A)
Join color A, ch 2, work 2 dc in the first st, skip 1 st, work 3 dc in next st for scallops. Repeat from * to * around, paying attention to the scallop formation for a lovely ruffled edge (total of 36 scallops).
Round 8: First Skirt Layer
Ch 2, work 1 dc in each dc across. This round provides stability beneath the scallops, leading to a full, tiered look in the Strawberry Cream Tiered Baby Dress (108 sts).
Round 9: Second Tier (Color B)
Switch to color B, ch 2, work 2 dc in the first st, skip 1 st, work 3 dc in the next st. Continue this pattern entirely around. Your dress should start to exhibit the lovely contrast of colors and a textured tiered effect (total of 36 scallops).
Round 10: Complete Second Tier
Ch 2, work 1 dc in each st across. This round adds volume and structure, enhancing the overall aesthetic of your baby dress (108 sts).
Step 11: Final Tier (Color A)
Join color A, repeat Round 9 and 10 to add another decorative tier. This adds depth and charm to the design, ensuring your dress is both beautiful and cozy for the little one (total of 36 scallops).
Step 12: Finishing Touches
Work sc around the neckline and armhole edges to create a clean finish. This adds a final touch of neatness and provides a smooth fit for comfort as the baby wears the Strawberry Cream Tiered Baby Dress.
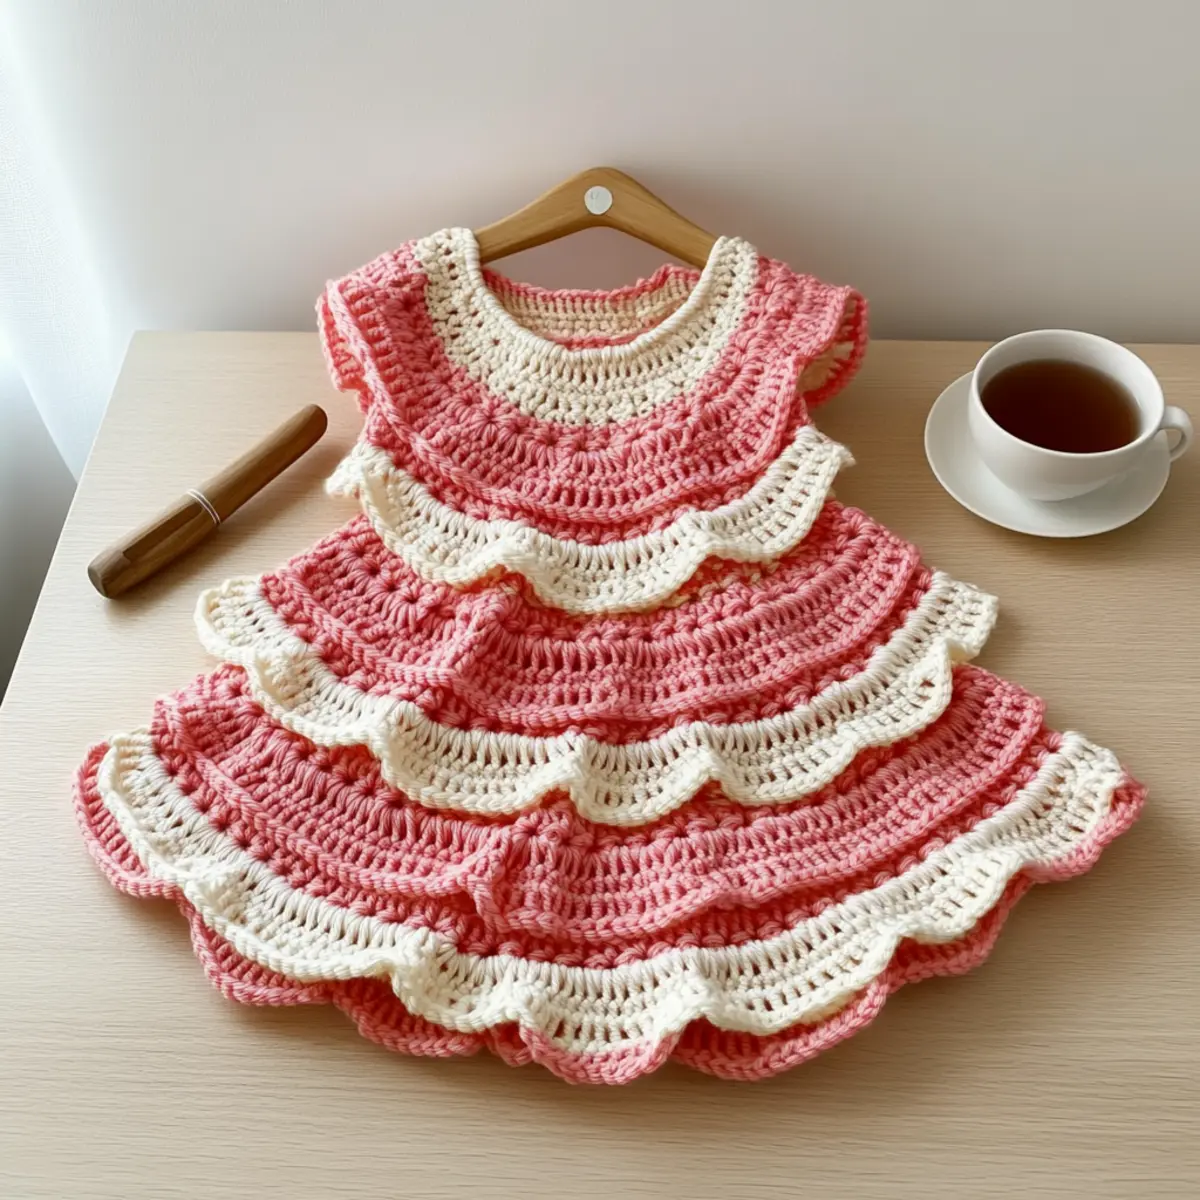
Vintage Baby Dress Variations
Explore the endless possibilities for customizing your beautiful crochet dress!
-
Yarn Substitutions: Opt for a cotton blend to maintain softness while adding durability. Cotton acrylic blends offer ease of washing.
-
Color Block: Infuse joy with bright pops of color or pastel combinations across tiers. Mixing hues can give a modern twist to the vintage style.
-
Size Adjustments: For a larger fit, simply increase the foundation chain in multiples of the stitch repeat. This way, your dress can grow with its little wearer!
-
Texture Variations: Add a frilly border at the hem for extra charm, making the dress even more delightful, perfect for twirls on the dance floor.
-
Length Extender: Create an additional tier or two for a floor-length dress. This enchanting look is perfect for dress-up occasions!
-
Sleeve Styles: Change up the sleeve design! Try puff sleeves or omit them entirely for a sweet sleeveless look, suitable for warm-weather wear.
-
Embroidery Touch: Personalize the dress with simple embroidered flowers or initials on the bodice; this special touch transforms a lovely dress into a cherished keepsake.
-
Festive Additions: Consider adding seasonal embellishments like a pom-pom bow for birthdays or special events. It’s a quick way to tailor the dress for any occasion!
Discover other methods to personalize your work by checking out our guide on customizing crochet patterns. Happy crafting!
Washing and Care for Your Strawberry Cream Baby Dress
-
Machine Washing: Wash on a gentle cycle in cold water to maintain the integrity of the soft cotton yarn and prevent any damage.
-
Hand Washing: For a more delicate approach, hand wash in cool water with mild detergent. Gently press out excess water without wringing to avoid distortion.
-
Drying/Blocking: Lay the dress flat on a clean towel to dry, reshaping as necessary. This will help preserve the design and scalloped edges.
-
Storage: Store in a cool, dry place, ideally in a breathable cotton bag to keep it fresh and protected from dust, ensuring your baby dress remains in excellent condition for gifting.
Expert Tips for the Strawberry Cream Dress
-
Check Your Gauge: Ensuring your gauge is accurate (18 stitches and 10 rows = 4 inches in double crochet) helps achieve the perfect fit for the dress.
-
Count Your Stitches: Regularly counting your stitches at the end of each round prevents losing track and ensures consistent sizing for your beautiful baby dress.
-
Block for Beauty: After finishing, blocking the dress enhances its shape and drape. Wet blocking is effective for cotton yarn and accentuates the scalloped edges.
-
Secure Your Ends: Use a tapestry needle to weave in your ends neatly. This not only keeps your project tidy but also adds to the durability of your piece.
-
Avoid Twists: When working on the foundation chain, take care to keep it straight and untwisted. A twisted chain can create uneven edges in your crochet work.
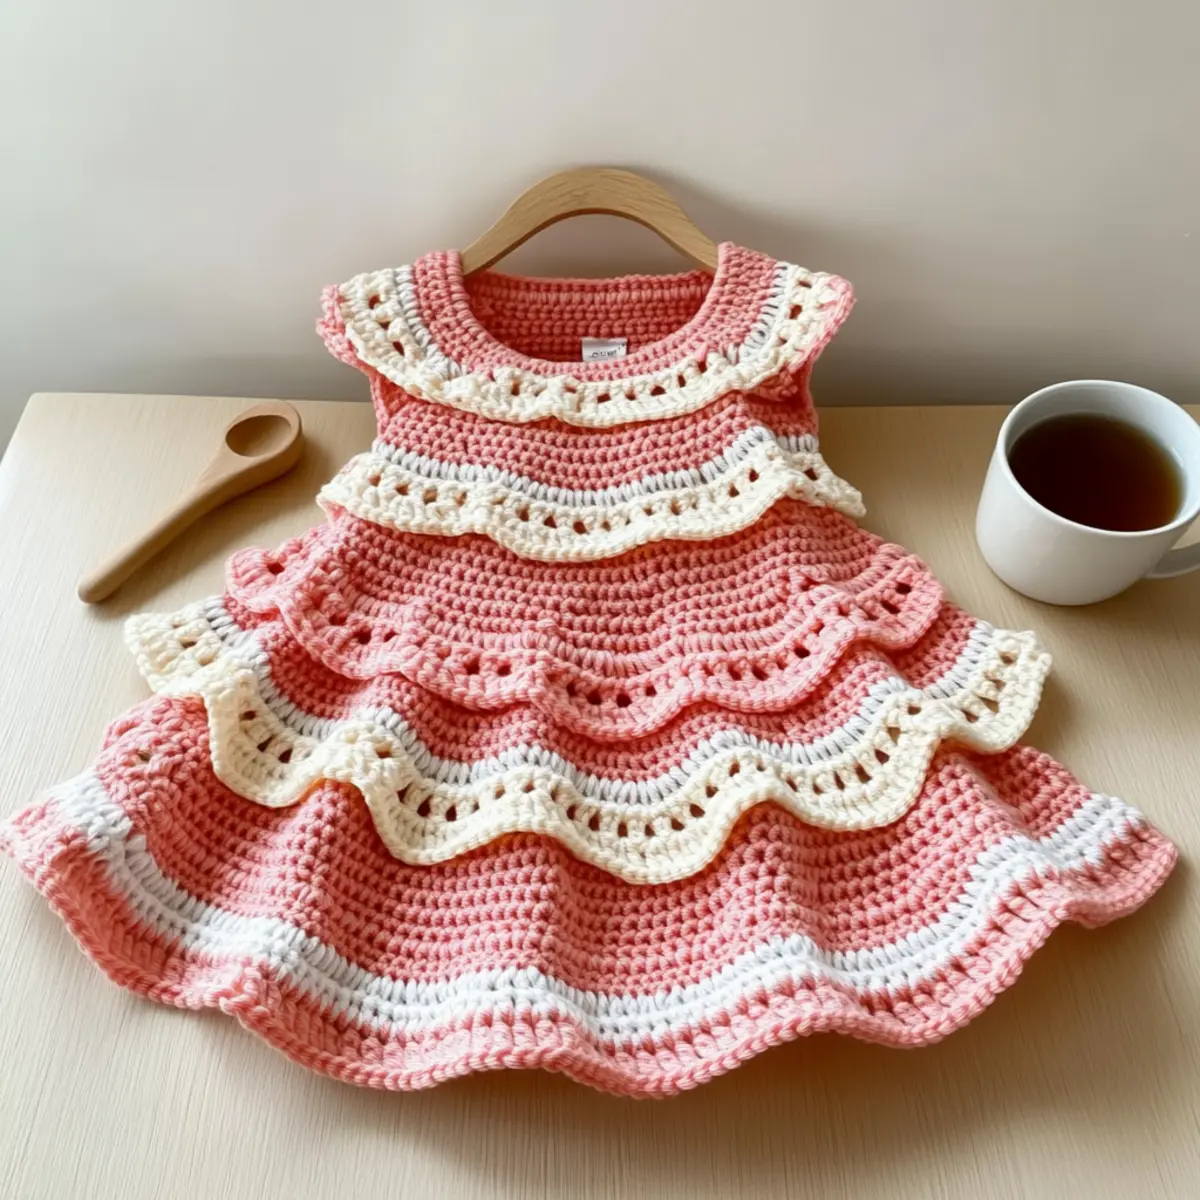
Strawberry Cream Tiered Baby Dress FAQs
Can I substitute yarn with something other than cotton?
Absolutely! While I recommend a soft cotton or cotton acrylic blend for best results, you can experiment with a suitable worsted weight yarn. Just make sure that it offers good stitch definition and drapes well to match the vintage aesthetic.
How can I adjust the size of the dress if I want it to fit a smaller or larger baby?
Don’t panic! For adjustments, you can change the starting chain to add more stitches, keeping in mind that you should work in multiples of the stitch repeat. This way, you can tailor the dress to fit the desired size—just be sure to check your gauge!
Why is my work curling at the edges?
If your dress is curling at the edges, this is usually due to tight tension or uneven stitches. Be sure to maintain a relaxed grip while crocheting and regularly check for consistent stitch size. Blocking the finished piece can also help flatten curls and give it a charming drape.
What hook size should I use for this pattern?
For the Strawberry Cream Tiered Baby Dress, a 4 mm hook (US size G-6) is recommended. This size works well with the DK weight yarn, helping you achieve the right stitch definition and overall fit.
How do I fix dropped stitches in my work?
It’s an easy fix, I promise! Simply pick up the dropped stitch using your hook and work it back into place. If the stitch has unraveled a bit, use a tapestry needle to weave it down into the nearest stitch to secure everything in place—trust me, it’s less daunting than it sounds!
Leave a Reply