
As I wrapped my hands around the soft, squishy yarn, the cozy vision of tiny heads adorned with adorable star stitch hats flickered to life. I’m thrilled to share this Star Stitch Crochet Baby Hat pattern, designed with beginners in mind and ready to spark your creativity. With its charming texture and customizable options—like adding a big bow or a sweet flower—this project is perfect for gifting or donating to little ones in need. Not only will you enjoy crafting a warm and stylish accessory, but you’ll also elevate your crochet skills in the process. Ready to dive into the joys of crochet and create a treasured keepsake? Let’s get started!
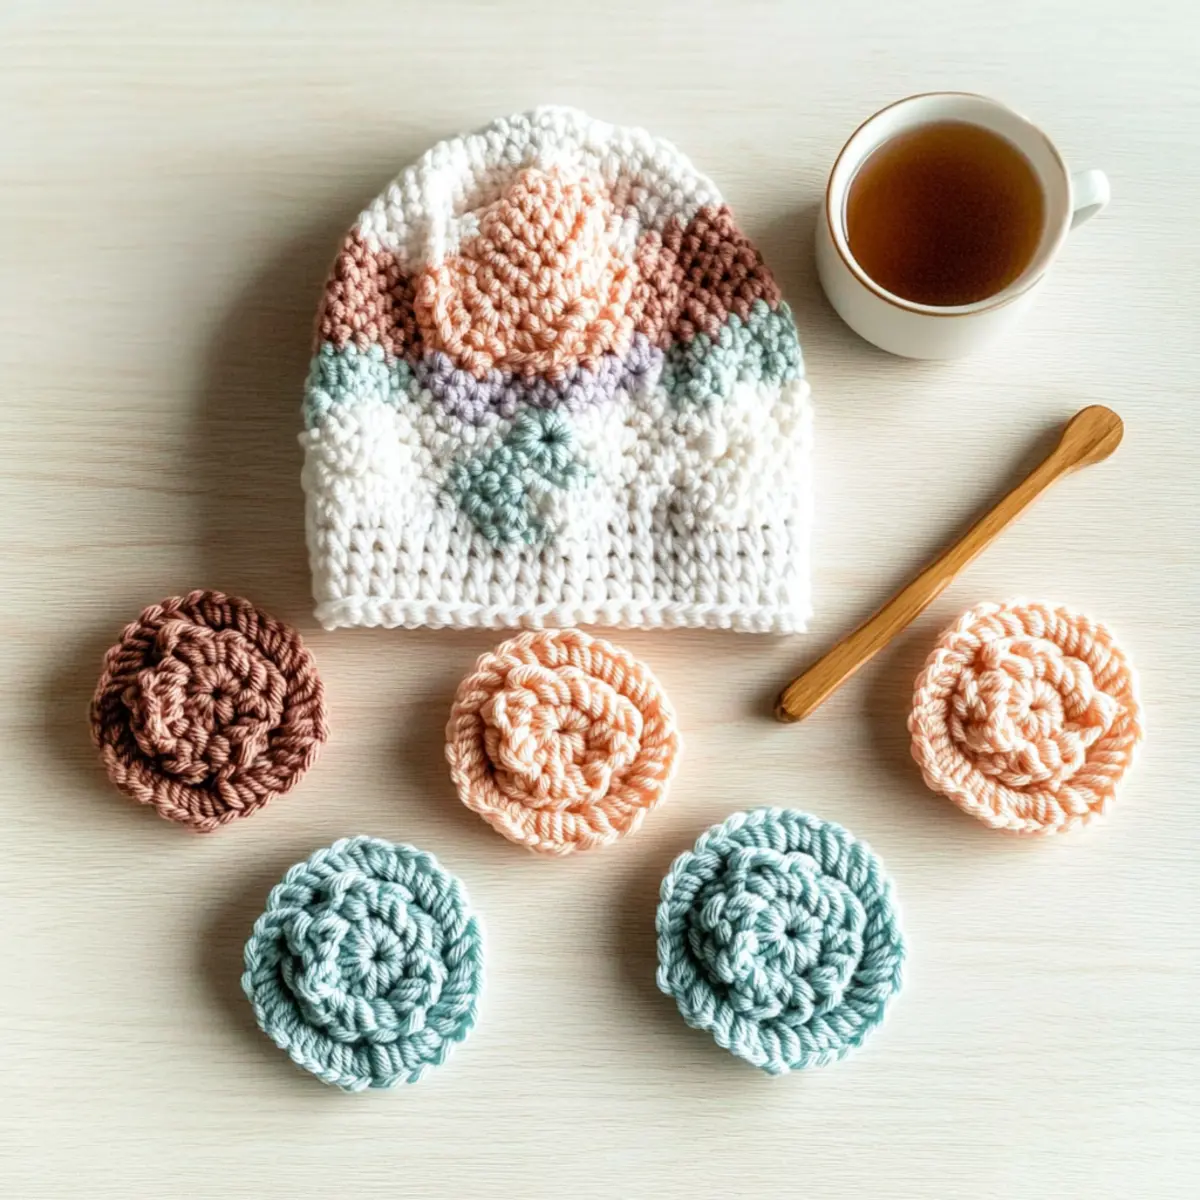
Star Stitch Baby Hat Materials & Tools
Create your cozy star stitch baby hat with these essential materials.
Yarn
• Worsted Weight #4 Yarn – Use 100% Acrylic (like Color Theory by Two of Wands) for a soft and warm finish; you’ll need approximately 246 yds per ball (75-245 yds depending on size).
Hook Size
• US G+/7 (4.5mm) Hook – This size helps you achieve the proper gauge for the star stitch pattern.
Tools & Notions
• Tapestry Needle – Great for weaving in those pesky ends smoothly.
• Scissors – A must-have for trimming yarn tails with precision.
• Measuring Tape – Helps you keep track of sizing for those adorable little heads.
• Custom Tags (optional) – Perfect for adding a special touch to your gifts.
Why Choose the Star Stitch Baby Hat?
Versatile Design: This pattern caters to various sizes from preemie to toddler, ensuring every little one can enjoy its cozy warmth.
Beginner-Friendly: The straightforward star stitch technique is easy to master, making this an excellent first project for new crocheters.
Customizable Flair: Add your personal touch with delightful features like a big bow or a charming flower, allowing for unique creations every time.
Thick & Warm Texture: The star stitch creates a plush fabric that is not only visually appealing but also provides excellent insulation, perfect for chilly days.
Time-Saving: With quick construction, you can complete this delightful hat in just a few hours, making it a great last-minute gift option.
If you’re looking for more fun crochet projects, check out our guide on easy crochet patterns for beginners. You’ll find plenty of inspiration to expand your crafting journey!
Gauge & Sizing Notes
Don’t skip the gauge swatch! Checking your gauge is essential for the Star Stitch Crochet Baby Hat to ensure it fits snugly and comfortably, especially since this pattern includes several size variations. Aim for a standard measurement of 4×4 inches (10×10 cm), where your star stitch should yield 4 stitches and 5 rows. If you’re looking to adjust the size, remember that the starting chain should be in multiples of 6 to increase or decrease the hat dimensions effectively. If your tension doesn’t match this gauge, don’t worry! If your swatch is too small, simply go up a hook size to achieve a looser gauge, allowing room for comfort and growth.
Step‑by‑Step Pattern for Cozy Star Stitch Crochet Baby Hat
Row 1: Start with Magic Ring
Begin by creating a magic ring. Ch 2 (this counts as your first hdc), then make 11 hdc into the ring for a total of 12 stitches. Pull the tail to close the ring tightly and join to the top of the first hdc with a sl st. Your work should be a small circle as you start creating the base for the Cozy Star Stitch Crochet Baby Hat.
Row 2: Increase Round
Ch 2, then work 2 hdc in each stitch around the circle (24 sts total). Join with a sl st to the top of the first hdc. This round will help shape the hat and prepare for the star stitch texture. Your circle should look fuller and flatter, setting the stage for the next rounds.
Row 3: Continue Increasing
Ch 2, then *hdc in the next stitch, 2 hdc in the following stitch; repeat from * around (36 sts total). Join with a sl st to the top of the first hdc. This will increase the diameter of the hat, ensuring it fits snugly on little heads. As you work, your circle should continue to widen.
Row 4: Preparing for Star Stitches
Ch 2, then hdc in the next 2 stitches, followed by 2 hdc in the next stitch; repeat from * around (48 sts total). Join with a sl st to the top of the first hdc. This step adds more shape to your Cozy Star Stitch Crochet Baby Hat while maintaining a smooth transition into the star stitch texture.
Round 5: Star Stitch Round
Ch 1, start the first star stitch by working *sc5tog in the next 5 stitches; repeat from * around. To form a star stitch, yarn over, pull through the first loop, and then pull through all loops together at the end (48 star stitches total). Join with a sl st to the first star stitch. Your work should now show the lovely star stitch texture forming.
Round 6: Continue Star Stitch Pattern
Ch 1, repeat the star stitch pattern from the previous round, working *sc5tog in each star stitch around (48 sts total). Join with a sl st to the first star stitch. The hat will start taking shape with this beautiful texture, making it not only warm but visually appealing for both you and the little one wearing it.
Round 7: Star Stitches Continue
Ch 1, work another round of star stitches, maintaining the *sc5tog pattern (48 star stitches total). Join with a sl st to the beginning star stitch. As you progress, your Cozy Star Stitch Crochet Baby Hat will become denser and cozier, ensuring added warmth and a snug fit.
Step 8: Finish with Border
Ch 1, sc in the back loops only around until you complete the round. Join with a sl st to the first sc. This final touch adds an elegant border to your hat. Weave in any loose ends and prepare to add your customizable touches like a big bow or flower to make your Cozy Star Stitch Crochet Baby Hat truly unique.
How to Wash and Care for Your Star Stitch Baby Hat
-
Machine Washing: Use cold water on a gentle cycle to prevent the acrylic fibers from pilling. This protective step keeps your cozy star stitch hat looking fresh and new.
-
Hand Washing: For a more delicate option, hand wash in cool water with mild detergent. Gently press out water without twisting to maintain the texture of the star stitches.
-
Drying/Blocking: Lay your finished star stitch baby hat flat on a clean, dry towel to air dry. Avoid hanging it, as this can distort its shape.
-
Storage: Store in a cool, dry place away from direct sunlight. Consider placing your hat in a breathable bag to protect it from dust and maintain its lovely texture.
Expert Tips for the Star Stitch Hat
-
Stitch Counting: Always count your stitches at the end of each round. This prevents unwanted increases or decreases that can distort the shape of your star stitch hat.
-
Tension Control: Make sure your tension is consistent throughout the project. The star stitch can tighten up quickly if you’re not careful, so check your stitches as you go.
-
Gauge Matters: If you switch yarn weights or types, adjust your hook size accordingly to maintain the correct gauge. Proper gauge ensures your hat fits well for each size variation.
-
Finishing Touches: When adding the border, use back loops only for a clean edge. This small detail enhances the overall look and structure of your cozy star stitch hat.
-
Weave In Ends: Don’t forget to neatly weave in any loose ends. This ensures your hat looks polished and ready for gifting or wearing!
Feel free to make this adorable star stitch baby hat your own with cute customizations!
Star Stitch Baby Hat Variations
Explore delightful ways to customize your star stitch baby hat and make it uniquely yours!
- Yarn Substitutions: Use cotton yarn for a lighter, breathable option perfect for warmer climates.
- Color-Blocking: Alternate colors every few rows for a fun, vibrant look that brightens any baby outfit.
- Size Adjustments: Incorporate additional rows to extend the length for toddlers, adapting the pattern for growing little ones.
- Texture Additions: Add a pom-pom on top for a whimsical touch, giving personality to each hat.
- Border Variations: Consider a scalloped border instead of single crochet for a dainty finish that catches the eye.
- Floral Embellishments: Stitch on little flowers or leaves around the base for a sweet, nature-inspired aesthetic.
- Mixed Fibers: Combine wool and acrylic for a cozy, warm hat with an interesting texture and insulation properties.
- Fabric Labels: Personalize with custom tags for a polished gift presentation, adding a thoughtful touch for special occasions.
For additional guidance on creating adorable crochet designs, check out our selection of beginner-friendly crochet tutorials. Happy crocheting!
Star Stitch Crochet Baby Hat FAQs
Can I substitute yarn types for this pattern?
Absolutely! While the pattern suggests using 100% acrylic yarn, you can experiment with different fibers. Just make sure the substitute yarn is of a similar weight – worsted weight #4 – to ensure your finished hat retains the intended size and warmth.
What if I want to make the hat larger or smaller?
No problem! To adjust the size, you can simply add or omit rounds during the increasing phase. For example, if you aim to make a toddler size, follow the 12-month size to the letter, then add 2-3 extra rounds of star stitch for height. Just remember to count your stitches!
Why is my hat curling at the edges?
Don’t panic! If your work is curling like a bowl, it may indicate that your tension is too tight, especially with the star stitch. I recommend loosening your grip or switching to a larger hook size to achieve a flatter edge. Blocking the finished hat can help smooth it out too!
What hook size should I use?
You should use a US G+/7 (4.5mm) hook or the size required to obtain gauge. If you choose a different yarn type, make sure to check the recommended hook size on the label. Maintaining gauge is key for the right fit!
How do I fix dropped stitches in the star stitch?
It’s an easy fix! If you drop a stitch, gently pull the yarn to create slack and use a tapestry needle to re-insert the yarn back through the loop where the stitch was dropped. Then, continue crocheting, and check for tightness to prevent it from happening again.
What are some cute customization ideas for the hat?
You can have endless fun customizing your star stitch baby hat! Try adding a large bow or a small flower in complementary colors. Stripes can also be a playful twist—just alternate yarn colors every few rounds for a delightful effect that’ll make your creation truly unique!
Leave a Reply