
As I settled into my favorite nook with soft yarn spilling around me, I remembered the joy of crafting something truly special. That’s why I’m excited to share this delightful crochet pattern for a Three Piece Baby Outfit, including a cozy coat, a charming bonnet, and the cutest little booties. Not only is this project perfect for those lovely newborn gifts, but it also works wonders for your market table, making it a great stash-buster for intermediate crocheters looking to elevate their skills. With its soft texture and vintage vibe, this outfit drapes beautifully, turning any little one into an adorable centerpiece for family photos. Let’s dive into the details and start creating those precious stitches together!
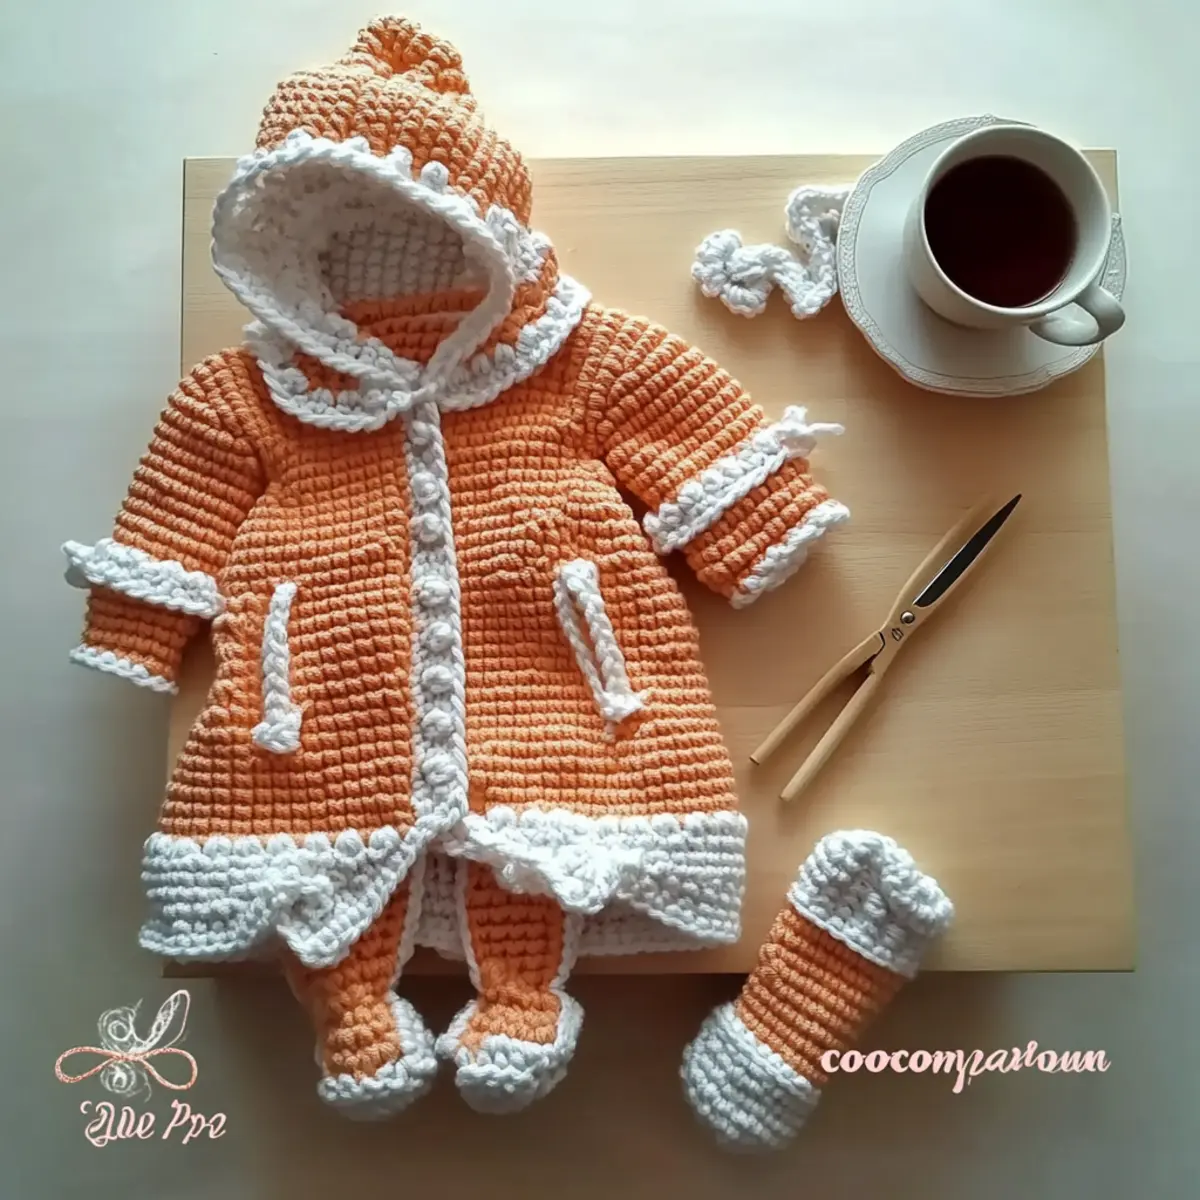
Three-Piece Baby Outfit Materials & Tools
-
Yarn
-
King Cole Big Value Baby DK – You’ll need approximately 180 grams in Color 1 (main color) and 60 grams in Color 2 (contrast color); a light worsted #3 yarn can be used as a substitute.
-
Tools & Notions
-
4.00mm (G-6) Hook – This size is perfect for achieving the delicate stitches needed for this outfit.
-
3 Buttons – Choose charming buttons for the coat to add that sweet finishing touch.
-
Stitch Markers (optional) – Use these to keep track of your stitch counts easily.
-
Tapestry Needle – Essential for weaving in those ends and creating a neat finish.
Embark on this delightful crochet adventure, and watch as your creations come to life for the little ones!
Why Is This Outfit A Must-Make?
Charming Design: The three-piece set includes a cozy coat, a charming bonnet, and adorable booties, ensuring your little one is stylish from head to toe.
Versatile Project: Perfect for crafting heartfelt gifts or selling at craft fairs, it’s an ideal piece for those looking to monetize their crochet skills.
Soft & Comfy: Made with soft yarn, this outfit drapes comfortably on babies, offering a sweet vintage vibe that’s perfect for photographs.
Simple Customization: Easily adjust sizes and colors to match any taste or occasion—try adding stripes or embellishments for a personal touch.
Quick & Satisfying: This intermediate project can be completed in a weekend, offering a fulfilling crochet experience without a lengthy commitment.
Dive into this delightful project and check out our guide on beginner crochet basics if you need a quick refresher!
Gauge & Sizing Notes
Don’t skip the gauge swatch! Ensuring the correct tension for your Three Piece Baby Outfit is crucial for achieving the perfect fit. A standard gauge measurement for this project is a 4×4 inch (10×10 cm) square, which should equal approximately 12 double crochets by 8 rows. If your swatch doesn’t match this gauge, don’t worry! To make this outfit larger, you can adjust your starting chain in multiples of 4 for the coat and increase your rounds for the bonnet and booties. If your swatch is smaller, try using a larger hook size to ensure your beautiful outfit retains its intended dimensions and cozy drape. Happy crocheting!
Step‑by‑Step Pattern for Adorable Crochet Three Piece Baby Outfit: Coat, Bonnet & Booties
Row 1: Start the Yoke
Ch 55 to begin the yoke of the coat. Turn and work 1 tr in the 4th ch from the hook. Continue with 1 tr in each ch across, adding extra tr in the last ch for shaping (54 sts). Your work should feel spacious, ready to form the foundation of the cozy coat.
Row 2: Create the Body
Ch 3 (counts as 1st tr), then work 1 tr in each of the next 6 sts, inc (1 tr in the same st) in the next st (8 sts). Repeat this pattern, making the body wide enough to accommodate little arms. End this row with a total of 72 sts, maintaining symmetry as your work begins to take form.
Row 3: Armholes Shaping
Ch 3, work 1 tr in each st to the next 15 sts, then ch 10 for the armhole before skipping the next 10 sts. Continue with tr in each st until the end of the row, inserting an inc at the end of the last segment to create a gentle curve (65 sts). You’ll notice the armhole shaping starting to emerge.
Row 4: Add Decorative Rows
Ch 3, tr into the first st, then ch 1, skip 1 st, tr in next st. Repeat this pattern across the row to create a lacy effect, finishing with tr in the last st (67 sts). The texture will begin to add elegance to your baby coat, which is perfect for showcasing your crochet skills.
Step 5: Finish the Body
Ch 3, and work 1 tr in each st across, remembering to adjust with inc in any skipped st from the previous row (75 sts). Your coat body will now show a delightful texture. Prepare for the transition to the collar, coordinating with the lovely design of this adorable baby outfit.
Step 6: Create the Collar
Ch 1, sc in the same st, then work evenly around the neckline with sc, adding 3 sc in each corner for a rounded finish. Join with a sl st to first sc when complete (80 sts). The collar will stretch beautifully around the neckline, providing that stylish finish for your little one’s coat.
Round 1: Begin the Bonnet
Start with a magic ring, ch 2, then work 12 dc into the ring. Pull the ring tight, join with a sl st to the top of the ch 2 (12 sts). This initial start for the bonnet shapes the fit snugly around the baby’s head, securing comfort as the project continues.
Round 2: Increase for Fit
Ch 2, work 2 dc in each st around (24 sts). You’ll notice the round shaping becoming more pronounced; this is essential for ensuring a snug but comfortable fit at the top of the bonnet.
Round 3: Continue Shaping
Ch 2, 1 dc in the next st, 2 dc in the following st; repeat around (36 sts). The expanding shape will allow room for growth as your baby wears this charming bonnet throughout those early months.
Round 4: Create the Brim
Ch 1, hdc in each st around, adding 1 hdc in the same st for a decorative edge (36 sts). This hdc will create a lovely brim that gives a polished look while maintaining comfort. The structure will ensure that the bonnet frames adorable baby faces beautifully.
Step 8: Start the Booties
For the booties, begin with a magic ring, ch 2, and work 8 hdc into the ring. Pull it tight and sl st to the top of the ch 2 to form the base (8 sts). The booties will provide lovely warmth for little feet and add to the charm of this three-piece outfit.
Step 9: Shape the Sole
Ch 2, work 1 hdc in the same st, then 2 hdc in each of the next 7 sts to form the sole (16 sts). The increasing rows are fundamental for ensuring a comfortable fit as the baby wears these adorable booties.
Step 10: Create the Eyelet Holes
Ch 1, work 1 sc in the first 8 sts, ch 2, skip the next 2 sts, sc in the following 2 sts; repeat around for eyelet detail (8 holes). The eyelets will allow for charming ties, adding a functional touch to your decorative project.
Step 11: Finalize the Booties
Continue with sc around the remaining sts until finished (32 sts). Join the final round with a sl st, maintaining the consistency of this sweet bootie shape. Your cozy booties will be a delightful addition to this three-piece baby outfit and the finishing touch of your project.
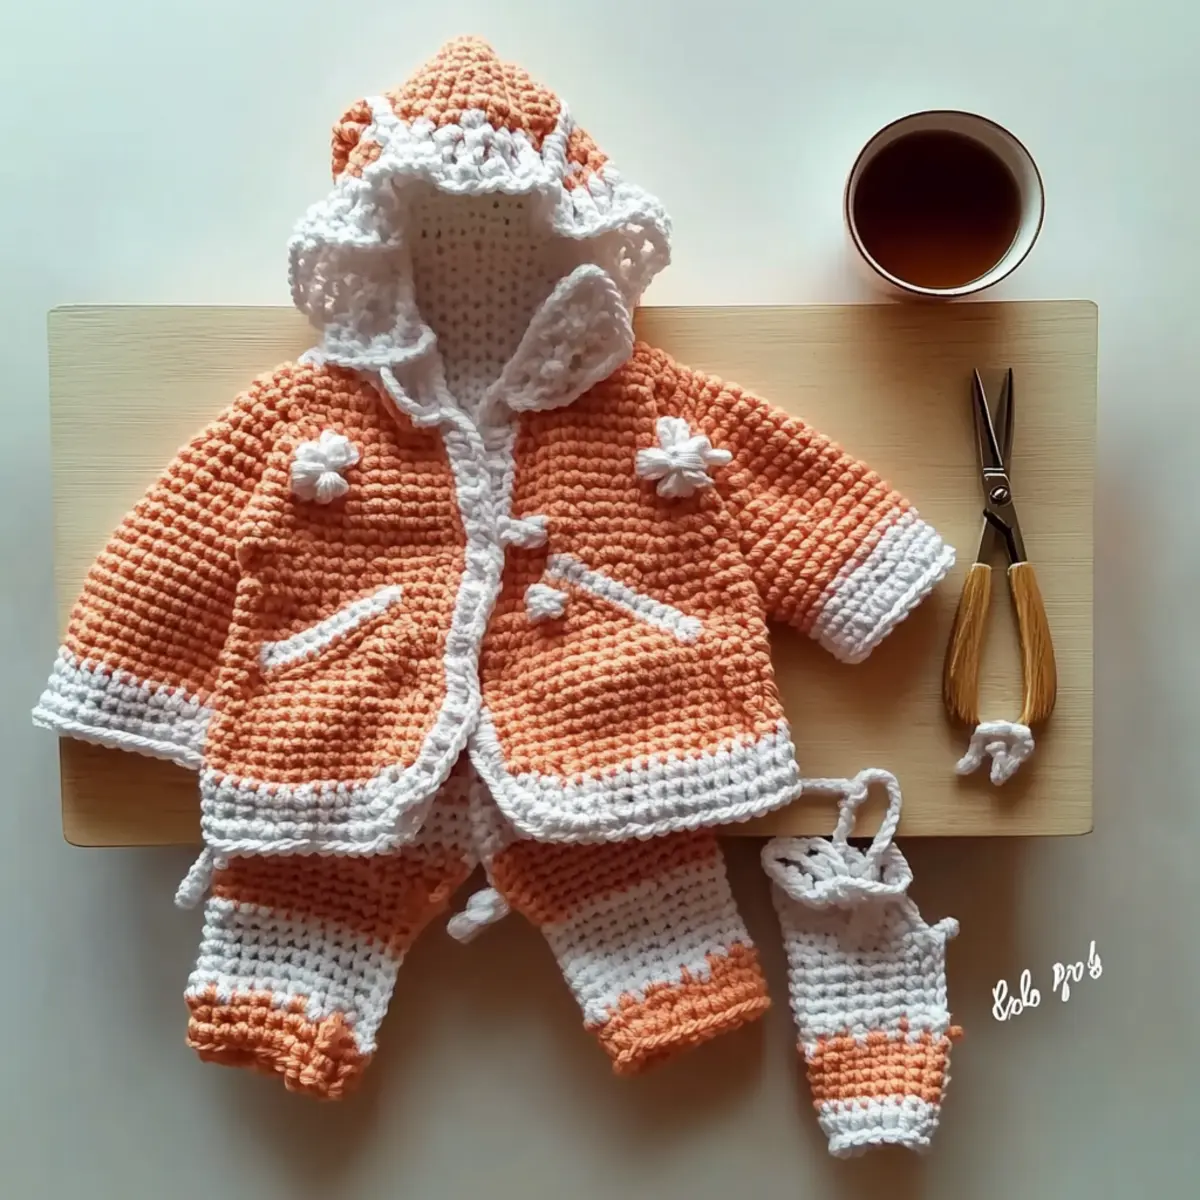
Expert Tips for Crochet Success
-
Track Your Count: Regularly count your stitches at the end of each row. This habit prevents mistakes and ensures accurate shaping for the three-piece baby outfit.
-
Maintain Tension: Keep a light grip on your yarn to maintain consistent tension throughout the project. This will help your coat, bonnet, and booties look uniform and neat.
-
Block for Perfection: After completing the outfit, consider blocking the pieces. This step can refine the shape, enhance texture, and give a polished finish to your crochet creations.
-
Mind the Foundation: Be careful not to twist your foundation chain. A twisted chain can lead to an uneven start, affecting the overall fit of your baby outfit.
-
Add Extra Love: Don’t hesitate to personalize! Customization, like changing colors or adding decorative elements, can turn your outfit into a cherished keepsake for families.
How to Wash and Care for Your Three Piece Baby Outfit
-
Hand Washing: Gently hand wash your finished outfit in cold water with a mild detergent to prevent any damage to the soft yarn and preserve its delightful texture.
-
Avoid Agitation: Do not agitate or wring out the pieces, as this can lead to felting or pilling. Instead, let them soak for a few minutes, then gently press the water out.
-
Drying: Lay the coat, bonnet, and booties flat on a clean, dry towel to air dry, reshaping them as necessary. This helps maintain the outfit’s lovely form.
-
Storage: When not in use, store the outfit in a cool, dry place. Avoid hanging, as this can stretch the yarn; folding is gentler on your beautiful creation.
Crochet Outfit Variations & Substitutions
Get creative and add your personal touch to this adorable outfit with these fun customization ideas!
-
Yarn Weight Swap: Choose a lighter or heavier yarn to create a different drape. Just adjust your hook size to match!
-
Fiber Alternatives: Opt for soft cotton yarn for breathability or acrylic for easy care. Each fiber brings a unique feel to the outfit.
-
Longer Coat: Add a few extra rows to the coat for a stylishly elongated look. This can give a cozy vibe while accommodating growth.
-
Color Blocking: Use multiple colors to create fun stripes or contrasting cuffs. This simple trick can elevate the overall design and allow for personalized flair.
-
Bonnet Size Adjustment: Alter the starting chain and increase rounds for larger babies. This ensures a better fit while keeping it snug.
-
Textured Finish: Add a lovely pom-pom to the bonnet or fringe to the booties as charming accents. These little details make for delightful finishes.
-
Mix and Match: Combine yarn colors in each piece for a cheerful and coordinated look. Keeping one color consistent can tie the whole outfit together.
-
Additional Embellishments: Consider adding embroidered designs or appliqués to make the outfit even more special. A few stitches can create a memorable keepsake.
Feel free to explore our guide on crochet techniques for insight into mastering various stitches and embellishments! Happy crafting!
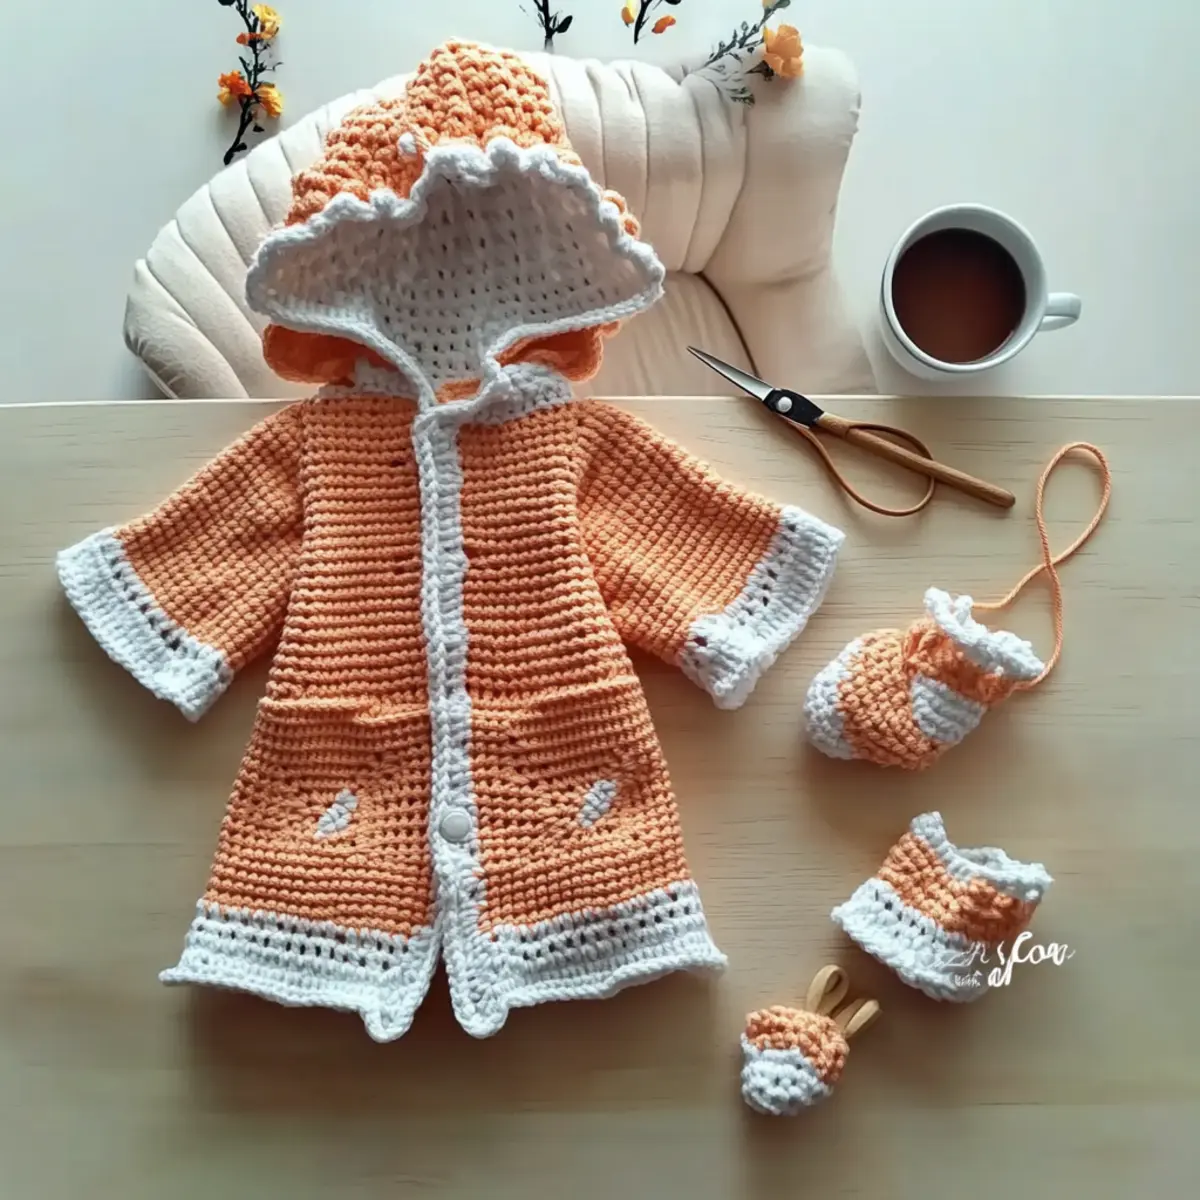
Three-Piece Crochet Baby Outfit: Cozy Coat, Bonnet & Booties FAQs
Can I use a different yarn for this baby outfit?
Absolutely! While I recommend using King Cole Big Value Baby DK, you can substitute it with a light worsted #3 yarn. Just remember to check your gauge to ensure the sizing remains correct!
How do I adjust the size of the coat for a bigger baby?
Don’t panic! To make the coat larger, simply chain more stitches in multiples of 3 + 1 for your foundation chain. Then continue working your increasing rows to accommodate the new size while keeping an eye on your gauge for consistency.
Why is my coat curling at the edges?
If your coat is curling like a little bowl, this is often caused by tension issues. Ensure you’re using a light grip on the yarn and consider blocking the finished piece; it helps smooth out those edges and gives your work a nice finish.
What size hook should I use for this project?
You’ll want to use a 4.00mm (G-6) crochet hook for this baby outfit. It’s the perfect size for working up the King Cole Big Value Baby DK while maintaining an airy texture!
How do I fix dropped stitches in my project?
If you find a dropped stitch, don’t worry; it’s an easy fix! Use your tapestry needle to re-insert the yarn back through the loops of the stitch. Then carefully pull the working yarn to secure it and weave in any ends to keep everything tidy.
Can I customize the colors for this outfit?
Absolutely! Changing up colors is a fantastic way to personalize the outfit. You might try incorporating stripes or using a contrasting color for the cuffs and hem—get creative and make it truly yours!
Leave a Reply