
The moment you run your fingers over a soft, cozy yarn, it sparks a sense of comfort that’s hard to resist. This is exactly what you’ll feel when creating your very own “Easy Pink Single Crochet Baby Sweater.” This delightful pattern is perfect for those quiet afternoons when you want to stitch something special for a little one. Not only is it beginner-friendly, but it also allows for customization in size and style, ensuring a perfect fit for tiny tots. Plus, with its quick construction and the beautiful shell stitch border, this project makes gift-giving a breeze while showcasing your creativity. Are you ready to make sweet memories with this charming sweater? Let’s get started!
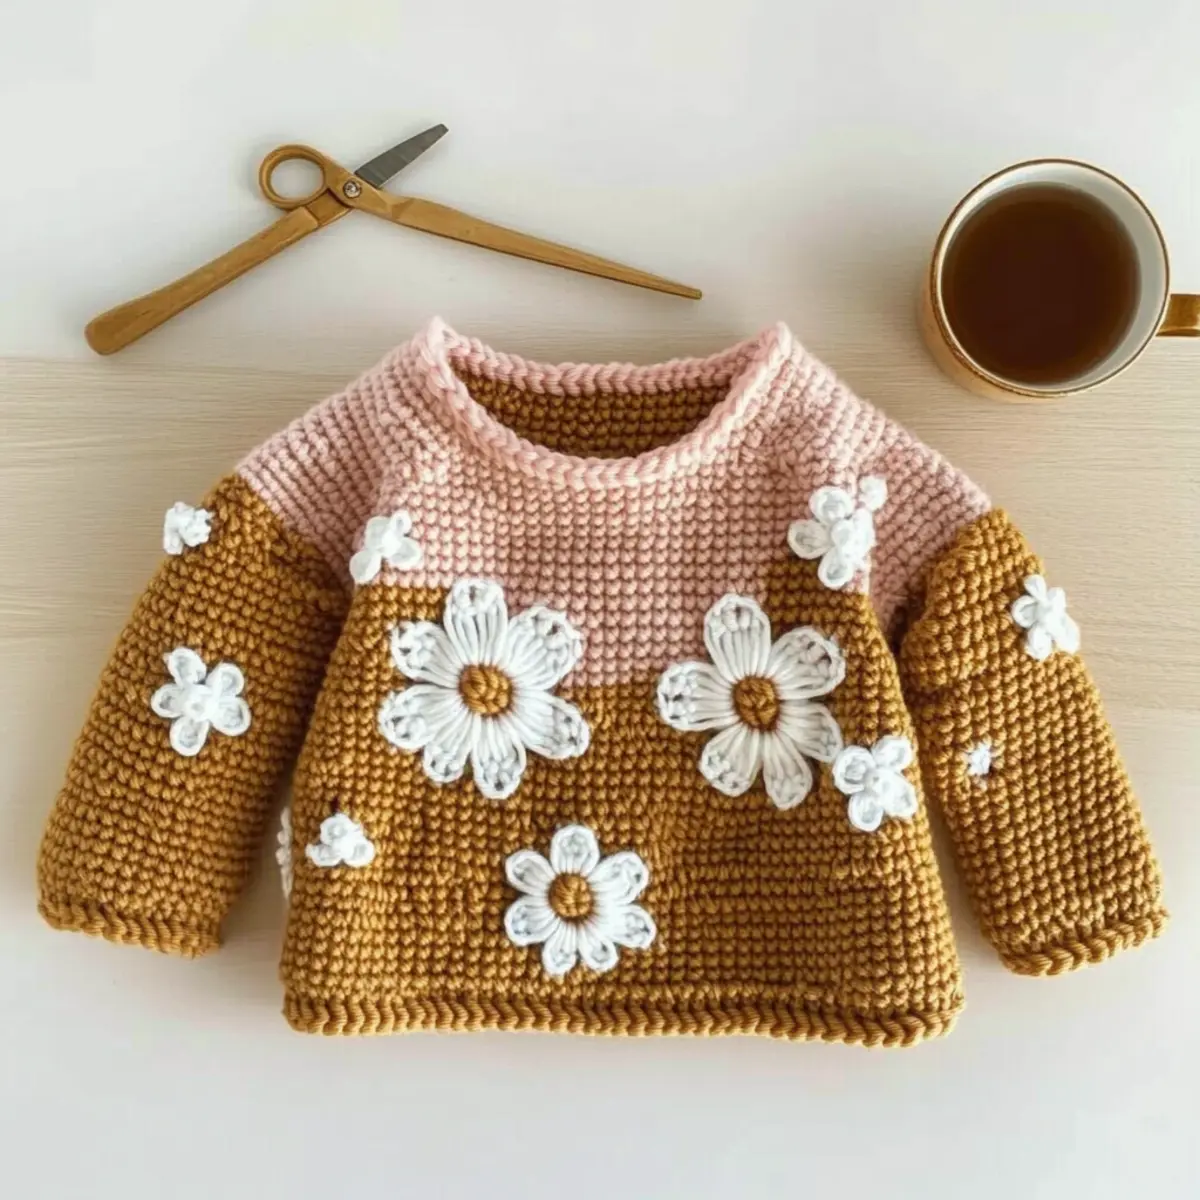
Easy Single Crochet Baby Sweater Materials & Tools
Get ready to create a cozy and adorable addition to your little one’s wardrobe with this easy single crochet baby sweater pattern!
Yarn
• Patons Canadiana – A worsted weight (Medium 4) yarn; you’ll need 2 balls in Fool’s Gold and 1 ball in Winter White for beautiful flower centers.
Tools & Notions
• 5.5mm (I) Hook – This is the perfect size to achieve a soft drape while crocheting.
• Scissors – Essential for snipping yarn ends when you’re finished.
• Tape measure – Great for ensuring accurate sizing as you work on the sweater.
• Stitch markers – Handy for keeping track of rows and increases, especially for beginners.
• Tapestry needle – Needed for weaving in any loose ends and sewing on embellishments.
• Button – Adds a lovely closure on the placket, enhancing the sweater’s charm.
You’re all set to dive into this delightful crochet project! Happy stitching!
Why Choose This Baby Sweater Pattern?
Easy to Follow: The pattern uses simple single crochet stitches, making it accessible for beginners eager to dive into the world of crochet.
Adorable Details: With its charming shell stitch border and lovely flower embellishments, your little one will look even cuter in this creation.
Personalized Fit: Enjoy the freedom to customize size options, ensuring your baby sweater fits perfectly without fuss. If you want additional ideas for embellishments, don’t forget to check out our tips on decorative stitching.
Quick Project: Perfect for last-minute gifts, this pattern allows you to whip up adorable sweaters in no time!
Soft and Cozy: The yarn choice provides a delicate drape, ensuring the final piece is not only beautiful but also super comfy for little ones.
Creative Freedom: Whether you stick to pink or explore other colors, this pattern is a creative playground waiting for your personal touch!
Gauge & Sizing Notes
Don’t skip the gauge swatch! Checking your tension is crucial for the “Easy Pink Single Crochet Baby Sweater” to ensure the perfect fit for your little one. Aim for a gauge of 4×4 inches (10×10 cm) that measures 14 single crochets by 16 rows. If you’d like to adjust the size, simply increase your starting chain in multiples of 4 to accommodate a larger fit or decrease for a snugger one. If your tension swatch is too small, try going up a hook size to achieve the desired measurements. Crocheting a little tighter? No worries—just remember to adjust accordingly. Happy crafting!
Step‑by‑Step Pattern for Easy Pink Single Crochet Baby Sweater
Row 1: Foundation Chain
Begin by chaining 43. In the second chain from the hook, work 1 single crochet (sc). Continue crocheting 1 sc in each chain across the row. When completed, you should have 42 stitches total. Turn your work; your foundation should lie flat, ready for the next row.
Row 2: First Body Row
Chain 1 and work 1 sc in each stitch across, maintaining the same stitch count (42 sts). At the end of the row, your fabric will feel even and structured, providing a solid base for constructing the body of your Easy Pink Single Crochet Baby Sweater.
Row 3: Shoulder Increases
Chain 1 and work 1 sc in each stitch across until you reach the marked stitch for the shoulder increase. In that stitch, work [1 sc, ch 2, 1 sc]. Continue with 1 sc in each of the remaining stitches across. This will add necessary width for the shoulder, maintaining a total of 43 stitches overall (with the chain included).
Row 4: Continuing the Body
Chain 1 and sc across, including the shoulder increase. By the end of this row, your work should be taking shape, transitioning smoothly from the foundational rows into the growing bodice of the sweater. Keep track of your stitches to ensure uniformity (43 sts).
Row 5: Repeat Shoulder Increases
Repeat Row 3 to add another shoulder increase. Chain 1 and proceed with 1 sc in each stitch, including the newly added shoulder space. After finishing this row, you should still have a total of 44 stitches, allowing for ease at the neckline.
Row 6-16: Building the Bodice
Continue to crochet Rows 6 through 16 with 1 sc across each row. With each row completed, the bodice will grow longer, providing a cozy fit for your baby. Ensure to count your stitches after each row for consistent sizing, ending each with 44 stitches.
Step 1: Joining for Armholes
At Row 16, place stitch markers where you plan to join for armholes. Leave 14 stitches (for the left side) unworked, and sc into the next 16 stitches, leaving the last 14 stitches unworked. This will start forming the armholes, allowing the sweater to take shape for wearing.
Step 2: Completing the Bodice
For your next rows, continue sc into the remaining unworked stitches (14) for several rows until reaching your desired bodice length. This section should feel comfortable and roomy, ensuring the sweater hugs but does not restrict movement, while also ensuring an even count of stitches in each row.
Step 3: Edging the Neckline and Plackets
To create a neat finish, work sc around the neckline and both side plackets. This round of sc will help define those areas while preparing for the button loop. Create the button loop by chaining 4 at the overlap and connecting it back to the neck edge with a sl st before continuing sc around.
Step 4: Bottom Trim
For the bottom trim, switch to a decorative shell stitch. Work 3 double crochets (dc) into every other stitch around the bottom of the sweater. This not only adds texture but also enhances the visual interest of your Easy Pink Single Crochet Baby Sweater, making it even more adorable.
Step 5: Sleeves
For the sleeves, join your yarn in the armhole and sc around the armhole base, continuing until you reach your desired sleeve length. Be sure to taper the last few rows by completing sc decreases towards the end for a snug fit. Your sleeves should complement the flow of the bodice, making the sweater comfortable and stylish.
Step 6: Adding Decorative Flowers
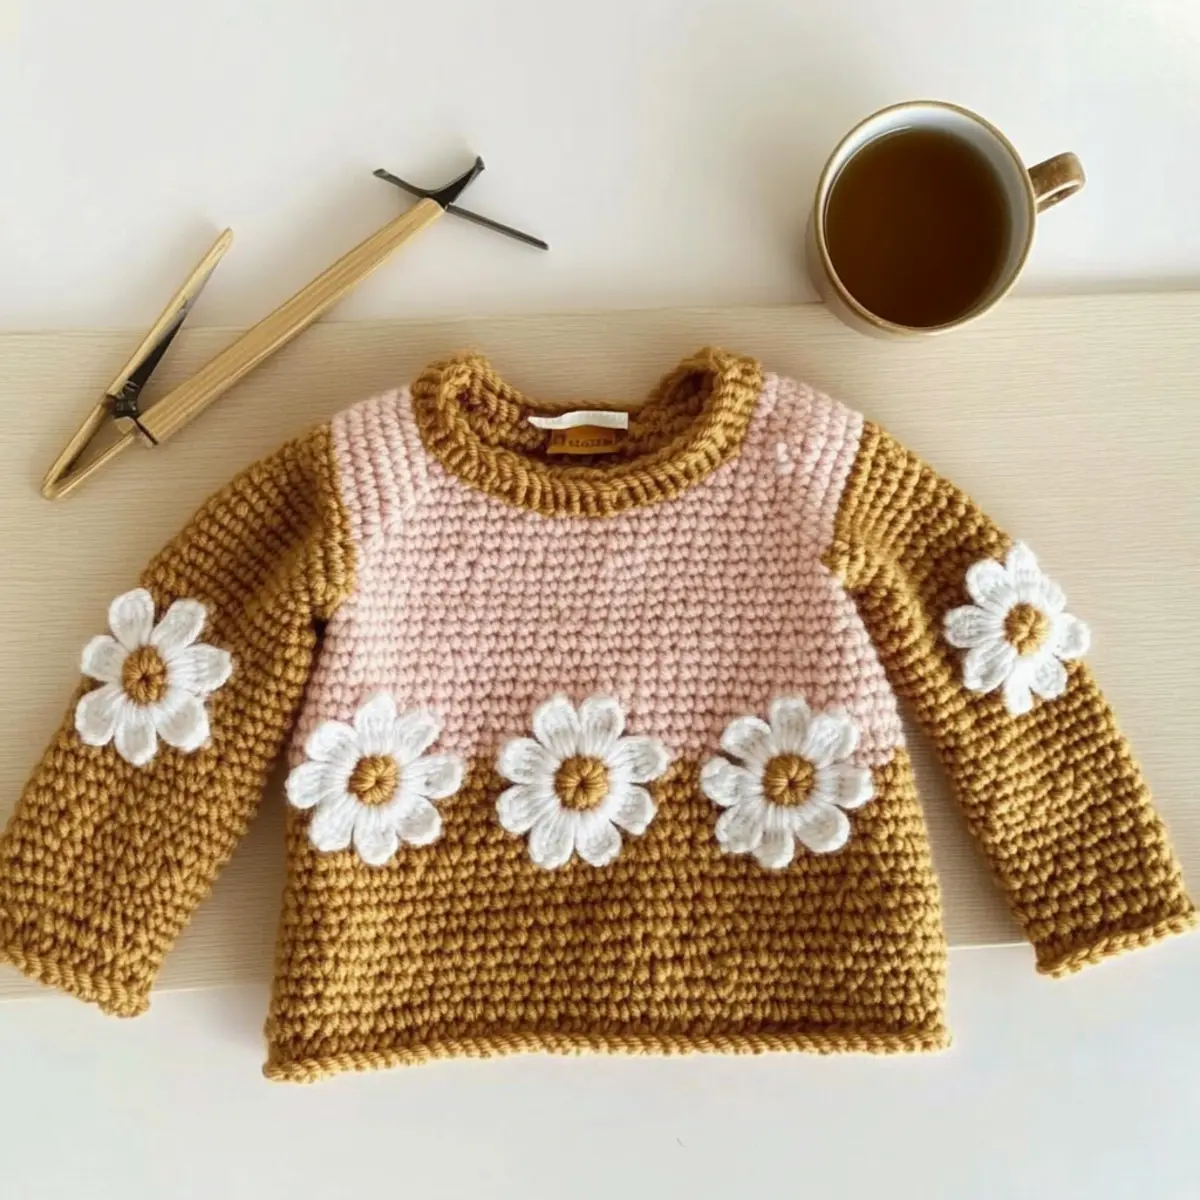
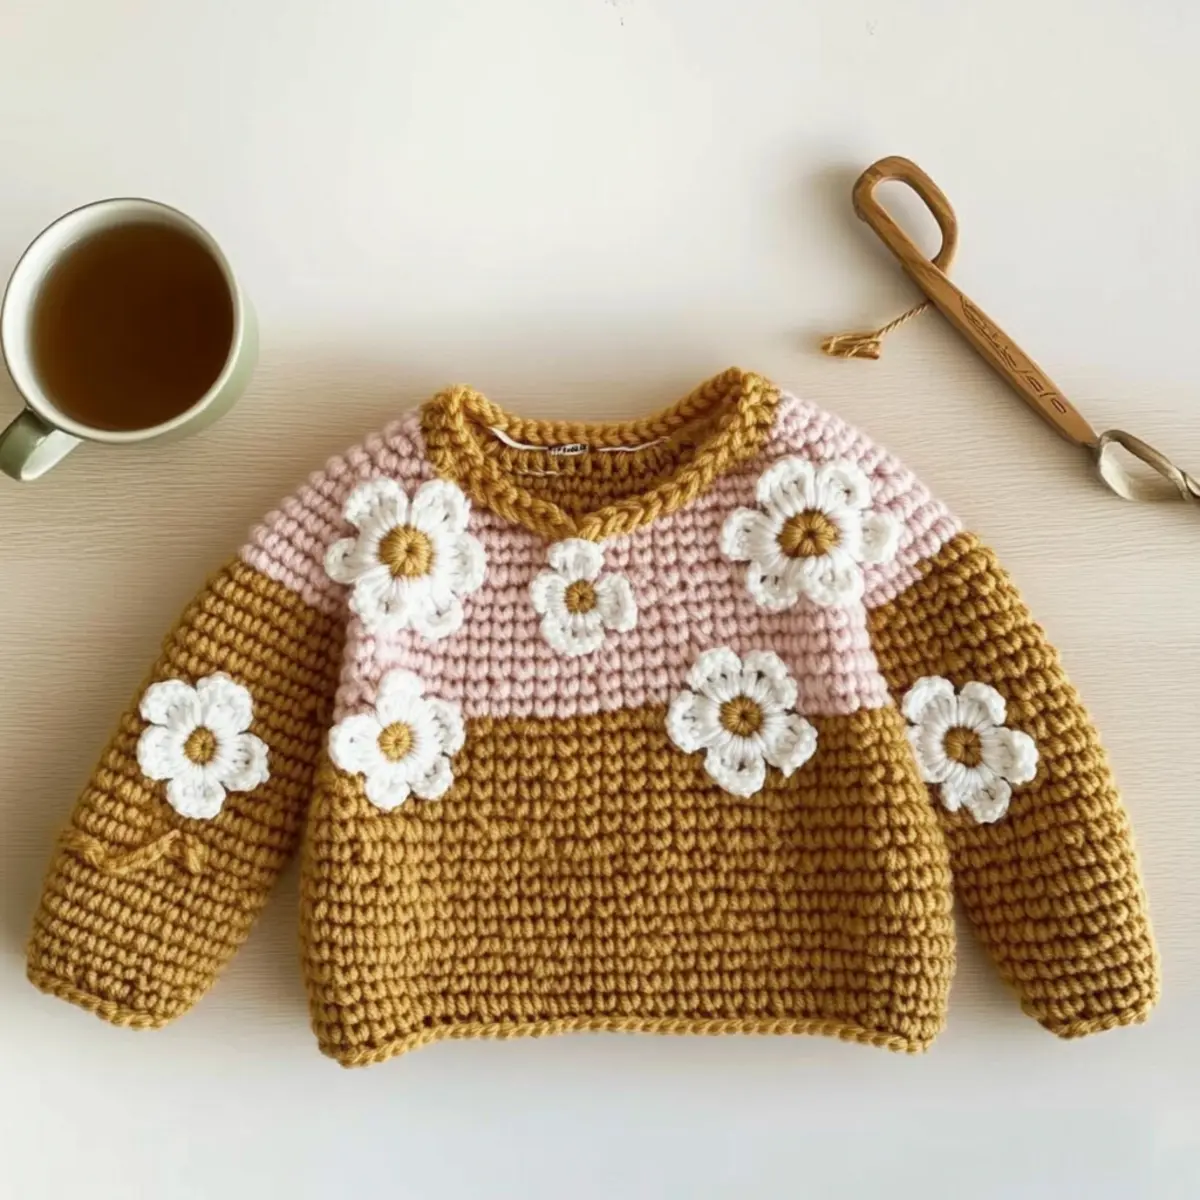
Finish your project by creating small flowers using a magic circle and half double crochets (hdc). Sew these onto the sweater wherever you feel they enhance your design. This step allows you to express your creativity while ensuring your Easy Pink Single Crochet Baby Sweater stands out beautifully.
Expert Tips for This Baby Sweater
- Count Carefully: Pay attention to your stitch count, especially when joining sleeves, to maintain a consistent fabric.
- Mind Your Tension: Ensure your tension is even; measure as you go to avoid discrepancies that affect sizing for the baby sweater.
- Choose the Right Hook: Using the appropriate hook size can make a significant difference in the final texture and drape.
- Secure Your Ends: Weave in all loose ends to give your baby sweater a polished finish and prevent unraveling.
- Try On for Size: Test the fit against a similar sweater or on the little one when possible to adjust sizing before final stitches.
- Embellishment Placement: Plan where to place flower embellishments early on to ensure they complement the overall design beautifully.
Care Instructions for Baby Sweater
Hand Washing: Use cool water and a gentle detergent to hand wash your baby sweater, ensuring the fabric remains soft and vibrant.
Drying: Lay the sweater flat on a clean, dry towel to maintain its shape. Avoid hanging, as it can stretch the fabric and distort the delicate design.
Storing: When not in use, store the baby sweater in a cool, dry place, folded neatly to prevent creases and maintain its beauty for the next wearing.
Avoid Agitation: Be cautious not to agitate the fabric too much during washing, as this will help prevent any pilling or felting of your lovely creation.
Easy Single Crochet Baby Sweater Variations
Get ready to infuse your personal touch into this delightful baby sweater pattern!
-
Color Play: Experiment with vibrant shades for the body and flowers, infusing cheerfulness into every stitch.
-
Size Up: Add more rows to create a larger sweater for older babies; this gives it an extended lifespan of use.
-
Yarn Alternatives: Swap Patons Canadiana with a soft cotton blend for a breathable option, perfect for warmer days.
-
Textured Sleeves: Consider using a half-double crochet (HDC) for the sleeves to add a delightful texture contrast to the main body.
-
Fringed Edges: Give your baby sweater a playful edge by adding a fringe to the bottom hem, making it effortlessly cute!
-
Chunky Yarn Delight: Use thick, bulky yarn for a cozier version, perfect for making snuggly wearables during chillier months.
-
Flower Variety: Swap out the flower design with little hearts or stars, customizing the adornments based on what brings you joy.
-
Button Up: Add a row of whimsical buttons down the front instead of a closure, offering an extra touch of charm.
Feel free to also explore additional embellishments to further customize your cozy creation! Whether you tweak the sizing, let your color palette run wild, or try one of the fun textures, it’s all about letting your creativity shine.
Easy Pink Single Crochet Baby Sweater FAQs
Can I use a different yarn than Patons Canadiana?
Absolutely! While Patons Canadiana is a great choice, you can substitute with any worsted weight yarn (Medium 4). Just be sure to check that the yarn has a similar drape and feel to ensure your baby sweater retains its softness!
How can I adjust the size of the baby sweater?
No problem! To make it bigger or smaller, you can adjust the number of chains in your foundation. For example, if you want to increase the size, simply chain in multiples of 3 + 1. You can also modify the number of rows in each section to achieve your desired length.
Why is my work curling up at the edges?
Don’t panic! Curling often happens if your tension is too tight, especially with single crochet stitches. Try using a larger hook or loosening your grip on the yarn as you crochet. It’s a common issue and can easily be fixed while you work.
What hook size should I use for this project?
You’re on the right track! For this baby sweater, a size I (5.5 mm) crochet hook is recommended. This size allows for the perfect balance between a comfortable grip and the right tension to ensure a beautiful finish.
How do I fix dropped stitches?
It’s an easy fix! Simply use a tapestry needle to weave the loose yarn back into place or pull it through the correct stitches to secure it. Keeping an eye on your stitch count can help prevent this hassle in the future, too!
Can I add more flowers to the baby sweater?
Definitely! Feel free to get creative with the placement and number of flowers you add. Just ensure they’re evenly spaced and securely stitched to avoid any little hands pulling them off during playtime. Enjoy making it uniquely yours!
Leave a Reply