
As I sat on my cozy couch, surrounded by colorful yarn, a sudden whim struck me—what if I could bring a delightful little creature to life with a single hook? Enter the Merry Jellyfish Amigurumi, a vibrant, palm-sized project that’s perfect for those moments when you crave creativity, but don’t have all day. With its curly tentacles and cheerful demeanor, this easy and quick pattern is not only beginner-friendly but also serves as a great stash-buster for seasoned crafters. Whether you’re crafting a charming bag charm or a unique keychain, this jellyfish will surely bring a smile to anyone who encounters it. So, let’s dive into this enchanting adventure and get those stitches flowing!
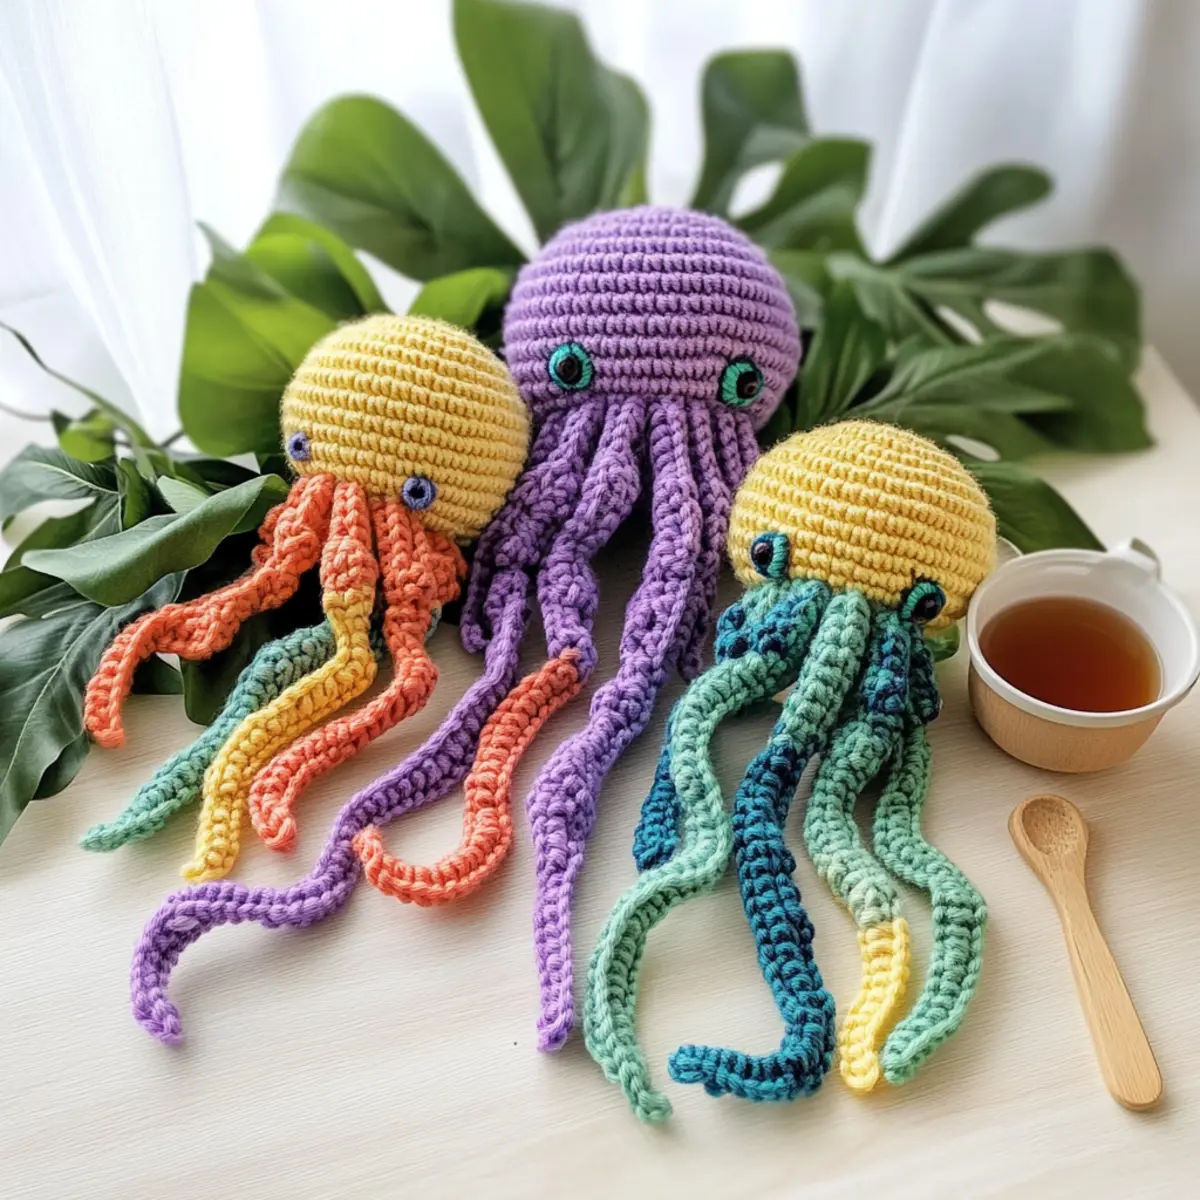
Merry Jellyfish Amigurumi Materials & Tools
Getting ready to make your very own Merry Jellyfish Amigurumi? Here are all the materials you’ll need for this delightful, beginner-friendly project:
Yarn
• Lightweight Yarn (Sport or Light DK Weight) – Choose three coordinating colors, approximately 50-100 yards each based on your preferred number of tentacles; cotton or cotton-blend yarn is best for clarity.
Tools & Notions
• 3.5 mm (E/4 US) Hook – This size ensures a snug fit for your amigurumi stitches.
• Stitch Markers – Handy for keeping track of your rounds!
• Tapestry Needle – For weaving in ends and sewing pieces together.
• Safety Eyes (optional) – Great if you want a child-safe version of your jellyfish.
Now you’re all set to start crafting your adorable jellyfish! Happy crocheting!
Why You’ll Love This Jellyfish Pattern
Simplicity reigns with this sweet project—perfect for beginners and experienced crafters alike, you’ll create your jellyfish with just a few easy stitches! Quick to crochet, you can whip up this adorable amigurumi in just a few hours, making it an ideal last-minute gift. Colorful creativity shines as you mix and match three yarn colors, offering endless design possibilities. Palm-sized charm ensures it’s both adorable and convenient, perfect for a bag charm or keychain. Plus, it’s a fabulous stash-buster that transforms leftover yarn into something delightful! If you’re looking for more amigurumi inspiration, check out our collection of easy amigurumi patterns.
Gauge & Sizing Notes
Don’t skip the gauge swatch! For the Merry Jellyfish Amigurumi, achieving the correct tension is essential to ensure your jellyfish turns out perfectly sized and adorable. Aim for a standard gauge of 4×4 inches (10×10 cm) to equal approximately 14 single crochets (sc) by 14 rows. If you’d like your jellyfish to be larger or smaller, adjust your starting chain and tentacle lengths accordingly. For instance, to make it wider, simply increase your chain in multiples of 6. If your swatch is smaller than expected, consider going up a hook size for a looser tension. Remember, a well-measured gauge will lead to a delightful finished jellyfish!
Step‑by‑Step Pattern for Easy Merry Jellyfish Amigurumi
Round 1: Create the Lower Disc
Start by making a magic ring and work 6 sc into it. Pull the magic ring tight to create a small center, setting the foundation for your jellyfish’s body. This round should create a tight circle that forms the lower disc of your jellyfish (6 sts).
Round 2: Increase for the Lower Disc
In this round, make 2 inc in each st around, ensuring you continue to tighten the stitches as you go. The increases will help expand the lower disc, giving it a rounded shape. Your work should start to curve nicely (12 sts).
Round 3: Forming the Lower Disc’s Shape
Now, continue to crochet in the round with 1 sc in each st to build height. This round adds structure to your jellyfish and allows it to sit flat. By the end of this round, the lower disc should start taking on a nice flat shape (12 sts).
Round 4: Finish Lower Disc
Continue with another round of 1 sc in each st to further establish your jellyfish’s form. By this point, the roundness should be becoming evident, giving your jellyfish a plump, pleasant look. Count your stitches to ensure you remain consistent (12 sts).
Round 5: Start the Upper Cap
For the upper cap, switch to your second color and make a magic ring again. Work 6 sc in the ring as you did for the lower disc. This will be the top of your jellyfish and will later be joined to create dimension (6 sts).
Round 6: Increase for the Upper Cap
Once again, inc in each st around, creating a fuller shape with 12 stitches. This round will help give your upper cap that dome-like appearance, perfect for a jellyfish (12 sts).
Round 7: Continue Upper Cap
Keep crocheting with 1 sc in each st around to start forming the height of the cap. You should see the dome shape rounding out beautifully as you progress through this step (12 sts).
Round 8: Completing the Upper Cap
Work 1 more round, completing this section with 1 sc in each st. Your upper cap should now be fully formed and ready to join with the lower disc. The cap should feel plump and snug, just like the jellyfish you envision (12 sts).
Round 9: Join the Upper Cap to Lower Disc
Align the upper cap to the lower disc and start joining them by inserting your hook through both layers. Slip stitch the two together, creating a seamless transition between them. Your jellyfish should begin taking shape as you see them come together.
Round 10: Attaching Tentacles
Now it’s time to create the tentacles! Starting from the lower disc, chain desired lengths (for Curlies, consider around 10-15 ch) for each of your 6 tentacles. Attach each tentacle with a sl st back to the lower disc. Feel free to mix up the lengths for a whimsical effect!
Round 11: Finish and Edging
To add a playful finish, crochet a shell stitch edging by alternating between dc and sc around the base of the jellyfish, attaching it securely back to the lower disc. This will create a delightful ruffled border, making your jellyfish truly enchanting!
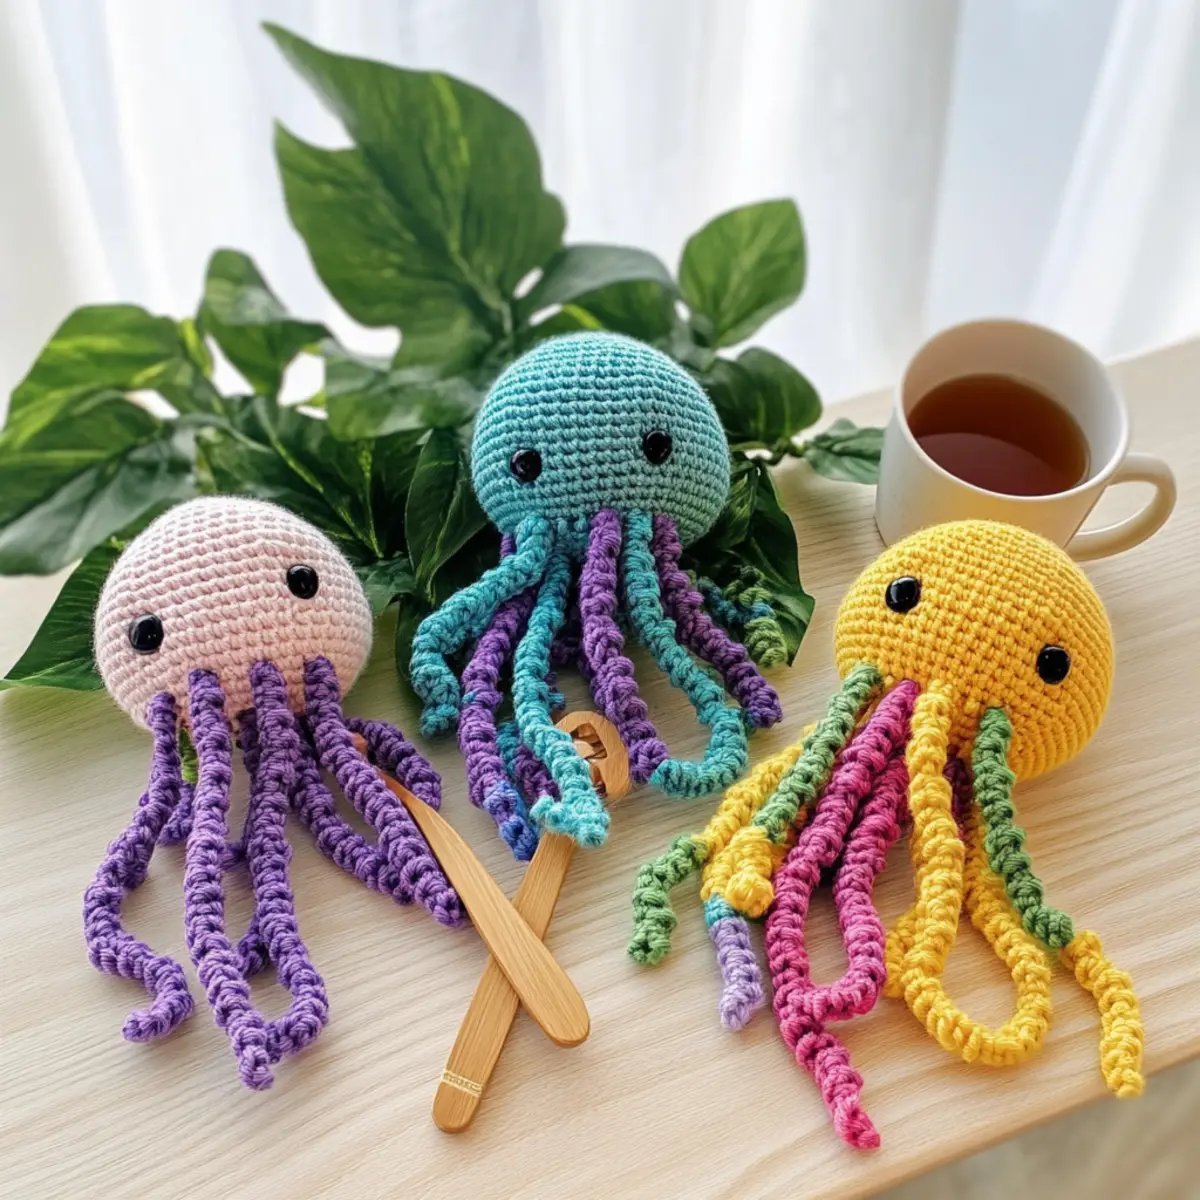
Expert Tips for the Best Jellyfish
-
Check Your Tension: Ensure your tension matches the recommended standard for amigurumi to avoid uneven shapes. A consistent gauge helps maintain the jellyfish’s form.
-
Stitch Counting: Always count your stitches at the end of each round to keep your jellyfish symmetrical. Losing count can lead to distortion.
-
Secure Finishing: When completing your jellyfish, weave in ends securely to prevent unraveling. This will keep your creation looking polished and neat.
-
Adjusting Tentacles: For playful tentacles, remember to work increases along your chain. If tentacles are limp, a cool steam iron can help define their curly shape.
-
Eye Placement: If using safety eyes, double-check their placement before securing them. Ensure they are firmly attached for a child-safe design.
Merry Jellyfish Amigurumi Variations
Feel free to infuse your unique touch into this charming design and personalize your jellyfish!
-
Yarn Weight Swap: Use worsted weight yarn for a larger, fluffier jellyfish, perfect for a snuggly home decor piece.
A bigger jellyfish can serve as a whimsical accent on a shelf, bringing playful colors into your space. -
Fiber Alternatives: Switch to bamboo or acrylic yarn for a different sheen and drape, allowing for more lightweight creations.
These fibers can elevate your project, making it more versatile depending on your desired texture. -
Color-Blocking: Instead of three colors, try a color block design with two contrasting hues for a striking look.
This modern twist will not only make the jellyfish pop but also allow you to explore bold color experiments. -
Tentacle Length Adjustments: Customize your jellyfish by creating varied lengths for the tentacles—short, medium, and swooshy long!
Each combination offers a distinctive personality, giving your jellyfish an entirely new character. -
Add a Pom-Pom: Attach a pom-pom to the top of the jellyfish for an extra whimsical touch.
This little detail can enhance the playful vibe of your jellyfish and brings added texture to its design. -
Fringed Tentacles: Include fringe at the ends of the tentacles for a fun, festive flair.
This modification adds movement and texture, giving your creation a lively bounce as if it were dancing in the water! -
Bordering Edges: Finish with a contrasting border on the edges to provide a chic, polished look.
The added detail elevates your jellyfish from simple to stunning, so it’s sure to catch the eye. -
Safety Eyes Variation: For a more vibrant look, consider using colored safety eyes or beads for added charm.
They not only bring personality but also keep your jellyfish fun and friendly for all ages.
For even more creative crochet ideas, you might enjoy exploring our wonderful collection of beginner-friendly crochet patterns.
Washing & Care for Your Merry Jellyfish Amigurumi
-
Hand Washing: Use cold water and a gentle detergent to hand wash your jellyfish. Avoid agitation to prevent felting or pilling of the yarn.
-
Drying: Lay your jellyfish flat on a clean, dry towel to dry. This preserves its shape and prevents any distortion from hanging or twisting.
-
Storage: Store your finished jellyfish in a cool, dry place, away from direct sunlight. This ensures the colors remain vibrant and the shape intact.
-
Periodic Refreshing: If your jellyfish collects dust, a light hand wash will revive its cheerful look, keeping it fresh and ready for gifting or display.
Merry Jellyfish Amigurumi FAQs
Can I use a different yarn for the Merry Jellyfish Amigurumi?
Absolutely! You can substitute lightweight yarn (Sport or Light DK weight) with any similar yarn, but keep in mind that different fibers may affect the final look and feel. For instance, switching out cotton for acrylic may yield a softer jellyfish. Just ensure your yarn choice maintains stitch clarity for those delightful tentacles!
How can I make the jellyfish bigger or smaller?
It’s easy to customize your jellyfish! To make it larger, consider using a thicker yarn and a correspondingly larger hook. For a smaller version, simply use a thinner yarn or crochet with a tighter tension. Adjusting the number of rounds in the body or the tentacle lengths also helps achieve your desired size!
Why is my jellyfish curling at the edges?
Don’t panic! Curling is a common issue, particularly with amigurumi. Make sure you’re using the correct tension and counting your stitches properly. If your work is still curling, block your jellyfish by dampening it and gently shaping it to lay flat while it dries.
What hook size should I use for my jellyfish?
For the Merry Jellyfish Amigurumi, a 3.5 mm (E/4 US) crochet hook is recommended. This size pairs nicely with lightweight yarn, ensuring tight stitches that help maintain the jellyfish’s shape.
How do I fix dropped stitches in my jellyfish project?
It’s an easy fix! If you notice a dropped stitch, simply reinsert your hook into the dropped stitch and pull the working yarn through to “recover” the stitch. If you’re unsure how to proceed, you might want to have a needle nearby for weaving in ends afterward for a polished look.
Can I wash my jellyfish once it’s finished?
Yes, you can hand wash your jellyfish to keep it looking fresh! Just make sure to use cold water and lay it flat to dry to maintain its shape. Avoid wringing it out, as this can cause distortion.
Leave a Reply