
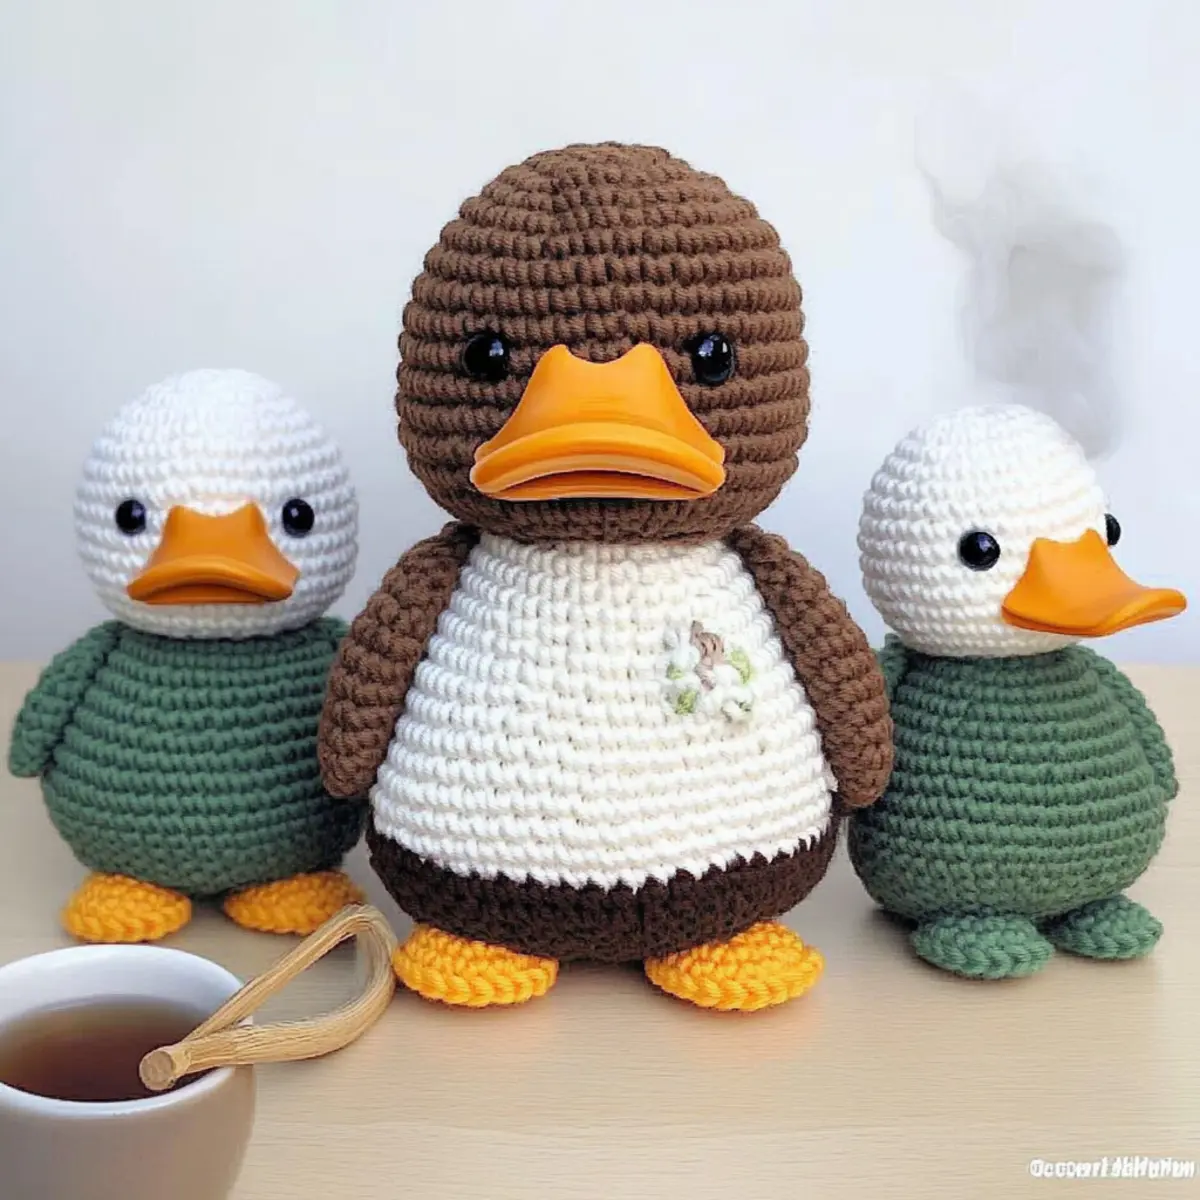
As I stitched together the vibrant layers of a whimsical duck, I felt that familiar spark of excitement that only a new project can bring. Meet Puddles, the Mallard Duck—a delightful amigurumi pattern that’s perfect for crocheters of all skill levels. This cozy creation uses Bernat Blanket yarn, ensuring an irresistibly soft and squeezable finish. Not only does it work up quickly, making it ideal for last-minute gifts, but the easy construction means you’ll enjoy every moment of bringing this charm to life. Ready to make your own Puddles or perhaps experiment with variations like Quackers and Waddles? Let’s dive into this fun, beginner-friendly crochet adventure together!
Puddles Duck Materials & Tools
Create your cozy amigurumi duck with these essentials!
Yarn
• Bernat Blanket Yarn – You’ll need approximately 100 yards in your favorite colors for crafting Puddles the Duck.
Tools & Notions
• 8.0 mm (L-11) Hook – A larger hook helps achieve the soft, plush texture.
• Stitch Markers – Use these to keep track of your rounds for more precise shaping.
• Tapestry Needle – Great for weaving in the ends and finishing your adorable duck.
• Safety Eyes (optional) – Add these for Puddles’ charming face, making it even cuter!
Why Is Puddles the Perfect Pattern?
Beginner-Friendly: Whether you’re just starting out or a seasoned pro, this pattern welcomes everyone with open arms. The use of basic stitches makes it a stress-free experience!
Quick Project: With its rapid construction, Puddles is perfect for last-minute gifting or cozy decor. You’ll find yourself finishing more than one in no time!
Plush Texture: The Bernat Blanket yarn offers an incredibly soft and huggable finish that’s simply irresistible. Your new duck will be as delightful to touch as it is to look at.
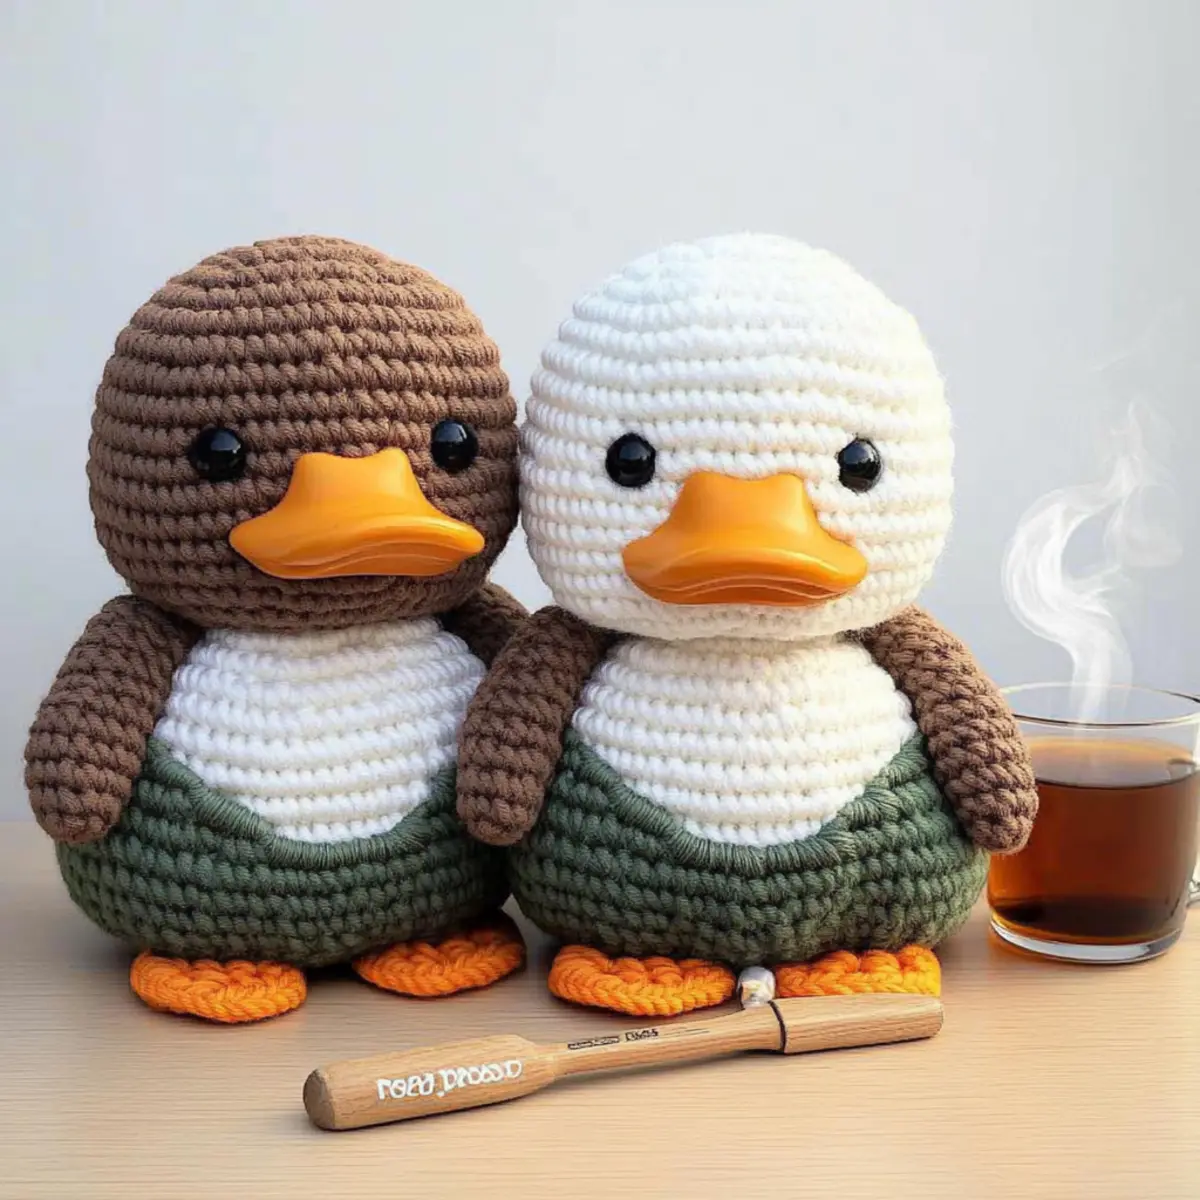
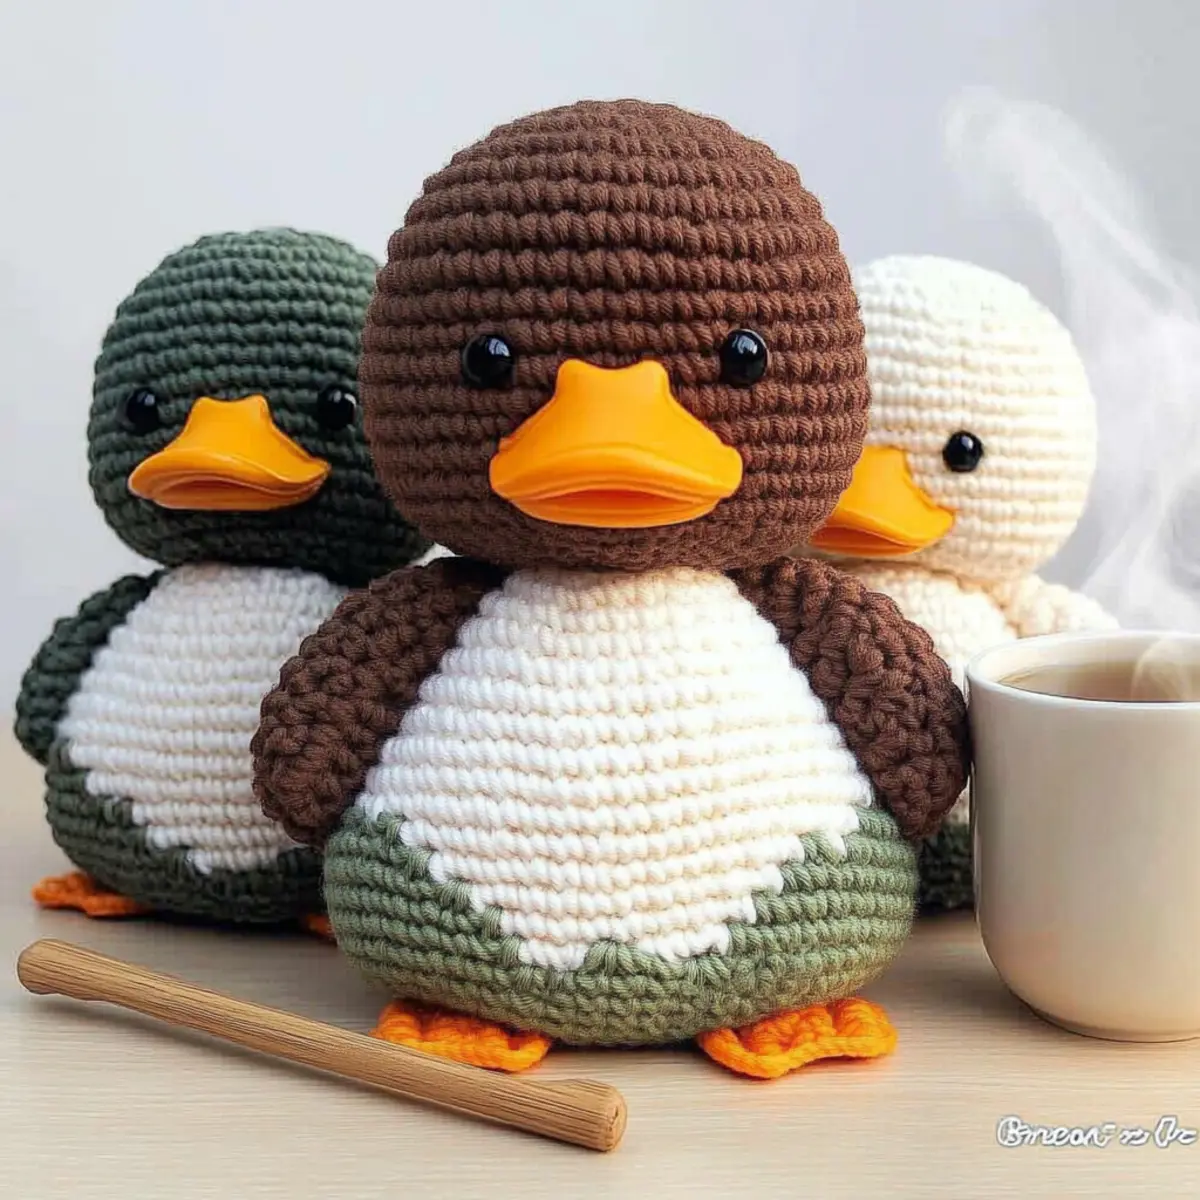
Endless Customization: Mix and match colors to create your unique ducklings! You can easily tweak their sizes or expressions, making each one a personal masterpiece.
Ideal for All Occasions: This amigurumi isn’t just for kids—it makes a charming decoration for your home or a thoughtful gift for friends. Embrace your creativity with Puddles, and don’t forget to check out our variation ideas for more fun!
How to Check Your Gauge for Puddles the Mallard Duck
Don’t skip the gauge swatch! Checking your tension is essential to ensure your Puddles the Mallard Duck turns out just right. Aim for a standard gauge of 4×4 inches (10×10 cm), which should equal 12 single crochets by 10 rows with the bulky yarn. If you want to customize the size, to make your duck larger, simply adjust your starting chain in multiples of 12, and for a smaller version, reduce the starting chain accordingly. If your gauge swatch is smaller than expected, don’t worry—just try going up a hook size to achieve the desired fit. Happy crocheting!
Step‑by‑Step Pattern for Puddles the Mallard Duck
Round 1: Create the Base
Begin by making a magic ring. Inside the ring, work 6 sc (single crochet) to form the center of the duck’s body. Pull the tail to tighten the ring, ensuring there are no gaps. Your work should look like a small circle. Remember to keep it snug; this will set the foundation for Puddles (6 sts).
Round 2: Increase for Body
Continue in the magic ring, working 2 sc in each stitch around. This will help to expand the base of Puddles’ body. As you crochet, you should notice the circle widening. Mark the beginning of each round if desired. Finish this round with 12 stitches (12 sts).
Round 3: Build the Curve
For the next round, work 1 sc in the first stitch, then inc (increase) in the next stitch. Repeat this pattern around the round to create a gentle curve for Puddles’ body. You should begin to see a rounded shape forming. After this round, you’ll have 18 stitches (18 sts).
Round 4: Add More Shape
Continue building Puddles by sc in each of the first two stitches, then inc in the next stitch. Repeat this until you reach the end of the round. Your amigurumi should start to take on a more defined shape, expanding nicely. At the end of this round, you should have 24 stitches (24 sts).
Rounds 5-15: Form the Body
For rounds 5 through 15, work 1 sc in each stitch around without any increases. This will give Puddles a solid, rounded shape. As you progress through these rounds, your work should gain height. By the end of round 15, you will have maintained a total of 24 stitches (24 sts).
Round 16: Transition to Neck
Switch to your White yarn for the neck. Begin this round with 1 sc in each of the first three stitches, followed by an inc in the next stitch. Repeat this pattern around. This creates a nice transition for Puddles’ neck, which will be slightly narrower than the body. You’ll now have 30 stitches (30 sts).
Rounds 17-18: Build the Neck
For rounds 17 and 18, work 1 sc in each stitch around. This will give Puddles a defined neck, allowing it to stand out against the body. Continue to maintain 30 stitches, and your work should look much taller and thinner in the neck area (30 sts each round).
Rounds 19-36: Create the Head
Now, switch to Smoky Green yarn for the head. For rounds 19 to 36, sc in each stitch around, keeping the stitch count at 30. This section of Puddles will form the top of the duck. You’ll notice the head starting to take shape! By the end of round 36, you’ll have 30 stitches (30 sts).
Finalizing the Shape: Round 37
For round 37, start with 1 sc in the first four stitches, then dec (decrease) in the next stitch. Repeat this until the end of the round. This creates a closing effect at the top of Puddles’ head. You should see the top begin to narrow. You should have 24 stitches (24 sts).
Round 38: Shape the Head
Continue with another round of 1 sc in the first three stitches, followed by a dec. Repeat this until you reach the end of the round. This will further narrow Puddles’ head shape. Your work should be curving nicely upwards. At the end of this round, you’ll have 18 stitches (18 sts).
Round 39: Finish the Head
For this round, work 1 sc in the first two stitches, followed by dec in the next stitch. Continue this pattern around until you finish the round. This will help complete the shape of Puddles’ head, and your work should start looking like the finished duck. You’ll have 12 stitches left (12 sts).
Round 40: Closing Up
For the final round, sc in the first stitch, then dec to close Puddles’ head. Repeat this until you have a small opening. Your work should be nearly complete, with Puddles looking more like a duck with each round. You should end with 6 stitches (6 sts).
Step 10: Assembly
Now that Puddles is crocheted, attach the safety eyes if desired. Use your tapestry needle to weave in all ends securely. Carefully stuff Puddles with fiberfill to give it that huggable shape, ensuring softness and comfort. Finally, stitch the head to the neck, blending it naturally into the body. Your cozy amigurumi duck is complete!
Tips for the Best Amigurumi
-
Count Stitches Regularly: Make it a habit to count your stitches at the end of each round. This practice ensures that your Puddles Duck keeps its adorable shape without any unwanted warping.
-
Use Stitch Markers: To keep track of your rounds, place a stitch marker at the beginning of each round. It’s an easy way to avoid confusion and maintain an even tension throughout your amigurumi.
-
Check Gauge: Always make a tension swatch before starting on Puddles! Achieving the right gauge will ensure your duck has the right dimensions and is proportionate.
-
Secure Loose Ends: Don’t rush through weaving in ends. This step not only helps your Puddles look polished but also ensures that everything is secure—especially if little hands will be playing with it.
-
Take Breaks: Crochet should be enjoyable! If you find yourself struggling or feeling frustrated, take a short break. A fresh perspective can make all the difference in completing your cozy amigurumi project.
How to Wash and Care for Your Puddles the Mallard Duck
-
Hand Washing: Gently wash your Puddles Duck in cold water using a mild detergent. Avoid submerging it completely to preserve its shape and texture.
-
Drying/Blocking: After washing, carefully reshape your duck and lay it flat to dry on a clean, dry towel. This prevents stretching and maintains the adorable look of your amigurumi.
-
Storage: When not displayed, store your Puddles Duck in a cool, dry place away from direct sunlight. This helps keep the colors vibrant and the texture plush and inviting.
-
Avoiding Damage: Keep Puddles away from pets and sharp objects to prevent any accidental harm. Proper care will ensure that your charming creation lasts for years to come!
Variations & Substitutions for Puddles
Feel free to let your creativity shine as you personalize your Puddles the Mallard Duck crochet project!
-
Yarn Substitutions:
Switch to a softer cotton yarn for a lighter version that’s perfect for warmer climates. This change can create a snuggly but breathable duck. -
Color Mixing:
Combine two contrasting colors in the body for a playful twist. Think sunny yellow and cool blue for a vibrant Puddles! -
Size Adjustments:
Use different hook sizes or adjust the stitches to make a mini Puddles or an oversized companion. It’s a fun way to create a family of ducks! -
Texture Variations:
Add a pom-pom to the top of the head or fringes around the neck for added texture. These small details can make your amigurumi even more whimsical. -
Facial Features:
Instead of safety eyes, embroider the eyes or use buttons for a vintage feel. Personalizing the face adds a unique charm to each creation. -
Seasonal Themes:
Create a holiday version by pairing Puddles with seasonal colors like red and green or pastel hues for springtime festivities. Dressed Puddles can bring joy all year round! -
Layered Patterns:
Try using a striped design on the body for a fun, textured appearance. Each stripe can tell a story or match the decor of your home. -
Playful Accessories:
Crocheting a small scarf or hat can add an extra layer of personality to Puddles. It’s a delightful way to reflect your style or make a gift even more special.
Don’t forget to explore our tips on customizing your crochet or check out other fun amigurumi variations to enhance your crafting adventure!
Puddles the Mallard Duck FAQs
Can I substitute Bernat Blanket yarn with another type?
Absolutely! While Bernat Blanket yarn is perfect for its plush texture, you can substitute it with other bulky-weight yarns. Just ensure that whatever yarn you choose has a similar softness—such as a poly-blend or chenille yarn—so your duck remains cuddly!
How can I make Puddles bigger or smaller?
To adjust the size of your Puddles Duck, a few simple math rules can be applied. For a taller duck, add more rounds to the body; each additional round will add roughly 1 inch in height. If you want a smaller version, you can crochet with a smaller hook or yarn to scale down the overall size.
Why is my amigurumi work curling or not holding shape?
Don’t panic! This common issue often arises from tight stitches or incorrect gauge. Make sure you’re not pulling too tightly and consider checking your gauge swatch before starting. If your project starts to curl like a bowl, it may be time to loosen those tensions!
What hook size should I use for this pattern?
For the Puddles Duck, an 8.0 mm (L-11 US) hook is recommended. However, you may want to experiment with a slightly larger or smaller hook based on your tension, ensuring the duck’s structure remains plush while maintaining a tight enough stitch to hold stuffing securely.
How do I fix dropped stitches in my amigurumi?
It’s an easy fix! Simply use a tapestry needle to weave the dropped stitch back into place or pick it up from below. If you have a larger gap, consider using a few single crochet stitches around the area to close the hole, ensuring your Puddles stays snug and secure!
Leave a Reply