
With the holiday season just around the corner, I found myself in a delightful mini crisis—what to make for last-minute gifts? Enter the charming Christmas Candle Amigurumi! This adorable pattern not only adds a cozy, handmade touch to your holiday decor but is also completely safe for homes with children and pets. Perfect for crafters of all skill levels, this quick project is a stunning stash-buster that allows you to infuse a bit of festive spirit into your gifting. The textured wax drips and whimsical flame give it that classic candle look—minus the fire hazard! So, grab your yarn and let’s create something beautifully festive that will warm hearts and homes this holiday season.
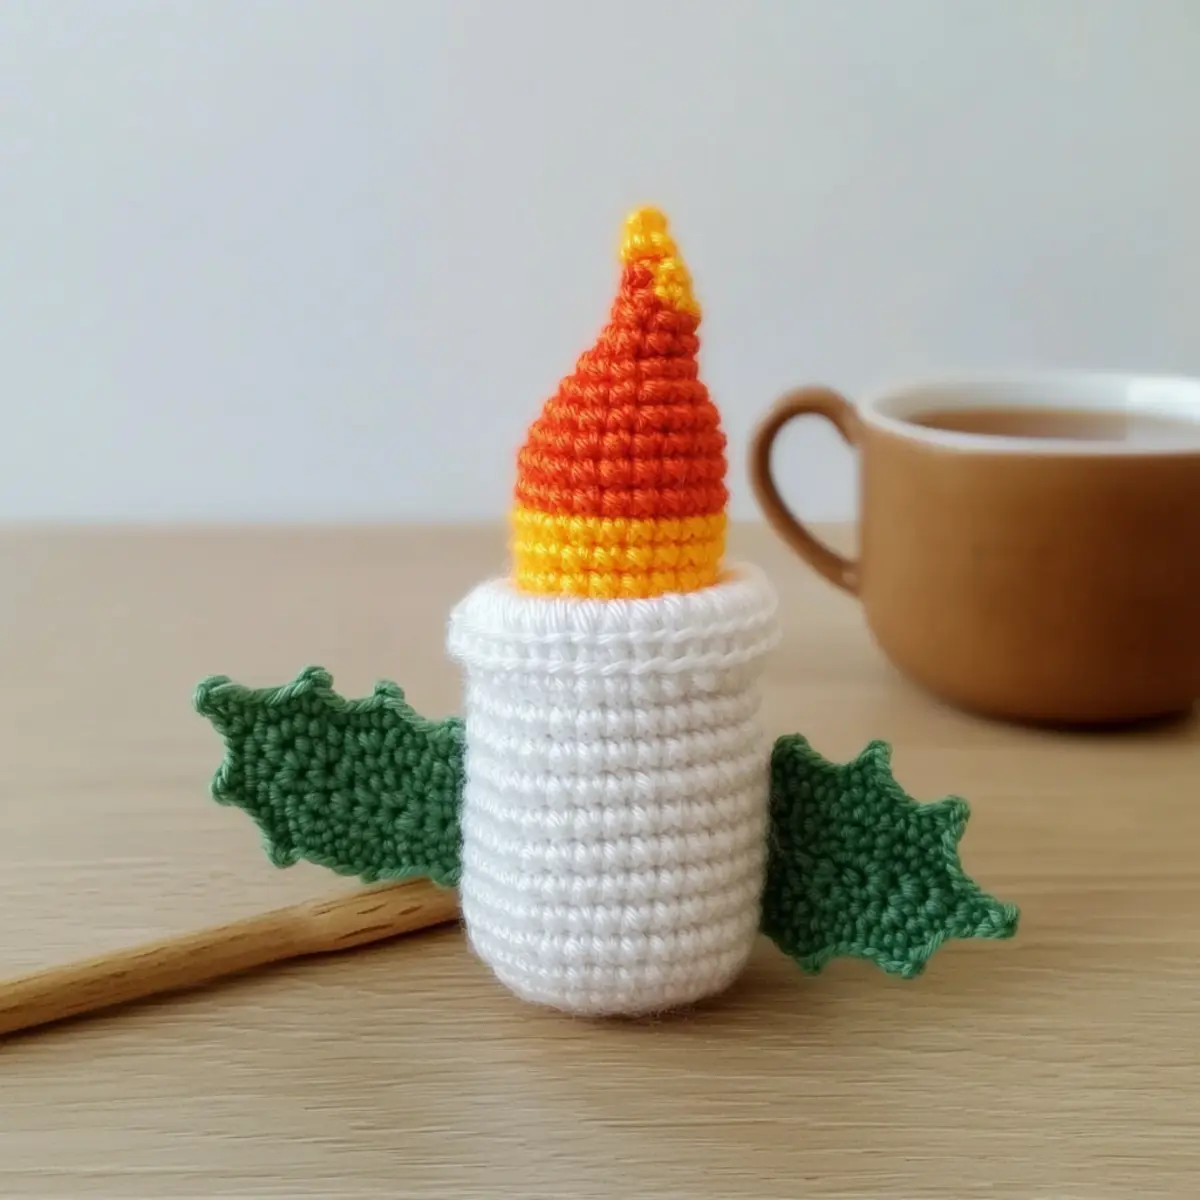
Christmas Candle Amigurumi Materials & Tools
Get ready to craft a cozy, festive decor piece with this delightful pattern!
Yarn
- Worsted Weight Yarn – Suggested colors are white for the candle and orange/yellow for the flame; you’ll need approximately 100 yards total.
Tools & Notions
- 4.0mm (G-6) Hook – Perfect size for creating those lovely stitches in this beginner-friendly design.
- Stitch Markers – Keep track of your rounds easily while working on this quick project.
- Tapestry Needle – Essential for weaving in ends and finishing your charming candle.
- Fiber Fill – Use this for stuffing your candle to achieve that plump and cozy look.
Happy crafting and enjoy making your merry holiday decor!
Why Is This Candle Amigurumi Special?
Cozy Charm: This adorable Christmas Candle Amigurumi is not only a holiday decoration but also a delightful keepsake, perfect for creating warm and inviting spaces.
Safe For All: Completely safe for homes with children or pets, so you can decorate without worry.
Beginner-Friendly: With simple stitches and clear instructions, it’s an excellent project for beginners to build their crochet skills.
Quick to Make: This pattern works up quickly—ideal for last-minute gifts or cozying up your own home with festive cheer.
Customizable: Create various sizes or styles by adjusting the height and colors, or embellish with seasonal decorations like mistletoe for a personalized touch.
Get ready to unleash your creativity and make magical gifts this holiday season with this cheerful, charming amigurumi pattern!
Gauge & Sizing Notes
Don’t skip the gauge swatch! It’s essential to ensure that your Christmas Candle Amigurumi turns out just as adorable as you envision. For this project, a standard gauge measurement is 4×4 inches (10×10 cm), which should equal 12 single crochets by 10 rows. If your swatch doesn’t match this size, it may lead to a candle that’s either too big or too small. To adjust the height of your candle, simply repeat the main body rounds (R5) until you reach your desired dimensions. And if your tension is too tight and your swatch is smaller, try going up a hook size for a cozier fit. Happy crafting!
Step‑by‑Step Pattern for Charming Christmas Candle Amigurumi
Row 1: Magic Loop Start
Begin by creating a magic loop (ML). Inside the loop, work 6 single crochets (sc) to form the base of your charming Christmas candle amigurumi. Pull the tail of the loop to tighten. Your work should form a small circle, providing a solid start for the body. (6 sts)
Row 2: Increase for Base
In this row, make an increase in each stitch from the previous round. To do this, work 2 sc in each stitch around. This will give you a wider base, allowing the candle to have a plump appearance. You’ll notice your circle getting larger and rounder. (12 sts)
Row 3: Sc, Inc Around
Now, begin shaping the body by doing a single crochet (sc) in the first stitch, then increase by working 2 sc in the next stitch. Continue this pattern around. This alternating technique will help create a sturdy body for your candle, keeping it nice and even. (18 sts)
Row 4: Back Loop Only
Switch to back loop only (BLO) stitching to create a nice texture. Work 1 sc in each BLO around. Doing this will give your candle a defined structure while the rest of the rows keep a gentle, rounded shape. It should start to resemble a candle’s body. (18 sts)
Row 5: Continue the Body
For the next steps, continue working in sc around for 15 rows (Rows 5 to 19). This simple repetition allows for a quick work-up and creates the main body of your candle. Your candle should look plump and round, maintaining an inviting shape as you go along.
Row 20: Begin Shaping
In this crucial step, you’ll start to shape the top. Work a single crochet (sc) in the first stitch, then a back loop only decrease (BLOscdec) in the next stitch. Repeat this pattern around, which will gently close the top of the candle and create a tapering effect. (12 sts)
Step 21: Final Closure
Stuff the body of the candle with fiber fill, ensuring it’s plush but not overly packed. Next, work a decrease in each stitch around to cinch it closed. You should end up with a small circle, giving the top of your candle a cozy finish. Fasten off the yarn securely. (6 sts)
Step 22: Wax Drip Creation
Attach your yarn in the BLO stitches from Row 4. Chain 2 (counts as the first sc), and then work 1 sc in each remaining BLO stitch around. This will form the base of the textured wax drip. Your candle will start resembling the classic dripping candle look. (18 sts)
Step 23: Add More Drips
Continue with 2 more rounds of sc in each stitch to develop the wax drips. By maintaining the same stitch pattern, you’ll create a fluffy, beautiful edge that enhances the candle’s charm and makes it really stand out on your holiday table.
Step 24: Flame Construction
Now let’s make the candle flame! Start with a magic loop (ML) and work 3 sc into the loop, forming the base of the flame. This small starting point will set the stage for the adorable flickering flame you’ll be creating. (3 sts)
Row 25: Flame Increase
In this round, work an increase in each stitch to create a fuller flame. It’s essential to ensure that the flame looks nice and vibrant, just like a real candle. Your stitches should form a small, rounded shape which will give character to the flame. (6 sts)
Row 26: Add More Detail
Now, switch it up by doing a single crochet (sc) in the first stitch, followed by an increase in the next stitch. This will start to give your flame some dimensions and will start building that flickering look. (9 sts)
Row 27: Finish the Flame
In this round, work sc in each stitch around, maintaining the shape and structure of the flame. Lightly stuff the flame as you go to give it some body. By the end of this round, the flame should appear plump and ready to fit onto the top of your candle. (9 sts)
Row 28: Closing the Flame
Finally, work a single crochet in the first stitch, followed by a decrease in the next stitch around. This will finish off your alluring flame. Fasten off, leaving a long tail for attachment. The flame should have a beautiful tapered look, just like a flickering candlelight. (6 sts)
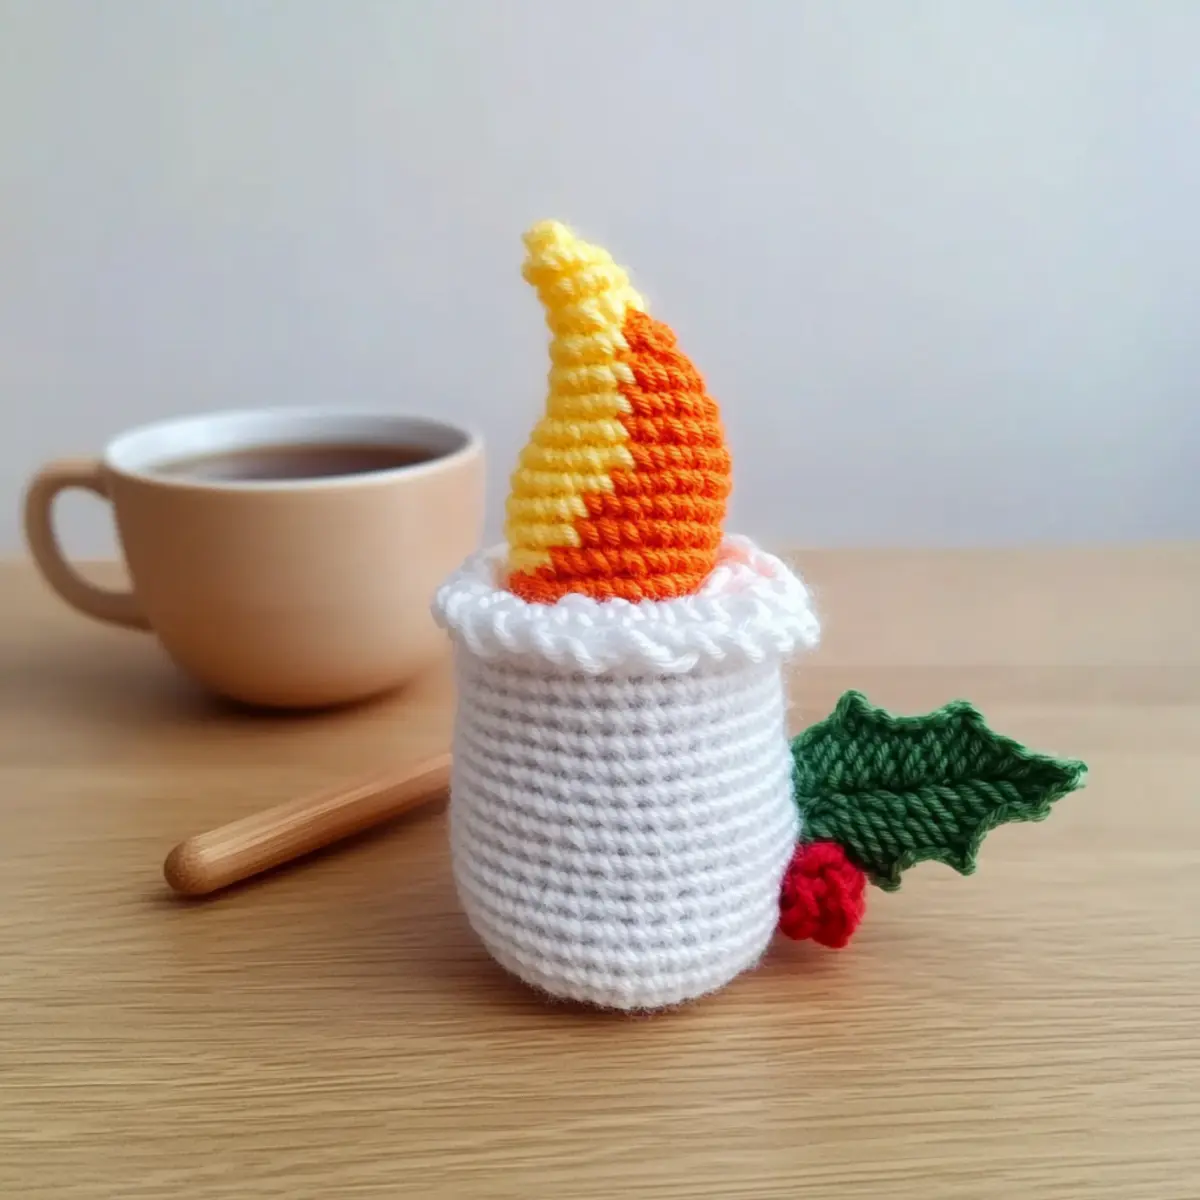
Expert Tips for Christmas Candle Amigurumi
-
Tension Matters: Keep your tension even throughout the project. This will help maintain a uniform shape in your candle and wax drips.
-
Count Regularly: Avoid misalignment by counting your stitches at the end of every round. It’s an easy step that ensures a polished finish!
-
Finish Neatly: When fastening off, leave a long tail for weaving in. This helps secure your stitches and provides a clean final look.
-
Stuff Sparingly: Lightly stuffing the flame adds dimension without overwhelming the structure. This balances firmness and softness to your candle!
-
Enjoy the Process: Remember, crocheting should be fun! Don’t stress over perfection; embrace the unique charm of your handmade Christmas candle amigurumi.
Care Instructions for Christmas Candle Amigurumi
-
Hand Washing: Gently hand wash your Christmas Candle Amigurumi in cold water with a mild detergent to maintain its charm and structure. Avoid agitation to prevent felting.
-
Drying/Blocking: Lay the candle flat on a clean towel to dry completely. This helps retain its shape and texture while avoiding any distortion.
-
Storage: Store your amigurumi in a cool, dry place away from direct sunlight. This protects the colors and keeps it looking vibrant for the holiday season.
-
Avoid Harsh Chemicals: Keep your candle away from bleach and strong detergents. This ensures longevity for your beautifully crafted piece, keeping it festive and lovely!
Christmas Candle Amigurumi Variations
Invite your creativity to flourish as you explore these delightful variations of your Christmas candle amigurumi!
- Yarn Color Swaps: Change the candle’s color with soft pastels or vibrant shades for a modern touch. Experiment with bold hues to convey your festive spirit!
- Height Adjustment: Repeat the sc round to make taller candles; create a stunning centerpiece or a cozy cluster on a mantle.
- Striped Effect: Alternate colors in sections to form festive stripes or add a spiral twist. This adds a playful twist while maintaining that classic look!
- Different Yarn Types: Use cotton yarn for a lighter feel or an acrylic blend for extra fluffiness. This can give your candle a whole new personality!
- Embellishments Addition: Add small mistletoe or holly berries atop the candle to bring in an extra dose of holiday cheer. These charms can bring whimsy to any decor.
- Texture Modifications: Introduce pom-poms or fringe to the base to create a whimsical edge. This adds fun dimension and texture to your amigurumi!
- Mini Versions: Create smaller versions of the candle to use as adorable table settings or gift decorations. These tiny treasures are just as charming!
- Seasonal Adaptations: Change the flame color for different seasons. Think warm golds for autumn or bright reds for Valentine’s—endless opportunities for your creativity!
Dive into these ideas, and let your imagination guide your hands as you craft your unique versions of this cozy Christmas candle! If you’re looking for more inspiration, check out our tips on beginner-friendly projects or explore how to add seasonal decorations to your amigurumi.
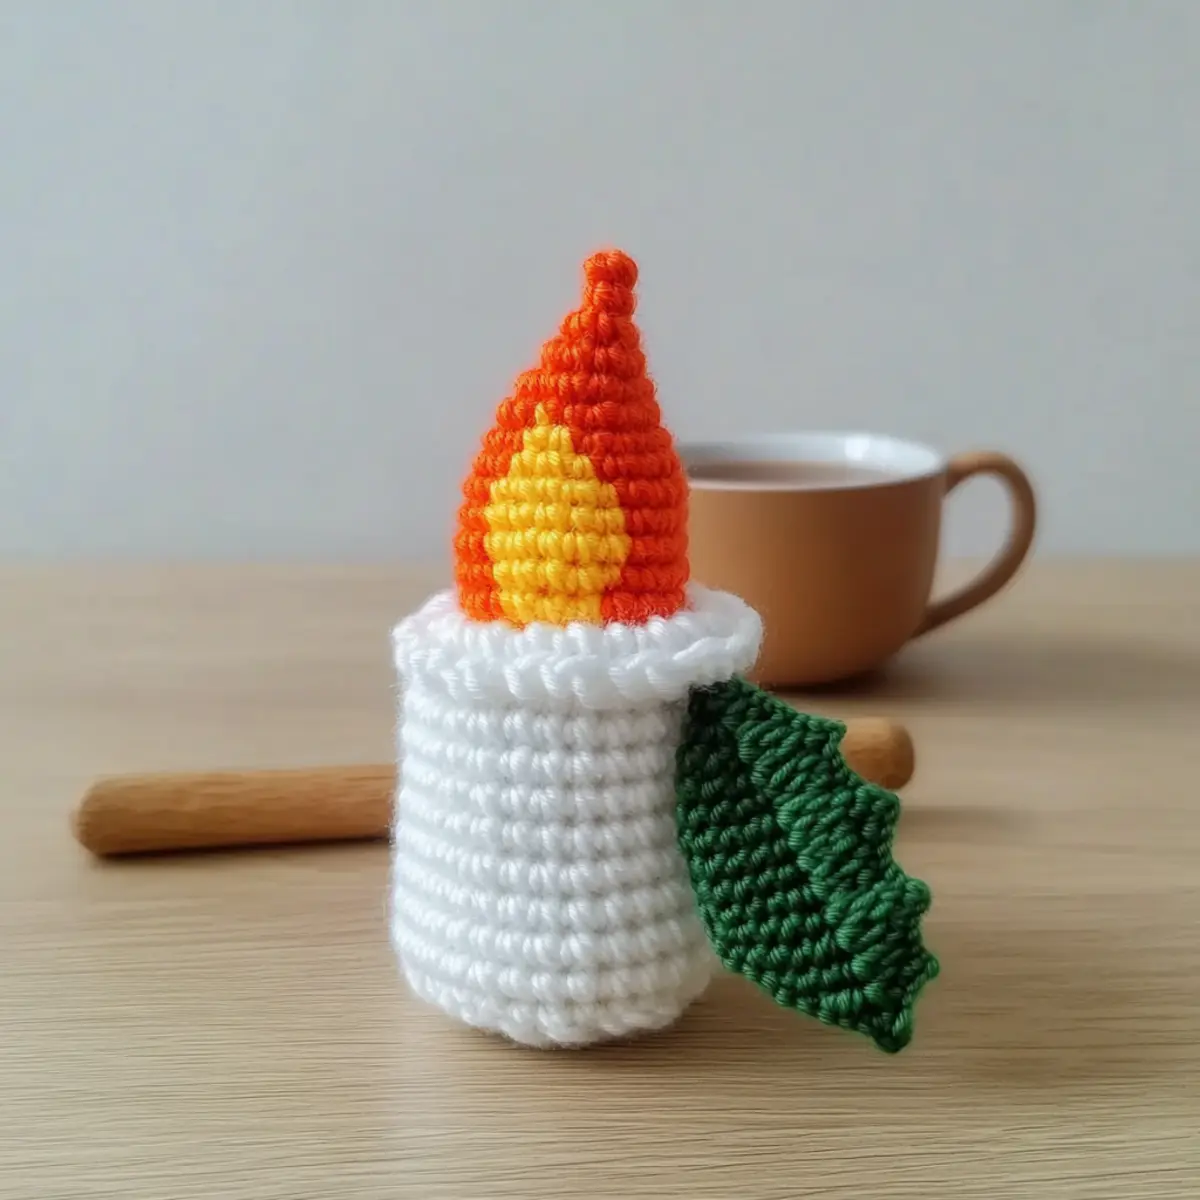
Charming Christmas Candle Amigurumi FAQs
Can I substitute yarn for this pattern?
Absolutely! While the pattern calls for worsted weight yarn, you can swap in any yarn that matches your desired tension, just be sure to adjust your hook size accordingly. For a softer look, cotton yarn could also work wonderfully, keeping the candle cozy and snuggly!
How can I adjust the size of my candle?
To make your Christmas Candle Amigurumi bigger or smaller, you can simply repeat R5 (sc around) for increased height. If you want to shorten it, just skip adding extra rows. Always remember to modify the wax drip rows as well to keep everything proportional!
Why is my work curling at the edges?
Don’t panic! If your candle’s edges are curling like a bowl, it might be a sign that your tension is too loose. Try tightening your stitches, especially in the round. You may also want to check if you’re using the correct hook size recommended for your yarn.
What hook size should I use for this pattern?
For the Charming Christmas Candle Amigurumi, a 4.0 mm (G-6) hook is recommended. However, if your tension tends to run loose or tight, experimenting with a smaller or larger hook can help you achieve the desired shape and firmness.
How do I fix dropped stitches while crocheting?
It’s an easy fix! To remedy a dropped stitch, gently pull on the hanging yarn to locate the stitch below. Use a tapestry needle to reinsert the yarn into the proper stitch place. If this happens frequently, make sure to count your stitches at the end of each round!
What’s the best way to care for my completed amigurumi?
Hand wash your Christmas Candle Amigurumi gently with mild soap and cold water. Afterward, lay it flat to dry. This will help maintain its shape and adorable appearance while keeping it festive and fresh for years to come!
Leave a Reply