
As the leaves begin to crunch underfoot and the air turns crisp, my mind drifts to enchanting autumn crafts that add whimsy to our cozy corners. Enter the adorable Crochet Pumpkin Bear, a charming little creature perfect for adorning your home or gifting to loved ones. This intermediate-level amigurumi project not only works up quickly, but it’s also a delightful way to embrace the seasonal spirit. Plus, with a lovable design topped off by a festive pumpkin hat, it’s sure to bring smiles to children and adults alike. So, grab your favorite yarn and let’s dive into creating a cuddly companion that embodies the essence of fall!
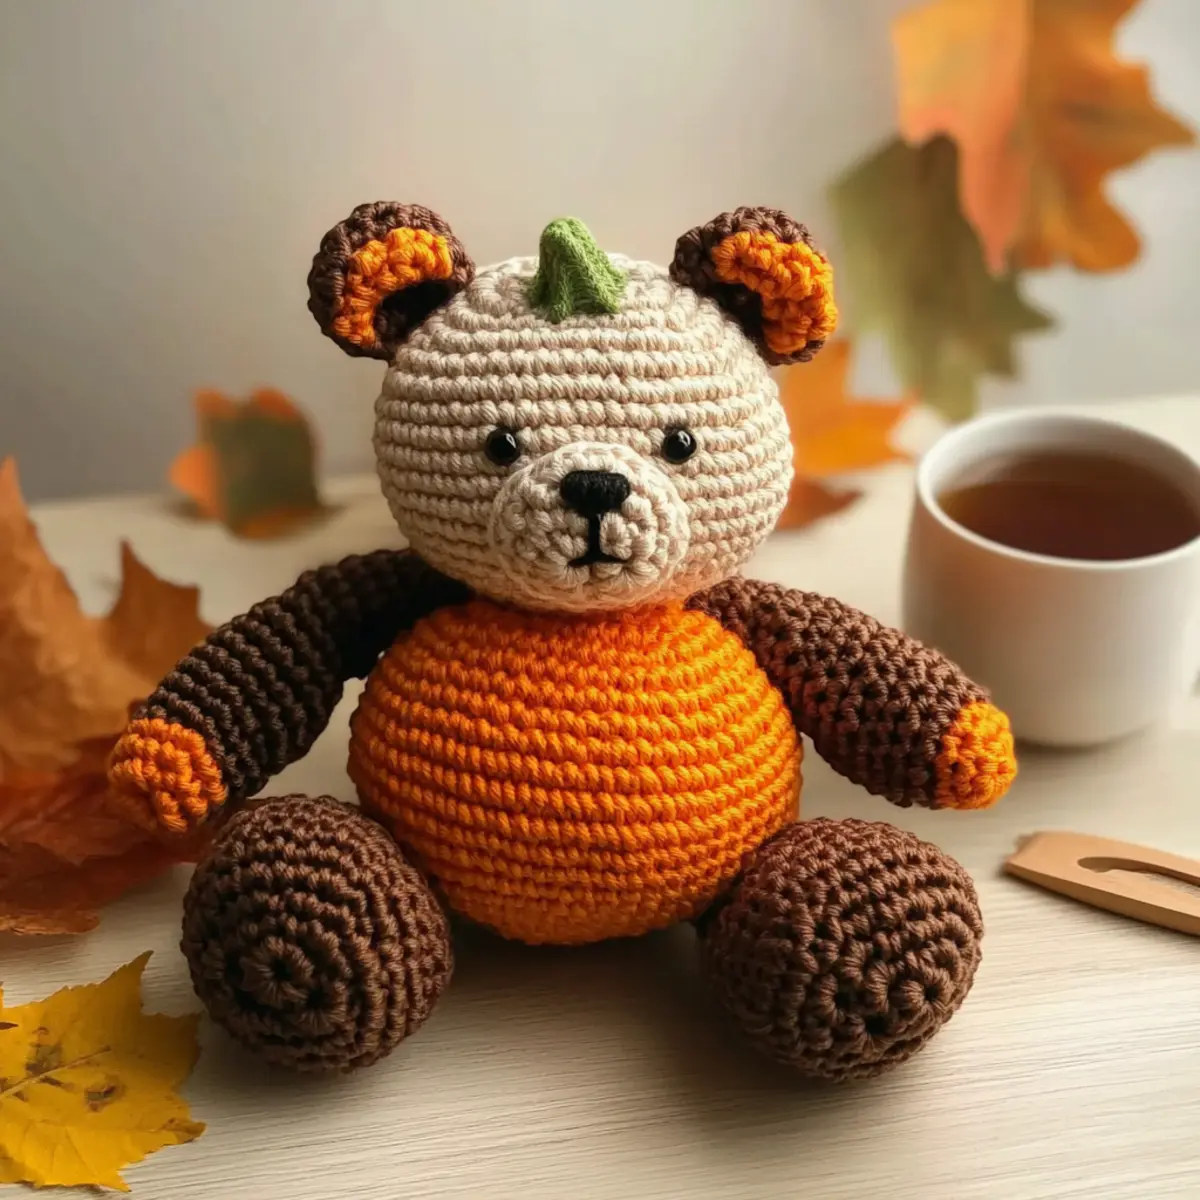
Cozy Amigurumi Pumpkin Bear Materials & Tools
-
Yarn
-
Orange Yarn – Worsted weight, 100% acrylic, approximately 100-150 yards for that sweet pumpkin look.
-
Brown Yarn – Worsted weight, 100% acrylic, approximately 50-75 yards to create the bear’s adorable features.
-
Tan Yarn – Worsted weight, 100% acrylic, approximately 25 yards for delightful detailing.
-
Green Yarn – Worsted weight, 100% acrylic, approximately 10 yards for that charming stem on the hat.
-
Tools & Notions
-
5.0 mm (H-8) Hook – Ideal for creating tight stitches that keep the stuffing secure.
-
Stitch Markers – Helpful for keeping track of your rounds and maintaining shape.
-
Tapestry Needle – Essential for sewing pieces together and weaving in ends.
-
Safety Eyes – Perfect for adding personality to your bear; consider size based on yarn weight for tiny hands.
-
Stuffing – Use polyester fiberfill to give your bear a cuddly, squashy texture!
-
Scissors – Necessary for cutting yarn and finishing touches.
Gather your supplies, and let’s start crafting your cozy amigurumi Pumpkin Bear, a delightful addition to your autumn decor!
Why Is This Crochet Bear Special?
Cuddle-Worthy Design: The Crochet Pumpkin Bear features a snug amigurumi shape, making it perfect for little hands to hug and enjoy.
Festive Touch: Its charming pumpkin hat adds an irresistible seasonal flair that brightens up any autumn display.
Quick and Easy: This pattern is beginner-friendly with straightforward instructions, allowing you to create a delightful bear in no time!
Versatile Customization: Mix and match colors or modify the hat design for a personalized touch that’s unique to your style.
Gift-Ready: Whether for a child’s birthday or a cozy housewarming, this bear makes a thoughtful gift that spreads joy during the fall season!
Dust off your crochet skills and check out our expert tips for making assembly a breeze!
Gauge & Sizing Notes
Don’t skip the gauge swatch! For your Crochet Pumpkin Bear, checking your tension (gauge) is essential to ensure your charming creation turns out just right. The recommended gauge is a 4×4 inch (10×10 cm) square equal to 12 single crochets by 14 rows. If you wish to adjust the size of your bear, you can increase your starting chain in multiples of 12 for a wider body or decrease if you’re looking for a smaller bear. If your swatch is too small, simply go up a hook size; conversely, if it’s too large, try a smaller hook. Remember, a perfect gauge ensures your adorable Pumpkin Bear becomes the cozy companion you envision!
Step‑by‑Step Pattern for Adorable Crochet Pumpkin Bear with Seasonal Charm
Round 1: Start the Body
With orange yarn, make a magic ring and work 6 sc into the ring. Pull the ring tight to close. This is the beginning of your body. Make sure your work is snug, and you should see a small circle (6 sts).
Round 2: Increase for Shape
Continue with orange yarn, placing 2 sc in each stitch around. This round will help round out your Pumpkin Bear’s body. You should now have a total of 12 sts as your circle begins to grow larger (12 sts).
Round 3: Establish the Curve
In this round, crochet 1 sc in the first stitch, then 2 sc in the second stitch. Repeat this pattern around for a total of 18 sts. Your work should begin to cup slightly as you create the base of the bear (18 sts).
Round 4: More Increases
For this round, work 1 sc in the first 2 stitches, then 2 sc in the third stitch. Repeat the sequence around to achieve 24 sts. Continue to keep your stitch count accurate, observing how the piece starts to resemble a rounded body (24 sts).
Rounds 5-10: Build the Height
In these rounds (5-10), work 1 sc in each stitch around. This step will create the body height, ensuring your bear starts to take shape. You should have 24 sts at the end of each round, with your work becoming taller and more defined.
Rounds 11-14: Shaping the Neck
Begin to shape the neck by working 1 sc in each of the first 12 stitches, then dec 1 stitch at the end of the round. Repeat this for 4 rounds to create a smoother transition to the bear’s head. Your work should maintain a consistent count of 24 sts, with less bulk at the top now.
Round 15: Transition to Head
Crochet 1 sc in the first 7 stitches, then dec 1 stitch. This creates a gentle narrowing that leads to the head. You will have 20 sts after this round, and you should notice a pleasing change in form as you sculpt your Pumpkin Bear.
Round 16: Final Shaping
Continue shaping the head by working 1 sc in the first 6 stitches, then dec 1 stitch around. You will end up with 16 sts. Your work should feel more defined as you shape the adorable head of your bear.
Rounds 17-20: Build the Head Height
For these rounds (17-20), switch to 1 sc in each stitch around. This will give your pumpkin bear a nice round head while maintaining the 16 sts. Observe as your cute little face starts to emerge.
Round 21: Starting the Muzzle
Next, begin the muzzle by switching to tan yarn. Work 1 inc in each stitch around to create a fuller feature, giving your bear some character. You should have a total of 32 sts, and your muzzle should gently protrude.
Round 22: Form the Nose
Work in tan yarn, using 1 sc in the first 5 stitches, then inc 1 stitch in the next. Repeat this pattern to finish the round. This should provide a cute button nose (38 sts), and your bear is now gaining heaps of charm!
Round 23: Adding Eyes
Decide where you’d like to place your safety eyes within the stitches. Your bear’s head is now ready for the addition of delightful features to bring it to life. Continue working with tan yarn, maintaining 38 sts around, and enjoy this crucial creative moment.
Round 24: Close the Head
Now, work 1 sc in the first 10 stitches, then dec 1 stitch around. These decreases will prepare your bear for proper closing as you reach the top of the head. You’ll want to have 32 sts remaining. Your Pumpkin Bear should be looking sweet!
Rounds 25-28: Finishing the Head
In these rounds (25-28), continue to sc in each stitch around. This will help your bear’s head feel full and ready for assembly, keeping the total at 32 sts. Watch as your cute bear takes its form, almost ready for its festive pumpkin hat.
Round 29: Attach Ears
Work 1 sc in the first 4 stitches, then create a small ear by making 4 sc in the next 4 sts before sl st to join and fasten off. Repeat this for the second ear, making sure they’re securely attached for those playful touches (8 sc per ear).
Step 1: Assembly
Carefully sew the muzzle onto the face of your bear using your tapestry needle. Lightly stuff the muzzle for dimension. Next, attach the ears on either side of the head, ensuring that they are centered. Your adorable bear is really coming together!
Step 2: Adding Limbs
Position the arms and legs on the body and secure them with stitches, allowing for a snug fit. Lightly stuff each limb to maintain a plush look. You’ll want to make sure they sit well for a cuddly pose, and your Pumpkin Bear is almost complete!
Step 3: Crafting the Hat
With green yarn, create a magic ring and work 6 sc into it for the pumpkin hat base. Follow with 2 sc in each round until achieving the desired height. Make it festive with a stem using matching green, and place it atop the bear’s head.
Step 4: Finishing Touches
Finally, weave in any loose ends with your tapestry needle and take a moment to admire your finished crochet Pumpkin Bear! This delightful project is sure to bring joy to your autumn decor or make the perfect gift. Enjoy showcasing your creativity!
Variations & Substitutions
There’s a world of creativity waiting for you to explore with your Crochet Pumpkin Bear project!
-
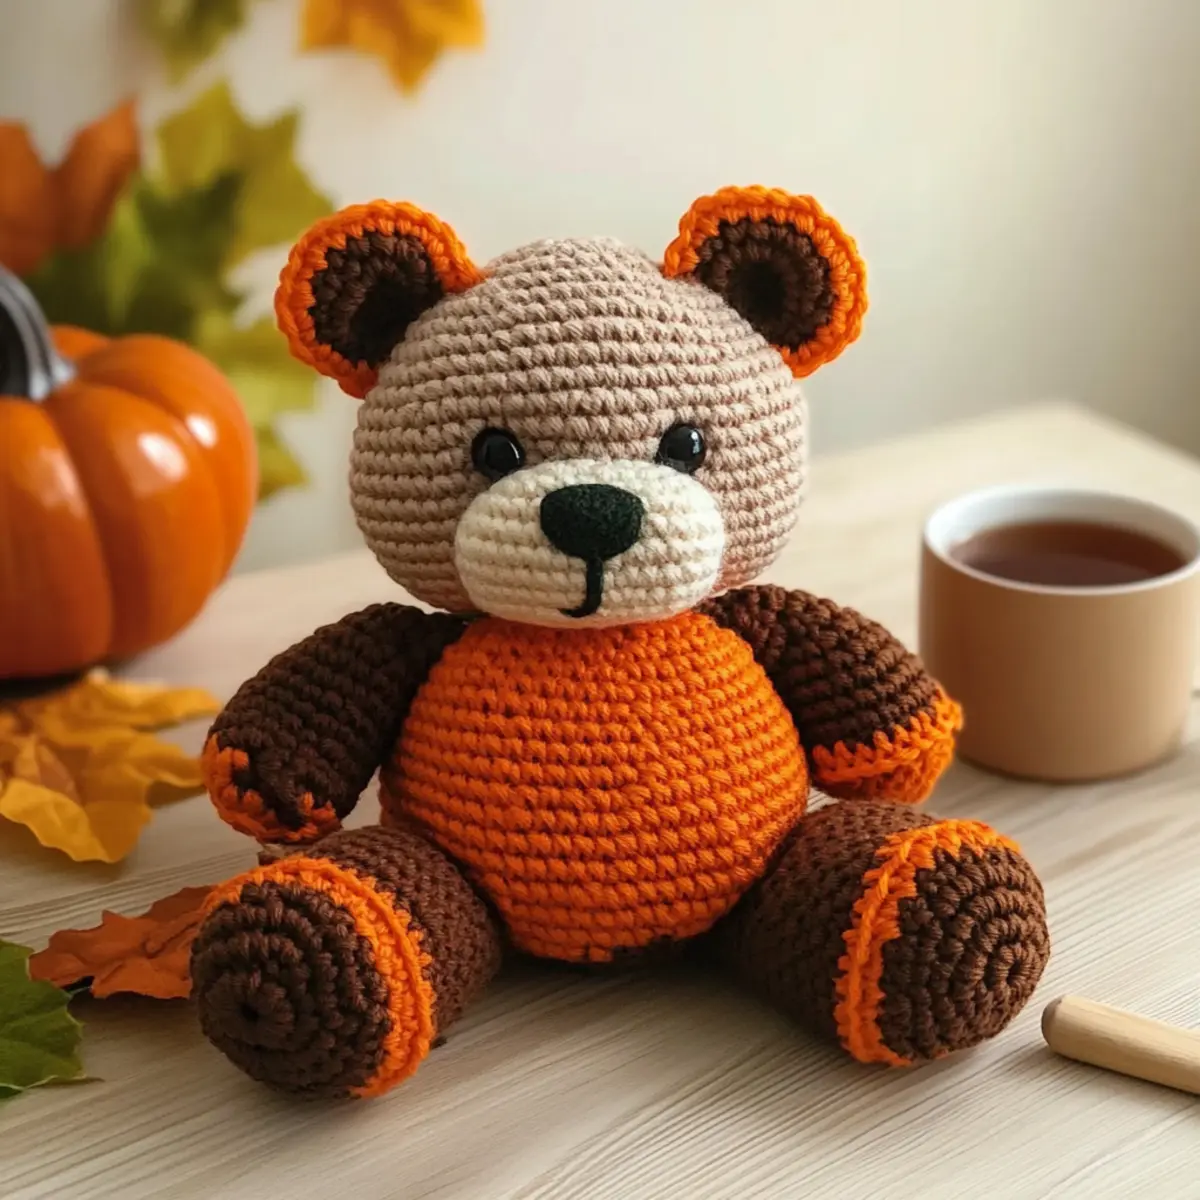
Yarn Weight Swaps: Opt for sport weight yarn for a smaller bear or bulky for a plush giant profile. Each option invites a unique cuddly companion.
-
Fiber Alternatives: Try 100% cotton yarn for a softer finish that’s great for warm-weather decor or gifts, maintaining the spirit of fall with vibrant hues.
-
Color Combinations: Embrace the fall palette! Use deep reds, mustard yellows, or rustic browns to create an autumn-themed bear that complements your seasonal display beautifully.
-
Seasonal Hat Variations: Experiment with a witch’s hat or reindeer antlers to enhance versatility. Each hat adds a playful twist perfect for holiday gifting.
-
Textured Details: Add fringe to the hat or a pom-pom on top for a fun twist! These small changes make your bear even more endearing.
-
Size Adjustments: Change your hook size to create a mini bear for a keychain or larger size for a cozy chair accent—it’s all about how grand you’d like your squashy friend to be!
-
Expressive Faces: Customize your bear’s expressions with different safety eyes or embroidered features. A smile or a playful wink can give your bear its own unique personality!
-
Decorative Borders: Consider adding a blanket or tiny scarf to your bear for a cozy touch. Browse our insights on adding embellishments for extra charm!
With these ideas, your amigurumi creation can become a true reflection of your style and warmth all autumn long. Happy crocheting!
Expert Tips for the Crochet Pumpkin Bear
-
Count Your Stitches: Always check your stitch count at the end of each round to ensure your bear maintains the correct shape throughout the project.
-
Avoid Twists: When starting your rounds, be cautious of twisting your foundation chain, as this can lead to unwanted unevenness in your Crochet Pumpkin Bear.
-
Gauge Matters: Although not specified, always check your gauge with a tension swatch before beginning. This will help ensure a consistent size and texture.
-
Safety First: For small children, consider using embroidery for facial features instead of safety eyes if you alter yarn weight, promoting safety in play.
-
Finishing Touches: Weave in yarn ends neatly after final assembly to achieve a polished look. It adds to the overall charm of your adorable fall decor!
How to Wash and Care for Your Crochet Pumpkin Bear
-
Hand Washing: Gently hand wash your Crochet Pumpkin Bear in cold water with a mild detergent to preserve the vibrant colors and soft texture.
-
Avoid Agitation: While washing, refrain from agitating the bear too much to prevent felting and maintain its adorable shape and density.
-
Drying: Lay the bear flat on a clean towel to dry. Reshape any areas as needed to ensure it stays cuddly and looking its best.
-
Storage: When not in use, store your bear in a dry, cool place to keep it in tip-top condition during off-seasons; avoid direct sunlight to prevent fading.
Crochet Pumpkin Bear FAQs
Can I use a different type of yarn for my Crochet Pumpkin Bear?
Absolutely! While the pattern calls for worsted weight acrylic yarn, you can substitute it with cotton, wool, or even a chunky yarn. Just keep in mind that changing yarn types may affect the size and final appearance of your bear, so be prepared for a little trial and error.
How do I adjust the size of my Crochet Pumpkin Bear?
If you’d like to make your bear bigger or smaller, you can play with the yarn weight and hook size. For a larger bear, opt for bulky yarn and a larger hook, while a lighter yarn and a smaller hook will yield a petite bear. Just remember to maintain your stitch count for a consistent shape!
Why is my Crochet Pumpkin Bear curling at the edges?
Don’t panic! If your work is curling up like a bowl, it’s most likely due to tight tension. Try loosening your grip or using a larger hook size. Additionally, ensuring you have the correct stitch count will also help your pieces lay flat.
What hook size should I use for the Crochet Pumpkin Bear?
For this project, a 5.0 mm (H-8) hook is recommended. If you decide to change the yarn weight, you may want to adjust the hook size accordingly—experiment a bit until you achieve a nice, snug fabric that holds its shape well!
How can I fix dropped stitches in my crochet work?
It’s an easy fix! If you notice a dropped stitch, simply use your crochet hook to pick it back up and work it back into your project. If the stitch appears too loose after fixing, consider running a small line of slip stitches around the area to stabilize it.
What if I want to make my Crochet Pumpkin Bear a different color?
Feel free to express your creativity by using different color combinations! Just keep in mind that when you’re swapping colors, especially for the pumpkin hat, you might want to tie in motifs that reflect your unique style and seasonal preferences!
Leave a Reply