
As I sat on my porch sipping tea, I glanced at the vibrant daisies blooming in my garden and felt a spark of inspiration. What if I could bring that same freshness into my crochet projects? Enter the Floral Daisy Granny Square! This delightful pattern not only celebrates the beauty of nature’s simplest flower but also offers incredible versatility for all types of crafters. It’s beginner-friendly and works up quickly, making it perfect for those looking to add a cheerful touch to blankets, sweaters, or even as lovely standalone decorations. With four unique methods to create your daisy – from textured bobble stitches to charming popcorn petals – you’ll have fun mixing and matching colors and styles. So grab your yarn, and let’s get started on crafting these beautiful squares that are sure to brighten your day!
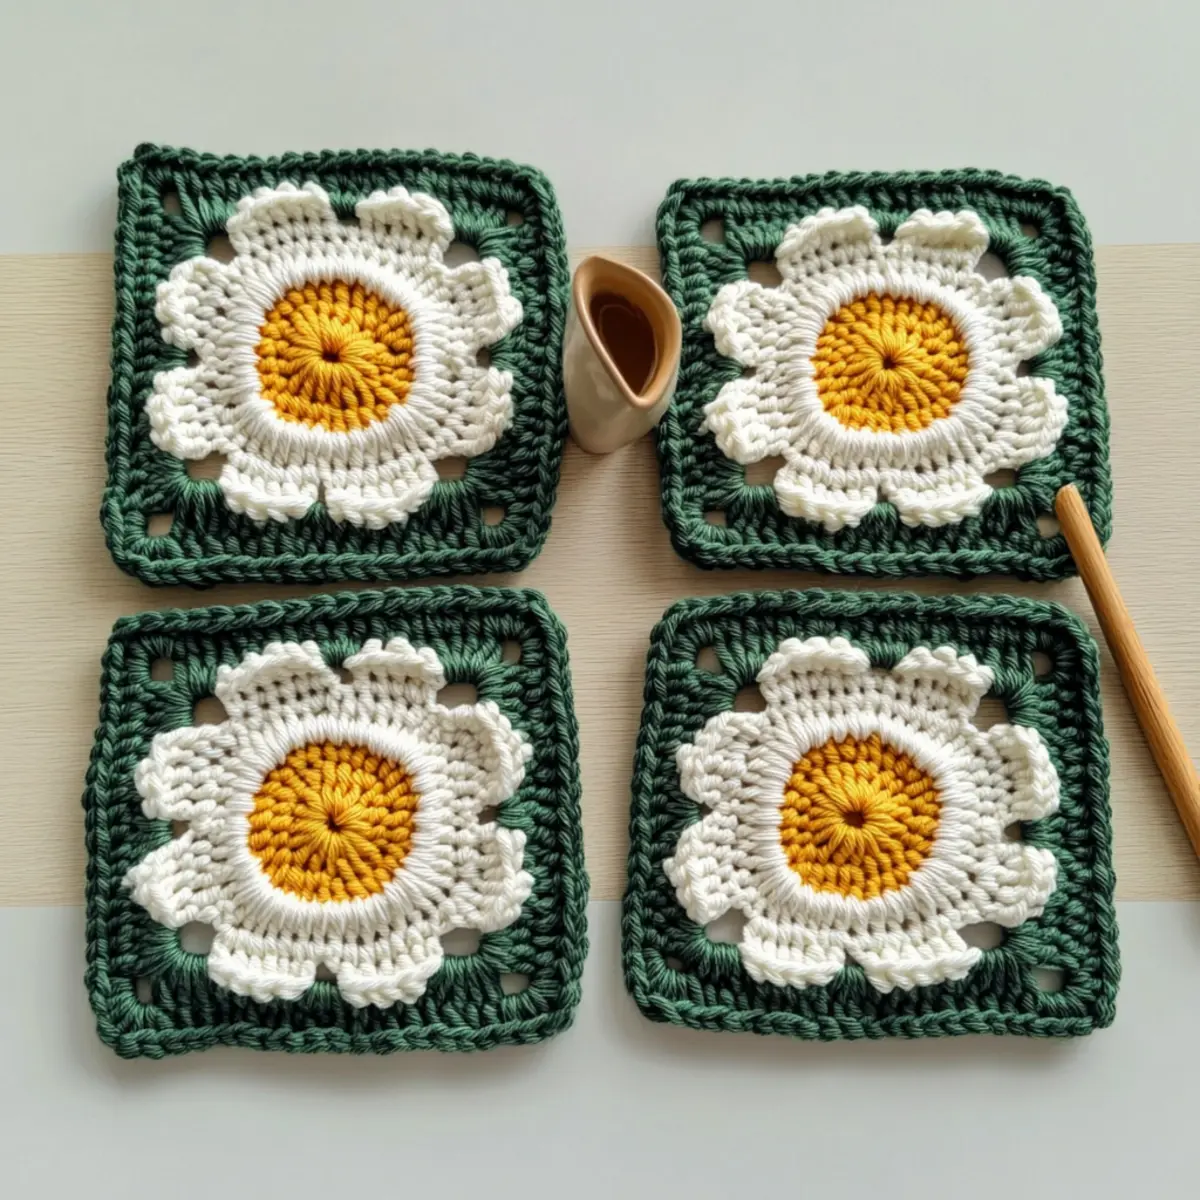
Daisy Granny Square Materials & Tools
Create your beautiful daisy granny squares with ease!
Yarn
• Worsted Weight Yarn – Choose three colors to bring your floral dreams to life; feel free to mix and match for vibrant designs!
Tools & Notions
• 3.00 mm (US D/3) Hook – This size is perfect for achieving the ideal tension for your daisy granny squares.
• Darning Needle – Use it to weave in those pesky ends for a polished finish.
• Scissors – Essential for cutting yarn, so you’ll have neat edges with every project!
Embrace the joy of crochet with these supplies, and watch as your daisy granny squares bloom!
Why Is This Daisy Granny Square Unique?
Versatile Design: The Floral Daisy Granny Square is perfect for crafters of all skill levels—with simple beginner techniques and customizable styles to explore!
Textured Blooms: Choose between bobble or popcorn petal styles for added dimension, making your projects visually striking and delightfully tactile.
Quick Completion: Each square works up faster than you’d think. Perfect for last-minute gifts or using up scrap yarn, you’ll find yourself creating a lovely stash in no time!
Charming Appeal: This floral design adds a cheerful essence to your decor. Use it for banners, blankets, or even coasters—the possibilities are endless!
Mixed Colors: With three colors to play with, you can create a unique look each time. Check out the variations to guide your creativity!
Gauge & Sizing Notes
Don’t skip the gauge swatch! Checking your tension is crucial for ensuring your Floral Daisy Granny Square turns out just right. Aim for a gauge of 3.25 inches by 3.25 inches (8.25 cm by 8.25 cm) for the bobble daisy and a tighter 2.95 inches by 2.95 inches (7.5 cm by 7.5 cm) for the solid granny square. If you find your swatch is smaller than this, try going up a hook size to achieve the desired dimensions. To customize your Floral Daisy Granny Square, simply adjust your starting chain or the number of rounds worked in multiples of 3 if you’re looking for a wider square or more floral impact. Happy crocheting!
Step‑by‑Step Pattern for Daisy Granny Square
Row 1: Daisy Center
Begin your Floral Daisy Granny Square by creating a magic loop. Chain 3 (counts as first double crochet), then work 11 double crochets (DC) into the loop, ensuring it’s tightly secured. Once completed, pull the tail to tighten the loop and slip stitch (sl st) into the top of the initial chain. Your work should form a circular shape with 12 total stitches (12 sts).
Row 2: Flower Petals (Choose Method)
For the bobble stitch petals, join a new color by chaining 3, which acts as your standing incomplete treble crochet (ITC). Now, work 3 ITC in the same stitch, then pull through all loops on your hook. Repeat this process to form petals evenly around the center. Aim for a total of 6 petals, and your flower should appear textured with lovely dimensional blooms.
Row 3: Flower Petals (Popcorn Method)
If you prefer popcorn stitch petals, join a new yarn color and chain 4 for your standing treble crochet. Next, stitch 3 more treble crochets (tr) in the same stitch, then pull through the loops of the first treble crochet to form the popcorn. Repeat this in each space around the daisy center, creating 6 lively petals to surround your floral masterpiece.
Row 4: Background of Granny Square
To build the background for your Daisy Granny Square, join a new color in any chain space around the flower petals. Chain 3 (counts as first DC) and work 2 DC in the same space. Next, chain 1, and work 3 DC in the next chain space. Repeat this sequence around, ensuring you maintain the stitch count with a total of 24 stitches at the end of the round (24 sts).
Row 5: Continuing the Granny Square
For the next round, slip stitch into the next chain space to join. Then, chain 3 and perform 2 DC in the same space. Between the corner clusters, chain 1. This round continues with the pattern of 3 DC in each chain space, making sure to chain 1 in between, creating a lovely square shape as you progress.
Row 6: Finalizing the Granny Square
To finish your Daisy Granny Square, continue working in rounds by maintaining the previous stitch pattern. Make sure each corner contains 3 DC, and chain 1 in between. After a few rounds, you can switch to a different color if desired for an appealing border. You should notice your square taking shape, maintaining even stitches with a beautiful floral centerpiece.
Step 7: Optional Edging
To add a decorative edge, choose your favorite color and join it to any stitch. Work a round of single crochet (sc) evenly around the entire square, placing 3 sc in each corner to enhance the shape. This final touch not only stabilizes your work but also gives your Floral Daisy Granny Square a polished and charming finish!
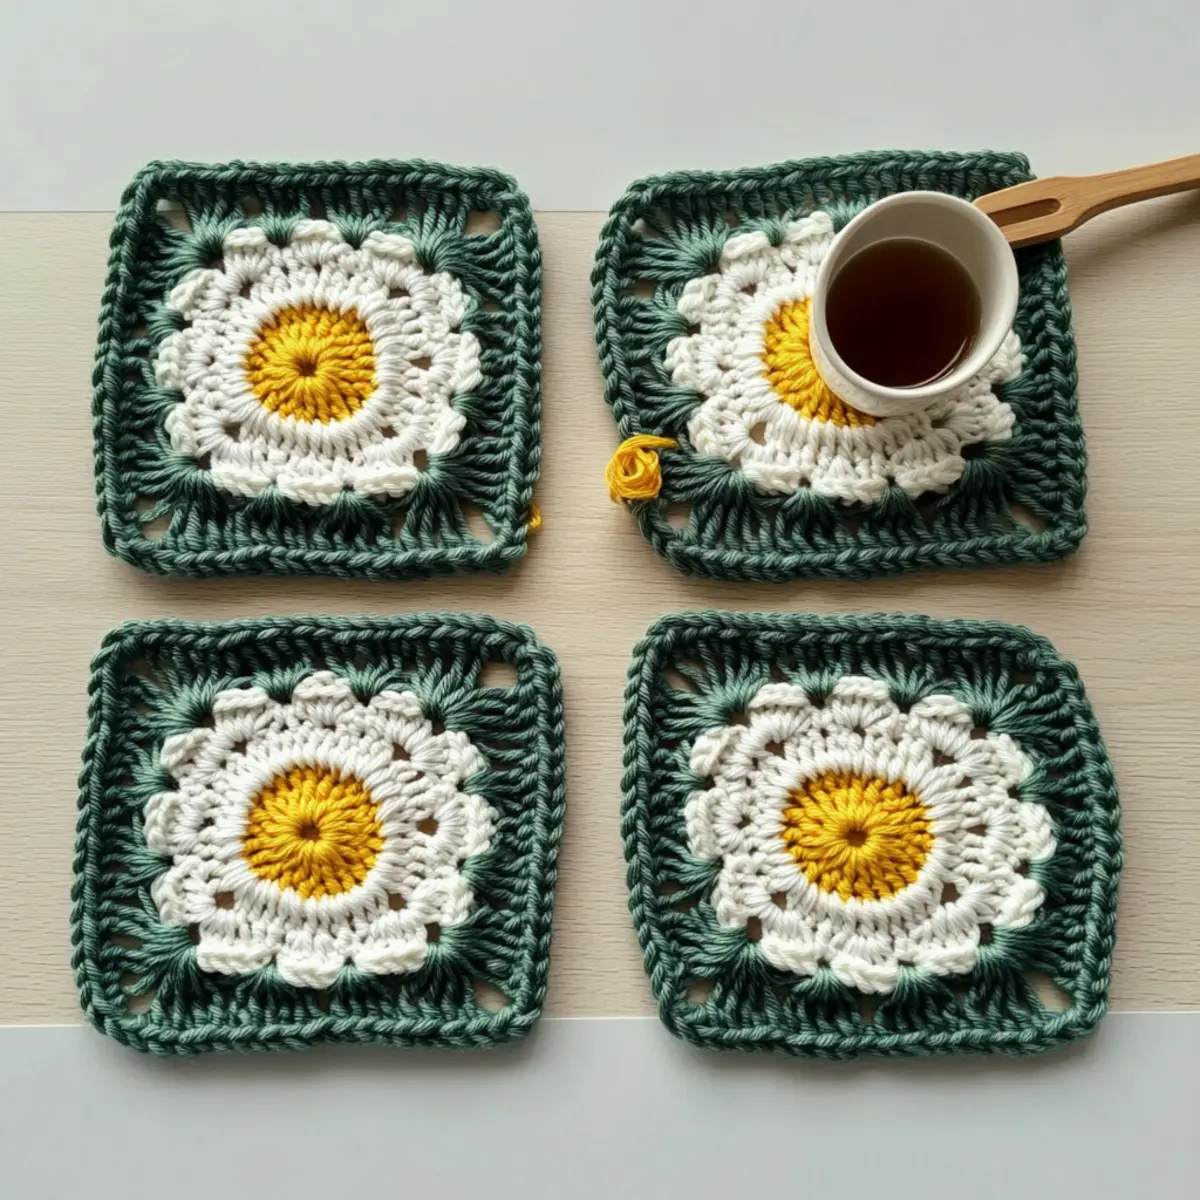
How to Wash and Care for Your Daisy Granny Square
-
Hand Washing: Gently hand wash your finished daisy granny square in cold water with mild detergent to prevent any felting or pilling. Avoid agitation to maintain its beautiful texture.
-
Drying: Lay your square flat on a clean towel or blocking mat to dry. This will help retain its shape and ensure the floral design pops beautifully.
-
Storage: Store your squares in a cool, dry place, preferably folded neatly to keep their shape. Avoid hanging them, as this might stretch the fibers over time.
-
Blocking: After washing, consider blocking your squares to enhance their shape and design. This extra step can beautifully elevate the visual appeal of your daisy granny square.
Expert Tips for Daisy Granny Squares
-
Stay Consistent: Track your stitches at the end of each round to maintain the square’s shape, avoiding common mistakes like losing count or dropping a stitch.
-
Tension Matters: Ensure your tension is even to prevent waviness, especially when combining methods like bobble and popcorn stitches in the daisy pattern.
-
Foundation Check: When beginning your square, make sure your magic loop is snug. A loose loop can lead to an uneven start or difficulty in joining.
-
Finishing Touches: Weave in all loose ends neatly for a polished finish; this will enhance the overall look of your daisy granny square and keep it tidy.
-
Blocking Benefits: Consider blocking your finished squares to set their shape and enhance the floral design, ensuring that they lay flat and look their best.
Daisy Granny Square Variations & Substitutions
Unlock your creativity by exploring delightful ways to customize your daisy granny squares!
-
Yarn Weight Swap: Choose a lighter yarn like DK for a more delicate daisy, or go heavier for a chunkier, cozy look.
-
Fiber Alternatives: Try cotton yarn instead of acrylic for a breathable and vibrant finish, perfect for warm weather projects.
-
Color Blocking: Experiment with ombre effects by blending your yarn colors, transitioning smoothly from one to another for a stunning gradient.
-
Sizing Adjustments: Increase or decrease the number of rounds to create larger or smaller squares, tailoring your project to fit your needs perfectly.
-
Mixed Petal Techniques: Combine different petal styles, like alternating bobble and popcorn stitches, to create a unique visual texture in the same square.
-
Fringe Fun: Add a playful twist by incorporating fringe on the edges of your squares for a bohemian flair that’s sure to charm.
-
Decorative Borders: Finish your squares with a contrasting border, such as single crochet or shell stitch, to enhance their floral beauty and give a polished touch.
-
Daisy Center Variations: Substitute your flower center with a vibrant button or bead for a quirky, three-dimensional effect that brings your daisy to life.
Want more inspiration? Explore how you can use color blocking effectively or dive into our guide on fiber alternatives for varying textures in your crochet projects!
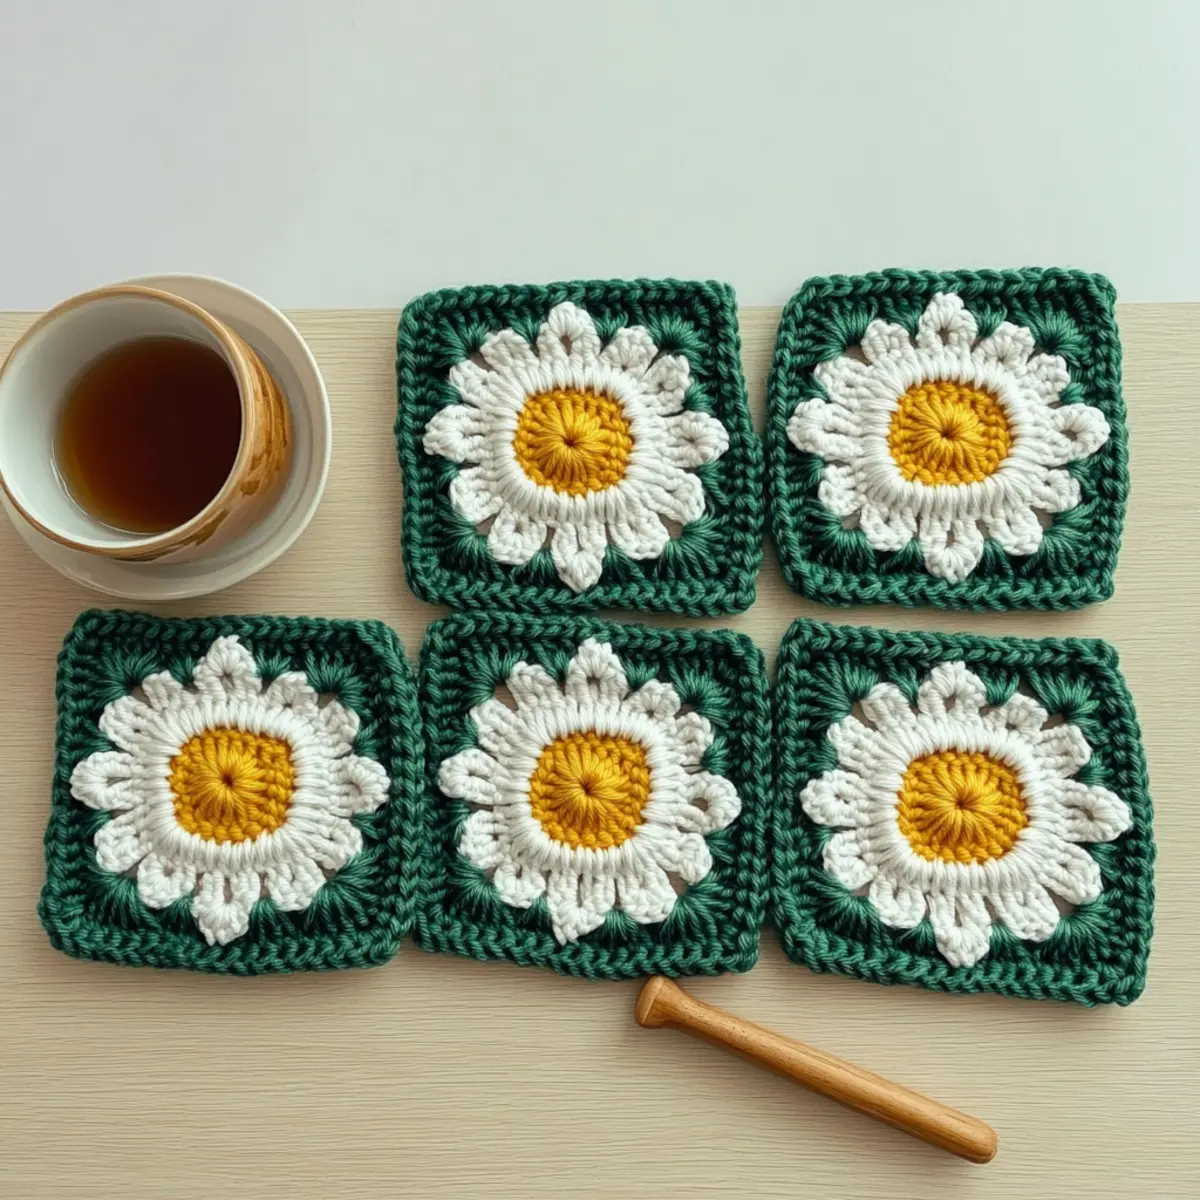
Daisy Granny Square: 4 Easy Methods for Colorful Blooms FAQs
Can I substitute different yarn types for this project?
Absolutely! While worsted weight is recommended, you can use cotton for a firmer structure or acrylic for a softer touch. Just keep in mind that different fibers may change the drape and appearance.
How do I make my daisy granny square bigger?
To increase the size, simply add more rounds to your granny square. Each additional round typically consists of a chain 3 in each corner space and 2 DC in each gap along the sides. If using a different stitch count, ensure you’re maintaining the pattern’s multiples!
Why is my daisy granny square curling up?
Don’t panic! If your square is curling like a little bowl, it may be due to tight tension or an imbalance in your stitch count. Try using a larger hook or checking your stitches for consistency. Blocking the square can help flatten it out too!
What hook size should I use for the daisy granny square?
I recommend a 3.00 mm (US D/3) hook for this pattern. However, if you’re using a different yarn weight, you might want to adjust your hook size accordingly. A larger hook can produce a looser, more flowing square.
How do I fix dropped stitches in my work?
It’s an easy fix! If you notice a dropped stitch, you can often ladder it up back to the row where it was dropped, or if in doubt, just pull out a few stitches to that point and re-crochet them in—no stress!
What is the best way to join my granny squares together?
For a clean finish, whip stitch them together using the same yarn color for seamless blending. Alternatively, you can use a slip stitch to connect them, giving a more textured look. Enjoy the process of piecing your squares together!
Leave a Reply