
There’s something undeniably magical about turning simple strands of yarn into vibrant floral motifs that brighten our spaces. Enter the Floral Granny Square, a delightful stash-buster pattern that invites you to embrace creativity while showcasing your yarn collection. With its intricate layering technique and cheerful petals, this project is not only a feast for the eyes but also perfect for confident beginners eager to enhance their crochet skills. It works up quickly, making it a satisfying choice for anyone looking to whip up colorful patches for blankets or home decor. So, gather your colorful scraps—this floral endeavor is waiting to bloom in your hands! Get ready to stitch your way to a blossoming masterpiece.
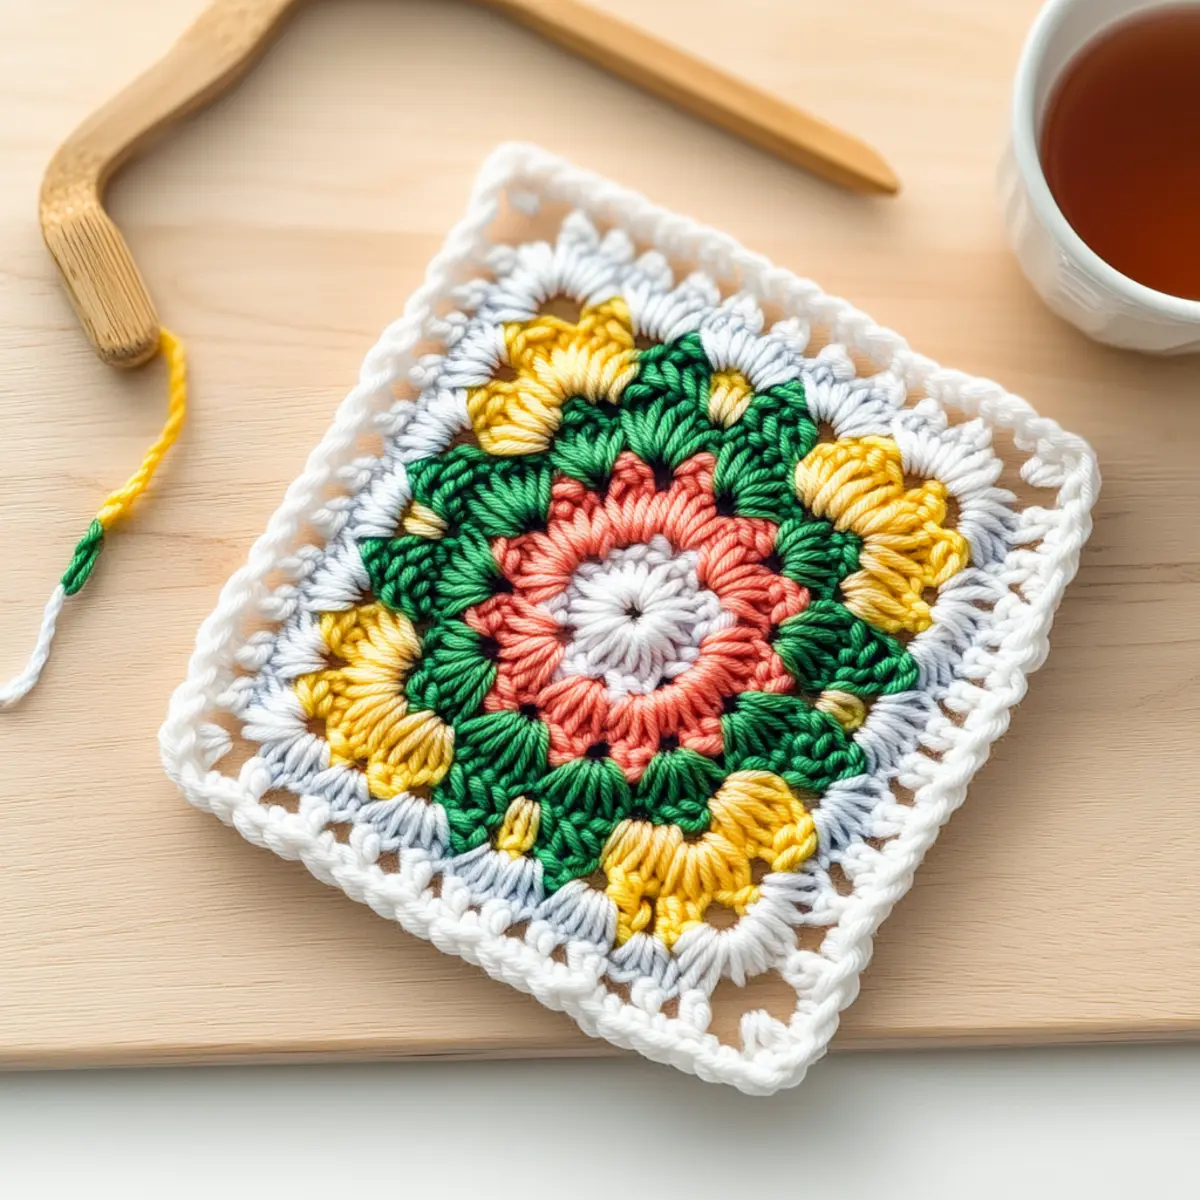
Floral Granny Square Materials & Tools
-
Yarn
-
Light (#3) Weight Yarn – Approximately 50-100 yards for a vibrant finish in four colors (Color A, B, C, D).
-
Hook
-
3.00 mm (C-2) Hook – Ideal for light yarn; switch to a 5.00 mm (H-8) Hook for larger squares using worsted (#4) weight yarn.
-
Notions
-
Stitch Marker – Helps keep track of rounds for precise stitching.
-
Tapestry Needle – Great for weaving in ends for a neat finish.
Gather these materials to embark on your delightful journey of creating a beautiful Floral Granny Square!
Why Choose This Floral Granny Square?
Versatile in design, this Floral Granny Square can transform any space with its lively colors and unique motifs. Perfect for Stash-Busting, it utilizes scrap yarn effectively and encourages creativity with every stitch. Layered Petals give a sophisticated look that elevates your crochet game, making it ideal for confident beginners. Quick to Complete, you can stitch a few squares in an afternoon, so you’re always making progress. Plus, Aesthetic Appeal ensures that each square will be a standout piece in your home decor. Whether you’re crafting a cozy blanket or striking wall art, this pattern shines in every project while allowing you to explore your creativity.
Gauge & Sizing Notes
Don’t skip the gauge swatch! Checking your tension is essential for the Floral Granny Square to ensure each square fits seamlessly into your project. Aim for a gauge of 4×4 inches (10×10 cm) to equal 12 double crochets by 8 rows. If you find your stitches are tighter or loose, this affects the final dimensions of your squares. To make the squares larger, simply adjust your starting chain in multiples of 6 for each additional layer; this ensures consistent petal spacing. If your swatch is too small, try increasing your hook size for a more relaxed fabric. Happy crocheting!
Step‑by‑Step Pattern for Colorful Floral Granny Square
Round 1: Starting the Center
Begin by creating a magic ring with Color A. Chain 3 (counts as your first double crochet), then work 11 double crochets (dc) into the magic ring, totaling 12 dc. Pull your magic ring closed and join the round with a slip stitch (sl st) to the top of the initial chain. Your work should form a tight center circle.
Round 2: Forming the Base
Join Color B with a sl st in any stitch. Chain 3, then work 1 dc in the same stitch (this is your first increase). In each of the next 11 stitches, work 2 dc, creating 12 total increases. You should end up with 24 double crochets (24 sts) around. Join this round with a sl st to the top of the chain 3, making your square base more defined.
Round 3: Layered Petals Begin
Switch to Color C by joining with a sl st in any stitch. Chain 3 and work 1 dc in the same stitch. Then, in the next stitch, work a shell stitch (5 dc in the same stitch) followed by skipping the next stitch. Repeat this pattern around for a total of 6 shell stitches, ensuring that you skip one stitch in between. Join to the top of the chain 3 for a nice layer of petals, adding texture.
Round 4: Creating the Second Layer
Join Color D with a sl st in the top of any shell stitch from Round 3. Chain 3, and in the same stitch, work 1 dc. In the next shell stitch, work one shell stitch (5 dc) to create the second layer of petals. Continue this pattern, anchoring each new shell into every other shell from the previous round. End with 6 shell stitches and join the round with a sl st to the chain 3.
Round 5: Square Edging Begins
Return to Color B with a sl st in any stitch of Round 4. Chain 3, then work a dc in each stitch around, making sure to add a shell stitch (5 dc) in each corner for a finished look. Your square should be taking shape now. Join with a sl st to complete the round.
Round 6: Finishing the Border
Stay with Color B, making another round of edging. In each corner, work 3 treble crochets (tr), and in between, do 1 dc in each stitch around. This creates a beautiful final border around your Colorful Floral Granny Square. Join with a sl st to the top of the initial chain, and weave in ends for a polished finish. You should now have a lovely square that measures approximately 4.5 inches (11.5 cm).
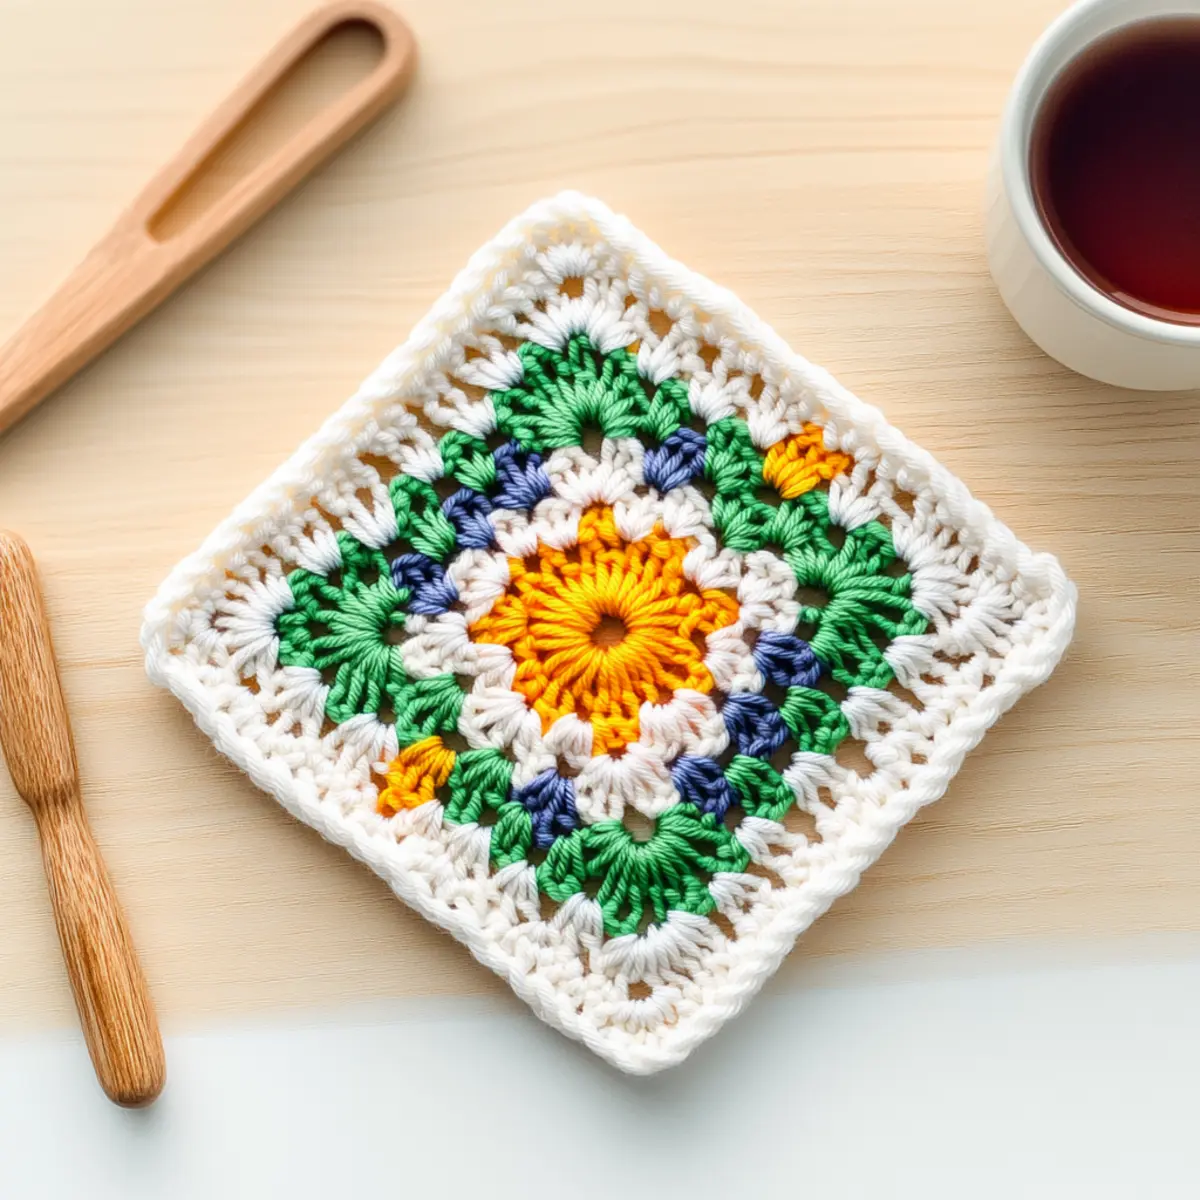
Expert Tips for Floral Granny Square
-
Prepare Materials: Gather all your yarn, hook, and tools before starting to maintain a flowing workflow and keep distractions at bay.
-
Consistent Tension: Work on maintaining an even tension throughout your squares. This will ensure your floral granny square looks polished and professional.
-
Count Stitches: After each round, count your stitches to ensure the correct shape. A common mistake is losing count, which can skew your final design.
-
Foundation Chain Caution: When starting your magic ring, make sure it’s not too tight. A tight foundation can make it difficult to complete rounds smoothly.
-
Finishing Touches: Weave in ends carefully using a tapestry needle to achieve a neat finish. This not only enhances aesthetics but also ensures durability in your projects.
-
Floral Variety: Feel free to experiment with different color placements for your floral granny square. Just remember that fewer colors can sometimes obscure the beauty of layered petals!
Washing & Care Instructions for Floral Granny Square
-
Hand Washing: Gently hand wash your Floral Granny Square in cool water with mild detergent to maintain its vibrant colors and delicate structure. Avoid agitation to prevent felting or pilling.
-
Drying/Blocking: Lay the square flat on a clean, dry towel to dry naturally. Reshape and pin if necessary to block the square to its intended dimensions for a polished look.
-
Storage: Store your completed squares in a cool, dry place away from direct sunlight to prevent fading. Consider using breathable storage bags to keep dust at bay.
-
Avoid Heat: Never wring out or expose your floral granny square to high temperatures, as this can damage the fibers and alter its beautiful texture.
Variations & Substitutions for Floral Granny Squares
Get ready to let your creativity shine by customizing this delightful crocheted project in ways that speak to your unique style!
-
Yarn Substitutions: Try using cotton yarn for a lighter, more breathable square perfect for warm weather projects.
-
Color Blocking: Alternate clusters of colors for each round to create a stunning visual contrast that draws the eye. A beautiful transition can elevate the overall appearance of your piece!
-
Sizing Adjustments: Experiment with larger squares by using a thicker yarn or bigger hook size to create quick, cozy blanket panels or oversized coasters. Your choices can encompass varied dimensions fitting for any project!
-
Texture Modifications: Add texture by incorporating fringes at the edges or puffs between petals, providing a playful touch that enhances the tactile quality of your squares. Textures can add life to any pattern!
-
Layering Techniques: Explore using two different colors for the petal layers to emphasize depth and dimension, creating a captivating floral effect that will really pop.
-
Edging Variations: Consider adding a scalloped border for a whimsical finish to your granny square, transforming the overall look into a charming standout.
-
Embellishments: Spice things up by sewing on buttons or beads at the flower center for a charming detail that adds character and personality to your squares.
-
Mixing Yarns: Combine different yarn fibers, such as acrylic and wool, to achieve a unique texture and warmth, enhancing the overall appeal of your cozy project.
As you explore these options, you’ll find that the simplicity of the floral granny square allows for countless variations. Each twist offers an opportunity to learn more about crochet—whether you’re trying out the layered technique or adjusting colors for a stunning effect. If you’re looking for more inspiration, don’t miss checking out how to mix colors beautifully or ways to add texture to your projects! Happy crocheting!
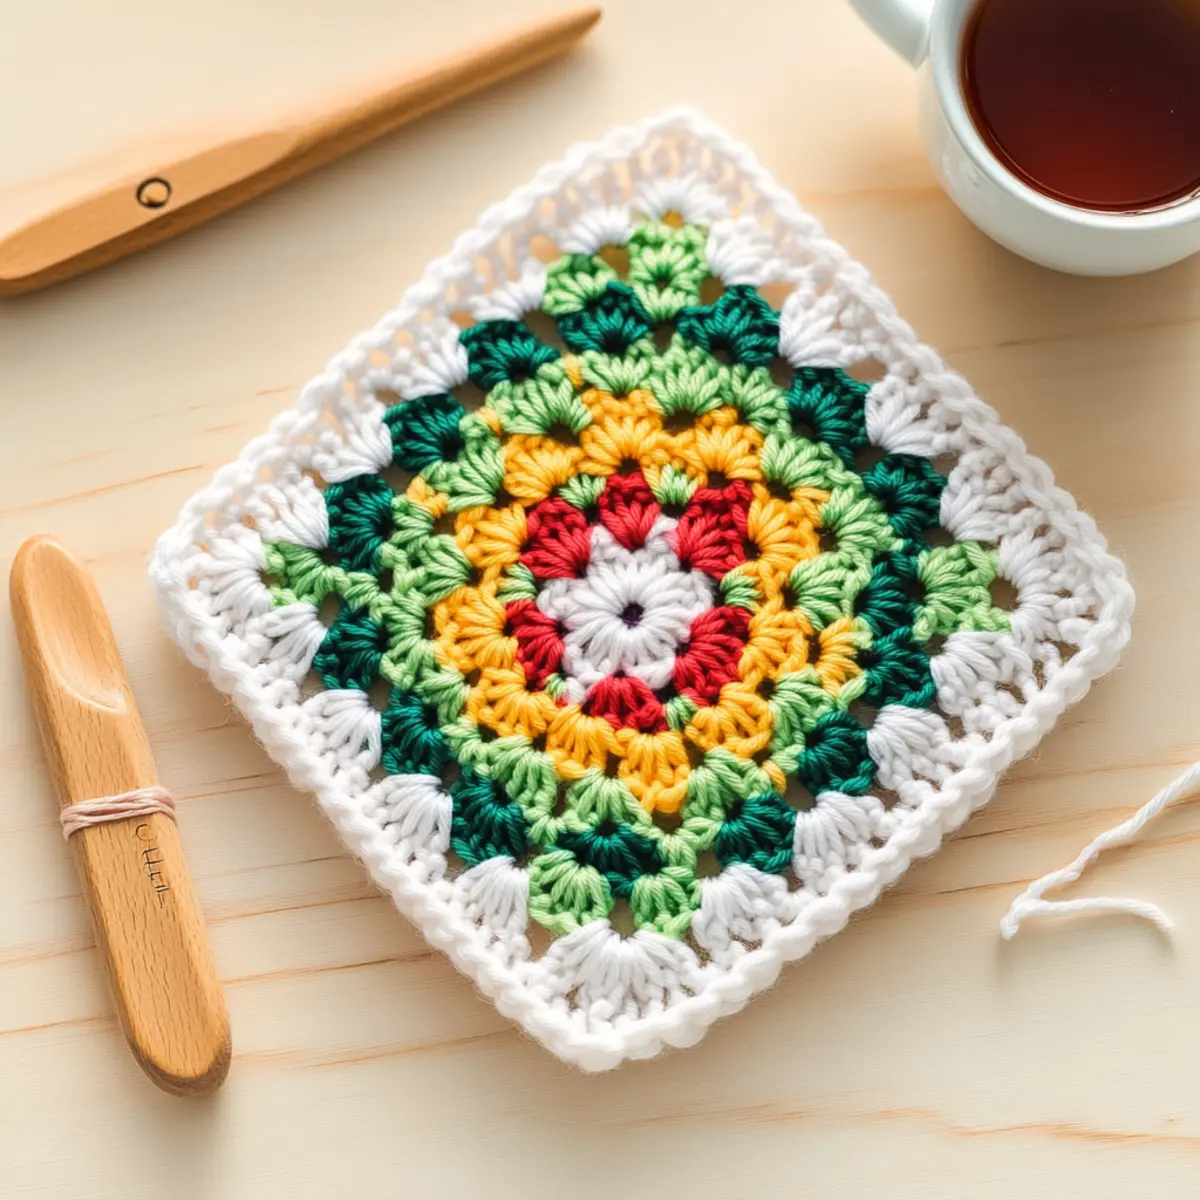
Floral Granny Square: A Colorful Stash-Buster Pattern FAQs
Can I substitute different yarn types for this project?
Absolutely! While the pattern calls for light (#3) weight yarn, you can use worsted (#4) weight yarn instead for a chunkier look. Just remember to adjust your hook size to 5.00 mm (H-8) for best results.
How do I adjust the size of my floral granny square?
Don’t panic! You can make your square larger by simply continuing to add rounds after Round 6. For even bigger squares, just keep increasing the rounds as needed and use a larger hook or thicker yarn.
Why is my floral granny square curling at the edges?
It’s an easy fix! If you notice your work curling like a bowl, it may be due to tension issues. Make sure you maintain consistent tension throughout or consider adding a round of single crochets around the outside to help stabilize the shape.
What hook size should I use for my yarn?
For the light (#3) weight yarn, I recommend using a 3.00 mm (C-2) hook. If you decide to switch to a heavier yarn, like worsted (#4), opt for a 5.00 mm (H-8) for a comfortable fit. Checking your gauge can help ensure proper sizing!
How do I fix dropped stitches in my floral granny square?
Oh no, dropped stitches can be tricky! To fix them, carefully unravel to the point of the dropped stitch, then re-crochet using a tapestry needle to weave the yarn back into place, ensuring it blends seamlessly with the pattern.
Can I create different effects with my color choices?
Absolutely! Experimenting with color placement can yield stunning results. Try using fewer colors for a more tonal look, but keep in mind that it may obscure the intricate design of the layered petals. Have fun with it!
Leave a Reply