
Have you ever found yourself in need of the perfect touch to elevate your handmade creations? As I unrolled some vibrant red yarn, I realized that crafting stunning accents is as simple as making these charming rolled roses. This Easy Red Roses Crochet Pattern is designed with beginners in mind, offering a delightful blend of elegance and simplicity. What’s more, these no-sew roses work up quickly and can transform your projects instantly! Whether you’re dressing up accessories or creating everlasting floral arrangements, this pattern allows a world of customization—play with colors or sizes to reflect your unique style. Are you ready to dive in and add a splash of floral beauty to your crochet collection? Let’s get started!
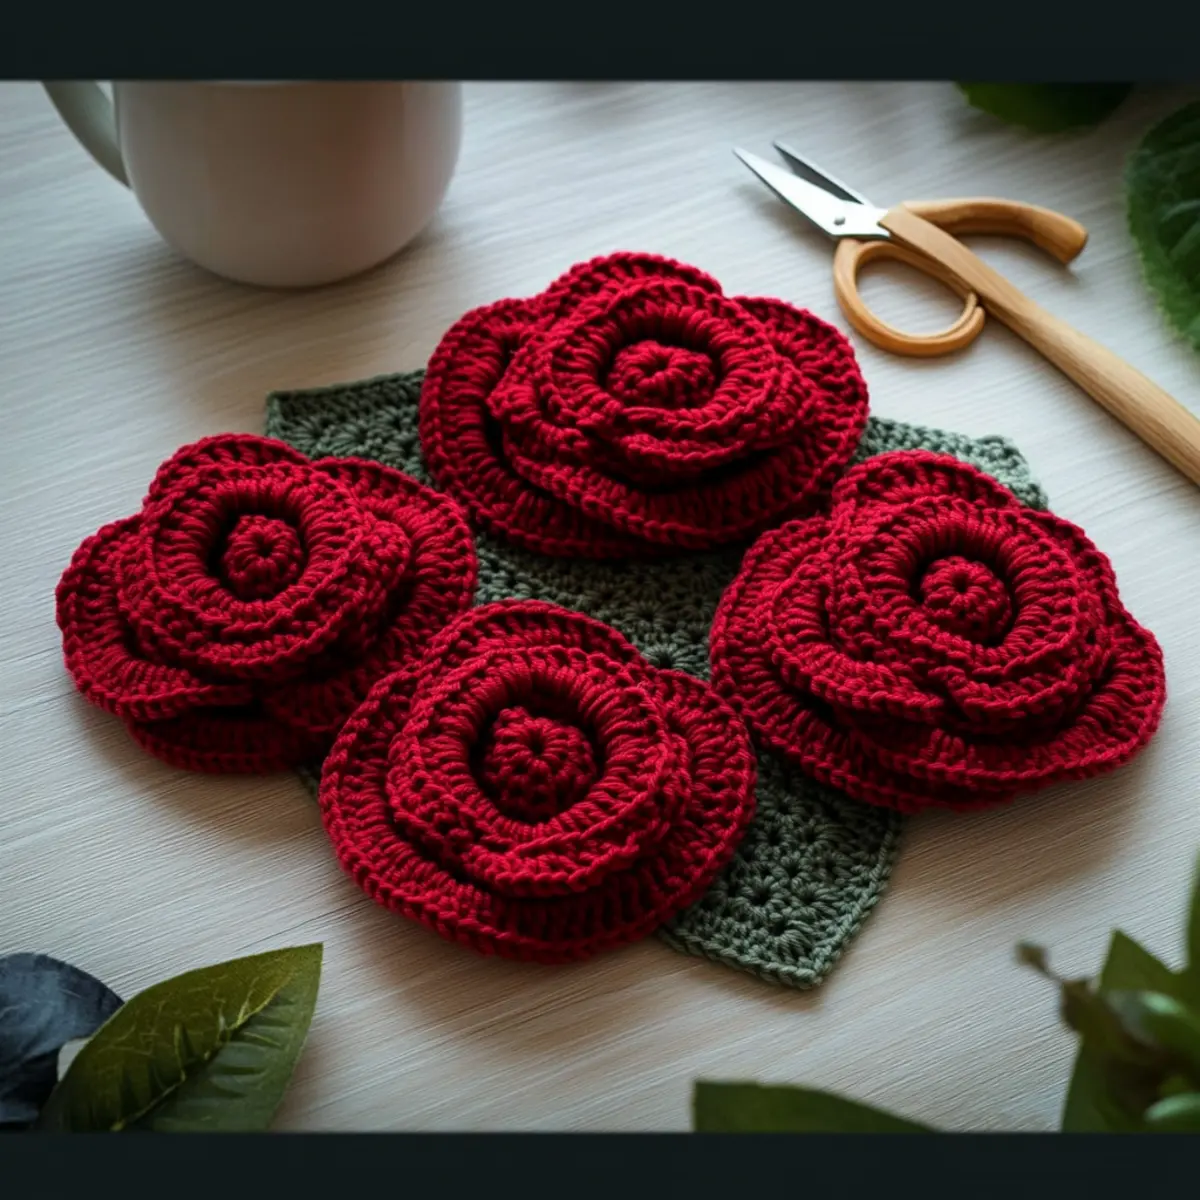
Red Roses Crochet Pattern Materials & Tools
Get ready to create beautiful no-sew roses with these essential supplies!
Yarn
• Worsted Weight Yarn – Choose a vibrant red acrylic or cotton yarn; you’ll need approximately 25-50 yards.
Tools & Notions
• 5.5 mm (US I-9) Hook – This hook size works perfectly for creating the delicate petals of your roses.
• Tapestry Needle – Essential for securing the rose shape and weaving in ends; it’ll make finishing a breeze!
• Optional Yarn Tail – Leave a long tail for stitching if you prefer a more secure finish.
Gather these materials to embark on your delightful journey of crocheting beautiful roses! 🌹
Why Choose This Easy Rose Pattern?
Simplicity at Its Best: This pattern is crafted for beginners, featuring straightforward techniques like single and double crochet, making it accessible for all skill levels.
No-Sew Magic: You’ll adore how these roses come together with zero sewing required! Just roll and secure for a beautiful finished product.
Versatile Decor: Use these stunning roses to adorn any project—think hats, bags, or home decor. The possibilities are endless!
Customizable Colors: Feel free to play with different yarn shades to match your personal style or project theme. Check out our customization ideas.
Quick Turnaround: You can whip up multiple roses in no time, making them perfect for last-minute gifts or decor needs!
Experience the beauty and ease of crafting with this delightful pattern today!
Gauge & Sizing Notes
Don’t skip the gauge swatch! It’s crucial for ensuring your Easy Red Roses Crochet Pattern turns out beautifully. The standard gauge measurement for this project is 4×4 inches (10×10 cm), which should equal approximately 14 double crochets by 8 rows. If you want bigger or smaller roses, you can modify the size by adjusting your starting chain; for instance, to create larger roses, increase your chain in multiples of 4. If your swatch is too small, simply try going up a hook size, and remember, taking a moment to check your tension swatch can make all the difference in the final look of your roses!
Step‑by‑Step Pattern for Easy Red Roses Crochet Pattern
Row 1: Create the Foundation Chain
Begin by chaining 41 stitches (or adjust based on your desired fullness). Ensure the chain is loose and even, as this will support the petals of your easy red roses. The chain should lay flat and heartily stretch out across your workspace, ready for the next step.
Row 2: First Petal Shape
In the 2nd chain from the hook, work 1 sc, followed by 1 hdc in the next chain. Then, in the following chain, make 3-5 dc for the first petal. Repeat the sequence of: 1 sc, 1 hdc, and 3-5 dc in each chain until you reach the end of the row. This should yield a beautiful set of petal shapes on your foundation chain (approximately 20-24 total petals).
Row 3: Finish the Row
Once you’ve reached the last stitch, you should see a series of lovely petals forming. If you’ve repeated successfully, your work should start to cup or curl slightly, resembling the beginnings of your flower. Fasten off, leaving a long yarn tail for rolling.
Step 4: Roll the Rose
Starting from one end of the row (the end with the last completed petal), tightly roll your work inward. As you roll, make sure the petals are snug and well-formed, allowing them to create the classic rose shape. Your flower should start to resemble a charming rolled rose.
Step 5: Secure the Rose Shape
Using the long tail left from your previous step, thread it through a tapestry needle. Carefully stitch through the base of your rolled rose to secure its shape, ensuring that it stays intact. Your finished easy red roses should showcase a beautiful, vibrant appearance, perfect for decorative uses.
Step 6: Final Touches
After securing the rose, gently fluff the petals and shape them as needed, allowing each petal to stand out. If you’d like, you can add more roses or combine different colors for unique arrangements. These no-sew roses are versatile and sure to enhance any project beautifully!
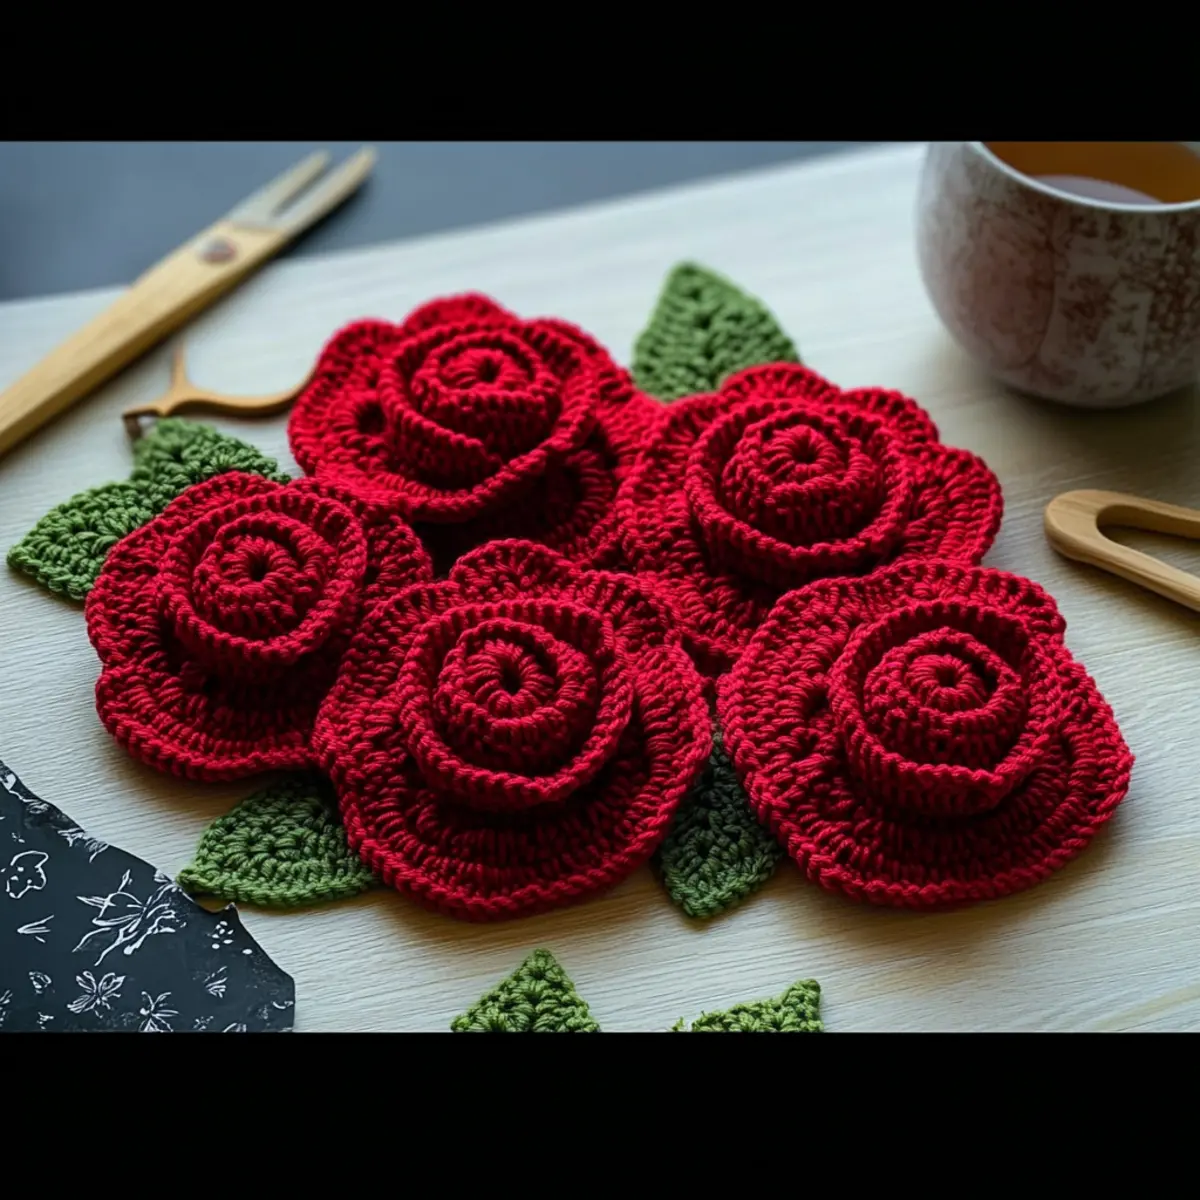
Washing & Care for Your Easy Red Roses
-
Hand Washing: Gently hand wash your roses in cold water with mild soap to maintain their shape and color, especially if you’ve used cotton yarn.
-
Avoid Agitation: Do not agitate or wring out the roses while washing to prevent any felting or pilling.
-
Drying: Lay your roses flat to dry on a clean towel. This helps retain their rolled shape while also ensuring they dry evenly.
-
Storage: Store finished roses in a cool, dry place away from direct sunlight to prevent color fading and material damage.
Easy Red Roses: Variations & Substitutions
Feel free to unleash your creativity and customize this lovely crochet pattern to make it uniquely yours!
-
Yarn Weight Swaps: Try using a lighter weight yarn, like DK or sport, for smaller roses that are just as charming.
-
Fiber Alternatives: Swap acrylic for cotton yarn to create a more textured look, perfect for summer decorations.
-
Color-Blocking Ideas: Combine red with pink or even white to create a stunning gradient effect that adds depth to your arrangements.
-
Sizing Adjustments: For larger roses, add extra chains in the foundation. Just a few more stitches can drastically alter your floral look.
-
Pom-Pom Addition: Add a small pom-pom at the center for a playful touch, making your roses even more whimsical and fun.
-
Fringe or Border: Enhance your roses with a playful fringe or border around the petals for added texture and visual appeal.
-
Arrangement Inspiration: Use multiple colors to create a mixed bouquet effect, showcasing a vibrant palette perfect for any occasion.
-
Shared Projects: Connect your roses with other crochet elements, such as customization ideas or wreaths for an intertwined floral masterpiece!
Let your imagination blossom!
Expert Tips for Easy Red Roses
-
Count Your Stitches: Keep track of your stitches at the end of each row to ensure all petals are consistent and balanced in shape.
-
Foundation Chain Care: Make sure your foundation chain isn’t twisted before starting the initial row; a twisted chain can lead to uneven petals.
-
Rolling Technique: Roll the rose tightly from one end to create a full, vibrant shape. Experiment to find the right tension that works for you.
-
Finishing Strong: When securing the rose shape, pull the yarn tail snugly but not too tight to avoid warping the petals.
-
Yarn Choice Counts: For the best texture and drape, opt for worsted weight yarn; it enhances your roses’ beautiful appearance.
Embrace these tips to enjoy crafting your Easy Red Roses crochet pattern!
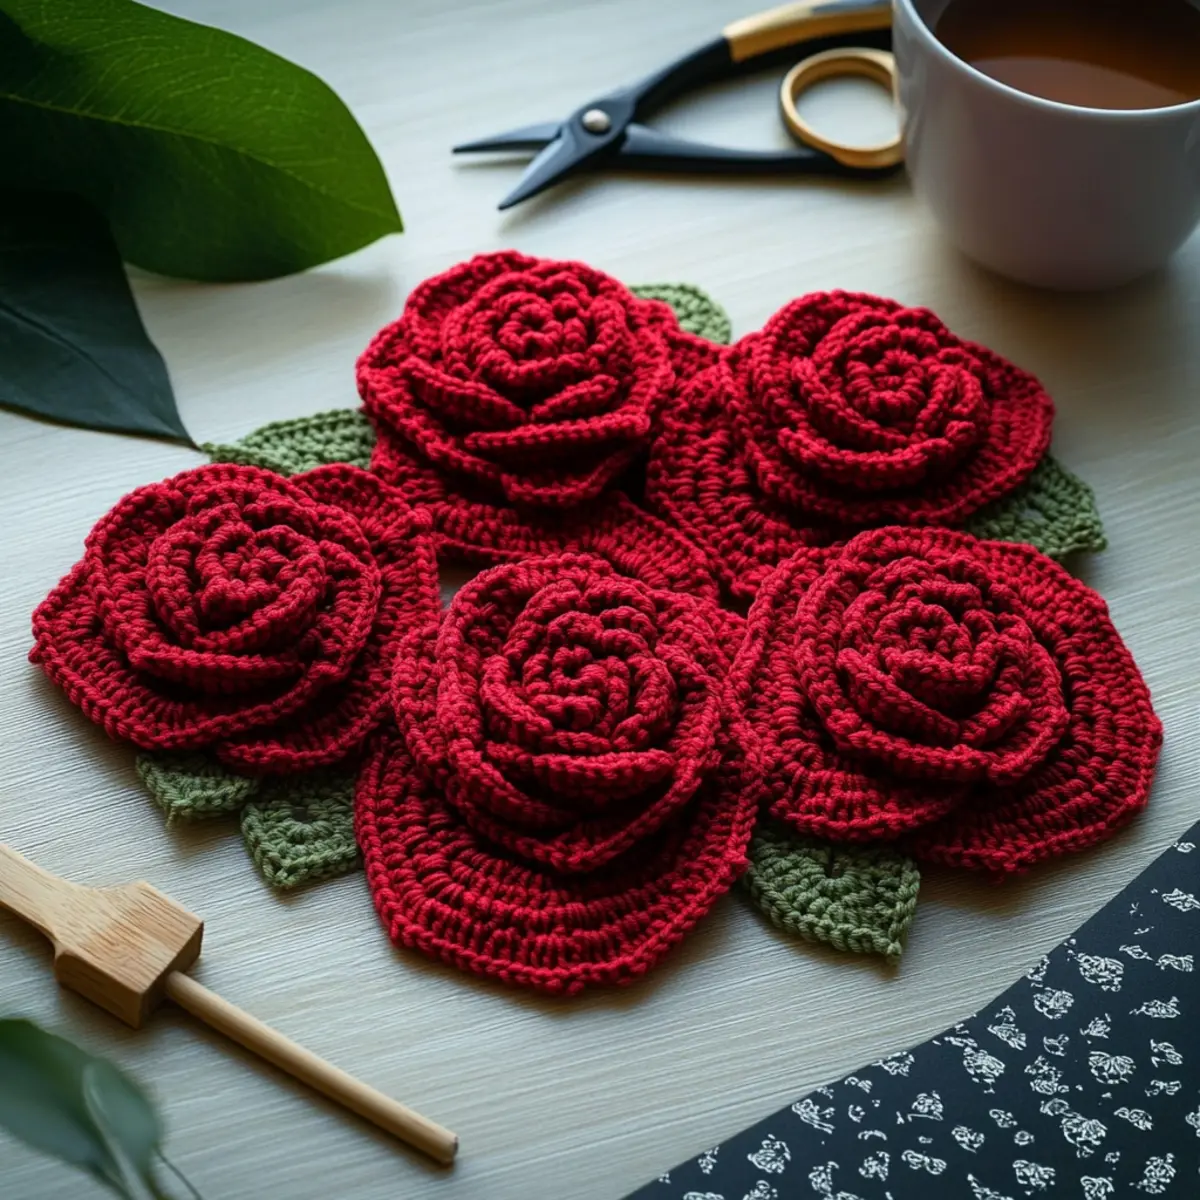
Easy Red Roses Crochet Pattern FAQs
Can I use a different yarn instead of acrylic or cotton?
Absolutely! While I recommend using worsted weight yarn for the best results, you can experiment with other fibers. Just ensure they’re similar in weight for consistent petal shapes. For example, a bamboo blend can add a lovely sheen to your finished roses.
How can I adjust the size of my roses?
Don’t panic! To make larger roses, increase your foundation chain by multiples of 3 + 1, adjusting accordingly for the desired fullness. If you want smaller roses, simply decrease the length of your foundation chain. Just remember to maintain the same crochet stitch pattern!
Why is my work curling at the edges?
If your roses are curling like a bowl, it might be due to your tension being too tight or too loose. Try adjusting your hook size—if you’re using a 5.5 mm hook, consider switching to a 6 mm for looser stitches. Also, ensure you’re counting your stitches accurately at the end of each row for a symmetrical shape.
What size hook should I use for this pattern?
For the Easy Red Roses Crochet Pattern, a 5.5 mm (US I-9) hook is ideal. You can always experiment with a slightly larger or smaller hook depending on your yarn choice and tension, but stay close to this size for the best result!
How do I fix dropped stitches in my roses?
It’s an easy fix! If you notice a dropped stitch, simply use your tapestry needle to weave it back into your work. If you find this happens often, consider checking your tension and stitch count regularly as you crochet.
What care instructions should I follow for my finished roses?
To keep your lovely roses looking their best, hand wash gently and lay them flat to dry, especially if you opted for cotton yarn. This will help maintain their shape and texture over time, ensuring your beautiful creations last!
Leave a Reply