
As I sat in my cozy corner, the gentle rhythm of my crochet hook clicking against the yarn felt like a warm embrace, igniting memories of first stitches and cherished handmade gifts. Today, I’m thrilled to share the “Adorable Custom Baby Sweater with Flowers,” a delightful project that’s as heartwarming to make as it is to gift. This advanced beginner-friendly design not only works up quickly but also allows for customization, fitting snugly for little ones up to 24 months. The enchanting shell stitch border and sweet hand-sewn flowers add a touch of charm, making it an irresistible addition to any baby’s wardrobe. So, let’s dive into creating something special that will wrap a precious child in love and warmth—your crochet journey starts here!
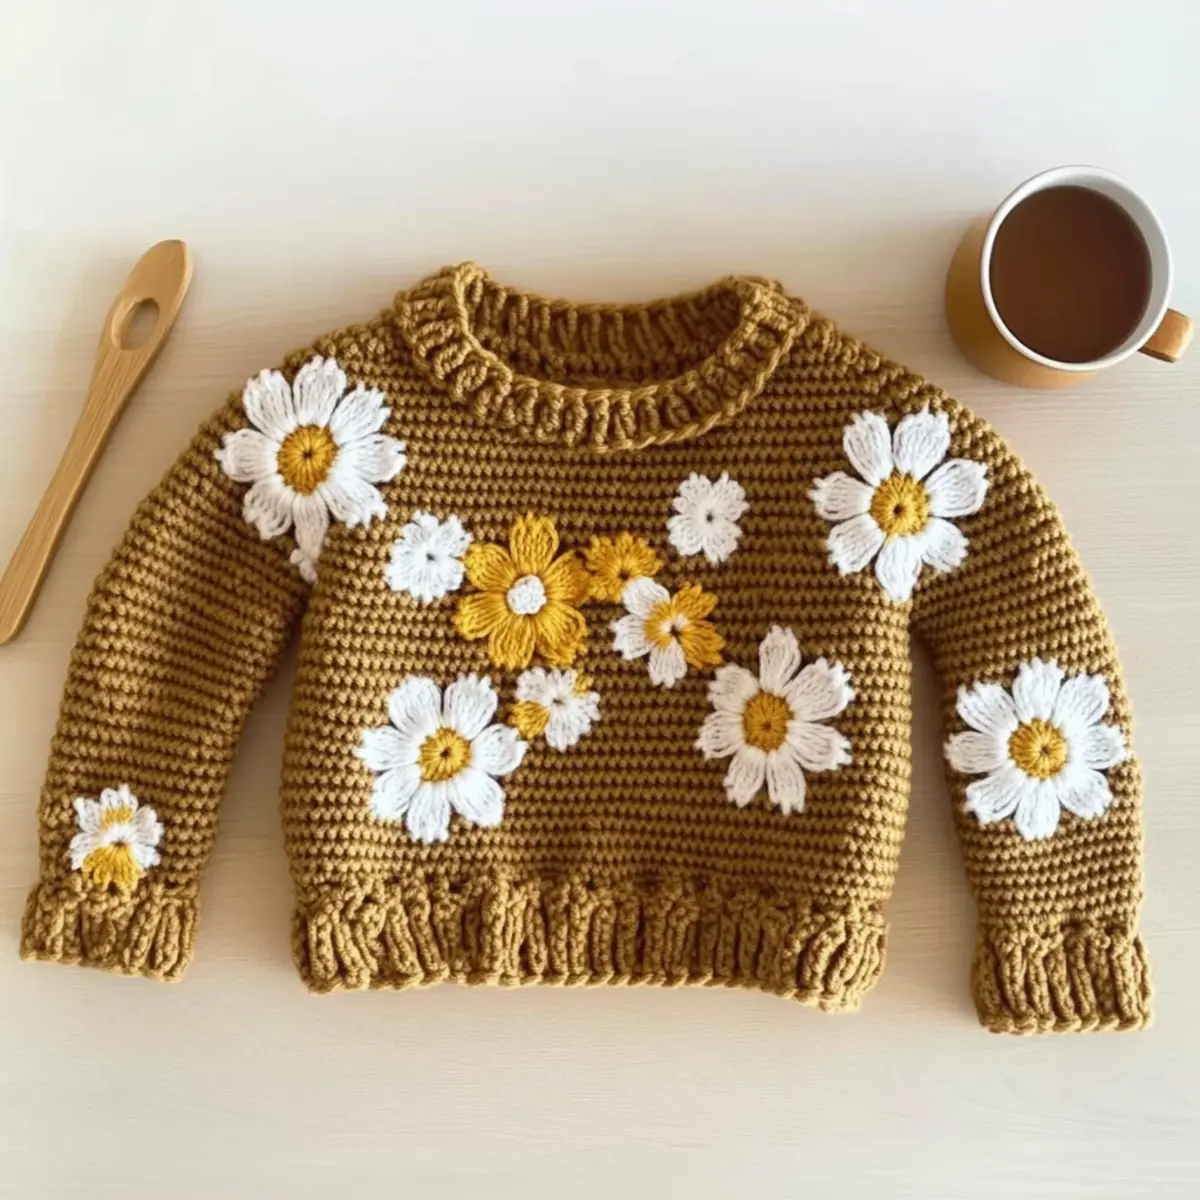
Adorable Custom Baby Sweater Materials & Tools
Create your heartwarming masterpiece with these essential supplies!
Yarn
• Patons Canadiana – 2 balls of Fool’s Gold and 1 ball of Winter White (perfect for flower centers).
Tools & Notions
• Size I (5.5 mm) Hook – Ideal for achieving the right tension in your stitches.
• Scissors – Necessary for snipping yarn as you finish projects.
• Tape Measure – Important for ensuring your sizing adjustments are just right.
• Stitch Markers – Helpful for marking important spots in your work.
• Tapestry Needle – Perfect for weaving in those pesky ends and for sewing on flowers.
• Button – Choose a charming button for the neck closure to elevate your adorable custom baby sweater.
Now that you’ve gathered your supplies, you’re ready to bring this delightful creation to life!
Why is this baby sweater a must-make?
Heartwarming Appeal: The adorable custom baby sweater not only makes a perfect gift, but it also allows you to express your creativity with its sweet flower embellishments.
Advanced Beginner-Friendly: This pattern is designed for ease, guiding even those new to crochet through every step while still providing a satisfying challenge.
Cozy Comfort: Made with soft yarn, the sweater will keep little ones snug and comfy during chilly days.
Quick to Crochet: With its simple stitch work, you can whip up this charming piece in no time, making it ideal for last-minute gifts!
Versatile Sizing: You can easily adjust the pattern for different sizes, allowing for a personal touch in each creation. Explore more tips by checking out our section on customization ideas.
Gauge & Sizing Notes
Don’t skip the gauge swatch! It’s essential for ensuring your custom baby sweater fits just right and turns out beautifully. For this project, aim for a 4×4 inch (10×10 cm) tension swatch that measures 12 double crochets by 14 rows. If your swatch is smaller, you can adjust your hook size—try going up by one size. To scale the sweater larger or smaller, simply increase or decrease your starting chain in multiples of 3. Remember, while crafting your adorable custom baby sweater, taking the time to check your gauge will help create a cozy and comfortable fit for those little ones!
Step‑by‑Step Pattern for Adorable Custom Baby Sweater with Flowers
Row 1: Foundation Chain
Start by chaining 43 stitches. Begin your work in the second chain from the hook by crocheting a single crochet (sc) in each chain across. This sets the base for your adorable custom baby sweater. After reaching the end of the row, chain 1, then turn your work. You should have completed 42 sc (42 sts).
Row 2: Establishing Shells
Continue by working a sc in each stitch across the entire row. When you reach the marked chain spots, create a shell by working [sc, ch 2, sc] into each marked chain, forming the decorative elements of your sweater. At the end of the row, remember to chain 1 and turn. Your work should start to show a lovely undulating effect with a total of 42 sts.
Row 3: Repeating Shells
Repeat Row 2 until you achieve your desired shoulder width. Each repetition will deepen the shell stitch effect, contributing to the charming aesthetic of the sweater. Maintain your careful tension as you work through each row for a consistent look, ensuring you have the same stitch count at the end (42 sts).
Step 4: Joining for Armholes
On Row 16, it’s time to join for the armholes. Begin by working a sc in each stitch across for the first 12 stitches, then leave the next 12 stitches unworked for armholes. Continue with sc in the remaining 18 stitches. This creates openings for the sleeves, and you should still have 42 sts completed.
Step 5: Creating the Bodice
After establishing your armholes, continue working sc across the remaining rows until your bodice reaches the desired length. Measure periodically against a reference sweater for accuracy. This section forms the main body of your adorable custom baby sweater, making sure it’s both comfortable and visually appealing.
Step 6: Neckline Trim and Button Loop
For the neckline trim, work a round of sc around the neck opening, creating a clean edge. As you reach the center back, chain 3 to create a button loop, returning to work sc to complete the round. This detail will help fasten the sweater, ensuring it stays snug on little ones.
Step 7: Decorative Bottom Shells
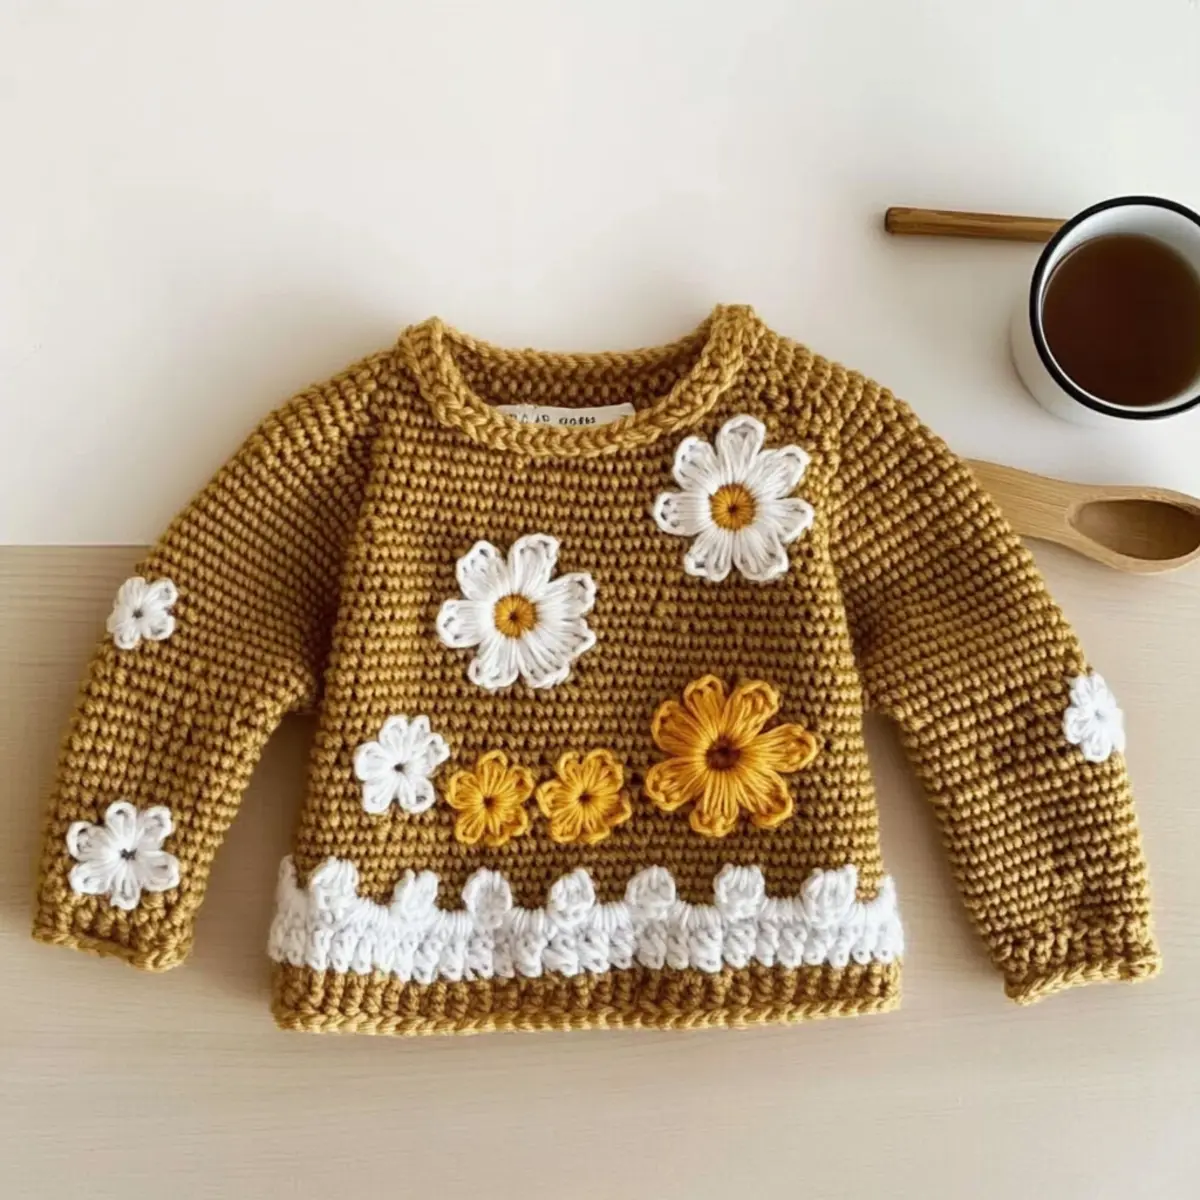
To finish off your adorable custom baby sweater, create a decorative edge by working a row of shell stitches along the bottom hem. For each shell, use [sc, ch 2, sc] in the same stitch, skipping one stitch between shells. This will give the hem a lovely flair, making your sweater truly special.
Step 8: Sleeves Construction
Now, start at the armhole by working sc around the opening for the first round. Continue working rounds of sc until the sleeves reach your desired length. To shape the sleeves, decrease stitches in the next few rounds until you feel the fit is just right. This will ensure the sleeves fit comfortably and look neat.
Step 9: Making the Flowers
To add a personal touch, create beautiful flowers using a magic circle. Inside the circle, work several half double crochets (hdc) followed by petals made of chains and hdc. Once your flowers are complete, sew them onto the adorable custom baby sweater, placing them as desired for a charming look.
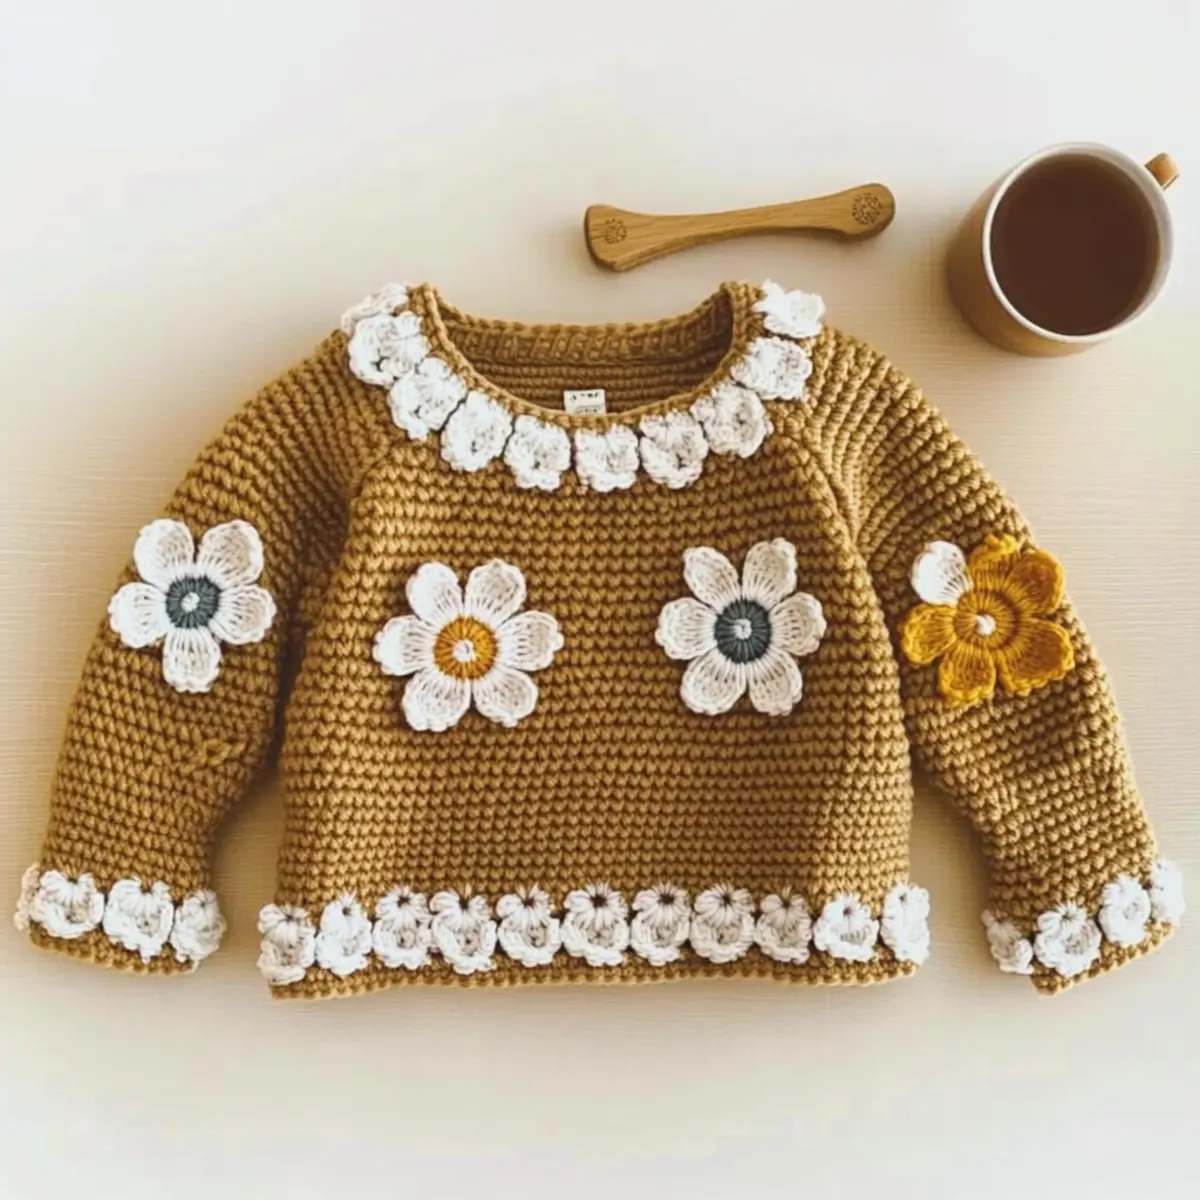
Customizable Baby Sweater Variations
Embrace your creativity and tailor this delightful baby sweater to make it truly special!
- Yarn Substitutions: Choose a lighter weight for a breezier feel, like cotton yarn for summer styles.
- Sizing Adjustments: Tweak the number of rounds to customize sizes; measure against a favorite baby garment for guidance.
- Color Play: Use a striped yarn for an eye-catching effect, or pick seasonal colors to bring a festive flair.
- Texture Twists: Add a soft pom-pom to the sweater’s center or whimsical fringe at the hem for playful charm.
- Flower Variations: Swap out flower designs—try simple crochet daisies or tiny roses to match the baby’s personality.
- Hoodie Option: Convert the sweater into a cozy hoodie by adding a simple hood section for extra warmth during chilly outings.
- Bottom Trim Changes: Experiment with different stitch patterns, like ribbing or scallops, for a unique bottom edge.
- Closure Style: Instead of a button, consider using a cute bow or snap closure for ease and style.
Feel inspired? You can find even more tips on exploring your unique decorating style in our section about adding decorative elements. Happy crocheting!
How to Wash and Care for Your Adorable Custom Baby Sweater
Machine Washing: Use cold water on a gentle cycle to protect the delicate stitches of your adorable custom baby sweater. Always place it in a laundry bag to minimize friction.
Hand Washing: For best results, hand wash in cold water with mild detergent, gently squeezing to remove dirt without agitation, which can lead to felting.
Drying/Blocking: Lay your sweater flat on a clean, dry towel to dry. Avoid hanging, as that can stretch out the fabric and distort the shape.
Storage: Store your cozy creation in a cool, dry place, ideally folded to prevent creases. Avoid hanging it to maintain its lovely shape and embellishments.
Expert Tips for Baby Sweater
• Tension Matters: Ensure your tension is consistent throughout the project. Uneven tension can lead to sizing issues in your adorable custom baby sweater.
• Count Carefully: Keep track of your stitch count as you crochet. Miscounting can result in lost stitches or uneven edges. Use stitch markers to help stay on track.
• Foundation Chain Check: Avoid twisting your foundation chain. Clean, flat edges are vital for the beginning of your sweater, so double-check before starting the pattern.
• Join with Precision: When joining for armholes, make sure your stitches align properly. This will create a smooth transition in your project and prevent gaps.
• Finishing Touches: Weave in ends neatly to avoid any loose yarn ruining the aesthetic of your lovely creation. Use a tapestry needle and the same yarn for a seamless finish.
Adorable Custom Baby Sweater with Flowers FAQs
Can I use a different yarn for my baby sweater?
Absolutely! While the recommended yarn is Patons Canadiana, you can easily substitute it with another worsted weight yarn. Just keep in mind that different yarns have different textures and drapes, which can affect the final look. Make sure to check the recommended gauge and adjust your hook size accordingly.
How do I adjust the sizing of the baby sweater?
Don’t panic! To customize the size, you can increase or decrease the number of foundation chain stitches and the rounds in the bodice. For example, for a larger size, add chains in multiples (such as 3) and ensure to test your fit against a reference sweater to achieve the desired measurement.
What should I do if my work is curling?
This can happen if your stitches are too tight or if you’re using a hook that’s too small. If your edges are curling like a bowl, consider loosening your tension or switching to a larger hook for a more relaxed outcome. Blocking your completed sweater can also help flatten curves and give a polished finish.
What size hook should I use for this project?
The pattern recommends using a size I (5.5 mm) hook, which is ideal for worsted weight yarn. However, your choice might vary based on your personal tension. I recommend doing a quick gauge swatch to ensure your stitches match the desired tension for the pattern—this will help ensure a cozy fit!
How can I fix dropped stitches while crocheting?
It’s an easy fix! First, don’t stress—everyone drops stitches! Identify the dropped stitch and gently pull the yarn to bring it back to the correct row. Use a tapestry needle to reinsert it back into your work, ensuring it’s secure. You can also crochet over it for added stability if needed.
What if my flower embellishments look uneven?
No worries! Flower embellishments require a bit of practice. If they’re uneven, try adjusting the number of chains used for each petal. Remember, practice makes perfect—each flower you create will help you hone your technique and artistry for stunning results!
Leave a Reply