
As I sat in my cozy crafting corner, a bright burst of color caught my eye—my new medium-weight yarn waiting to be transformed into something beautiful. Today, I’m excited to share the Realistic Wagon Wheel Crochet Flower pattern, a project that combines artistry with practicality. This delightful flower not only elevates your favorite hats and bags but also makes stunning wall decor. Designed for intermediate crafters, this quick-to-work-up pattern lets your creativity bloom using just a small amount of yarn, making it perfect for those stashes overflowing with colors. Whether you’re looking to add a personal touch to your projects or create a thoughtful gift, this charming flower is sure to inspire. Let’s get those hooks moving and bring some floral magic to life!
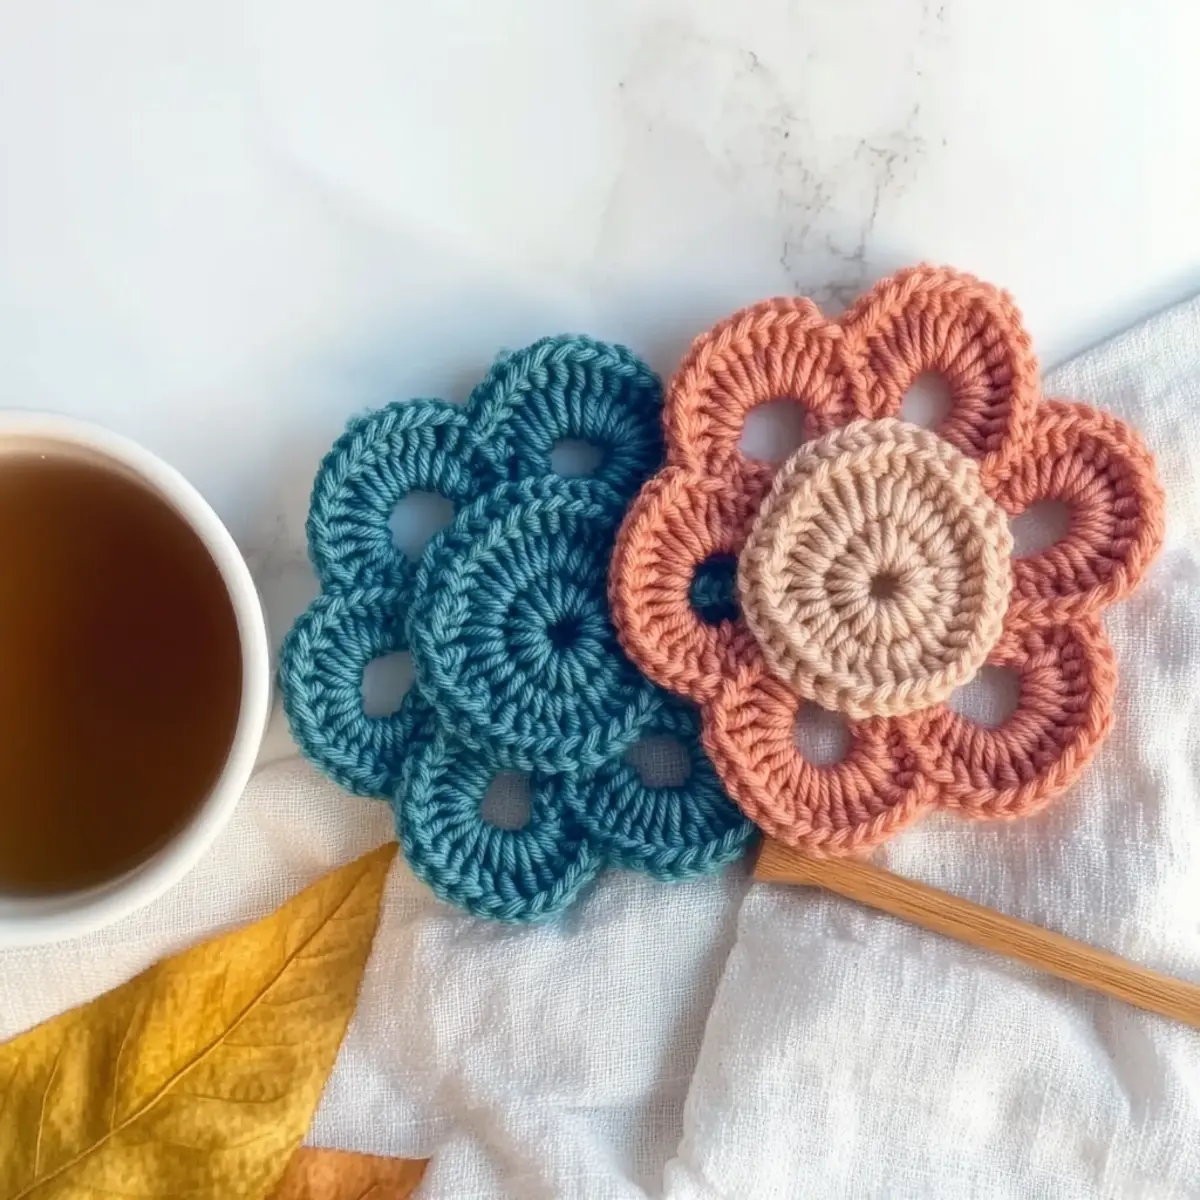
Realistic Crochet Flower Materials & Tools
Get ready to craft this stunning flower with just a few simple supplies!
Yarn
- Medium-Weight Yarn – You’ll need approximately 20-30 yards; this project is perfect for using up scraps!
Tools & Notions
- 4.0 mm (G/6) Crochet Hook – This size is perfect for creating the structured petals of your flower.
- Stitch Markers – Helpful for keeping track of your rounds as you create this layered beauty.
- Tapestry Needle – Essential for weaving in those pesky ends and finishing off your flower.
- Optional: Button or Bead – Add a charming touch to the flower center for a personalized look!
Why Is This Flower Pattern Special?
Versatile: The Wagon Wheel Flower is a stunning addition to any project—whether you’re enhancing a bag, brightening up a hat, or creating unique wall decor.
Quick to Make: Designed for busy crafters, this pattern works up swiftly, allowing you to enjoy the satisfaction of a finished piece in no time.
Easy to Customize: Change the color, size, or embellishments to suit your style. Consider adding a button or bead to the center for a personalized touch!
Textured Appeal: The three-dimensional flower showcases beautifully layered petals, giving your creations a plush look and feel.
Stash-Friendly: With only about 20-30 yards of medium-weight yarn needed, this project is a perfect way to use up those leftover skeins you have lying around.
Gauge & Sizing Notes
Don’t skip the gauge swatch! Ensuring your tension is just right is crucial for creating the perfect Realistic Wagon Wheel Crochet Flower. Aim for a standard gauge of 4×4 inches (10×10 cm) to equal 18 single crochets by 18 rows. If your flower turns out smaller than expected, simply increase your starting chain or the number of rounds in multiples of 3 for each additional petal layer. Conversely, if your swatch is too large, consider going down a hook size to tighten your tension. Adjusting your sizing will help achieve that stunning three-dimensional look, making your flower even more delightful for embellishment!
Step‑by‑Step Pattern for Realistic Wagon Wheel Crochet Flower
Round 1: Create Center
Begin by making a magic ring. Inside the ring, work 7 single crochet (sc) stitches to form the flower’s center. Gently pull the tail to tighten the ring, then join the round with a slip stitch (sl st) into the first sc. Your work should start to form a small circle (7 sts).
Round 2: Increase for Petals
In this round, you’ll increase in each stitch. Work 2 single crochet (sc) in each of the 7 stitches from Round 1, which will give you 14 stitches in total. Join the round with a slip stitch (sl st) to the first sc, and your work should have an even base, starting to flatten out (14 sts).
Round 3: Create Petal Base
Transition into creating the flower petals by chaining 7 (this counts as your first double crochet, dc), then work 1 double crochet (dc) in the next stitch and chain 2; repeat this around for a total of 7 petals. Join with a slip stitch (sl st) at the base of the chain from your first stitch. Your petals should be forming a distinct shape around the center (7 petals).
Round 4: Attach Petals
For this round, you’ll attach the petals more firmly. Starting in a chain space from Round 3, work 1 single crochet (sc) in each chain space, connecting the base of the petals together. Ensure your stitches are snug, and you’ll start to see the flower taking shape. Join with a slip stitch (sl st) to finish the round (7 sc).
Round 5: Layer Petals
Fold the petals slightly inwards for depth. In this round, work 1 double crochet (dc) in each sc from Round 4. As you create these stitches, ensure the petals form a nice curve, which will enhance the flower’s three-dimensional look. Secure your rounds with a slip stitch (sl st) after completing (7 sts) to finalize this layer.
Round 6: Finishing Touches
To provide the final detail to your realistic flower, work 1 double crochet (dc) in each stitch around. This will give your flower added height and definition. You are welcome to add any embellishments to the center, such as buttons or beads, to personalize your flower beautifully. Join with a slip stitch (sl st) and weave in ends to complete your stunning flower!
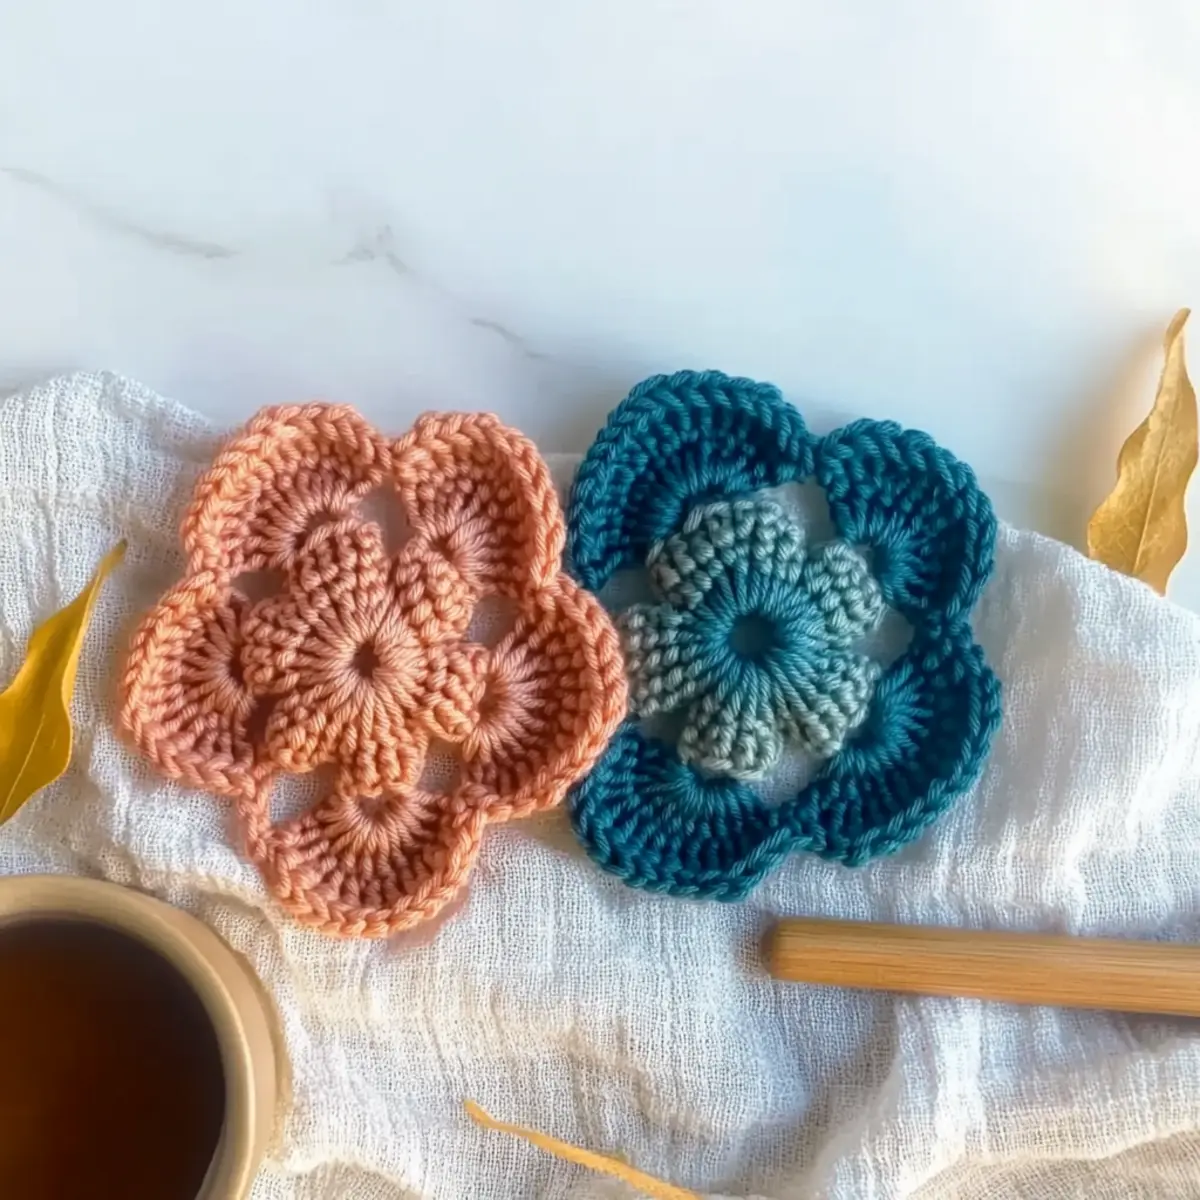
How to Wash and Care for Your Crochet Flower
-
Hand Washing: Always hand wash your realistic crochet flower in cold water with a gentle detergent to preserve its shape and softness. Avoid twisting or wringing to prevent distortion.
-
Air Drying: Lay flat on a clean, dry towel in a shaded area to dry. Avoid direct sunlight to keep the colors vibrant and prevent any fading.
-
Blocking: For best results, consider blocking your flower after washing. Finger blocking or wet blocking can help define the petals and enhance the three-dimensional look.
-
Storage: Store your finished flower in a cool, dry place, away from moisture. Avoid folding to maintain its shape—consider using a breathable bag or container.
Variations & Substitutions for Your Crochet Flower
Feel free to explore these delightful variations that can add a personal touch to your crochet flower!
-
Yarn Swaps:
Use cotton yarn for a breathable, summer-friendly flower or go with wool for a cozy winter vibe. -
Color Play:
Alternating colors in each round creates depth; think of a sunflower with a bright yellow exterior and a dark brown center. -
Size Adjustments:
To make a larger flower, simply add more rounds or use a thicker yarn and larger hook. Experiment with scale! -
Textured Petals:
Try incorporating a slip stitch border around the petals for an added layer of texture that catches the eye. -
Embellishment Ideas:
Wrap floral wire around the base for outstretched petals, or add a whimsical twist with felt cutouts in the center. -
Fringed Edges:
For an unexpected twist, add fringed edges along the petals; this gives your flower a playful, bohemian look that stands out. -
Additional Layers:
Consider creating a double-layered flower for added depth. Start with a base flower, then add a smaller one on top in a contrasting color. -
Unique Centers:
Instead of a button, try fabric yo-yos or crochet miniature flowers for an intricate center that enhances the overall design.
By embracing these variations, your crochet flower can blossom into a one-of-a-kind piece that reflects your artistry. Happy crafting!
Expert Tips for Your Crochet Flower
-
Count Stitches: Always double-check your stitch count at the end of each round to maintain the flower’s shape and ensure your petals connect properly.
-
Perfect Tension: Maintain even tension throughout to prevent uneven edges. A loose stitch can lead to a floppy flower, while a too-tight stitch may distort the form.
-
Petal Layering: When creating the layered petals, take your time to securely attach each layer using the hook placement technique for a full, dimensional effect.
-
Finishing Touch: Finger block or wet block your flower after completion to achieve a professional finish and a flatter, more defined shape.
-
Adding Embellishments: Feel free to experiment with buttons or beads at the center of the flower—these small details elevate the overall look of your crochet flower.
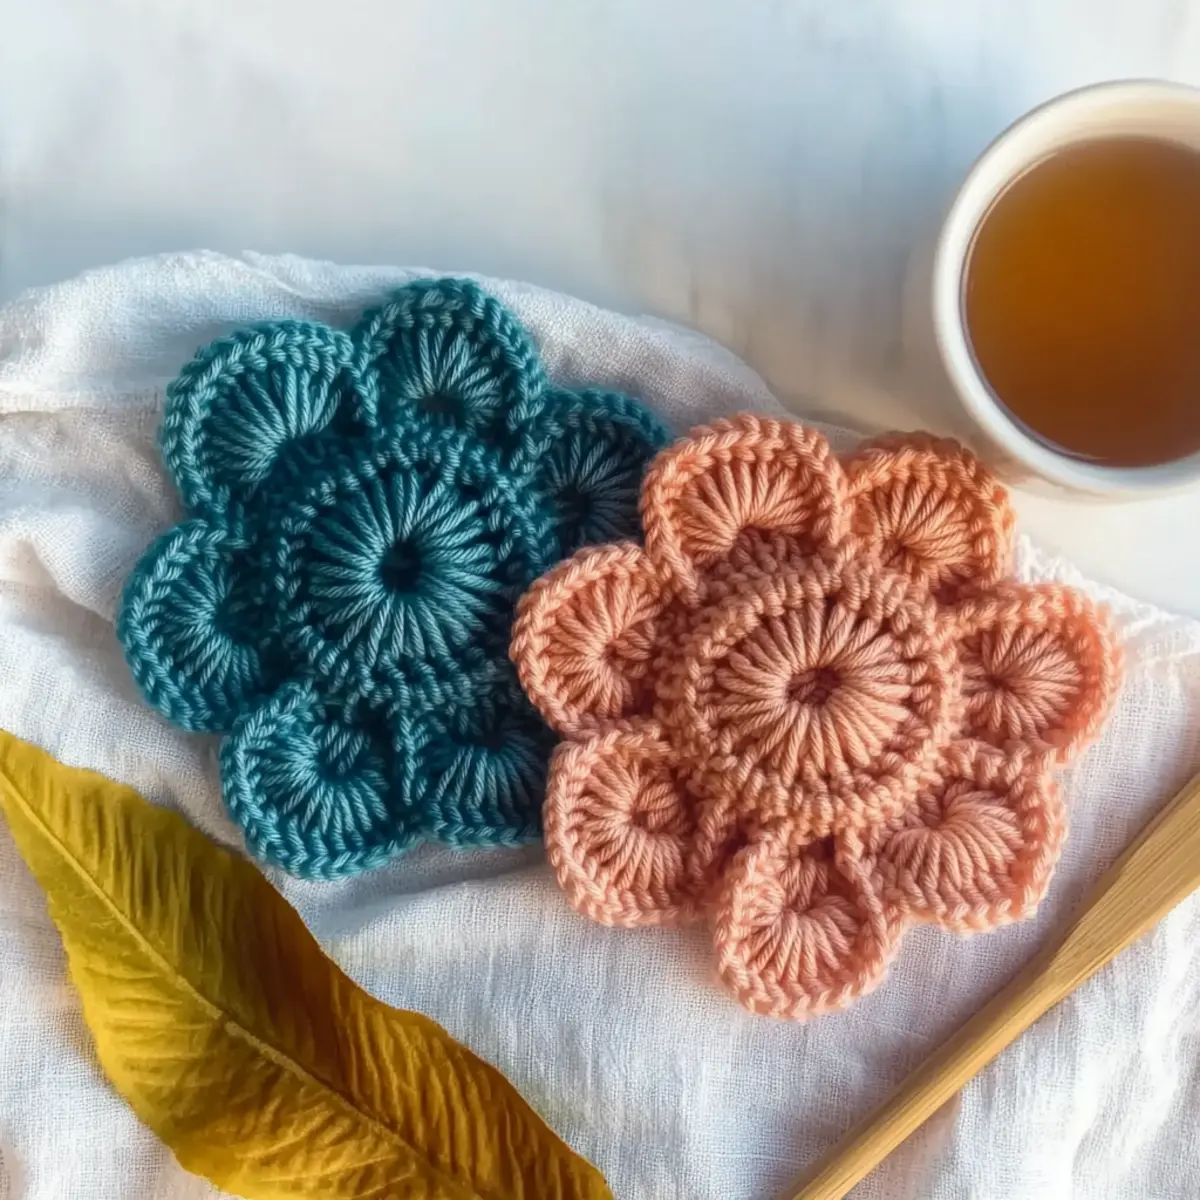
Realistic Wagon Wheel Crochet Flower Pattern FAQs
Can I substitute the yarn with something else?
Absolutely! While this pattern recommends medium-weight yarn, feel free to use any similar weight yarn—like worsted or DK. Just remember, different fibers (like cotton vs. acrylic) may affect the final look and drape of your flower.
How do I make the flower bigger or smaller?
To adjust the size, simply increase or decrease the number of rounds. For a larger flower, add more rounds of double crochet, or make each petal wider by increasing your stitch counts. For a smaller version, reduce the number of petals or rounds; just keep your stitches even to maintain shape.
Why is my flower curling at the edges?
Don’t panic! If your flower is curling like a bowl, it’s likely due to uneven tension or not having enough stitches. Try finger blocking your flower after completion; gently stretching the petals out can help correct this. Remember to maintain consistent tension through each round!
What hook size should I use?
For this pattern, a 4.0 mm (G/6) crochet hook is recommended. If you find your stitches too tight or too loose, feel free to try a larger or smaller hook size. Just be sure to adjust your tension to maintain the flower’s lovely structure.
How can I fix dropped stitches?
It’s an easy fix! If you notice a dropped stitch, use a tapestry needle to reach back and pull the yarn through to catch that stitch. Alternatively, you can crochet into the stitch directly from the row below—just ensure not to pull the loop too tight as you work!
Can I add more layers to the flower?
Absolutely! If you want a fuller flower, consider adding additional rounds with solid double crochet stitches. Just remember to secure your stitches well at the base to keep your flower’s lovely shape!
Leave a Reply