
In moments of hurried creativity, I often find myself in need of a quick yet lovely crochet project. Enter the Pointed Petal Granny Square—a delightful floral motif that adds an enchanting touch to any blanket or decor. This free crochet pattern features a beautiful five-petal flower design, making it not just an eye-catching block but also a fantastic way to bust that yarn stash. Plus, its beginner-friendly approach means you can whip this up with ease, giving you a satisfying sense of achievement in no time. Ready to embrace the floral charm and brighten your crochet journey? Let’s dive into the stitches together!
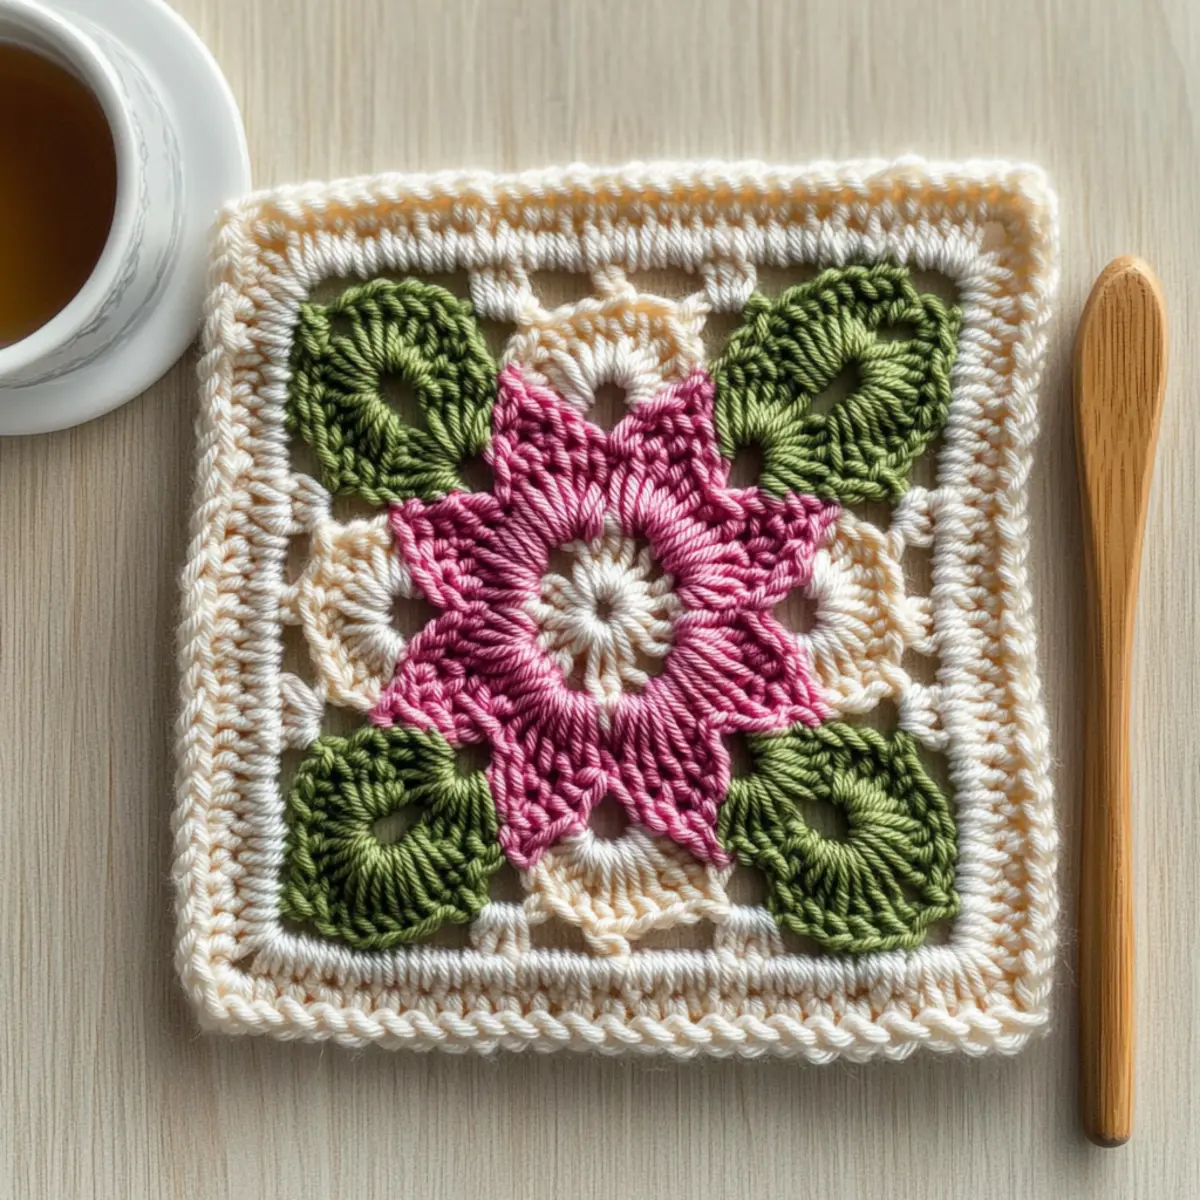
Pointed Petal Granny Square Materials & Tools
This project is a cheerful way to use your yarn stash!
Yarn
- Worsted or DK Weight Yarn – Choose four contrasting colors for a vibrant floral effect, aiming for about 100-150 yards of each color.
Hook & Tools
- 4.5mm (US 7) Hook – This size is perfect for achieving the right stitch tension.
- Stitch Markers – Useful for marking key stitch points, especially in rounds.
- Tapestry Needle – For weaving in ends and securing your beautiful pointed petal granny square.
Dive into the delightful world of crochet with this free pattern, and let your creativity bloom!
Why Is This Granny Square Special?
Uniquely Delightful: This Pointed Petal Granny Square stands out with its charming five-petal flower, adding a blossoming beauty to your crochet creations.
Beginner-Friendly: Even novice crocheters will find joy in crafting this easy pattern, mastering essential techniques like magic rings and clusters!
Quick to Make: With its simple rounds, you’ll see progress in no time, making it perfect for last-minute gifts or a fun afternoon project.
Stash-Busting Fun: Utilizing just four colors, it’s a fantastic way to use up leftover yarn while creating a colorful masterpiece.
Versatile Usage: Use this floral square as a bold centerpiece for blankets, or transform it into coasters, bags, and more—let your imagination bloom!
Gauge & Sizing Notes
Don’t skip the gauge swatch! Ensuring you have the right tension for your Pointed Petal Granny Square is important to achieve the perfect floral design and final size. Aim for a gauge of 4×4 inches (10×10 cm) to equal 14 double crochets by 8 rows. If you want to adjust the square’s size, simply increase your starting chain in multiples of 6 + 2 to maintain the stitch structure. If you find your tension swatch is too small, try going up a hook size to get those lovely petals just right. Remember, taking time to check your gauge can save you from future frogging!
Step‑by‑Step Pattern for Pointed Petal Granny Square
Round 1: Start Your Center
Begin by making a magic ring. Chain 3 (this counts as your first double crochet), then work 10 dc into the ring, which will create a solid foundation for the square. After completing the 10 dc, pull the tail of the magic ring to close it tightly. Join with a sl st to the top of the initial ch-3. You should have a cozy circular center with 11 stitches (11 sts).
Round 2: Prepare the Petal Spaces
Join color B by making a sc in any ch-1 space. Now, work clusters of (dc, ch 1) into each ch-1 space around the circle, effectively creating spaces that will serve as the base for your petals. Once you’ve crocheted into all ch-1 spaces, join with a sl st to the first sc. At this stage, your round should maintain a blooming effect with 10 clusters (10 clusters).
Round 3: Form the Petals
With color A, start your first petal in the next ch-1 space by working a sc, followed by an hdc and 2 dc, and finish with a picot (ch 3, sl st in the first ch). Skip to the next ch-1 space and repeat the 5-petal pattern, skipping every other space. When you’ve completed all petals, join with a sl st in the first sc from the round. Your project should now exhibit a lovely flower shape.
Round 4: Add the Bobbles
Change to color C for this round. Start with a ch 3, then create a 3-dc bobble in the top of each petal. After each bobble, ch 2 to create space between them. In between bobbles, place sl st for better structure. This round will create a stunning texture; ensure you have 5 bobbles around (5 bobbles total).
Round 5: Define Your Shape
Continue with color D, working a ch 3 to begin. In between each bobble, place 3 dc followed by a ch 3. This will maintain the flatness of the square while adding a lovely accent between the flowers. Be meticulous in counting your stitches to keep the square even and avoid puckering. You should have 10 spaces with 3 dc each (10 spaces).
Round 6: Final Touches for Stability
Change back to color A, and work a sc in each stitch around the square to create neat edges. At each corner, include 3 sc to ensure the square retains its shape. As you complete this round, you’ll notice the structure coming together beautifully. Your square should have a smooth edge and be firm, with 40 sc around (40 sc).
Final Round: Finishing Up
For the last round, with your working yarn still in color A, ch 1, and sc into each stitch around the square, ensuring to place 2 sc in each corner stitch. This round adds stability and enhances the square’s appearance. Finish by joining with a sl st to the first sc, resulting in a neat and polished Pointed Petal Granny Square ready to showcase!
Variations & Substitutions
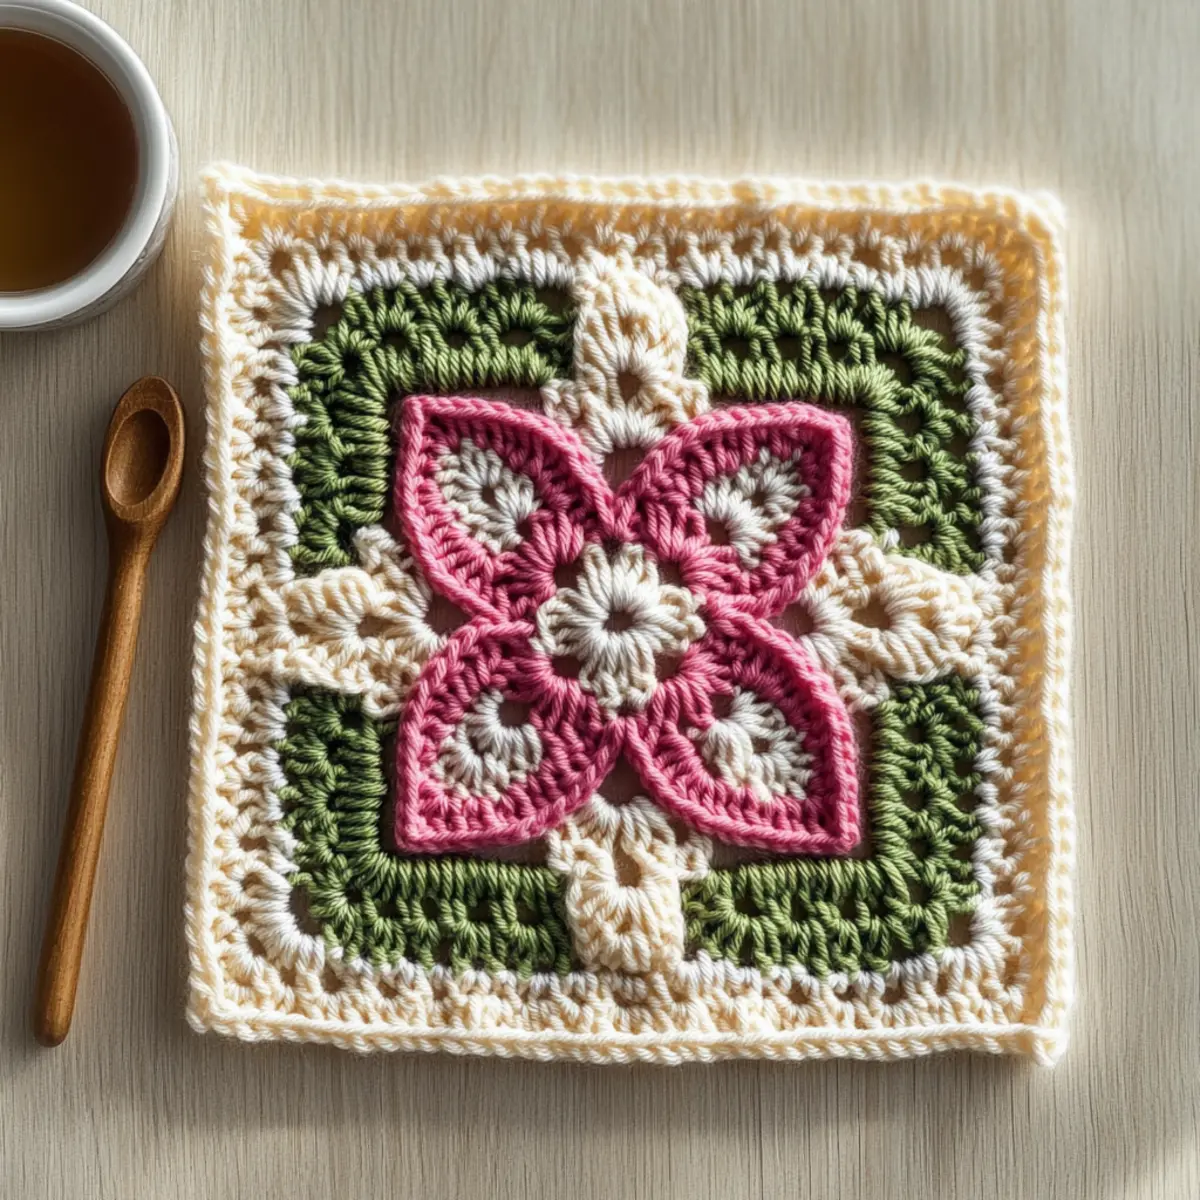
Explore the endless possibilities of the Pointed Petal Granny Square and let your creativity blossom!
-
Yarn Weight Swaps: Choose a lighter or heavier yarn for a different texture; just remember to adjust your hook size accordingly. Various textures can evoke different seasons, adding a personal touch to your square.
-
Color Combinations: Combine unexpected colors or ombre shades to create a unique floral effect. Imagine a stunning sunset palette that brightens your crochet projects with warmth.
-
Fiber Alternatives: Substitute cotton yarn for a breathable, summer-perfect square or acrylic for something warmer and more cozy. Each fiber brings its own charm and feel, allowing you to create adapted pieces for every occasion.
-
Size Adjustments: Add or remove rounds to customize the size to your needs. Bigger squares can quickly become lovely cushions, while smaller ones can serve as delightful coasters!
-
Texture Additions: Enhance your square’s charm by adding fringe or a delicate border. A soft, feathery fringe can complement that vibrant flower, creating an irresistible tactile experience.
-
Layering Petals: Create double petals for a fuller floral look. This simple twist can transform your square into an extravagant bloom, perfect for standout home decor.
-
Theme Variations: For a seasonal spin, crochet squares using holiday colors or motifs. Think red and green for Christmas or pastels for spring, adding festive flair to your projects.
-
Centerpiece Customization: Experiment with different centers like beads or buttons for a unique focal point. This small detail can create a stunning impact, making your granny square even more special.
Your crochet journey doesn’t need to be confined to just one design; let these variations spark endless creativity. If you’re looking for more ideas to enhance your patterns, check out our other tutorials on color blocking techniques or crochet borders for added inspiration!
Expert Tips for the Pointed Petal Granny Square
-
Count Stitches: Keep your stitch count precise after each round. This helps maintain the square shape and prevents unexpected adjustments later.
-
Tension Matters: Maintain even tension throughout your work. Uneven tension can lead to a warped square—practice makes perfect!
-
Avoiding Twists: When starting with a magic ring, ensure it’s not twisted. A twisted ring can lead to an awkward petal shape and compromise your final design.
-
Secure Weaving: When finishing, weave in ends securely to prevent unraveling. A tapestry needle is perfect for hiding those yarn tails neatly.
-
Practice Rounds: If the technique seems challenging, practice the initial rounds on scrap yarn. This can boost your confidence before starting on your final square.
The Pointed Petal Granny Square is a delightful project for your crochet journey!
Care Instructions for Pointed Petal Granny Square
Hand Washing: Gently hand wash your completed Pointed Petal Granny Square in cold water with mild detergent. Avoid agitating the square to prevent felting or pilling.
Drying/Blocking: Lay your granny square flat on a clean towel to dry. This helps maintain its lovely shape and texture while reducing any creases that may form.
Storage: Store your finished squares in a cool, dry place, away from direct sunlight. This will help preserve the vibrant colors of your granny square and keep it looking fresh.
Avoid Harsh Chemicals: Steer clear of bleach or harsh detergents, as they can damage the delicate fibers of your yarn and dull the beautiful floral design.
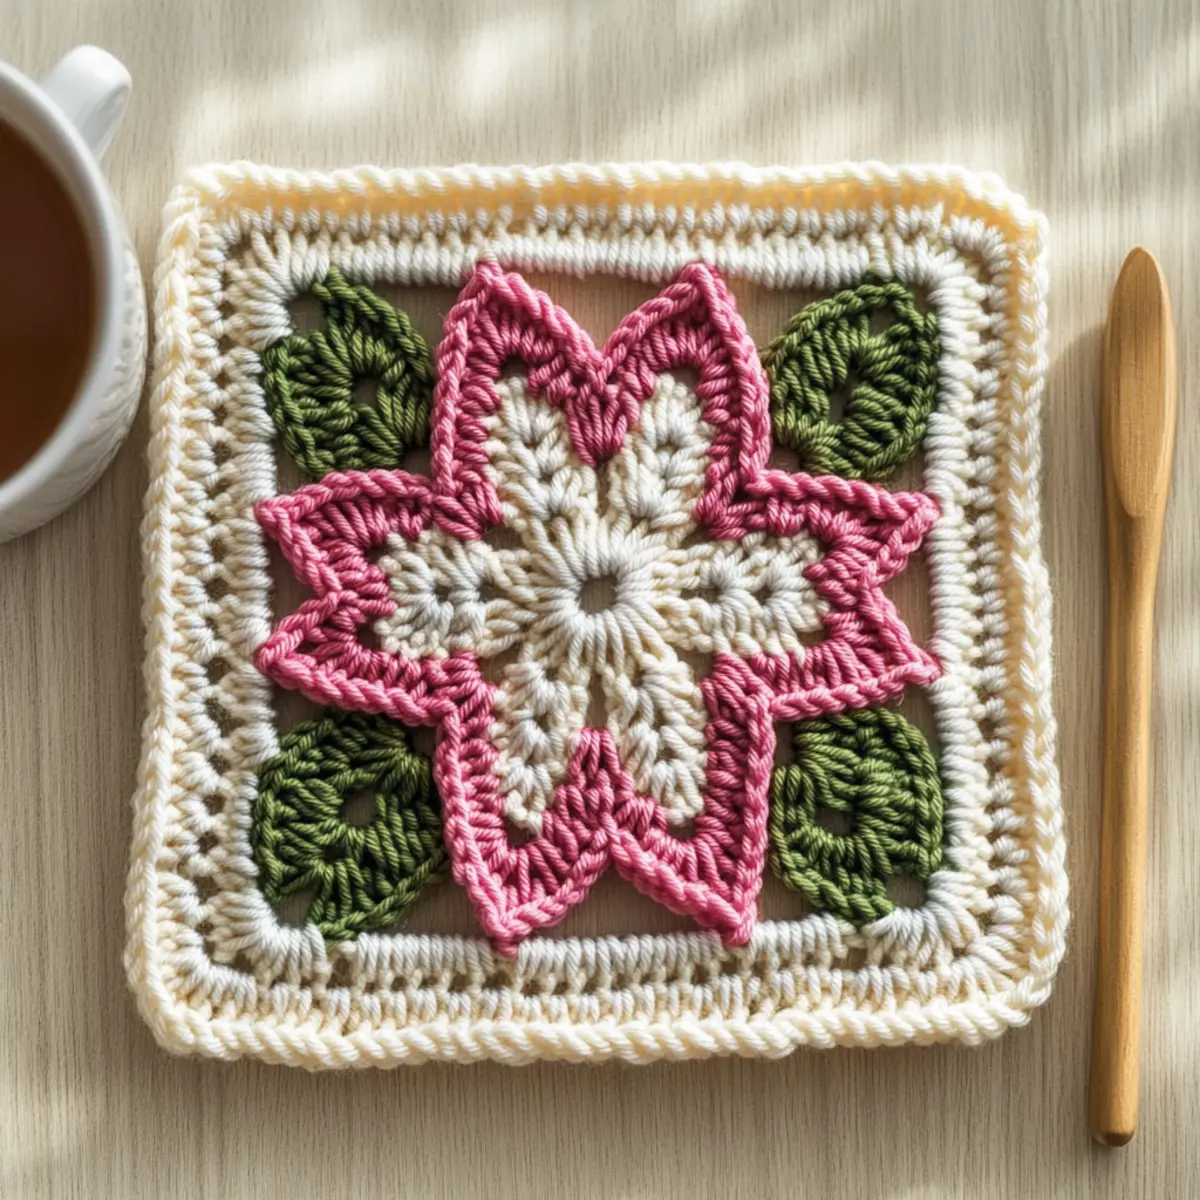
Pointed Petal Granny Square FAQs
Can I substitute yarn for this pattern?
Absolutely! While the pattern calls for worsted or DK weight yarn, you can easily use different fibers. Just make sure to keep the gauge in mind! If you decide to swap out acrylic for cotton, your square will have a lovely texture—just keep the stitch count consistent.
How can I make my granny square bigger or smaller?
To adjust the size, simply add more rounds using the same stitch patterns. If you want a smaller square, try reducing the number of rounds or using a lighter yarn weight and a smaller hook to make your stitches tighter.
Why is my granny square curling up?
Don’t panic! Curling can happen due to uneven tension or incorrect stitch counting, especially in Round 5. If your work is buckling like a bowl, double-check your stitch count and ensure you’re maintaining even tension throughout.
What hook size should I use for this project?
The recommended hook size for the Pointed Petal Granny Square is a 4.5 mm (US 7) crochet hook. However, if you’re using a different yarn weight, you may want to adjust the hook size accordingly. Always check your gauge to ensure the final size meets your expectations!
How do I fix dropped stitches?
It’s an easy fix! If you’ve dropped a stitch, you can carefully unravel back to the last round where the mistake was made and re-work the stitches, or use a crochet hook to pick the dropped stitch back up on the next round, chaining it securely.
Can I mix different yarn weights in this pattern?
While it’s possible to mix yarn weights, it’s best to avoid it for this project as it can create an uneven square. Stick to the same yarn type and weight for the best results, as the stability of your granny square depends on maintaining uniformity.
Leave a Reply