
Amidst the whirl of daily life, we all have those moments where a little kindness can make a world of difference—like when I decided to create “Teresa’s 10-Minute Crochet Preemie Hat.” This sweet, snug hat is not only a quick project that works up in mere minutes, but it’s also a heartfelt gesture for preterm babies who need warmth and love. As a beginner-friendly pattern, it’s perfect for both novice crafters and seasoned crocheters looking to make a meaningful contribution. With the cozy texture and adorable design, this hat promises instant gratification while making it easy to spread kindness through gifting or donating. Ready to channel your creativity and warm some little heads? Let’s dive into this delightful crochet adventure together!
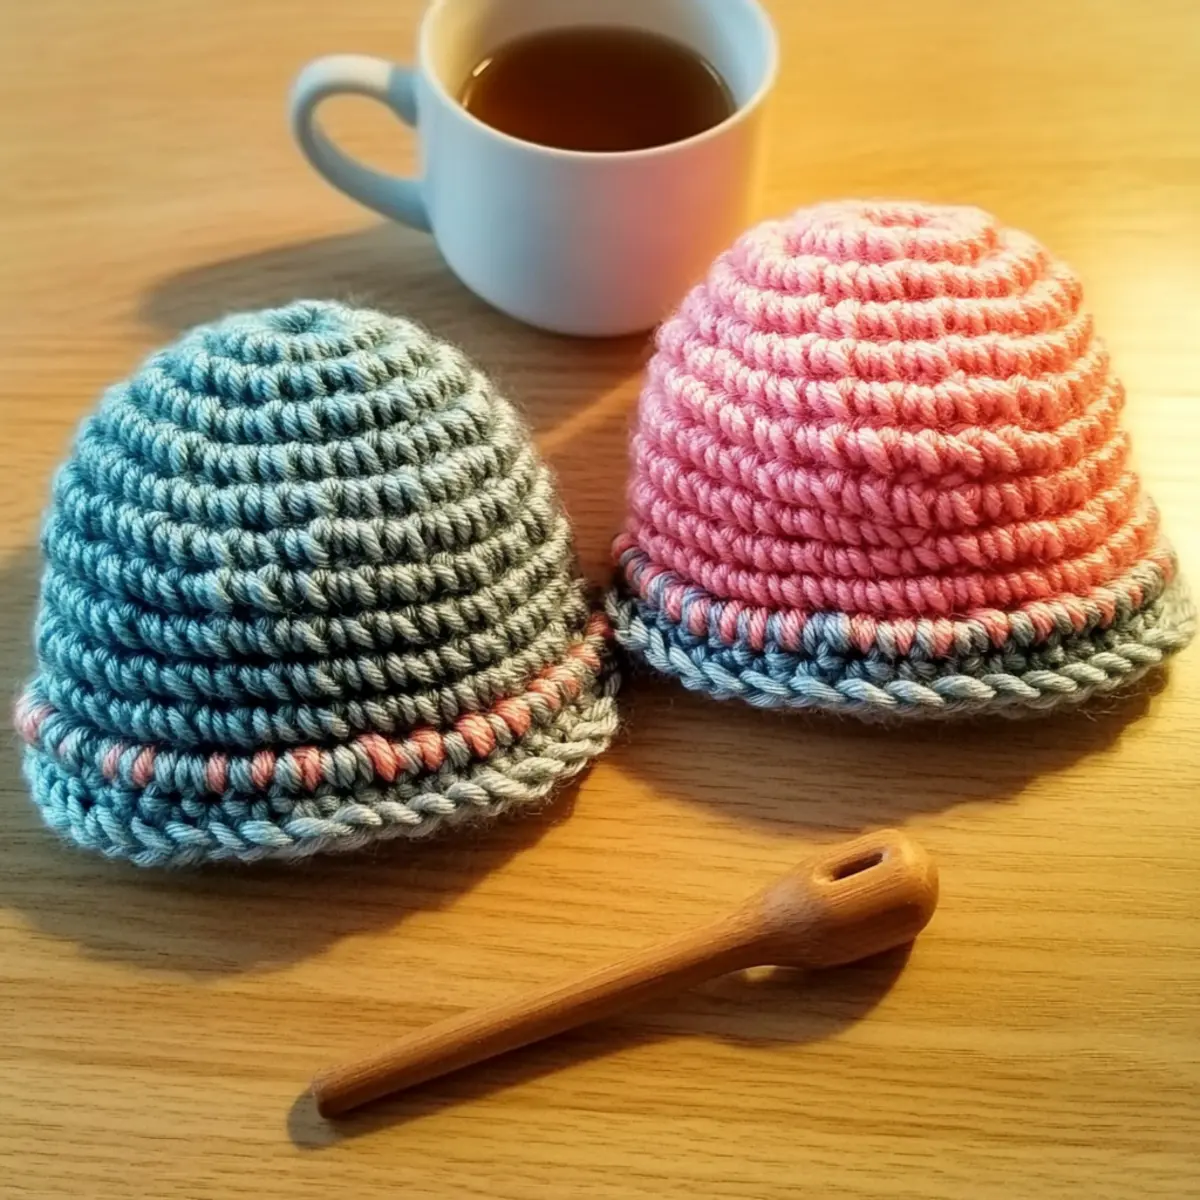
Quick Crochet Preemie Hat Materials & Tools
Yarn
• Soft Worsted Weight Yarn – Approximately 50-100 yards needed, perfect for quick projects and cozy warmth.
Tools & Notions
• G Hook (4.0 mm) – Ideal size for creating a snug yet comfortable fit for little heads.
• Stitch Marker – Useful for keeping track of your rounds while crocheting this delightful hat.
• Tapestry Needle – Essential for weaving in ends and ensuring your project is neat and finished beautifully.
Embrace the joy of crafting and make a difference with this quick crochet preemie hat pattern!
Why is this hat pattern perfect for you?
Quick Project: You’ll delight in how fast this hat comes together, taking just ten minutes from start to finish! Ideal for spur-of-the-moment gifting or donations, this pattern is a true lifesaver for busy crafters.
Beginner Friendly: Whether you’re a crochet novice or a seasoned pro, the straightforward stitches make this pattern accessible to everyone. It’s a fantastic way to practice your skills without feeling overwhelmed.
Cozy Appeal: The soft texture created by utilizing worsted weight yarn ensures warmth, making it perfect for little ones in need. You’ll love how snug it feels once finished!
Heartfelt Contribution: Each hat you create is more than just yarn—it’s a little bundle of warmth for preterm babies in hospitals, showcasing your care and compassion.
Easy Customization: Want to personalize your hat? Feel free to play with colors or add fun embellishments like pom-poms, making each creation uniquely yours!
For more fun and quick projects like this, check out our guide on easy crochet patterns for beginners.
Gauge & Sizing Notes
Don’t skip the gauge swatch! Checking the gauge is crucial for ensuring that “Teresa’s 10-Minute Crochet Preemie Hat” fits snugly and comfortably on little heads. The standard gauge measurement for this project is a 4×4 inch (10×10 cm) square that equals 12 double crochets by 8 rows. If you’d like to adjust the size of the hat, you may increase your starting chain in multiples of 3 to make it larger or decrease it for a smaller fit. If your tension swatch doesn’t match the gauge, and your stitches are too tight, simply try going up a hook size to help achieve the desired measurements. Happy crocheting!
Step‑by‑Step Pattern for Teresa’s 10-Minute Crochet Preemie Hat
Row 1: Start the Magic Circle
Begin by creating a magic circle. Chain 3 (this counts as your first dc), then work 12 double crochets (dc) into the center of the circle. Pull the tail of the yarn to tighten the circle, ensuring all stitches are snug. Join with a slip stitch (sl st) to the top of the chain 3. Your work should start to form a small round shape (12 sts).
Row 2: Increase Round
Chain 2 which counts as your first dc. In the same stitch, work another dc, then place 2 dc in each stitch around for the entire row. This will create a slightly larger opening for the hat. Join with a slip stitch (sl st) to the top of the chain 2. You should have a total of 24 stitches in this round.
Row 3: Build the Body
Chain 2, then work 1 dc in each stitch around. This will add height to the hat without any increases. Join with a slip stitch (sl st) to the top of the chain 2. Your work should have a smooth, even texture, and the hat should start to grow wider (24 sts).
Row 4: Continue the Body
Repeat Row 3, maintaining 1 dc in each stitch around. This will further extend the length of the hat while keeping it uniform. Join with a slip stitch (sl st) to the top of the chain 2 again. Your hat should be forming a cozy shape suitable for little heads (24 sts).
Row 5: Final Body Increase
For this round, chain 2, and continue with 1 dc in each stitch around again. The hat’s height will keep building, creating a snug fit for preemies. Join with a slip stitch (sl st) to the top of the chain 2. At this point, your crochet project resembles a small beanie (24 sts).
Row 6: Finishing Row Options
You can choose to finish the hat by working a round of single crochet (sc) around for a tighter finish, or you could slip stitch (sl st) into each stitch for a decorative edge. Either option will create a nice border to complete Teresa’s 10-Minute Crochet Preemie Hat. Join with a slip stitch (sl st) at the end.
Step 7: Fasten Off and Weave Ends
Cut your yarn, leaving a long tail for weaving, and fasten off by pulling the yarn through the last loop. Use a tapestry needle to weave in any ends, securing your stitches. Your cozy preemie hat is now ready to keep little heads warm or to gift, showcasing your thoughtful crafting!
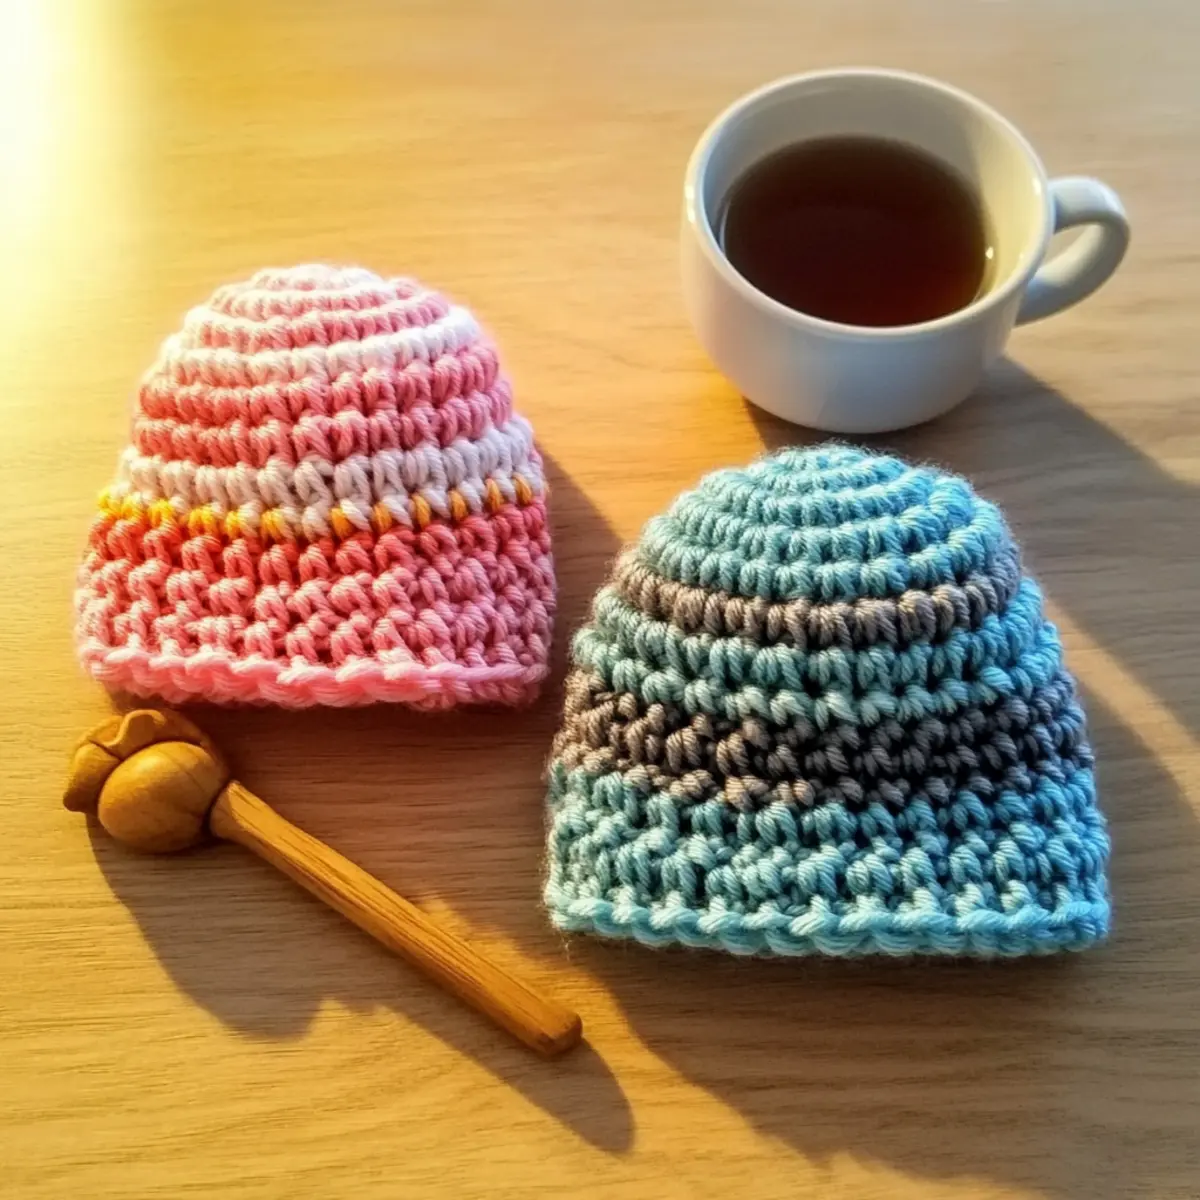
Variations & Substitutions for Preemie Hat
Unlock your creativity and make this delightful preemie hat truly yours with these fun ideas!
-
Yarn Weight Swap: Use a lighter weight yarn for a more delicate feel. It will alter the texture while keeping it cozy for little heads.
-
Fiber Alternatives: Switch to cotton yarn for a breathable option, especially in warmer months. You’ll enjoy the soft drape it creates.
-
Color Block: Incorporate multiple colors for a trendy, striped effect. This visual interest can captivate your audience and showcase your style.
-
Customize by Size: Adjust the number of rows to suit different baby sizes, ensuring every little one can enjoy this snug design.
-
Add Texture: Attach a playful pom-pom on top for a whimsical finish that adds an extra touch of fun to your hat.
-
Fringed Edges: Consider adding a fringe around the brim for a fresh and trendy look, making this hat a true statement piece.
-
Border Design: Create a decorative border at the base using a contrasting color to elevate the hat’s overall aesthetic.
-
Seasonal Themes: Use holiday-themed yarn or embellishments to craft special hats for gifts or charity drives—spread joy through your creations!
Remember, the art of crochet is all about exploration. For even more inspiration on embellishments, visit our guide on creative crochet accessories.
Expert Tips for Crochet Preemie Hat
-
Count Your Stitches: Always check your stitch count at the end of each round to ensure a properly shaped hat and avoid any unraveling.
-
Maintain Tension: Keep your tension consistent throughout the project. Uneven tension can affect the hat’s fit and texture, so practice makes perfect!
-
Magic Circle Mastery: Make sure your magic circle is snug; this prevents gaps that can let cold air in. Don’t hesitate to redo it if it feels loose!
-
Finishing Touches: Weave in your ends carefully using a tapestry needle for a polished look. This step not only enhances appearance but also keeps everything secure!
-
Using Scrap Yarn: If you’re using scrap yarn, ensure that the weights are similar. Mixing different weights can result in an inconsistent fabric, so keep an eye on that!
Washing & Care for Your Preemie Hat
Hand Washing: Gently hand wash your preemie hat in cold water with a mild detergent to preserve the soft texture and avoid damage.
Drying: To maintain its shape, lay the hat flat on a clean towel to dry. Avoid hanging it, as this may distort its form.
Storage: Store the hat in a cool, dry place, ideally folded or laid flat, to avoid creasing and maintain its cozy appeal for future gifting or donations.
Avoid Agitation: Do not wring or twist the hat while washing, as this could lead to felting or pilling of the yarn, compromising the look of your lovely creation.
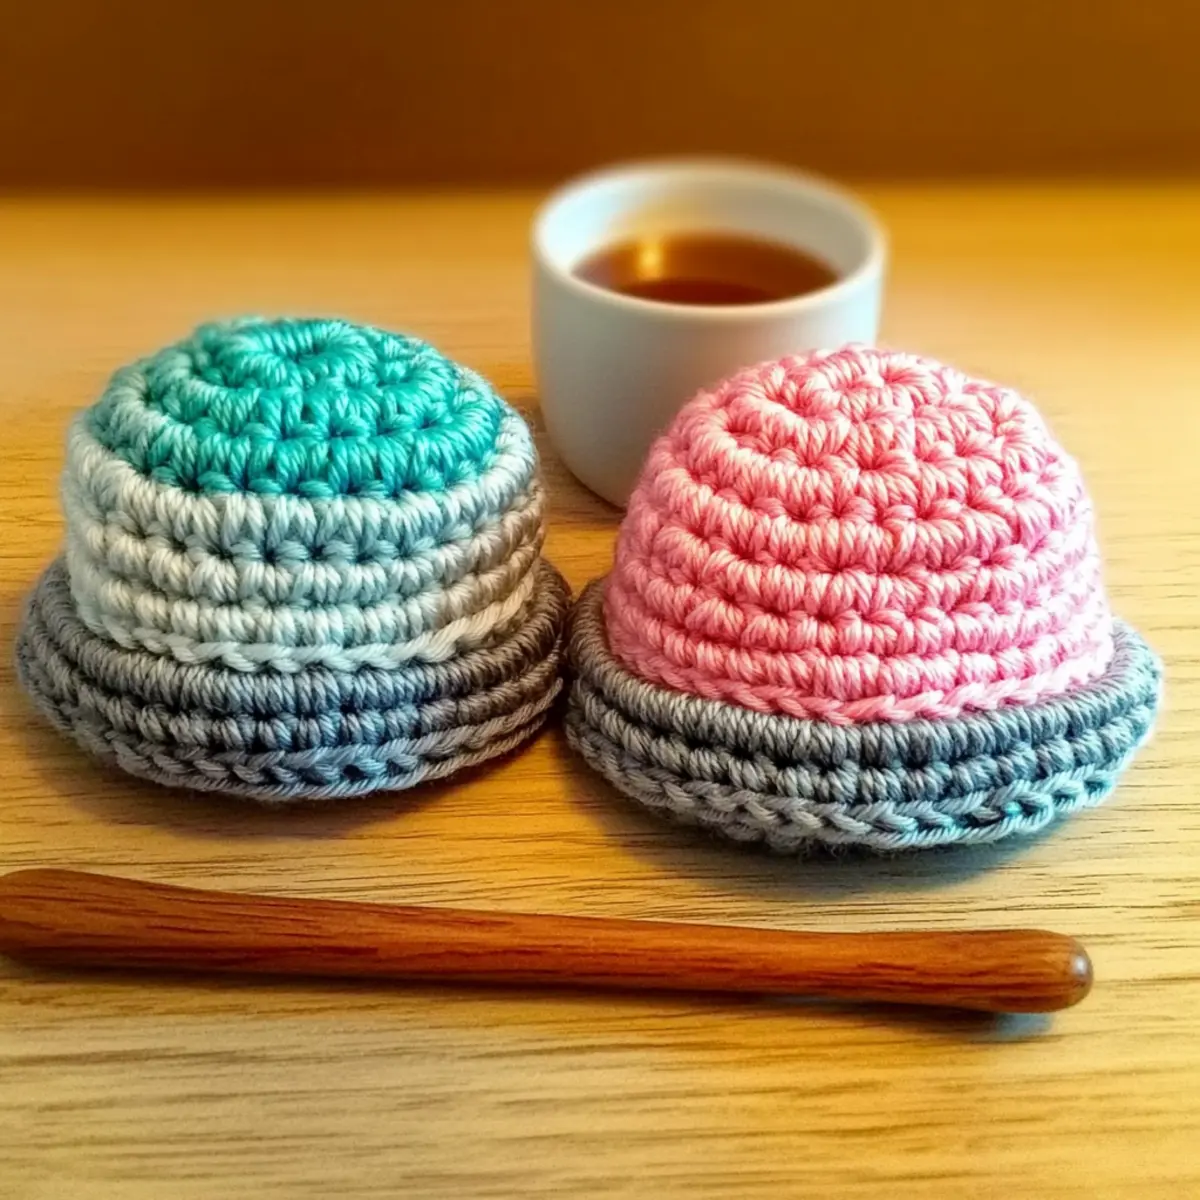
Teresa’s 10-Minute Crochet Preemie Hat FAQs
Can I use a different yarn for this pattern?
Absolutely! While worsted weight yarn is suggested for its soft texture and warmth, you can substitute with other yarns like cotton or bamboo. Just ensure the yarn is lightweight and has a similar thickness to maintain the hat’s fit.
How do I adjust the size of the preemie hat?
It’s super easy! To make the hat larger, simply add more rounds. For example, adding an extra couple of rows will help fit larger babies or toddlers. Conversely, if you want a smaller size, reduce the number of rows while still ensuring your stitches remain consistent.
My hat is curling at the edges. What should I do?
Don’t panic! If your work is curling like a bowl, it might be due to tighter stitches. Try loosening your tension a bit as you work or consider adding a round of single crochet (sc) along the edge at the finish to help it lay flat.
What hook size should I use for the preemie hat?
For this pattern, a G hook (4.0 mm) is recommended to create a snug yet comfortable fit. If you find your stitches are too tight, don’t hesitate to switch to a larger hook size—just keep an eye on your gauge.
How can I fix a dropped stitch?
It’s an easy fix! Simply use your tapestry needle to pull the dropped stitch back up through the last few rows. Make sure to rework any stitches around it to maintain the hat’s neat appearance. A little patience goes a long way!
Do I need a gauge swatch for this project?
While a gauge swatch isn’t strictly necessary for this quick project, checking your gauge can be helpful, especially if you’re using a different yarn. Just remember—aim for a consistent tension to ensure a snug fit for those little heads!
Leave a Reply