
There’s something incredibly satisfying about diving into a stash of yarn and pulling out vibrant colors just waiting to bloom into life! Today, I’m thrilled to share my Floral Granny Square pattern, a delightful project that not only allows you to flex your creative muscles but also cleverly uses up those leftover bits of yarn. This beginner-friendly design features layered petals that add a charming depth to your handiwork, making it a perfect introduction for crocheters of all levels. And as a bonus, you’ll find satisfaction in transforming scraps into something beautiful! Ready to unleash your inner crochet artist and create this pretty masterpiece? Let’s stitch our way to floral bliss together!
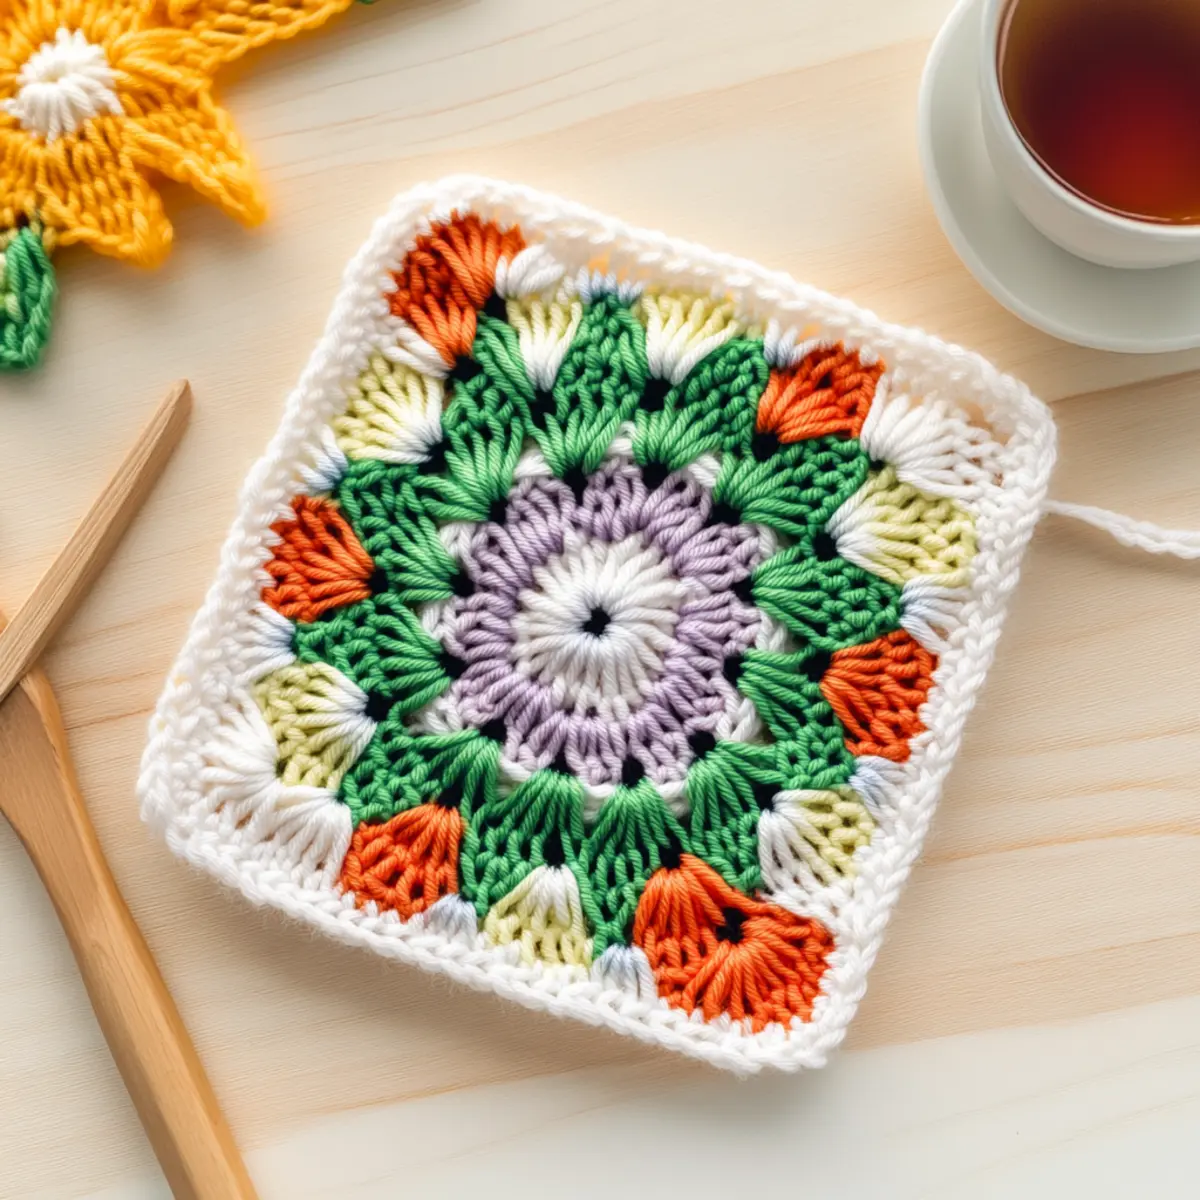
Floral Granny Square Materials & Tools
Unleash your creativity with this delightful pattern that’s perfect for using up your yarn stash!
Yarn
- Light (#3) Weight Yarn – Choose small amounts in four contrasting colors to truly make your floral squares pop!
- Any Fiber Type – Get creative and mix different fiber types for unique textures.
Tools & Notions
- 3.00 mm (US C/2) Hook – Ideal for creating dense petal stitches that really show off your work.
- Stitch Marker – A lifesaver for keeping track of your rounds and making following along a breeze.
- Tapestry Needle – Essential for weaving in those pesky ends and finishing your beautiful squares neatly.
Why You’ll Love This Pattern?
Creativity Unleashed: You’ll adore the freedom to experiment with color combinations, transforming your scraps into vibrant floral squares!
Beginner-Friendly: This pattern’s straightforward instructions make it ideal for new crocheters looking to build their skills while creating something beautiful.
Textured Appeal: Enjoy the layered petal design that adds both depth and an artisanal touch to your projects, ensuring that each square stands out.
Versatile Uses: Perfect for blankets, bags, or decorative pieces, these squares can be joined together for stunning creations, adding a little floral charm to any space.
Quick Completion: With only a few rounds, you can whip up each square in no time, making it a fantastic stash-buster project for those looking to make something cozy and aesthetic!
Gauge & Sizing Notes
Don’t skip the gauge swatch! Checking your gauge is key to ensuring that your Floral Granny Square turns out perfectly. For this project, a standard gauge measurement is 4×4 inches (10×10 cm) and should consist of 12 double crochets by 8 rows. If you’re looking to make a larger square, simply adjust your starting chain in multiples of 6, adding 2 for the foundation, which will allow for a wider or larger design. Conversely, if your tension doesn’t match the gauge and your swatch is too small, try going up a hook size and crocheting a few more rows until you find the perfect fit!
Step‑by‑Step Pattern for Floral Granny Square
Round 1: Begin the Center
Start with a magic ring using Color A. Chain 3 (counts as 1 dc), then work 11 more double crochets (dc) into the ring, giving you a total of 12 dc. Pull the tail of the magic ring to tighten it, and join with a slip stitch (sl st) to the top of the chain-3. Your work should form a small circle.
Round 2: Build the First Round of Petals
Join Color B to any dc from Round 1. Chain 3 (counts as 1 dc), then work 2 dc in the same stitch. In each remaining dc, make 2 dc to increase your stitch count to 24 total. Join with a sl st at the top of the chain-3. Your square should now be wider and ready for the next layer.
Round 3: Create the Petals
Join Color C at any stitch. Work a shell stitch of (1 dc, ch 1, 2 dc) in every other stitch around, skipping a stitch between each shell. This creates the floral petal shape. Ensure you join with a slip stitch to close the round, and your work should have soft, lovely petals forming.
Round 4: Second Layer of Petals
Switch to Color D. In this round, skip the first shell from Round 3 and work a shell stitch in the first skipped stitch. Continue placing shell stitches into the skipped stitches from Round 2. Join with a sl st at the top of any shell. Your petals will now appear layered, enhancing the floral look.
Round 5: Add Treble Clusters
Return to Color B, and in each corner stitch, create a treble cluster (3 treble crochets) to form a beautiful rounded corner. Along the sides, do 1 double crochet in each stitch. This creates a defined edge around the floral granny square, adding structure. Join with a sl st to your first cluster.
Round 6: Finish with the Solid Border
Using Color B again, work a solid granny border by making 15 double crochets along each side. For the corners, continue with a cluster (3 dc, ch 2, 3 dc) to keep the corners neat. Join with a sl st at the top of the first dc, framing your lovely floral granny square and completing this satisfying stash-buster project!
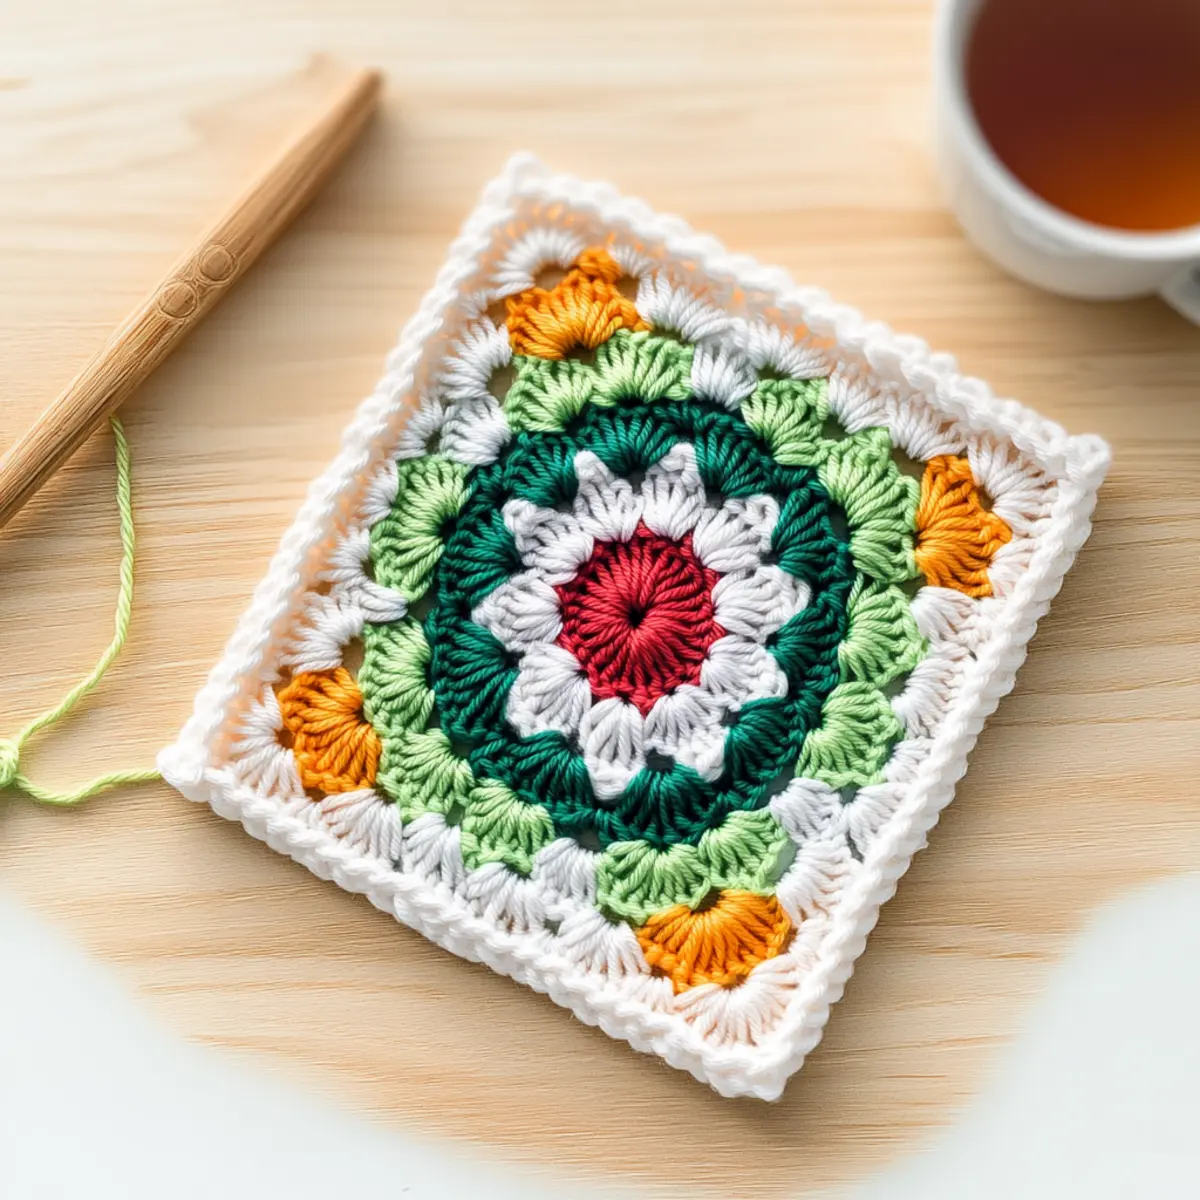
Expert Tips for Floral Granny Squares
Consistent Tension: Keep your tension even throughout the squares. This ensures all your petals and borders look uniform and professional.
Use a Stitch Marker: Place a stitch marker at the beginning of each round. It’ll help you keep track of your progression without losing your place.
Count Those Stitches: Always count your stitches at the end of each round. It prevents shape distortion and guarantees that your floral granny square is as lovely as envisioned.
Weave in Ends: Don’t forget to weave in your yarn ends as you go! This will save you time and keep your project neat and tidy.
Play with Colors: Embrace the stash-buster theme by experimenting with various colors. Mixing different shades can result in an eye-catching floral design!
Care Instructions for Floral Granny Square
Hand Washing: Gently wash your floral granny square in cold water with a mild detergent to preserve its vibrant colors and avoid felting or pilling.
Drying: After washing, lay the square flat on a clean towel to dry completely. Avoid hanging to prevent stretching and shape distortion.
Storage: When storing your granny squares, keep them in a cool, dry place away from direct sunlight to prevent fading. Wrapping them in cotton fabric can also help maintain their shape.
Blocking: If you want your floral granny square to have a polished finish, consider blocking it after washing. This technique enhances the layered petal design and ensures a neat appearance.
Floral Granny Square Variations
Embrace your creativity by customizing this pattern to fit your unique style and preferences!
-
Yarn Swaps: Use a heavier yarn like worsted (#4) for a squishier, more substantial square that’s soothing to the touch.
Adapting the yarn weight will change the dimensions, but that’s part of the fun. Each square will take on a new character! -
Fiber Alternatives: Think about switching to cotton for a more breathable option, perfect for summer projects.
Cotton has a lovely drape and will give your granny squares a different feel while maintaining structure. -
Color-Blocking Fun: Choose a monochromatic palette with varying shades of one color for a chic, modern look.
This approach enhances the layered effect while creating visual intrigue with tonal contrasts. -
Adding Rounds: Consider extending your squares by adding more rounds after Round 6. It’s fantastic for larger projects!
The extra layers will create more depth and allow you to play even more with colors. -
Textured Borders: Finish with a playful bobble or scalloped border to give your squares a unique flair.
This small detail can elevate your project and invite a textured touch that intrigues and delights. -
Combining Motifs: Mix in geometric patterns alongside your floral squares to create a visually captivating blanket.
A fusion of shapes adds character and flexibility to your crafting, leaving room for endless possibilities. -
Sizing Adjustments: Scale down to use lighter yarn and a smaller hook for adorable coasters or embellishments.
Tiny versions can be perfect for decorative touches on bags or even as gifts for fellow crafters! -
Personalized Embellishments: Add charms or beads to the centers of flowers for a delightful finishing touch.
These small details evoke warmth and creativity, making each piece truly one-of-a-kind.
Explore even more creative ideas by checking out our handy guide on color combinations and beginner crochet techniques. Dive into a world of artistic expression!
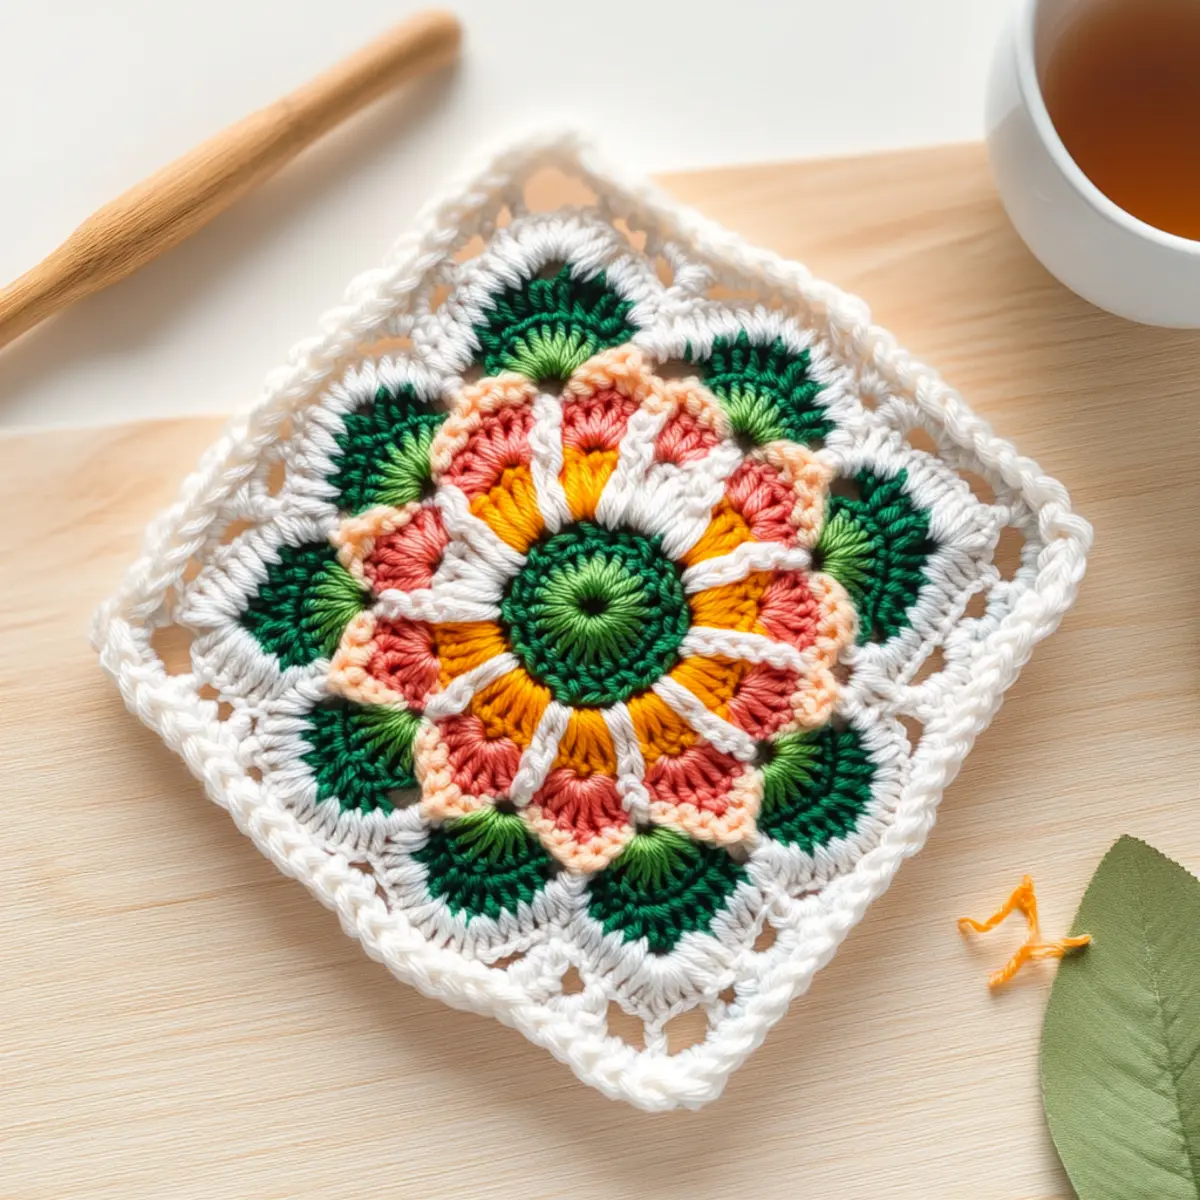
Floral Granny Square FAQs
Can I use different yarn weights for this pattern?
Absolutely! While the pattern recommends light (#3) weight yarn for best results, you can experiment with medium or even bulky yarn. Just be mindful that it may alter your square’s dimensions, so adjusting the number of rounds can help achieve your desired size.
How do I make my floral granny square larger or smaller?
To increase the size, you can either use a thicker yarn or add extra rounds after Round 6. If you’d like to make it smaller, opt for a finer yarn or reduce the number of rounds – just remember to keep an eye on your stitch count for consistency!
Why is my floral granny square curling?
Don’t panic! Curling is often caused by uneven tension or incorrect stitch counts. Check that you’re maintaining consistent tension throughout and have counted your stitches correctly at the end of each round. If it continues to curl, you might want to add a few extra rounds to help flatten it out.
What size hook should I use for this pattern?
I recommend using a 3.00 mm (US C/2) hook as suggested in the pattern. This size is perfect for achieving dense petals. If you find your stitches too tight or loose, adjusting to a 3.25 mm might help – just test your gauge first!
Can I mix and match colors for a different look?
Absolutely! Playing with your color combinations can yield stunning results. Whether you decide to go with contrasting colors for a bright and vibrant square, or stick to tonal shades for a softer look, the choice is all yours! Enjoy the creative freedom.
How do I fix dropped stitches in my granny square?
It’s an easy fix! Simply locate where the stitch has dropped and carefully use your crochet hook to pull the working yarn through the loop(s) to re-create the stitch. If you’re unsure, gently unravel until you reach the mistake, and re-crochet from that point, making sure to count your stitches along the way. Happy stitching!
Leave a Reply