
There’s something incredibly enchanting about crafting a whimsical piece that radiates warmth and personality. This Cute Kitty Granny Square Crochet Pattern does just that, capturing the playful spirit of our feline friends with its adorable cat face design. Perfect for both beginners and seasoned crocheters, this delightful square is a no-sew project that works up quickly, making it an ideal stash-buster for your DK yarn collection. With just a few basic crochet skills, you’ll soon be creating charming squares that can be effortlessly added to blankets, gifts, or even vibrant home decor. Each stitch invites you into a world of creativity, where customization options abound and every kitty can have its own unique flair. Ready to let your imagination run wild and bring these cute kitties to life? Let’s get stitching!
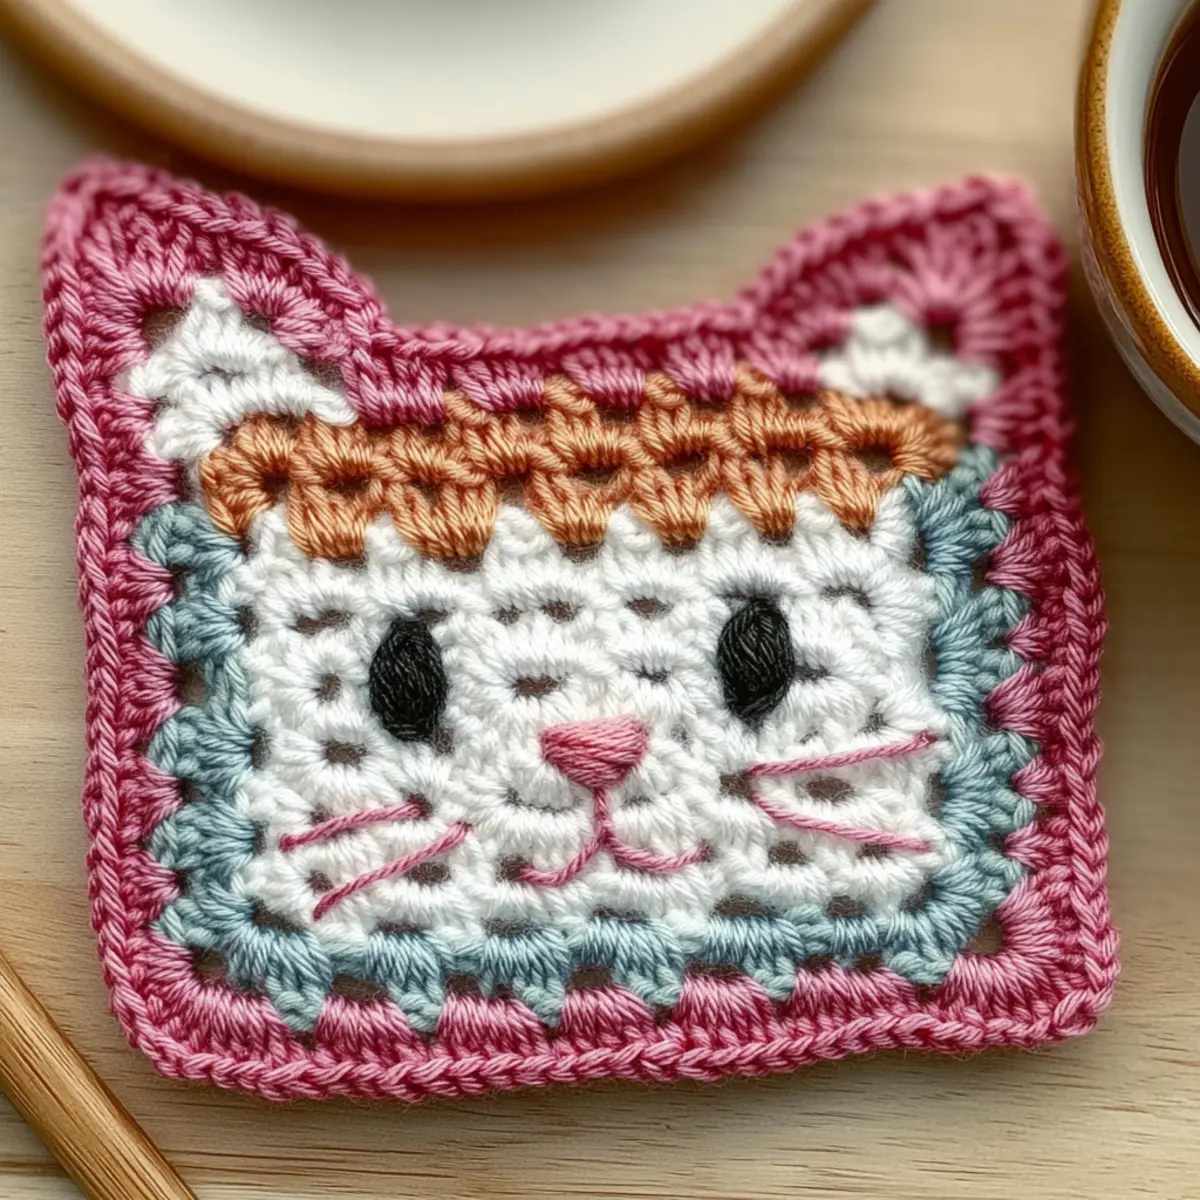
Kitty Granny Square Materials & Tools
Dive into your crochet adventure with all the essentials you’ll need to create your whimsical kitty granny square!
Yarn
• DK Weight Yarn – Approximately 50-100 yards in your favorite color; any fiber type works beautifully for this no-sew project.
Tools & Notions
• 3.5mm (US E/4) Hook – Perfect size for working up those adorable stitches with ease.
• Stitch Markers – Handy for marking corners and keeping your place as you work through the rounds.
• Tapestry Needle – Essential for weaving in ends and adding those delightful facial features.
• Optional: Safety Eyes & Scrap Yarn – Use these to give your kitty a cute bow and bring its personality to life!
Why Is This Kitty Square Special?
Uniqueness: This pattern offers a whimsical twist on the classic granny square, featuring an adorable kitty face that brings smiles to anyone who sees it.
No-Sew Design: Enjoy the ease of assembly—this project requires no sewing, making it hassle-free for creators of all levels.
Beginner-Friendly: With just a few basic stitches, even new crocheters can confidently create this charming square, enhancing their skills along the way.
Customization Options: Personalize each square by adjusting colors, adding a cute bow, or even mixing in different animal themes for a playful collection.
Time-Saving: Fast and efficient, this project is perfect for busting through your DK yarn stash while gifting or decorating your space with joyful, handcrafted art! For more crochet inspiration, check out this beautiful blanket pattern.
Gauge & Sizing Notes
Don’t skip the gauge swatch! Ensuring your tension is correct is vital for achieving the perfect size in your whimsical kitty granny square. The standard gauge for this project is 12 stitches by 10 rows in a 4×4 inch (10×10 cm) square. If you find that your tension doesn’t match, take heart; if your swatch is smaller, simply go up a hook size to achieve the desired result. To make your granny square larger, add rounds or adjust your starting chain in multiples of 3 to maintain the integrity of the pattern. Happy crocheting, and soon you’ll have a delightful kitty square that perfectly suits your vision!
Step‑by‑Step Pattern for Cute Kitty Granny Square Crochet Pattern
Round 1: Create the Magic Ring
Begin by forming a magic ring. Ch 3 (counts as first dc), then work 11 more dc into the ring. Pull the yarn tail to tighten the ring, ensuring that all stitches are snug. Join with a sl st into the top of the first ch to close the round. You should have 12 dc total in this round (12 sts).
Round 2: Increase the Circle
Ch 3 (counts as first dc), dc in the same stitch. Now, 2 dc in each st around. Remember to mark your corners for easy counting! After completing this round, join with a sl st to the top of the ch 3. Your work should be expanding nicely, totaling 24 sts (24 sts).
Round 3: Expand Further
Ch 3 (counts as first dc), dc in the first st. Dc in next st, 2 dc in following st. Repeat from * to * around. Be sure to maintain symmetry for the kitty’s face shape! Join with a sl st at the top of the ch 3. You will now have a total of 36 sts (36 sts).
Round 4: Setting Up for the Squaring
Ch 3 (counts as first dc), dc in the next 2 sts. 2 dc in next st, dc in next 3 sts. Repeat from * to * around. This round widens your square for a lively kitty appearance. Join with a sl st at the top of the ch 3. Count to ensure you have 48 total sts (48 sts). Your work should feel flat and smooth.
Round 5: Begin the Squaring (BLO)
Ch 3 (counts as first dc), dc in the next 3 sts. Now, working in the back loops only (BLO), dc in next st, 2 dc in the next st. Transition into the corners by using stitch markers if needed. Join with a sl st at the top of the ch 3. You should feel the edges form nicely (60 sts).
Round 6: Adding Contrast and Strength
Change to your desired contrast color and repeat Round 5, working in the BLO again. This round is essential for reinforcing your corners. Mark your corners clearly to keep your kitty looking adorable! Join with a sl st at the top of the ch 3 for a nice finish off this round, aiming for 72 total sts (72 sts).
Round 7: Final Touch and Corner Detail
Continue with the contrast color by repeating the last round. This last squaring round adds dimension and stability to your square. Your work should be thickening, and corners should maintain sharpness. Join with a sl st at the top of the ch 3, totaling 84 sts now (84 sts).
Step 8: Ear Construction
Using front loops from Round 5, ch 1 and hdc in the first 5 front loops to create the first ear, then turn. Work one hdc in each of the next 3 sts, creating a triangular shape for the ear. Fasten off and repeat for the second ear. Each ear should stand out prominently on your cute kitty granny square.
Step 9: Facial Features
Embroider a cute pink triangle nose and whiskers with black yarn onto the granny square. Feel free to customize by adding features like safety eyes or a lovely yarn bow to make your silly kitty even more charming. Your Cute Kitty Granny Square design should now come to life with playful detail!
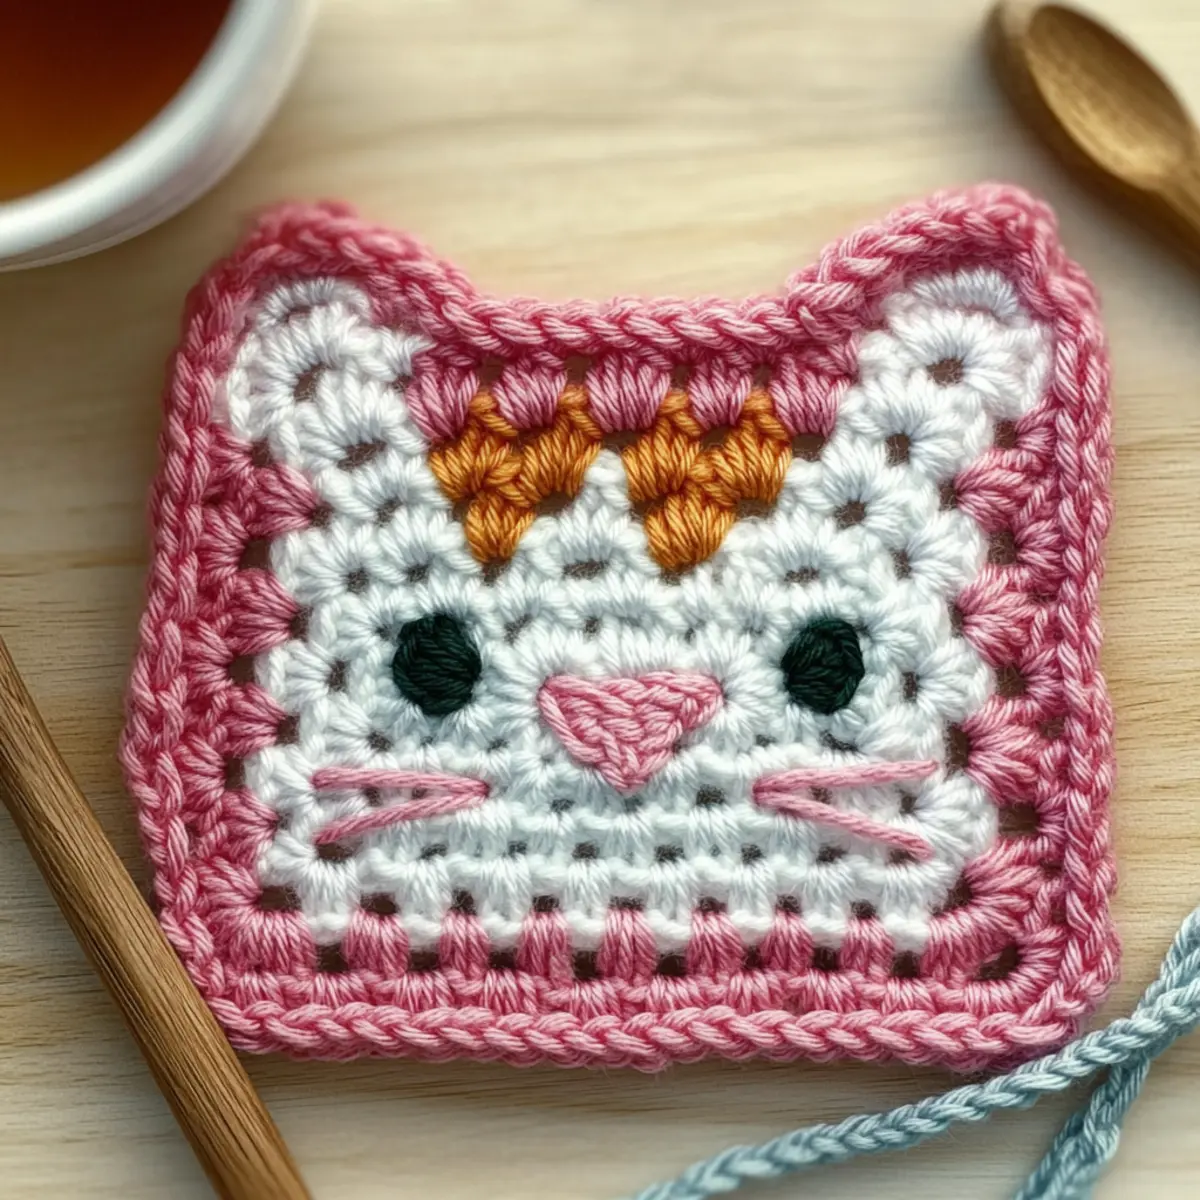
Washing & Care for Your Cute Kitty Granny Square
-
Hand Washing: Gently hand wash your finished kitty granny square in cold water with a mild detergent to maintain its vibrant colors and structure.
-
Drying/Blocking: Lay the square flat to dry, reshaping it as necessary. Avoid wringing out the fabric to prevent distortion and keep its playful design intact.
-
Storage: Store your granny squares in a cool, dry place. Consider using cotton or muslin bags to help maintain their shape and avoid dust accumulation.
-
Avoid Agitation: To prevent felting or pilling, avoid machine washing or harsh agitation—treat your kitty square gently to keep it looking its best!
Variations & Substitutions for the Kitty Square
Embrace your creativity and make this kitty square uniquely yours with delightful variations!
-
Yarn Weight Swaps: Experiment with a finer or thicker yarn to change the square’s size and overall texture. Both options create a different vibe, so have fun discovering what you prefer!
-
Fiber Alternatives: Try using cotton for a more durable, washable kitty square, ideal for summertime gifts. The crispness of cotton will beautifully display those charming facial features.
-
Color-Blocking Ideas: Use multiple colors in your rounds to create playful patterns! Imagine a vibrant rainbow kitty or a chic pastel feline—let your imagination be your guide.
-
Size Adjustments: Add or reduce rounds to make a larger or smaller square, tailoring it perfectly for your project. It’s a simple way to create a variety of sizes for various uses.
-
Textured Borders: Introduce a textured border using clusters or picots to add detail around your square. This finishing touch can elevate your kitty’s presence even more!
-
Pom-Pom Additions: Attach mini pom-poms to the corners to liven up your kitty square with playful flair. It’s an eye-catching detail that adds a fun, whimsical touch!
-
Safety Eyes: For an added touch of personality, use safety eyes for a playful, three-dimensional effect. They can lend a charming expression to your adorable kitty!
-
Mix ‘n’ Match Squares: Combine this kitty square with other thematic designs for a delightful blanket or throw. Each addition makes for a unique storytelling piece in your crocheted art!
For a cozy twist, check out this textured blanket pattern to seamlessly blend your kitty squares into a larger design! Embrace your yarn journey and enjoy each joyful stitch!
Expert Tips for the Kitty Granny Square
-
Tension Matters: Ensure even tension throughout your stitches to keep your kitty square looking neat and professional. Practice with a gauge swatch if needed.
-
Count Your Stitches: It’s easy to lose track when busy crafting! Count your stitches regularly, especially after each round, to maintain a balanced shape and symmetry.
-
Check Before Finishing: Before fastening off, double-check the alignment of your kitty’s features. Small adjustments can make a big difference in the final look.
-
Use Back Loops Carefully: When working in the back loops for Round 5, pay close attention to avoid losing your place. This ensures that the ears attach correctly, maintaining the aesthetic.
-
Explore Custom Colors: Don’t hesitate to mix and match yarn colors to create unique kitties! Each color combo adds personality and flair to your granny squares.
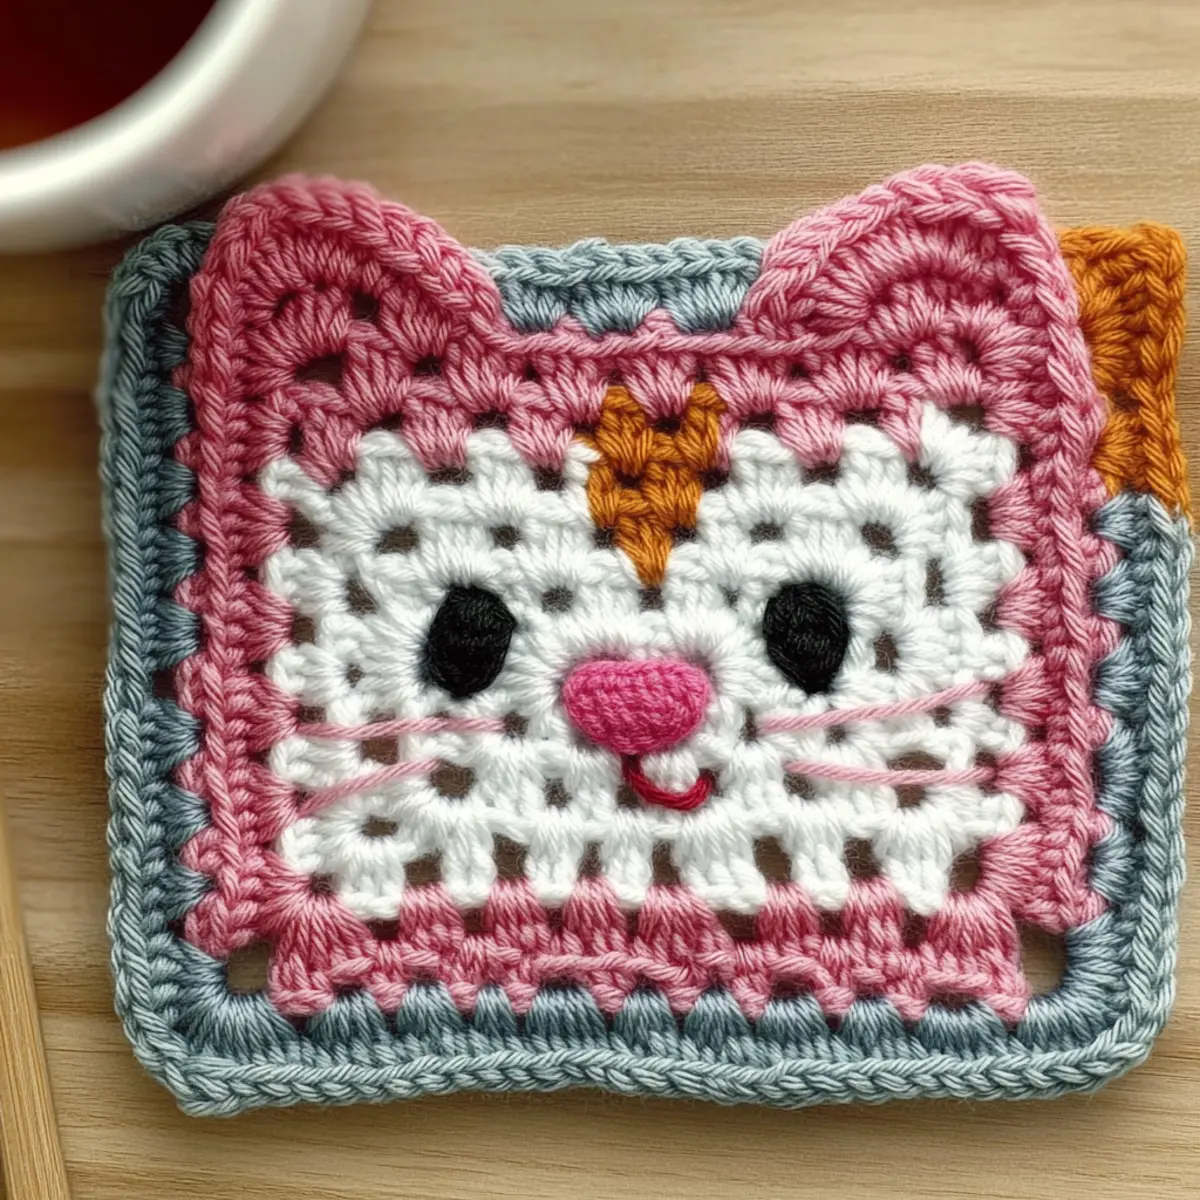
Whimsical No-Sew Kitty Granny Square Crochet Pattern FAQs
Can I substitute yarn types for this pattern?
Absolutely! While this pattern calls for DK weight yarn, you can substitute with any similar weight. Just remember that different yarn fibers (like acrylic, cotton, or wool) may affect the drape and texture of your finished square.
How can I adjust the size of my kitty square?
To make your square larger, simply add more rounds, increasing the number of stitches in each round as needed. For a smaller square, use a bulkier yarn and hook or reduce the rounds to suit your preference!
Why is my kitty granny square curling up?
Don’t panic! A curling square often results from tension being too tight or not having enough stitches. Make sure to check your stitch count and consider looser tension in future rounds. Blocking the finished square can help it lay flat too.
What hook size should I use for this pattern?
For this pattern, a 3.5 mm (US E/4) hook is recommended. However, if you find your tension is tighter or looser, feel free to adjust your hook size accordingly! Just make sure to maintain the gauge for the best results.
How can I fix a dropped stitch?
It’s an easy fix! If you find a dropped stitch, simply pick it back up with your hook, and ensure to work it into the next row or round to secure it. You can also weave in any loose ends to keep your square looking tidy.
Can I create a different design or theme using this kitty square pattern?
Absolutely! This pattern is incredibly versatile! You can change up colors, create different animal faces, or even add additional embellishments like bows or flowers for a personalized touch. Let your creativity shine!
Leave a Reply