
As I sift through my yarn stash, the luscious textures of medium weight acrylic and cotton beckon to me, whispering promises of cozy creations. Today, I’m thrilled to share my latest delight: the Textured 3D Granny Squares. These squares breathe new life into the classic granny design, transforming simple stitches into a playground of dimensions and depth. Perfect for advanced beginners, you’ll love how quickly these patterns come together, bringing both a sense of triumph and artistic expression. Not only do they look stunning in cozy blankets and charming pillows, but they also serve as the perfect backdrop for your unique projects. Are you ready to dive into this tactile adventure? Let’s crochet our way to creativity!
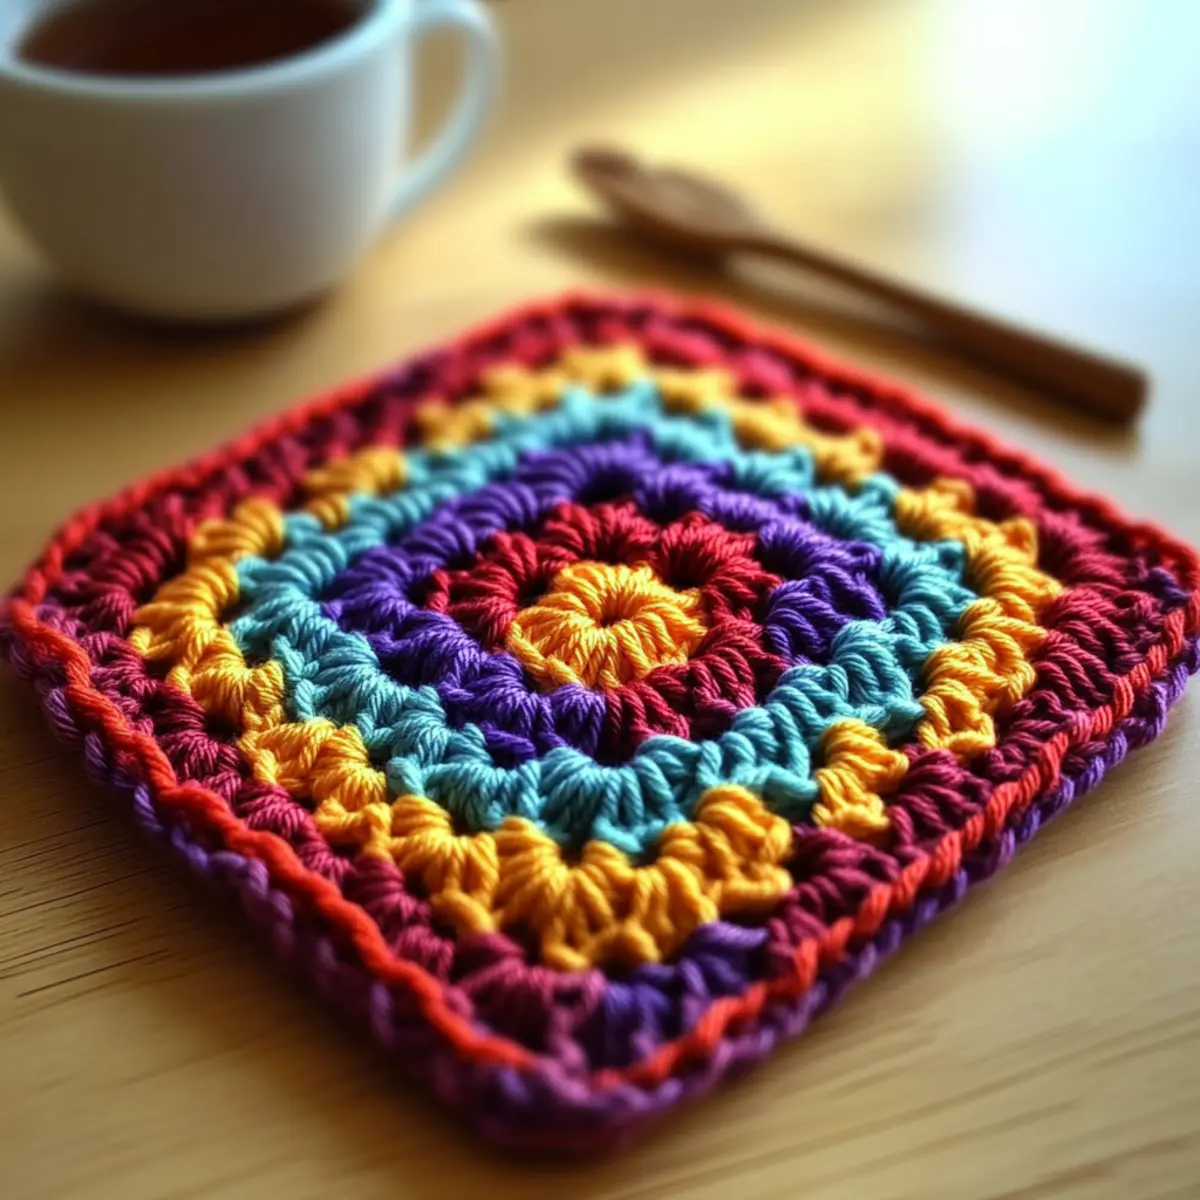
Textured 3D Granny Squares Materials & Tools
• To get started on your cozy 3D granny squares, make sure you have the following essentials:
Yarn
- Medium Worsted Weight Yarn – Use 100% acrylic or cotton; yardage will vary per square but aim for approximately 100-150 yards for each.
Tools & Notions
- 5.0 mm (H/8) Hook – This size is ideal for creating the dimensional techniques in your squares.
- 5.5 mm (I/9) Hook – Alternatively, use this size for a looser tension if desired.
- Stitch Markers – Essential for tracking rounds when working in continuous circles.
- Tapestry Needle – Perfect for weaving in those ends and ensuring a polished final piece.
- Scissors – Handy for snipping yarn ends as you go along with your textured adventure!
These materials will set you up perfectly to dive into creating your stunning textured 3D granny squares!
Why Choose Textured 3D Granny Squares?
Versatility: These squares are not just pretty; they can easily be integrated into various projects like blankets, bags, or pillows—perfect for showcasing your creativity!
Unique Textures: Each design incorporates different stitches, giving you a delightful mix of tactile experiences and stunning visuals that are sure to impress.
Beginner-Friendly: Even if you’re just advancing your crochet skills, these patterns use simple stitches that feel rewarding and are easy to follow, ensuring everyone can join in on the fun!
Quick Projects: Create beautiful squares in no time! The straightforward construction allows for fast progress, making it a blissful escape for any crafter.
Explore our other unique patterns or dive into color inspirations to take your crochet to the next level with these textures!
Gauge & Sizing Notes
Don’t skip the gauge swatch! Ensuring the correct tension is vital for achieving the perfect fit and texture with your Textured 3D Granny Squares. For this project, your gauge should measure 4×4 inches (10×10 cm), with 12 stitches and 10 rows in double crochet. If you’re looking to customize the size, simply adjust the starting chain in multiples of 3 for width or the number of rounds for depth. If your swatch is too small, try going up a hook size, and conversely, if it’s too large, consider a smaller hook size for those gorgeous dimensional textures. Your creativity deserves to shine, so take the time to find that perfect gauge!
Step‑by‑Step Pattern for Textured 3D Granny Squares
Row 1: Magic Ring Setup
Start by making a magic ring (or chain 4 and sl st to form a ring). Inside the ring, work 3 dc (double crochet), ch 2, then 3 dc to create your first granny cluster. Repeat this process two more times, ensuring you have four clusters total, separated by ch 2 spaces. Join with a sl st to the top of the first cluster (12 sts).
Row 2: Expanding the Square
Ch 3 (counts as first dc), work 2 dc in the ch-2 space of the first cluster, then ch 2. In the next ch-2 space, work 3 dc, ch 2. Repeat for each cluster, resulting in four corner clusters. After the last corner, join with a sl st to the top of the ch-3. Your work should have a lovely square form now (24 sts).
Row 3: Adding Texture with Bobbles
For this row, ch 3 (counts as first dc), then work 2 dc in the first ch-2 corner space. In each corner, replace the third dc with a bobble stitch (yo, pull up a loop, repeat 3 times, then yarn over and pull through all loops). In between corners, work 3 dc in each space. Join round with a sl st (30 sts).
Row 4: Layering with Puff Stitches
Ch 1, then work 1 puff stitch in each dc around. To make a puff stitch, yarn over, insert your hook into the stitch, yarn over again, and pull through. Repeat until you have 5 loops on your hook, yarn over and pull through all loops. This round creates a soft texture, enhancing the 3D effect (30 puffs).
Row 5: Defining the Edges
Ch 2 (counts as hdc), then work 1 hdc in each stitch around, including puff stitches and spaces. This row will help define the corners of your textured granny squares. Remember to place 2 hdc in each corner to maintain a smooth shape. Join with a sl st at the end (30 hdc).
Row 6: Final Touches and Color Change (Optional)
For the last round, switch your yarn color if desired. Ch 1 and sc into each stitch around, placing 3 sc in each corner to maintain a structured shape. This final round adds a neat border to your textured 3D granny squares, completing your sunken edges as you grow in color layers and textures (30 sc).
Step 7: Finishing Up
Fasten off and weave in any loose ends using the tapestry needle. Your Textured 3D Granny Squares are now ready! Whether you combine them into a cozy blanket or use them individually, enjoy the beautifully crafted results of your hard work.
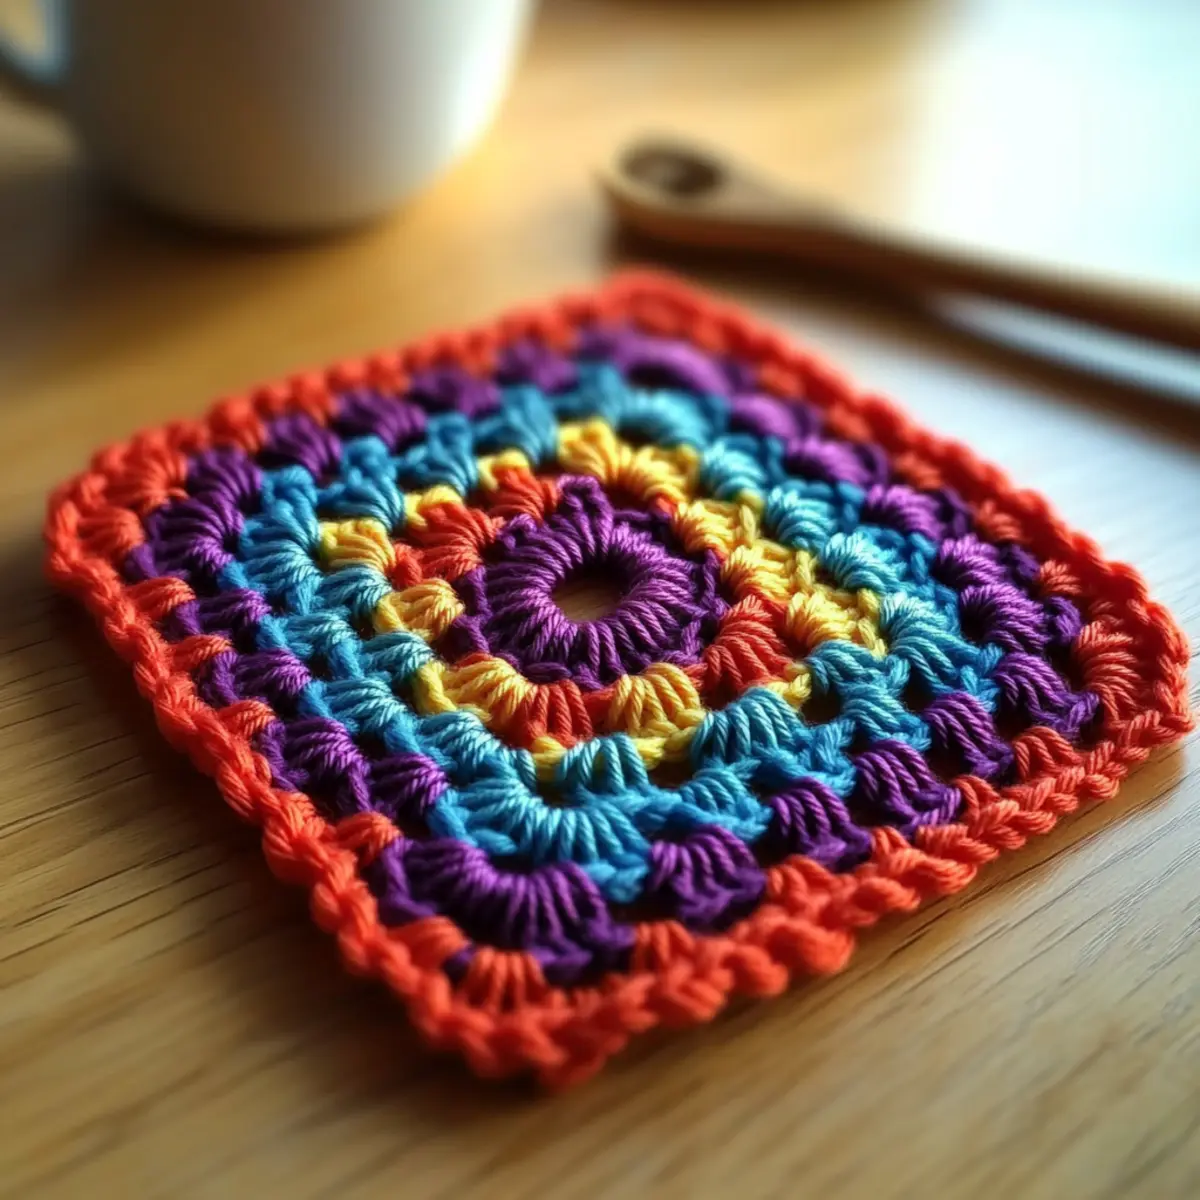
How to Wash and Care for Your 3D Granny Squares
Machine Washing: Use a gentle cycle in cold water to prevent any wear on your textured 3D granny squares, ensuring they remain vibrant and intact.
Hand Washing: For a more delicate approach, hand wash in cold water with a gentle detergent to preserve the integrity of your stitches and textures.
Drying: Lay your squares flat to dry on a clean, dry towel, reshaping them if needed. Avoid hanging to maintain their beautiful dimensions without stretching.
Storage: When not in use, store your squares in a cool, dry place away from direct sunlight to prevent fading and keep them looking fresh for your next project.
Variations & Substitutions for Textured 3D Granny Squares
Don’t hesitate to let your creativity shine by customizing these delightful crochet squares!
- Yarn Substitutions: Explore blends like bamboo or wool for warm, cozy textures that transform the overall look.
- Different Weights: Experiment with lighter or heavier yarns for varied dimensions; cotton for summer and acrylic for warmth!
- Color Blocking: Integrate two or more colors within a single square to create a stunning visual impact, perfect for unique projects.
- Size Adjustments: Alter the number of rounds to produce small coasters or larger squares for throws, adapting to your needs beautifully.
- Texture Additions: Add fluffy pom-poms or charming fringe to the edges for a playful finish that draws in the eye.
- Layered Designs: Stack multiple squares together, either stitched or sewn, to create a thicker, cushier effect for pillows or bags.
- Embellishments: Consider crocheting a decorative border around your finished squares, providing a polished element and enhancing the textures.
- Incorporate Other Techniques: Combine stitches from other patterns you love, such as using granny hexagons or interior designs, to craft a truly unique project that reflects your style!
Expert Tips for 3D Granny Squares
• Stitch Count Check: Always count your stitches at the end of each round to ensure your square maintains its shape and dimensions throughout your project.
• Use Stitch Markers: Place a stitch marker at the beginning of each round, especially when working continuously, to keep track of your progress easily.
• Tension Matters: Be mindful of your tension! Consistent tension will ensure that your 3D granny squares look uniform and well-crafted, enhancing overall texture.
• Blocking is Key: Don’t skip blocking your finished squares to set their shape and eliminate any puckering that may arise from dimensional techniques—this really elevates the final look!
• Choose the Right Yarn: Opt for smooth, tightly spun yarn to achieve the best stitch definition for your textured 3D granny squares, preventing frustration with fuzzy yarns initially.
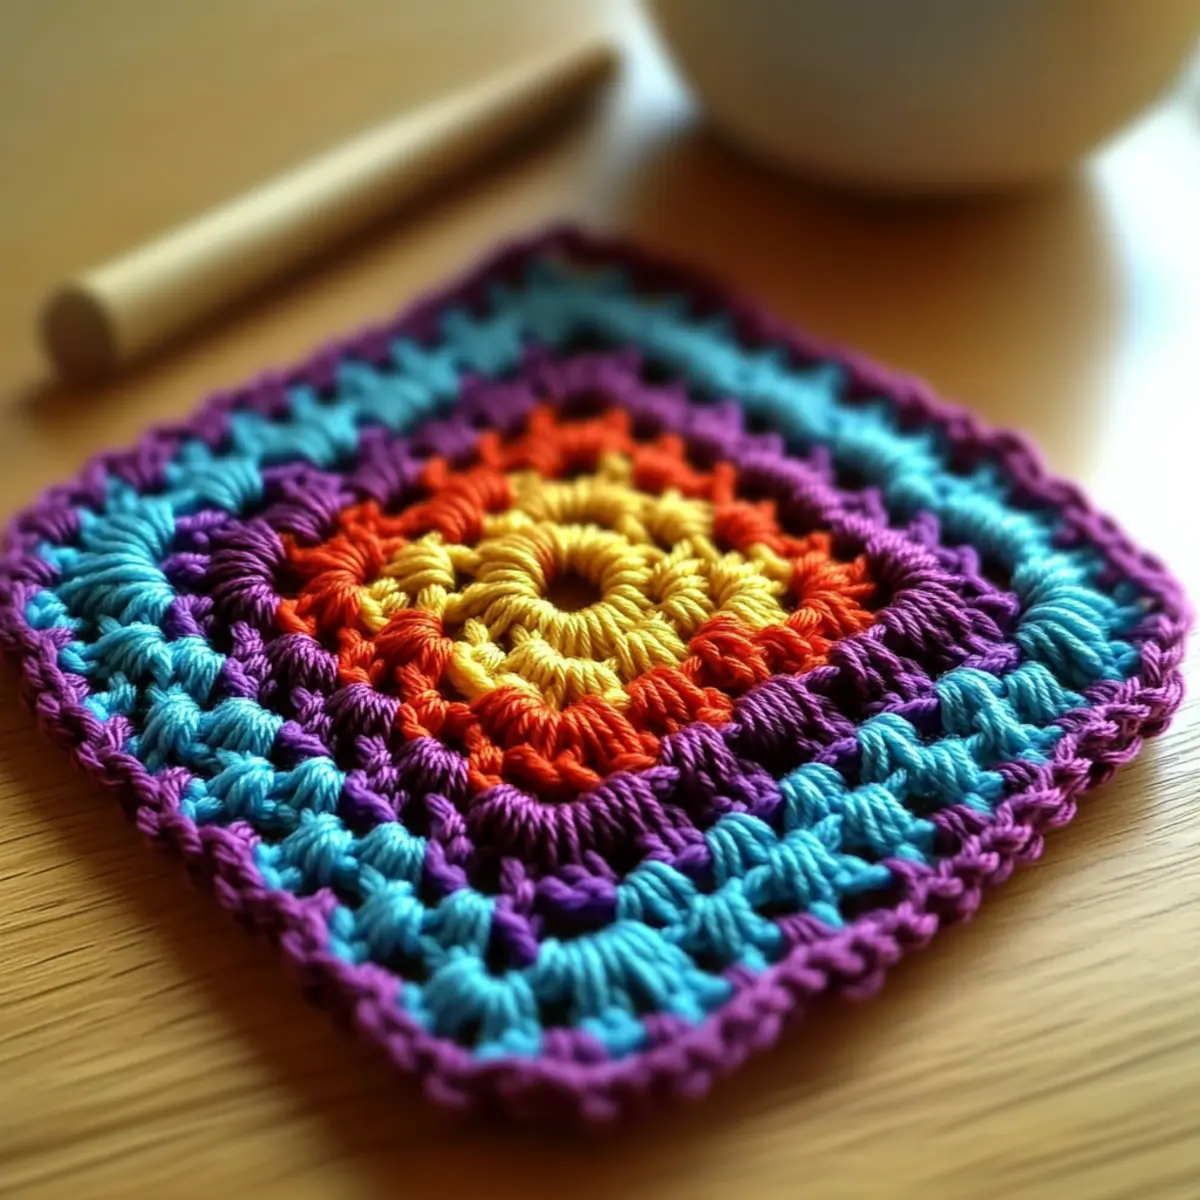
Textured 3D Granny Squares: Seven Unique Designs for Advanced Beginners FAQs
Can I substitute yarns for this project?
Absolutely! You can swap out medium worsted weight yarn for cotton if you prefer a more breathable option. Just be mindful that different fibers may slightly alter the texture and drape.
How do I adjust the size of my granny squares?
To make your squares bigger or smaller, simply adjust the number of rounds you crochet. For instance, adding more rounds will create larger squares, while removing rounds will reduce their size. Be sure to keep track of your stitch counts to maintain evenness!
Why is my square curling up?
Don’t panic! Curling can occur due to uneven tension or too few stitches in the first few rounds. Make sure to work consistently and perhaps add an extra increase in your corners to help it lay flat. Blocking will also help set the shape beautifully.
What hook size should I use for the best results?
I recommend using a 5.0 mm (H/8) hook for most of the designs to keep the stitches uniform and allow for the dimensional effects to shine. If you find your squares too tight or loose, feel free to experiment with a 5.5 mm (I/9) for a different feel.
How do I fix dropped stitches?
It’s an easy fix! Simply use your tapestry needle to weave the yarn back into the dropped stitch from the back, or you can carefully unravel a few stitches back and redo them. Just remember, practice makes perfect!
What if my tension is different from the gauge?
First, check your gauge by crocheting a small swatch. If you notice discrepancies, try adjusting your hook size or yarn tension until you meet the gauge. Consistency is key for achieving the textured look in these granny squares!
Leave a Reply