
There’s a certain magic that comes with creating something cozy and whimsical, especially as the holiday season approaches. Inspired by the joyous spirit of winter, I’m excited to share my free Amigurumi Snowman pattern, lovingly named “Snowman Adam.” This delightful project is beginner-friendly and works up quickly, making it an ideal way to fill your home with warmth or gift a crafty treasure. With each soft stitch, you’ll watch your snowman come to life, capturing that playful charm we all adore. Plus, with customization options galore, Snowman Adam can become a unique addition to your winter decor or an adorable present that spreads cheer. Are you ready to add some handmade magic to your holiday season? Let’s dive into this fun crochet adventure!
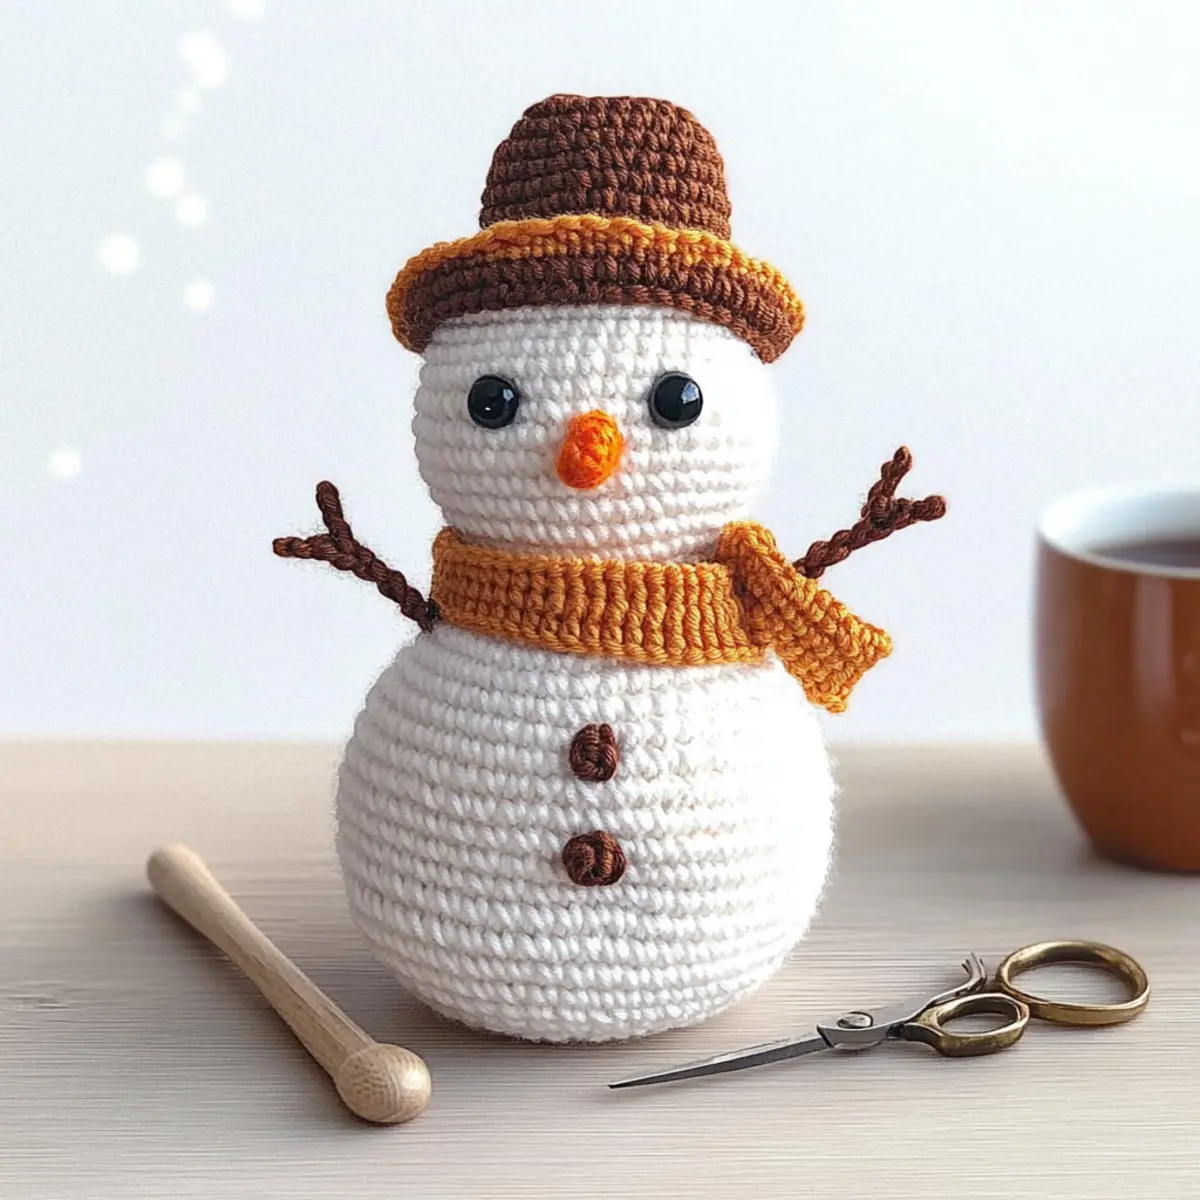
Amigurumi Snowman Materials & Tools
Get ready to make your very own Snowman Adam with these essential supplies!
Yarn
- 4 Ply Yarn (White, Ochre, Brown) – Use worsted weight (Category 4) acrylic or cotton for a cozy finish.
Hook Size
- 2.5 mm (US C-2 Hook) – This size ensures that your stitches are tight enough for your amigurumi project.
Notions
- Yarn Needle – Perfect for sewing and finishing your snowman.
- Fiberfill – Stuff your snowman with this soft filling for that perfect plushy texture.
- Safety Eyes (6 mm) – These add a charming expression to your snowman; remember to place them carefully!
- Stitch Markers – These will help you keep track of your rounds as you crochet.
- Scissors – Essential for trimming yarn as you complete your project.
Why Will You Love This Snowman Pattern?
Whimsical Creation: Every stitch you make brings Snowman Adam to life, letting you craft a charming piece of decor.
Quick & Easy: Designed with beginners in mind, this pattern works up rapidly, making it a delightful option for last-minute gifts.
Customizable Charm: You have the freedom to personalize him with different colors and accessories, creating a snowman that fits your unique style.
Cozy & Cuddly: The soft yarn and plush stuffing give your snowman a squishy texture that’s perfect for hugs or as a cozy decoration.
Festive Spirit: This project embodies the joy of the season, making it not just a crochet piece but a cheerful addition to your home décor.
Skill Building: As you crochet, you’ll practice basic stitches and gain confidence, setting the stage for future creative endeavors. Don’t forget to check out more beginner-friendly crochet patterns to keep the creativity flowing!
Gauge & Sizing Notes
Don’t skip the gauge swatch! Checking your tension is essential to ensure that your Amigurumi snowman, Snowman Adam, comes out perfectly sized and structurally sound. For this project, aim for a gauge of 4×4 inches (10×10 cm) = 14 single crochets by 16 rows. If you want to adjust Snowman Adam’s size, increase your starting chain by multiples of 6 for a wider base or experiment with hook size—if your tension swatch is too small, simply go up a hook size. Remember, maintaining a consistent crochet gauge will give your snowman that charming shape we all adore!
Step‑by‑Step Pattern for Adorable Amigurumi Snowman
Round 1: Start the Body
Begin by making a magic ring (MR). Work 6 single crochets (sc) into the ring, pulling tight to close. This forms the base for Snowman Adam’s body. Your work should form a small circle; this round will set the foundation for a delightful and round snowman figure (6 sts).
Round 2: Increase for Body Shape
Crochet 2 sc in each stitch around the circle to start shaping the snowman body. This round helps create a plump shape, perfect for showcasing your cozy amigurumi character. Remember, you should have 12 stitches at the end of this round, and your work will start to swell (12 sts).
Round 3: Continue Increasing
In this round, you will crochet 1 sc in the first stitch, then 2 sc in the next stitch, repeating this pattern around. This will give your snowman a lovely rounded shape as it builds up further. After this round, you should have 18 stitches, and your snowman should begin to take on a fuller form (18 sts).
Round 4: Build the Height
Now, make 1 sc in each stitch around for a total of 18 stitches. This plain round allows you to create height for the body while keeping it a nice, consistent shape. You should see your snowman growing taller and your work will feel more like a cylinder at this stage (18 sts).
Rounds 5-16: Continue to Work in Single Crochet
For these rounds, simply work 1 sc in each stitch around, maintaining a clear and simple texture. Over these 12 rounds, your snowman will grow in size and gain a delightful form, perfect for adding personality with your chosen colors. Your total stitch count remains at 18 throughout (18 sts for each round).
Round 17: Begin Shaping the Head
To start shaping Snowman Adam’s head, work 1 sc in the first two stitches, then a decrease (dec) across the next. This will begin to taper your body, giving it a distinct snowman shape. By the end of this round, you’ll have 12 stitches, and your work should start to narrow towards the top (12 sts).
Round 18: Continue Decreasing
Repeat the decrease pattern by working 1 sc in the next stitch, then a dec. This helps further define the head of your adorable snowman while maintaining stability. After you finish the round, you should have 9 stitches, and your work will feel more compact as you approach the top (9 sts).
Rounds 19-22: Final Shaping and Stuffing
In these rounds, continue reducing the number of stitches by dec every round until you reach a small opening. Your stitch counts will be 6, 3, and close up to the finish. As you work through these rounds, be sure to add stuffing to give Snowman Adam his cuddly, plush shape, rounding out his appearance perfectly (6, then 3 sts).
Step 3: Hat Creation with Ochre Yarn
Switch to ochre yarn, and make a chain of 6. Join with a slip stitch (sl st) to form a ring. This will serve as the base for Snowman Adam’s stylish hat. Your ring should appear small but will expand in the following rounds to fit perfectly on his head.
Rounds 1-5: Build the Hat
In these rounds, continuously work in single crochet (sc) around the ring without joining. You’ll create a natural spiral, allowing the hat to develop a rounded shape. Continue this pattern for 5 rounds, ensuring your work has an even look as you crochet in the round—this will be an eye-catching accessory for your snowman.
Step 4: Create the Scarf and Nose from Brown Yarn
Now, from the brown yarn, create a small chain of 15–20 stitches for the scarf. Slip stitch to secure it in place on your snowman. Adjust the chain length to your preference, giving your snowman a fashionable accessory that complements his overall charm.
Step 5: Final Assembly
Once all pieces are made, attach the nose—a simple triangle made from remaining brown yarn—between the eyes. Ensure to sew securely for a lasting finish. Position the safety eyes on the head, just above the center of the body. Your Snowman Adam should now be complete, showing off his delightful features and scarf.
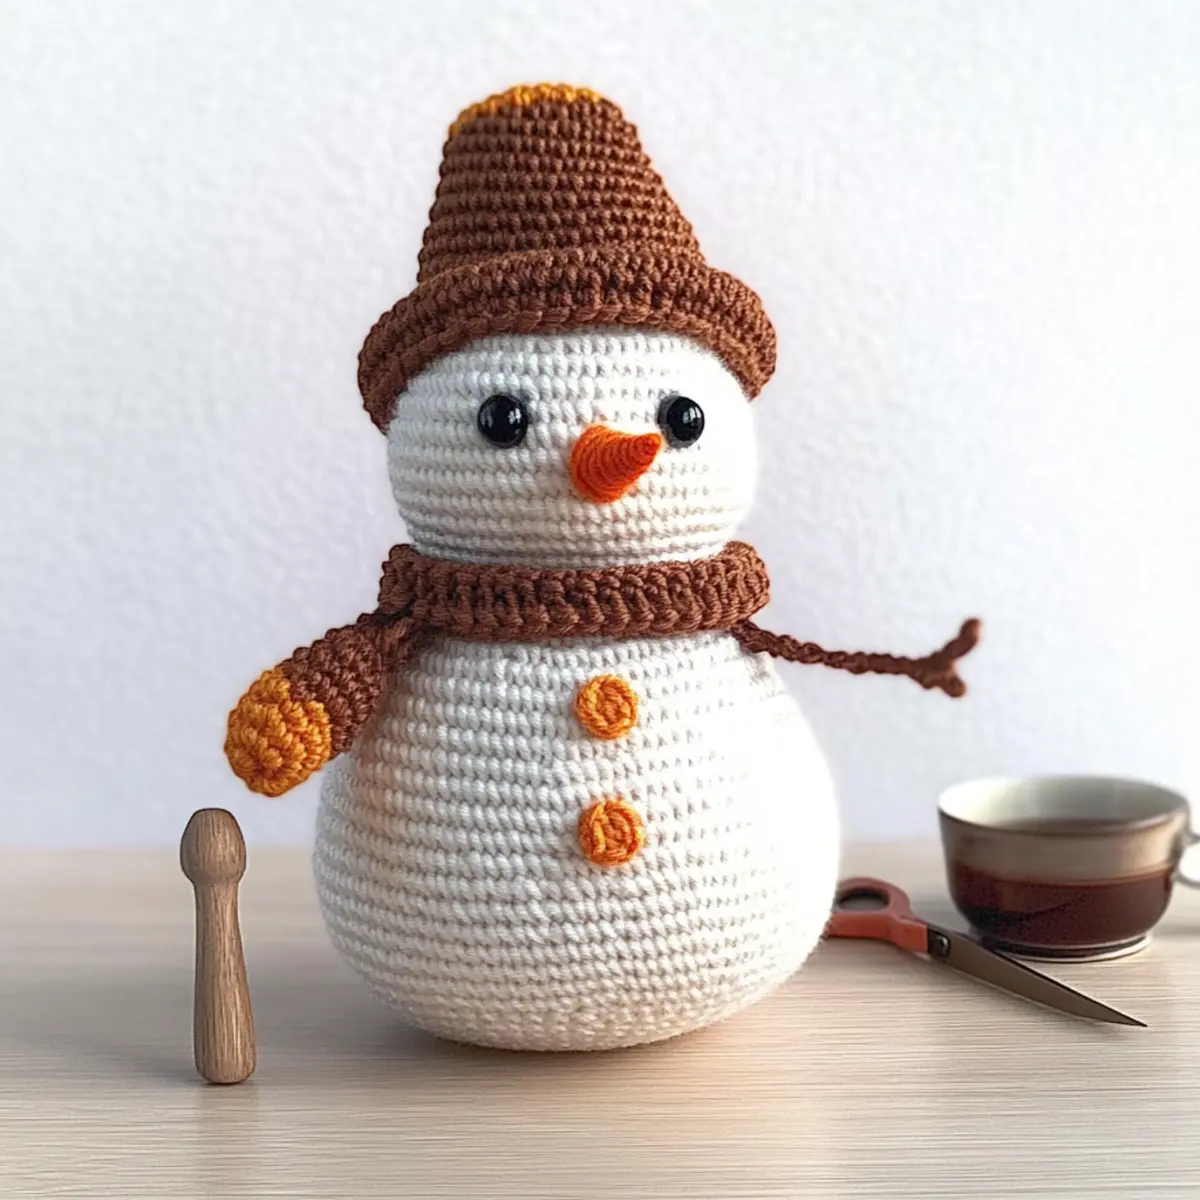
Expert Tips for Snowman Adam
- Consistency is Key: Keep your tension uniform throughout the project to avoid distortion, ensuring Snowman Adam’s shape remains intact.
- Count Your Stitches: Regularly count your stitches at the end of each round to maintain symmetry and accuracy in your crochet work.
- Mind the Safety Eyes: Place safety eyes carefully between rounds 12 and 13 to give your snowman an expressive charm without fuss.
- Choose a Longer Tail: Use a longer tail when fastening off to make sewing pieces together easier and create smoother finishes.
- Secure Your Scarf: When adding the scarf, secure tightly so it stays in place and enhances your snowman’s cozy look.
- Embrace Customization: Experiment with colors and accessories to create a unique snowman, adding a personal touch to your festive decor or gifts.
Variations & Substitutions
Feel free to let your creativity shine as you customize this adorable crochet pattern!
- Yarn Weight Swap: Use sport or bulky yarn for a different texture and size change. Thicker yarn can create a more robust snowman.
- Fiber Alternatives: Cotton vs Acrylic: Try using cotton yarn for a softer finish, giving it a unique touch that’s equally delightful for warmer climates.
- Color Block Accessories: Incorporate different colors for the hat and scarf to match seasonal themes, such as red and green for Christmas or blue and silver for winter.
- Size Adjustments: Modify the size by switching to a larger hook size or thicker yarn. Imagine creating a delightful family of snowmen in various sizes!
- Add a Pom-Pom: For a playful finish, add a pom-pom on top of the hat. This fluffy detail creates extra charm and whimsy.
- Fringe on Scarf: Experiment with long fringe on the scarf for a more textured look. This adds visual interest and a cozy vibe to your snowman.
- Border Enhancement: Create a cute border around the hat or scarf with contrasting yarn colors. This small touch can make your project pop!
- Safety Eyes Variation: Use buttons or felt instead of safety eyes for a different expression. This gives Snowman Adam a unique character that’s heartwarming and whimsical.
Keep exploring these variations to make your Snowman Adam as unique as you are! Don’t forget to check out more beginner-friendly crochet patterns for further crafting inspiration!
How to Wash and Care for Your Snowman Adam
- Hand Washing: To keep your Snowman Adam looking pristine, gently hand wash in cold water with a mild detergent. Avoid agitation to prevent any felting or pilling.
- Drying: After washing, lay your snowman flat on a clean towel, reshaping it to its original form. Avoid hanging it to prevent stretching.
- Storage: When not on display, store your snowman in a breathable fabric bag or box. This will protect it from dust and maintain its cozy charm for years to come.
- Spot Cleaning: For minor stains, lightly spot clean with a damp cloth and mild soap, ensuring to avoid soaking the yarn.
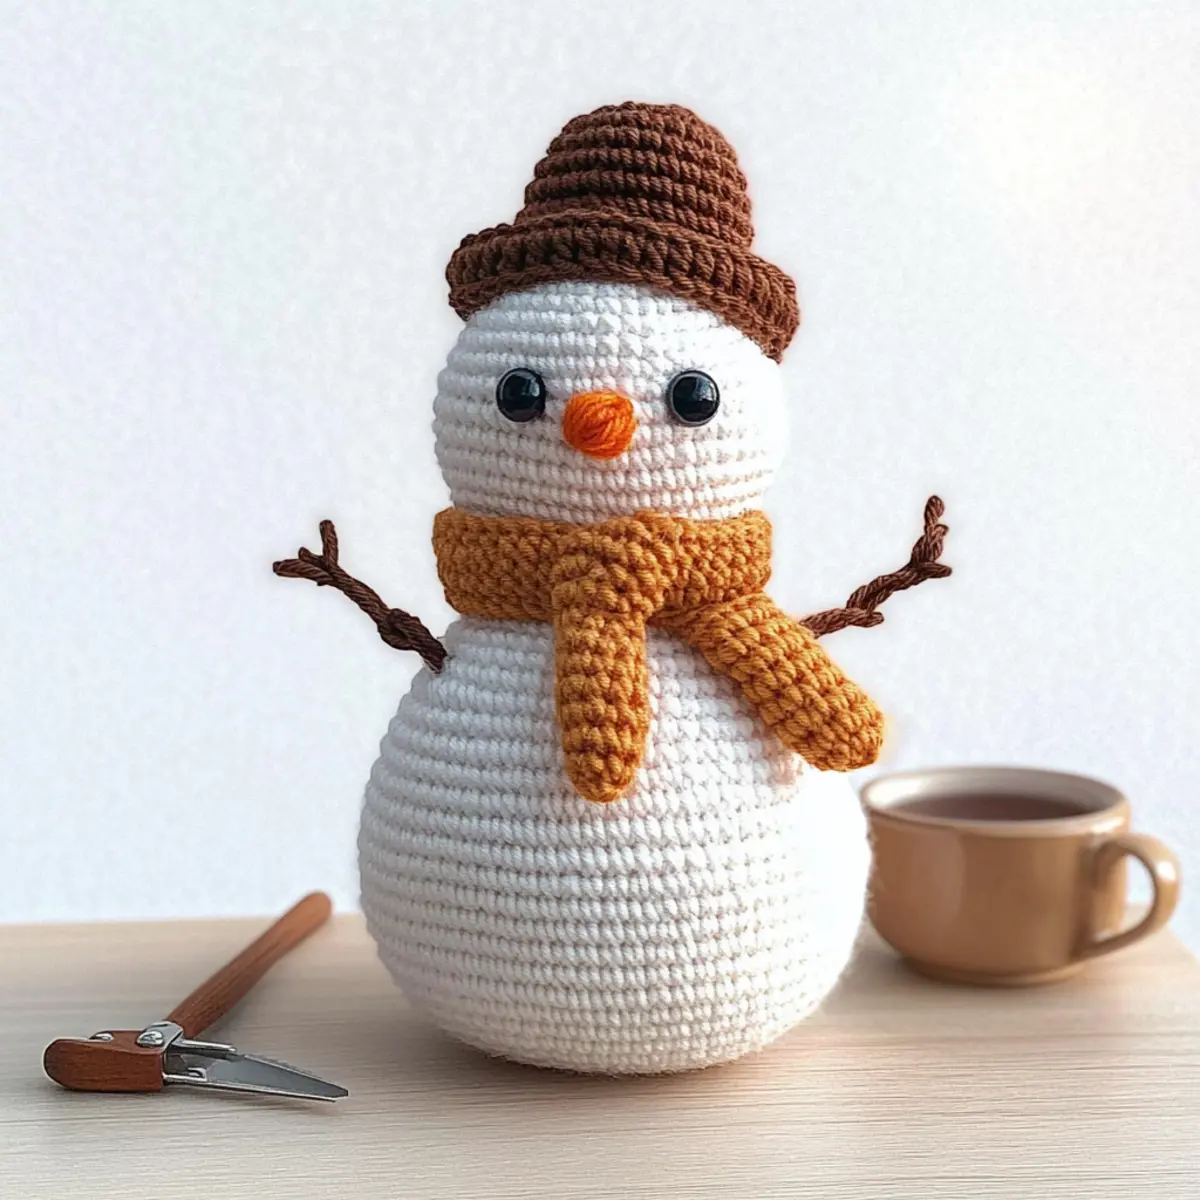
Adorable Amigurumi Snowman Pattern for All Skill Levels FAQs
What yarn substitutions can I use?
Absolutely! If you don’t have the recommended worsted weight (Category 4) yarn on hand, you can substitute with a similar weight acrylic or cotton yarn. Just keep in mind that using a different fiber may alter the final appearance and texture of your snowman.
How can I adjust the size of Snowman Adam?
Don’t panic! To make your snowman larger or smaller, simply select a thicker or thinner yarn and adjust your hook size accordingly. For example, if you use bulky yarn with a 5 mm hook, your snowman will be more substantial. Conversely, using finer yarn with a smaller hook will create a petite version!
Why is my snowman curling at the edges?
This is a common issue that many face. If your work is curling like a bowl, it usually means your tension is too tight. I recommend relaxing your grip and checking your gauge as you work through the pattern, ensuring your tension stays consistent.
What hook size should I use for this pattern?
You’re going to want to use a 2.5 mm (US C-2) hook for this pattern to achieve the right gauge and finish. If you’re new to crochet, don’t hesitate to test with a larger or smaller hook to see which size you feel most comfortable with, ensuring your stitches stay neat.
How do I fix dropped stitches?
It’s an easy fix! If you notice a dropped stitch, simply work back to that point and recover it by pulling your working yarn through the missed stitch. It might take a little patience, but soon your snowman will be back on point!
Can I wash my finished snowman?
It’s best to spot clean or hand wash your snowman in cold water to keep it looking fresh and cute. Remember to lay it flat to dry; this will help maintain its cozy shape and fluffy body!
Leave a Reply