
Amidst the charming chaos of yarn and hooks, there’s nothing quite like the joy of a beautifully crafted granny square. Introducing the Flaming Wheel Cluster Crochet Granny Square, where vibrant flame-like clusters come to life around a sturdy center, creating a rich tapestry of texture that’s simply irresistible. This beginner-friendly pattern is ideal for anyone looking to enhance their crochet skills, while minimizing open holes for a cozy, gap-free finish. With its visually dynamic design and quick work-up, you’ll have a stunning square perfect for blankets, bags, or home décor in no time. Let’s dive into the colorful world of crochet and unleash your creativity with this delightful project!
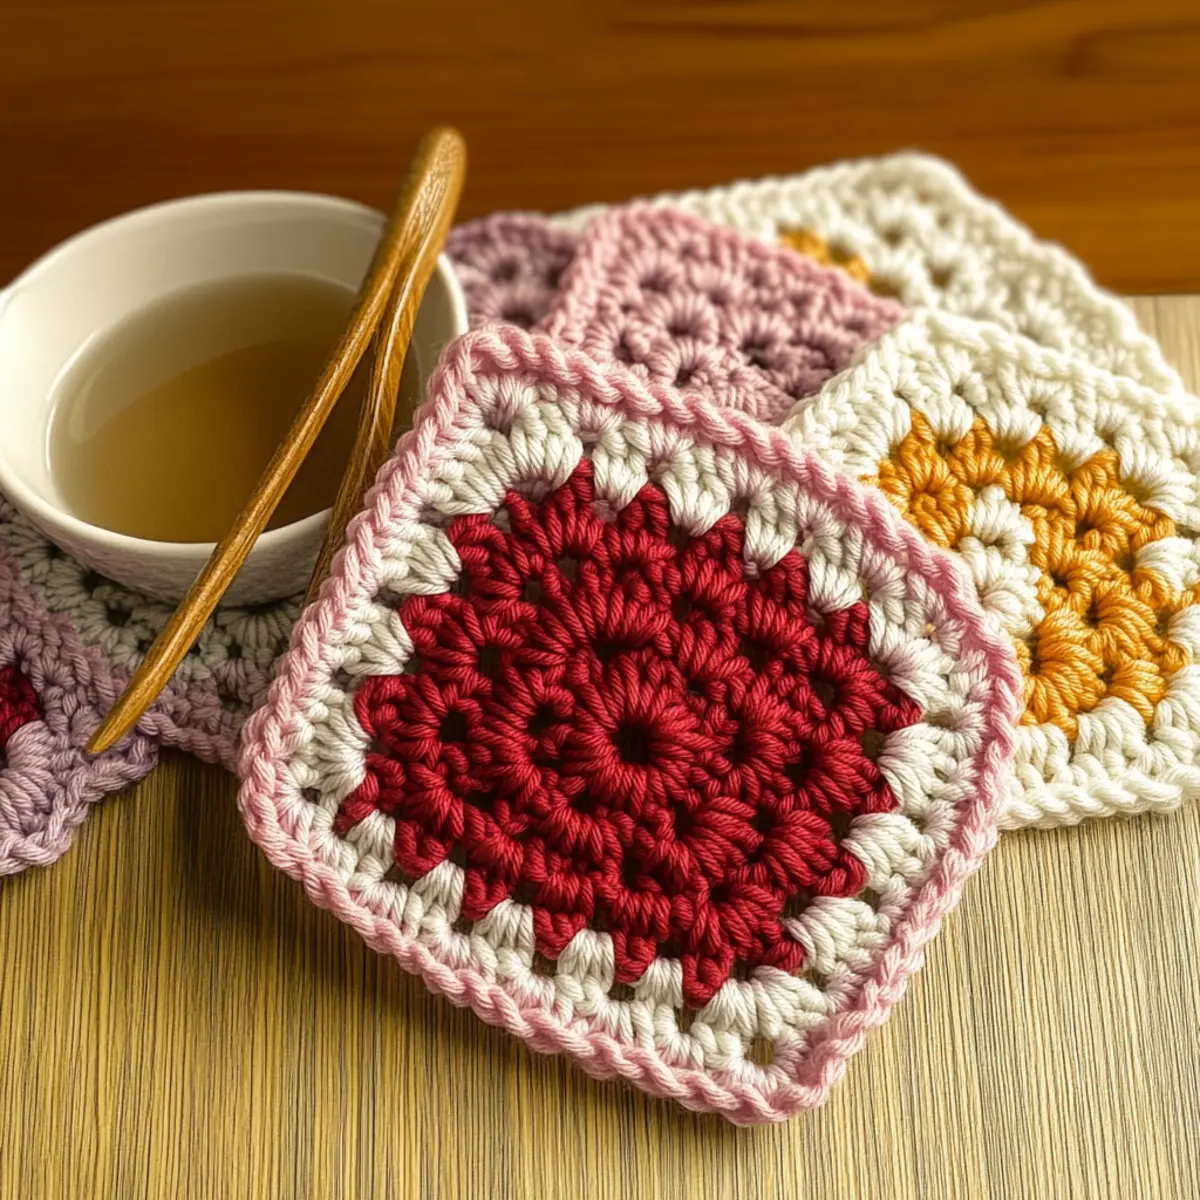
Cozy Cluster Granny Square Materials & Tools
-
Yarn
-
Worsted Weight Acrylic – You’ll need approximately 100-150 yards of this fiber for each square; feel free to substitute with your preferred yarn!
-
Hook
-
4.0 mm (G/6) or 5.0 mm (H/8) Hook – Choose based on your tension; the H hook gives a slightly looser finish.
-
Notions
-
Stitch Marker – Essential for keeping track of your rounds and maintaining the shape of your granny square.
-
Tapestry Needle – Use this for weaving in ends, ensuring a neat, finished look to your cozy cluster granny square.
Dive into your crochet stash and gather these essentials to bring your Flaming Wheel Cluster Crochet Granny Square to life!
Why Choose the Flaming Wheel Granny Square?
Vibrant Design: The eye-catching flame-like clusters create a stunning focal point, making your projects stand out.
Beginner-Friendly: With clear instructions and straightforward stitches, this pattern is perfect for those just starting out in crochet.
Quick to Make: Thanks to the clever use of cluster stitches, you’ll whip up these squares in no time, perfect for last-minute gifts or cozy home accents.
Versatile Options: Feel free to play with color combinations or experiment with sizes—this granny square can easily adapt to your unique style!
Gap-Free Fabric: Say goodbye to those pesky holes; the stitch structure promotes a solid, cozy finish, making it ideal for blankets or bags.
Get started on this fun and rewarding project to enhance your crochet journey! For more exciting patterns, check out our collection of beginner-friendly projects.
How to Check Your Gauge for Flaming Wheel Cluster Crochet Granny Square
Don’t skip the gauge swatch! Ensuring you get the right tension is essential for creating a beautiful Flaming Wheel Cluster Crochet Granny Square that maintains its intended shape and size. The standard gauge measurement for this pattern is a 4×4 inch (10×10 cm) square that equals 12 stitches by 10 rows. If you want to customize the size of your square, you can easily adjust your starting rounds by adding or subtracting rounds. For instance, to make it larger, simply add additional rounds of clusters; to make it smaller, reduce the rounds while keeping the tension consistent. If your swatch comes out too small, try using a larger hook size. Happy crocheting!
Step‑by‑Step Pattern for Flaming Wheel Cluster Crochet Granny Square
Round 1: Starting with the Center
Begin by making a magic circle. Next, crochet 12 double crochets (dc) into the circle, ensuring they are evenly spaced. Once complete, pull the tail to close the circle tightly, then slip stitch (sl st) to the top of the first dc to join. Your work should lay flat with a solid center, making it ready for the following round. (12 sts)
Round 2: Expanding the Base
In this round, you will increase the stitches to create a fuller square. From the slip stitch, chain 2 and then place 2 dc in each stitch around the previous round. This will give your granny square a nice boost in size. Finish the round by sl st into the top of the initial chain to close, resulting in a round filled with vibrant dc. (24 sts)
Round 3: Creating the Clusters
Start with a slip stitch in any stitch, then chain 2 to begin. In the same stitch, crochet a cluster of 3 (cl3) by yarn over, inserting your hook, pulling up a loop, yarn over again, and pulling through the first two loops only twice. Skip the next stitch, chain 2, and repeat this cluster-and-skip pattern around for a total of 12 clusters creating airy gaps between them. Sl st to close. (12 clusters, 12 spaces)
Round 4: Shaping the Flame Design
Begin this round by making a slip stitch in any chain space from the previous round. Work in each space: create a single crochet (sc), followed by 2 half double crochets (hdc), then 2 double crochets (dc) and a treble crochet (tr). Don’t forget to chain 1 after the treble crochet! Finally, crochet another treble, 2 dc, 2 hdc, and 1 sc for a beautiful fan shape. Repeat this in each space and sl st to close. Your square should now show a lovely flame-like pattern. (48 sts)
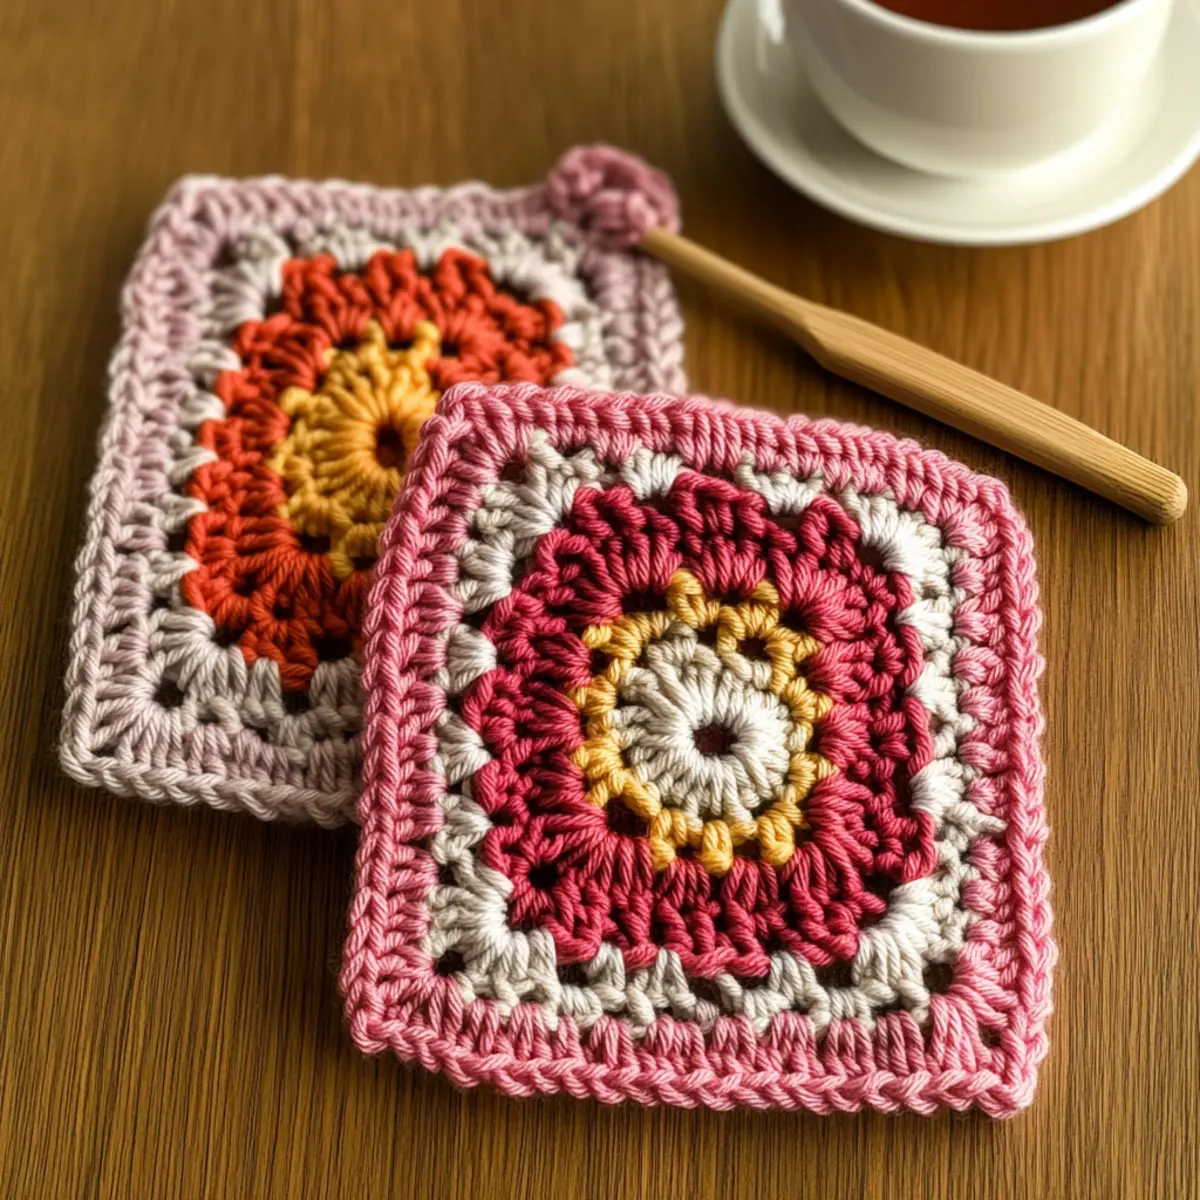
Variations & Substitutions for Granny Squares
Feel free to let your creativity soar and customize this lovely crochet pattern to match your unique style!
-
Yarn Substitutions:
Swap worsted weight acrylic for cotton for a lighter, breathable texture perfect for summer projects.
Cotton yarn elevates your square, giving it a fresh feel suitable for warmer days, ideal for cushions or bags. -
Color-Blocking Ideas:
Try creating distinct sections of color by changing hues every two rounds for a bold statement.
This adds a lively rhythm to your project and allows you to experiment with a fun palette! -
Larger Size Adjustment:
Increase the number of rounds to create a bigger square, perfect for blankets or oversized throws.
Add more rounds for a cozy touch that enhances your home decor, making your living space feel inviting. -
Fiber Variety:
Explore blends, like wool or bamboo, for different textures and warmth levels, enhancing durability.
These unique fibers can bring a soft and luxurious touch, elevating your crochet experience even more. -
Texture Enhancements:
Add a pom-pom or fringe around the edges for a playful finish that enhances visual intrigue.
These details can beautifully complement your color choices and give your projects that extra flair! -
Gradient Effect:
Experiment with a gradient color scheme by slowly transitioning shades for a stunning visual effect.
This adds depth and can really make your granny square pop, making it a focal point in any creation! -
Changing Hook Size:
Use a larger hook size for a looser stitch and airier finish, resulting in a more relaxed square.
This is ideal for delicate projects where you want a light, fluffy texture that feels cozy yet elegant. -
Additional Rounds for Thickness:
Incorporate an extra round of cluster stitches to create a thicker, more cushioned square.
Not only does this add dimension, but it also increases the warmth if used in blankets or throws.
For more inspiring ideas, consider browsing our collection of beginner-friendly patterns or learn more about color theory in crochet to enhance your creative journey!
Washing & Care for Your Flaming Wheel Granny Square
Hand Washing: Use cold water and a gentle soap to hand wash your granny square. This helps maintain the vibrant colors and integrity of your cluster stitches.
Drying: Lay your square flat on a clean, dry towel to air dry. Avoid wringing or hanging as it may distort the shape of your cozy square.
Storage: Store your granny square in a cool, dry place. Keeping it away from direct sunlight will help preserve its color and texture for your future projects.
Blocking: Lightly steam or dampen the square and shape it gently to enhance the stitch definition. This ensures your Flaming Wheel Granny Square looks its best in any finished project.
Expert Tips for the Flaming Wheel Granny Square
-
Count Every Stitch: Regularly check your stitch count after each round. This helps maintain the square shape and prevents accidental increases or decreases.
-
Tension Matters: Keep an eye on your yarn tension. A consistent tension ensures that your clusters are uniform and the fabric lays flat without warping.
-
Secure the Center: Ensure your magic circle is tight enough to prevent gaps in the center of your granny square. A snug circle keeps the structure intact.
-
Prevent Twists: Be mindful of twisting your foundation chain while working the magic circle. This will help you avoid missed stitches in your first rounds.
-
Weave Tight Ends: Use your tapestry needle to weave in ends securely. This not only gives a neat finish but prevents unraveling in your beautifully crafted granny square.
Embrace these tips to create a cozy, stunning square that showcases the charm of cluster stitches!
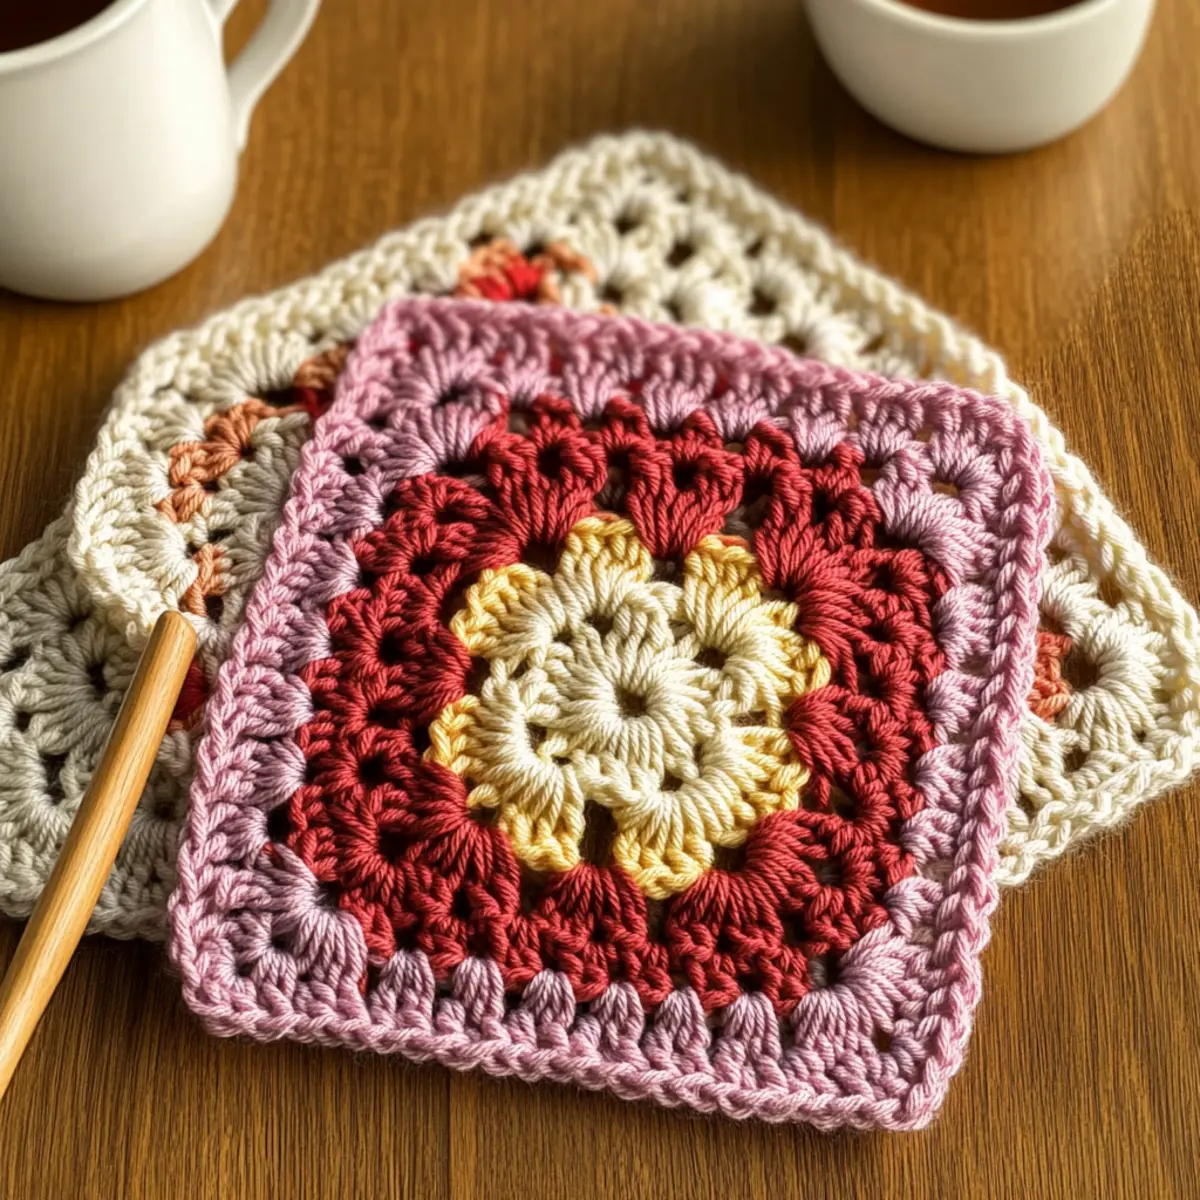
Flaming Wheel Cluster Crochet Granny Square FAQs
Can I use a different yarn instead of worsted weight acrylic?
Absolutely! You can substitute with any worsted weight yarn, such as cotton or blends. Just keep in mind that different fibers may affect the drape and texture of your granny square.
How do I make my granny square bigger or smaller?
To adjust the size, simply add or reduce the number of rounds. For every additional round you add, make sure to keep proper stitch counts to maintain the square shape. For a smaller square, decrease the rounds accordingly.
Why is my granny square curling up at the edges?
Don’t panic! This is often caused by uneven tension or an incorrect hook size. Check your tension and try using a larger hook if your stitches feel too tight. You might also want to regularly count your stitches to ensure consistency.
What hook size should I use for the Flaming Wheel Cluster Granny Square?
The pattern recommends either a 4.0 mm (G/6) or a 5.0 mm (H/8) hook. Choosing the right size largely depends on your tension—if your stitches feel too tight, size up!
How do I fix dropped stitches in my project?
It’s an easy fix! Simply pull the yarn back to the dropped stitch and use your hook to work it up to the proper height. Make sure to secure it with a tight stitch or knot. Remember, practice makes perfect!
Can I add more colors to my granny square?
Absolutely! Experimenting with multiple colors can make your square even more visually dynamic. Try changing colors every round or creating a gradient effect for a stunning finish.
Leave a Reply