
There’s something magical about watching colors blend seamlessly together as you create, and with the stunning Ombre Granny Square, that experience is just a hook away. This beginner-friendly pattern offers a joyful way to explore the ombre effect while honing your crochet skills. Whether you’re looking to whip up a quick, cozy project for yourself or a thoughtful handmade gift, these textured squares can transform into stylish blankets or eye-catching wearables. Plus, they’re perfect for using up your yarn stash! I can’t wait for you to dive in and see how this timeless design can add a modern twist to your crochet collection. Ready to stitch your way to a colorful masterpiece? Let’s get started!
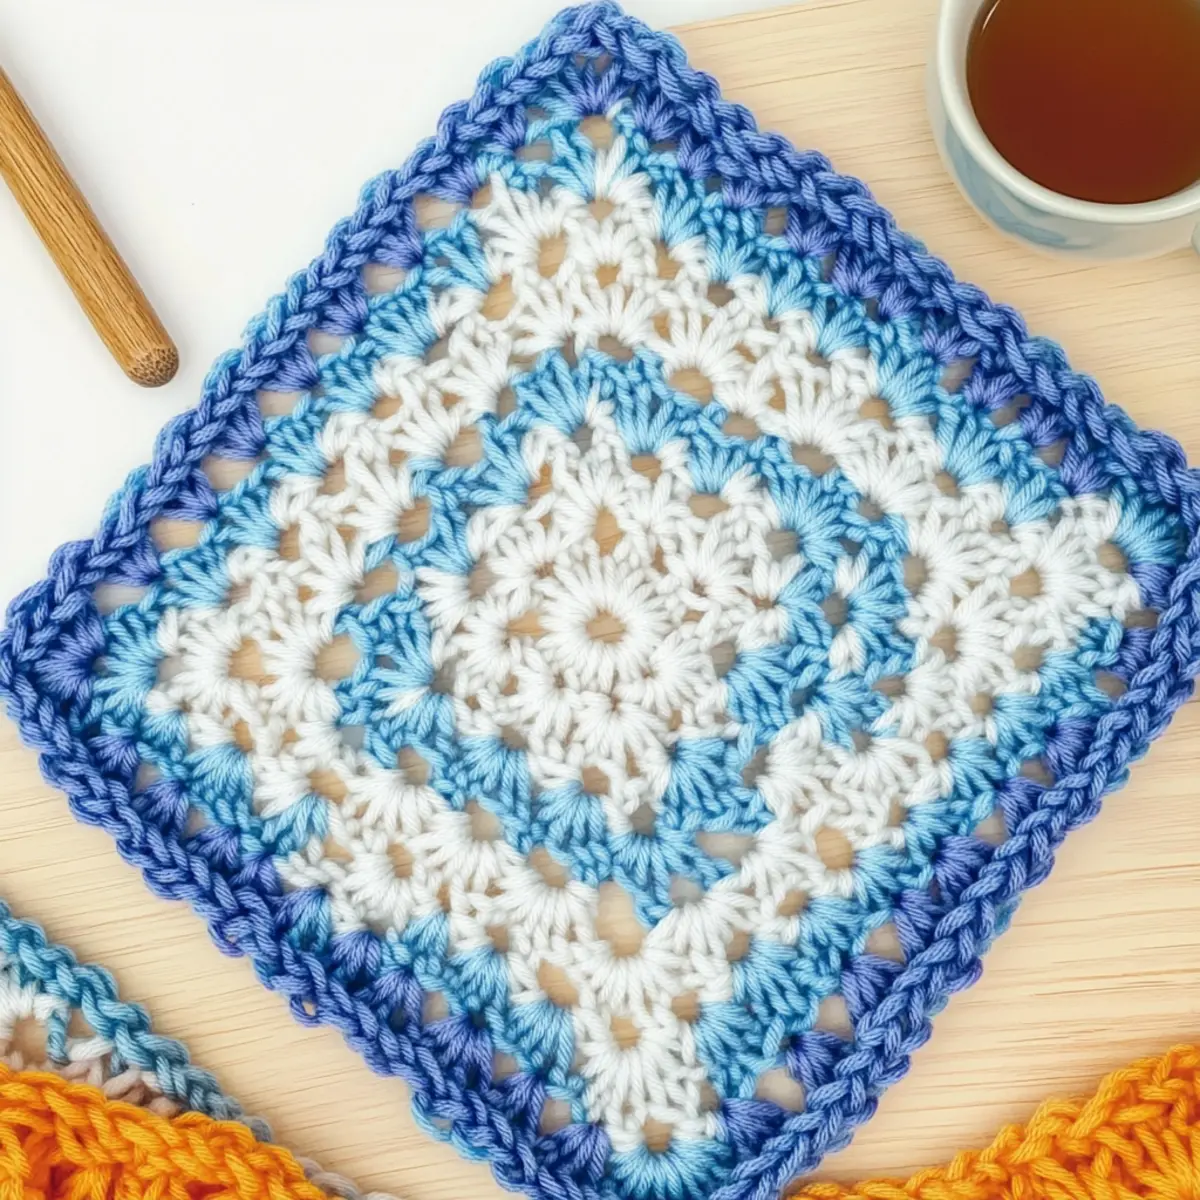
Ombre Granny Square Materials & Tools
Get ready to bring your creative vision to life with the perfect materials for this cozy project!
Yarn
- Worsted Weight Yarn (4) – Use 100% acrylic yarn, approximately 100-150 yards per color to achieve delightful ombre effects.
- Color Choices – Select two or more contrasting colors to enhance the ombre transition beautifully.
Tools & Notions
- 5.0 mm (H/8) Hook – The recommended hook size ensures the perfect tension for your squares.
- Stitch Markers – Helpful for tracking your rounds as you create your vibrant squares.
- Tapestry Needle – Essential for weaving in those pesky ends once your squares are complete.
Now, let’s get crocheting and bring those ombre granny squares to life!
Why is the Ombre Granny Square a Must-Try?
Colorful Transformation: The Ombre Granny Square takes your crochet game to the next level, showcasing a beautiful color gradient that captures the eye.
Beginner-Friendly: With simple yet satisfying stitches, this project is perfect for those just starting their crochet journey.
Textured Delight: The combination of stitches creates a cozy, textured finish that feels as good as it looks.
Quick Project: Ideal for a fast finish, you can whip up these squares in no time—perfect for last-minute gifts!
Versatile Use: Create stunning throws, stylish bags, or even wearables. The options are endless! Consider pairing them with other granny square designs for a unique touch.
Dive into this vibrant project, and let your creativity flourish!
Gauge & Sizing Notes
Don’t skip the gauge swatch! Checking your gauge is essential for the stunning Ombre Granny Square project to ensure each square turns out just right. For this pattern, aim for a tension swatch measuring 4×4 inches (10×10 cm) with 12 stitches by 10 rows using worsted weight yarn and a 5.0 mm hook. If you find your swatch is larger or smaller than this gauge, you can easily adjust the size by modifying your starting chain—remember to increase or decrease in multiples of 3 for the best fit. If your swatch is too small, simply try going up a hook size to achieve that perfect tension!
Step‑by‑Step Pattern for Ombre Granny Square
Round 1: Create the Foundation
Start with a magic ring (MR). Chain 3 (counts as your first double crochet), then work (dc x 2, ch 2) four times into the ring. This creates the corner spaces needed for the granny square. Join with a slip stitch to the top of the initial chain 3. Your work should form a small circle with four clusters and chain spaces around it (16 sts total).
Round 2: Build the Corners
Chain 3, then into each corner space, work (dc x 2, ch 2, dc x 3) to form the corners of your ombre granny square. Between each corner, make (dc x 3) in the chain spaces. After completing the round, join with a slip stitch to the top of the chain 3. Your work should now have eight double crochet clusters with open corners (32 sts total).
Round 3: Increasing the Size
Chain 3, then in each corner space, work (dc x 2, ch 2, dc x 3) again. Between each corner, place (dc x 3) into the DC clusters of the previous round. This round increases the square’s size while adding texture. Join with a slip stitch to close the round. You should see a broader square, measuring approximately 4-5 inches across (48 sts total).
Round 4: Continue the Texture
Repeat the same pattern as the previous round: chain 3, double crochet into each corner (dc x 2, ch 2, dc x 3), and (dc x 3) between corners. This round will enhance the texture of your ombre granny square. Finish with a slip stitch to your starting chain 3. Your square should be expanding beautifully and have vibrant clusters (64 sts total).
Round 5: Maintain the Pattern
Chain 3 and continue to work the same corner cluster: (dc x 2, ch 2, dc x 3). In between corners, place (dc x 3) in the previous round’s clusters. Complete the round by joining with a slip stitch. At this stage, the ombre effect will start to emerge as you add more stitches (80 sts total).
Round 6: Building Up
For this round, chain 3, then create the corners just as before with (dc x 2, ch 2, dc x 3). In every cluster, insert (dc x 3) between the corner clusters. Join with a slip stitch. The square should now display a gorgeous textured pattern with distinct corners (96 sts total).
Round 7: Transition to Borders
Begin with a chain 1, then work in each corner with (sc x 2, ch 1, sc x 2). In between corner clusters, make (sc x 3). This creates a smooth transition before the final border. Join with a slip stitch to close. You should notice a more polished edge forming around your ombre granny square (128 sts total).
Round 8: Finalizing the Square
For the last round, chain 1 and work (hdc x 2) in each corner while making (hdc x 3) between the corners. This half-double crochet border will define the shape of your ombre granny square. Complete the round by joining with a slip stitch. The finished square should now have a beautiful, structured edge, showcasing your ombre gradient beautifully!
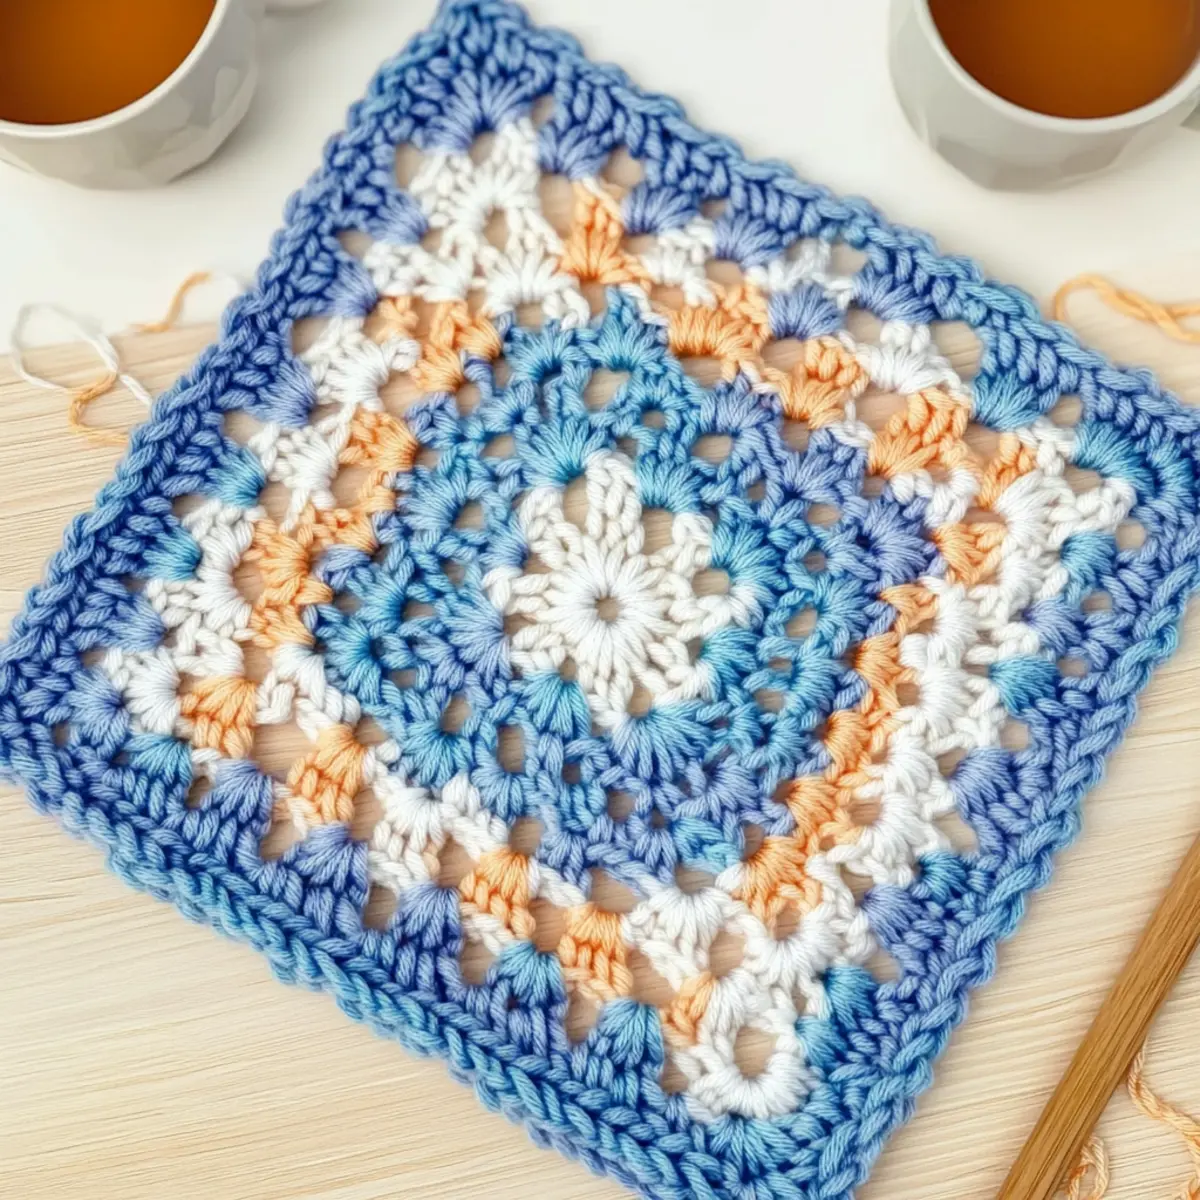
Expert Tips for the Ombre Granny Square
-
Maintain Consistent Tension: Keep your yarn tension even throughout your project to ensure uniformity in the ombre effect and square size.
-
Count Your Stitches: Regularly count your stitches every few rounds to avoid unintentional increases or decreases, which can disrupt your beautiful pattern.
-
Secure Your Colors: When changing colors, drop the previous yarn entirely and ensure the new color is securely fastened to create a seamless ombre gradient.
-
Use Stitch Markers: Place stitch markers at the start of each round, which helps track your progress and detect any mistakes promptly.
-
Block Your Squares: Once finished, block your squares to refine their shape and enhance the textured finish, making your finished pieces look polished and professional.
Washing & Care for Your Ombre Granny Square
- Hand Washing: Gently hand wash your ombre granny squares in cold water with a mild detergent to preserve the texture and color blending. Avoid harsh agitation to prevent felting.
- Drying/Blocking: Lay your squares flat on a clean, dry surface to maintain their shape while drying. This will also enhance the ombre effect and texture of the final product.
- Storage: Store your finished squares in a cool, dry place, preferably in a breathable bag, to prevent any humidity damage or colors bleeding into each other.
- Avoid Sunlight: Keep your ombre granny squares out of direct sunlight to prevent fading and to maintain the vibrancy of your stunning colors over time.
Ombre Granny Square Variations
Ready to sprinkle your creativity onto those beautiful squares? Here’s how you can personalize your ombre granny squares to make them truly your own.
-
Yarn Weight Swaps: Experiment with sport or DK weight yarn for smaller squares. Adjust your hook size accordingly for best results.
-
Solid Color Twist: Choose a single vibrant color for an elegant look while retaining texture. Each round will still showcase your skill beautifully.
-
Fiber Alternatives: Try using cotton yarn for a softer, breathable texture—ideal for spring and summer projects. Your squares will take on a delightful drape!
-
Color-Blocking: Create a playful patchwork by alternating solid colors every few rounds. This adds visual interest and lets you showcase your favorite shades.
-
Sizing Adjustments: To create larger squares, simply add additional rounds. Keep track of your increases to maintain the square shape.
-
Textured Borders: Finish your granny squares with a charming border of scallops or picots. It not only enhances the design but also adds a personal touch.
-
Pom-Pom Accents: Attach mini pom-poms at the corners for a whimsical flair. These tiny details can elevate your squares and lend a playful aesthetic.
-
Mix with Other Motifs: Combine your ombre granny squares with floral motifs or hexagons. This creates an eclectic mix that will certainly impress anyone who sees your work!
Explore these variations to let your creativity shine. Don’t forget to check out how to create granny square designs for even more inspiration!
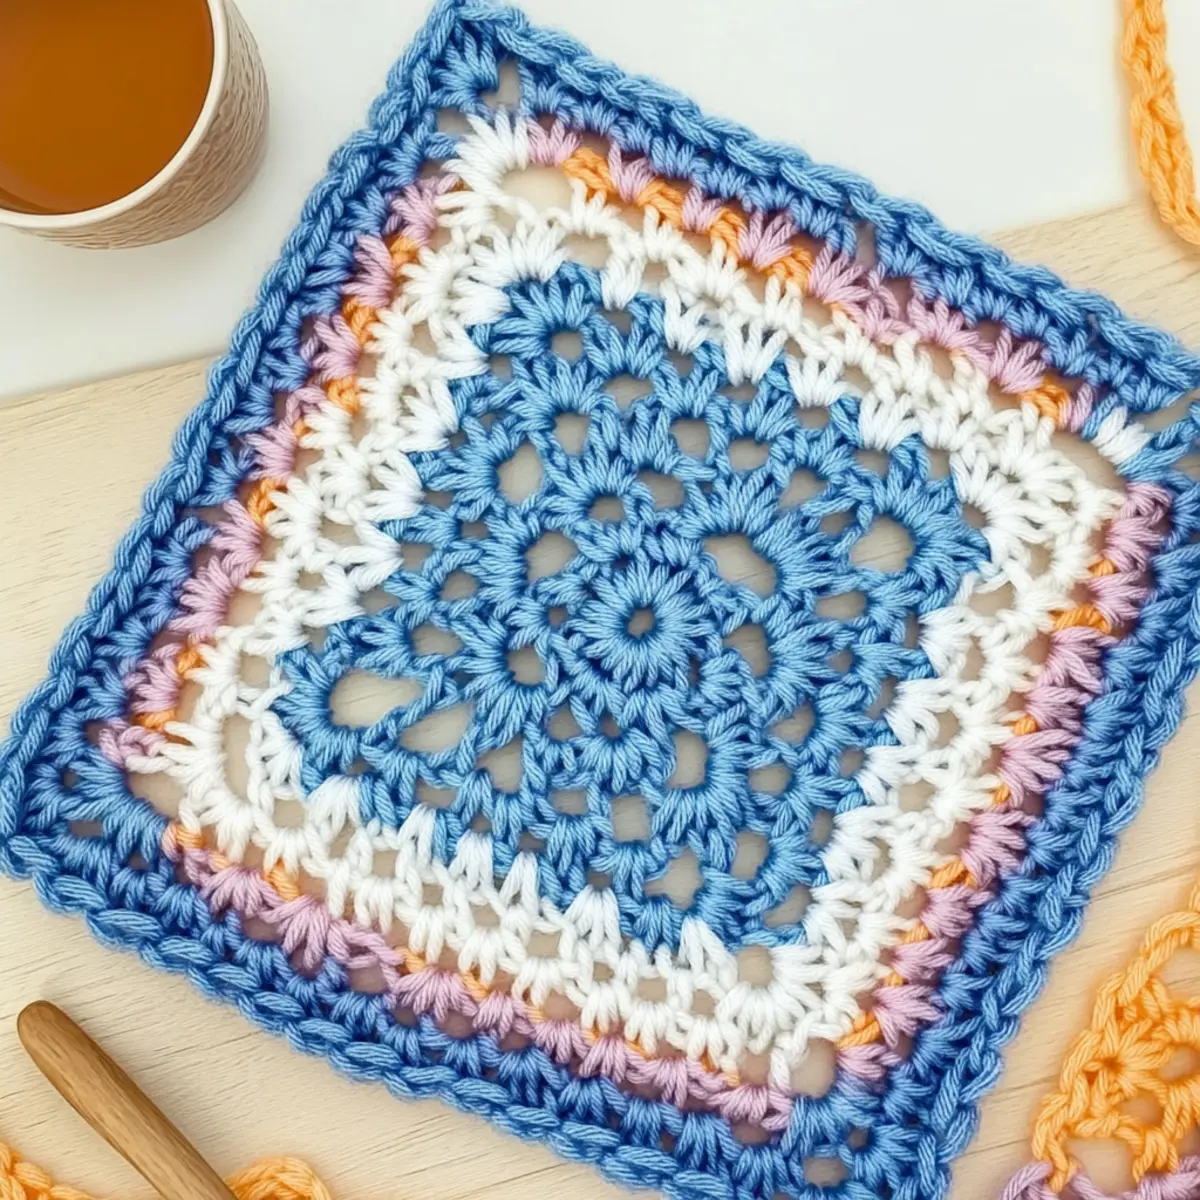
Stunning Ombre Granny Square Crochet Pattern FAQs
Can I substitute yarn types for this pattern?
Absolutely! While worsted weight acrylic yarn is recommended for the Ombre Granny Square, feel free to experiment with cotton or blends. Just remember, different yarns may affect your gauge and finished square size. It’s always a good idea to check your gauge first!
How can I adjust the size of my granny square?
Don’t panic! If you want to make your square larger, simply increase the number of rounds. Each additional round will add about an inch, depending on your tension. For a smaller square, you can eliminate rounds or use a finer yarn with an appropriate hook size.
Why is my work curling?
If your granny squares are curling like the edge of a bowl, it could be that your tension is a bit too tight! Try loosening your stitches or adding a couple of extra stitches in your corners to help flatten things out.
What hook size should I use for this pattern?
For this project, a 5.0 mm (H/8) hook is recommended for worsted weight yarn. If you’re using a different yarn weight, adjust the hook size accordingly—just remember to check your gauge!
How do I fix dropped stitches in my square?
Don’t worry, fixing dropped stitches is an easy fix! Simply pull the yarn back to where the stitch dropped and recreate it carefully. You can use a tapestry needle to weave the yarn into the correct stitch or re-crochet it on your next round to secure it efficiently.
How do I maintain the ombre effect while changing colors?
To maintain that stunning ombre effect, change yarn colors every one to two rounds. Make sure to securely fasten off the old color before attaching the new one, so your gradient flows seamlessly. A little practice makes this technique easier to master!
Leave a Reply