
As I sat on my cozy couch, a skein of richly textured yarn nestled in my lap, inspiration struck like a bolt of lightning. The Dramatic Spade Granny Square pattern invites you to explore the beauty of three-dimensional crochet, adding a captivating flair to your projects. This intermediate to advanced motif features a unique texture that not only elevates your crochet skills but also creates visually stunning pieces. With its dynamic design and a little practice, you’ll find that this square is a perfect stash-buster, making it both practical and inspiring. So, grab your hook and let’s dive into the mesmerizing world of crochet together! You won’t believe how quickly you can transform simple yarn into eye-catching artwork.
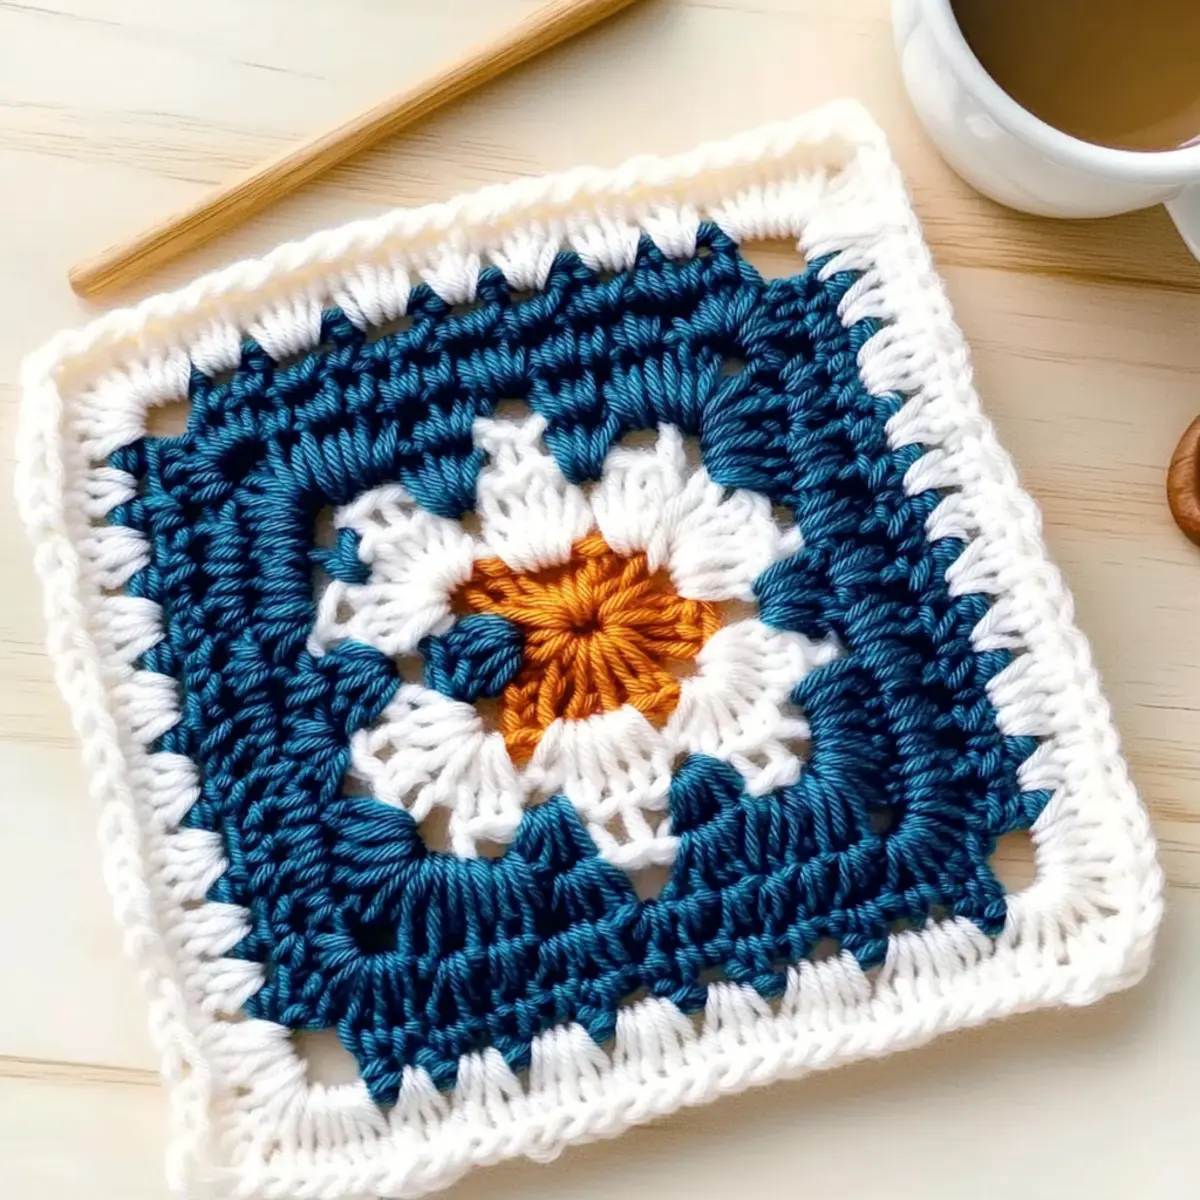
Dramatic Spade Granny Square Materials & Tools
Creating your very own Dramatic Spade Granny Square is a delightful journey into the world of advanced crochet techniques! Here’s everything you need to get started on this captivating project.
Yarn
- Worsted Weight Yarn (Category 4) – Approximately 50-100 yards, depending on your desired project size; opt for vibrant colors to enhance the square’s unique texture.
Tools & Notions
- 5.5 mm (I-9) Hook – This hook size is perfect for achieving the gauge needed for the three-dimensional design.
- Stitch Markers – Essential for keeping track of rounds, especially when working complex stitches.
- Tapestry Needle – Use this to weave in ends neatly, giving your finished square a polished look.
- Blocking Mats & T-Pins – Aggressive blocking is key! These will help you define the shape and enhance the dramatic effect of your square.
Embark on this crochet adventure with confidence! Happy stitching!
Why Choose the Spade Granny Square?
Unique Texture: The enchanting design of this square features a three-dimensional aesthetic, creating a captivating visual rhythm that truly stands out.
Expert Craftsmanship: You’ll develop advanced crochet skills through an engaging journey of tall stitches and clusters, perfect for the ambitious crafter looking to hone their techniques.
Dynamic Appeal: This pattern beautifully catches the light, making it a dramatic addition to any home decor. Imagine how it will look as part of a cozy blanket or stunning wall hanging!
Versatile Usage: Whether as a statement piece for a blanket or incorporated into wearables, the Spade Granny Square thrives in various projects, allowing for endless creativity.
Stash-Busting Potential: With just 50-100 yards, this project efficiently utilizes leftover yarn, making it not only a fun endeavor but also a sustainable choice for your crafting habits.
You’re not just making a square; you’re crafting a conversation piece! Be sure to check out different crochet techniques to expand your skills even further.
How to Check Your Gauge for Dramatic Spade Granny Square
Don’t skip the gauge swatch! Ensuring your tension is spot on is crucial for achieving the striking dimensions of the Dramatic Spade Granny Square. To check your gauge, create a 4×4 inch (10×10 cm) square and aim for 14 double crochets by 8 rows. If your measurements don’t match, adjusting size is simple—just increase your starting chain in multiples of 6 to make your square larger, or decrease it for a more compact version. If your swatch is too small, a quick shift to a larger hook size can work wonders. Happy crocheting!
Step‑by‑Step Pattern for Dramatic Spade Granny Square
Round 1: Magic Ring and Initial Stitches
Start with a magic ring (MR), chain 3 (counts as first double crochet). Work 14 double crochet (dc) into the ring, making sure to pull the ring tightly as you go. Join the round with a slip stitch (sl st) to the top of the beginning chain, creating a total of 15 stitches (15 sts). Your work should resemble a small circle.
Round 2: Forming the Spade Points
Chain 1 (does not count as a stitch), then work a single crochet (sc) in the same stitch. Skip the next stitch, then work a treble crochet (tr) in the next stitch; skip the next stitch and perform a half double crochet (hdc) in the next stitch. Repeat from * to * around the circle. Join with a slip stitch to the first sc. You should see pointed shapes starting to form.
Round 3: Building the Frame
Begin this round with a chain 3 (counts as a dc), then double crochet (dc) into the same stitch. Work 2 dc into the next st, then create a cluster of 3 treble crochets (tr) in the skipped st from Round 2. Skip 1 stitch, and repeat from * to * around the round. Finish with a slip stitch to the top of the beginning chain—your square should start taking on a more defined shape (30 sts total).
Round 4: Adding the Border
For this final round, chain 1 (does not count as a st) and work a single crochet (sc) in the same st. Then, work a single crochet around each post of the previous round’s stitches, ensuring that you add an extra sc in the center of each cluster for stability. Continue this all the way around, joining with a slip stitch at the end. This border will give the Dramatic Spade Granny Square a polished finish (total sc should equal 60).
Variations & Substitutions
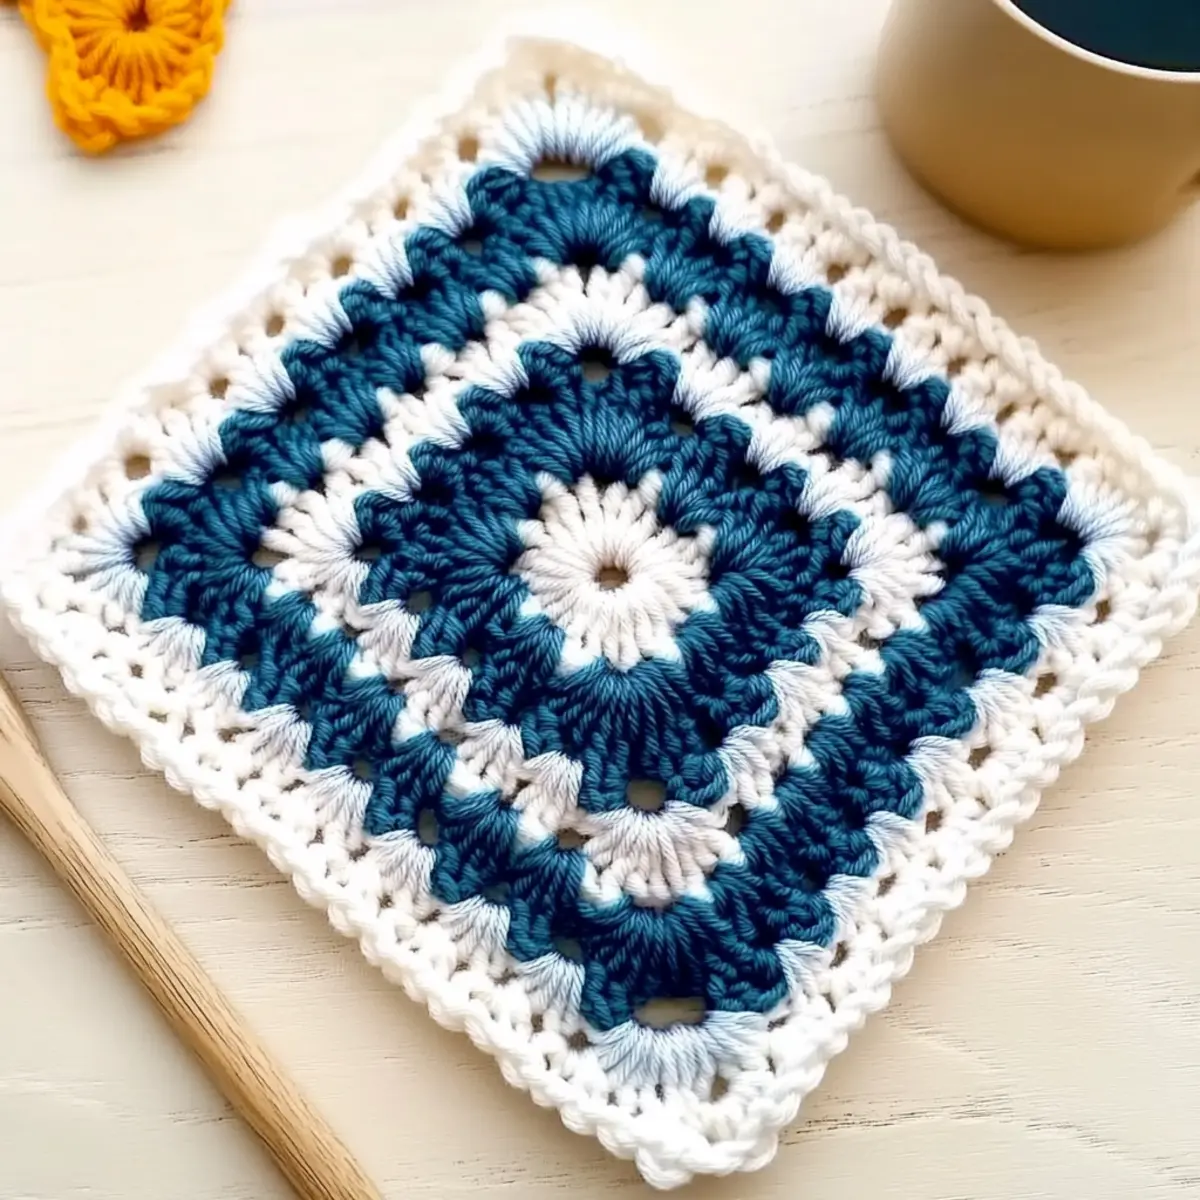
Enhance your crochet experience by customizing the Spade Granny Square to suit your unique style and preferences!
-
Yarn Weight Swaps: Experiment with a lighter yarn for a delicate look or a bulkier option for extra warmth and drama.
-
Color Combinations: Use a lively mix of colors or create a gradient effect by transitioning slowly from one color to another. Each combination will offer a fresh perspective on this timeless design.
-
Fiber Alternatives: Switch to cotton for a lightweight, summer-friendly vibe or acrylic for a soft, cozy feel. Each fiber offers its own unique drape!
-
Size Adjustments: Add more rounds to scale up your square for larger projects like a stunning throw. Alternatively, decrease the rounds for petite coasters that catch the eye.
-
Textured Borders: Introduce exciting textures by adding a ruffled or scalloped border. This finishing touch can elevate your square and highlight its three-dimensional quality.
-
Fringe Accents: Add playful fringe to the edges for a bohemian touch. This fun addition will create movement and flair, bringing your square to life.
-
Top-Down Granny Triangles: Consider transforming this square into a triangle shape, perfect for shawls or unique motifs. This adaptation showcases versatility and creativity.
For more inspiration on innovative crochet techniques, be sure to explore different crochet techniques that can open up new possibilities in your crafting journey!
Expert Tips for the Spade Granny Square
-
Consistent Tension: Maintain even tension throughout your stitches to prevent distortion. This is especially important when working with double and treble crochet stitches.
-
Count Carefully: Keep a close count of your stitches, especially during the complex rounds. Losing track can lead to uneven shapes that stray from the stunning spade design.
-
Skip Stitches: Pay attention to the skipped stitches indicated in the pattern. Skipping the wrong ones can disrupt the motif’s characteristic spade shape.
-
Aggressive Blocking: After completing your square, don’t shy away from aggressive blocking. It will define the shape beautifully, emphasizing that three-dimensional look.
-
Finishing Touches: Use a tapestry needle to weave in any loose ends thoroughly. This helps ensure a polished finish, enhancing the overall appearance of your dramatic square.
-
Practice Patience: If you’re new to this pattern, take your time! Enjoy the process, and don’t rush through the steps to achieve that unique texture that makes this square shine.
Care Instructions for Spade Granny Square
-
Hand Washing: Gently wash your finished Spade Granny Square in cold water with a mild detergent to preserve the unique texture and vibrant colors. Avoid twisting or wringing.
-
Drying/Blocking: After washing, lay the square flat on a clean, dry towel and reshape it to maintain the three-dimensional design. Pin it to blocking mats for precise definition of its shape.
-
Storage: Keep your completed square in a cool, dry place away from direct sunlight. This helps prevent fading and maintains the integrity of its stunning texture.
-
Avoid Heat: Never machine wash or tumble dry your square, as heat can distort the beautiful stitches and lead to unwanted felting.
Dramatic Spade Granny Square FAQs
Can I substitute yarn for the Spade Granny Square pattern?
Absolutely! While the pattern calls for worsted weight yarn (Category 4), feel free to try different fibers like cotton or acrylic. Just remember that the thickness of the yarn will affect the final texture and dimensions, so check your gauge if you’re making a significant switch.
How do I make my Spade Granny Square bigger or smaller?
To adjust the size of your square, you can add or remove rows as needed. Just keep in mind the math: if you’re looking to increase the width, add rounds in multiples of the stitches used in previous rounds to maintain the pattern’s integrity.
Why is my Spade Granny Square curling at the edges?
Don’t panic! Curling can happen when the tension is uneven or if you’re not following the stitch counts precisely. Make sure you’re keeping consistent tension and sticking closely to the pattern’s instructions for skipped stitches. A good blocking can also help flatten out curled edges.
What hook size should I use for the Spade Granny Square?
The recommended hook size is 5.5 mm (I-9), but it’s always best to check your gauge first. If you find your square is not achieving the intended texture, consider adjusting the hook size up or down to find what works best for your yarn choice.
How do I fix dropped stitches in my square?
It’s an easy fix! Gently pull the yarn to bring the dropped stitch back up to the current row and use a tapestry needle to weave it back into the fabric. If you’re unsure, there are many helpful video tutorials online that can guide you through the process visually!
How do I ensure my spade points are sharp and defined?
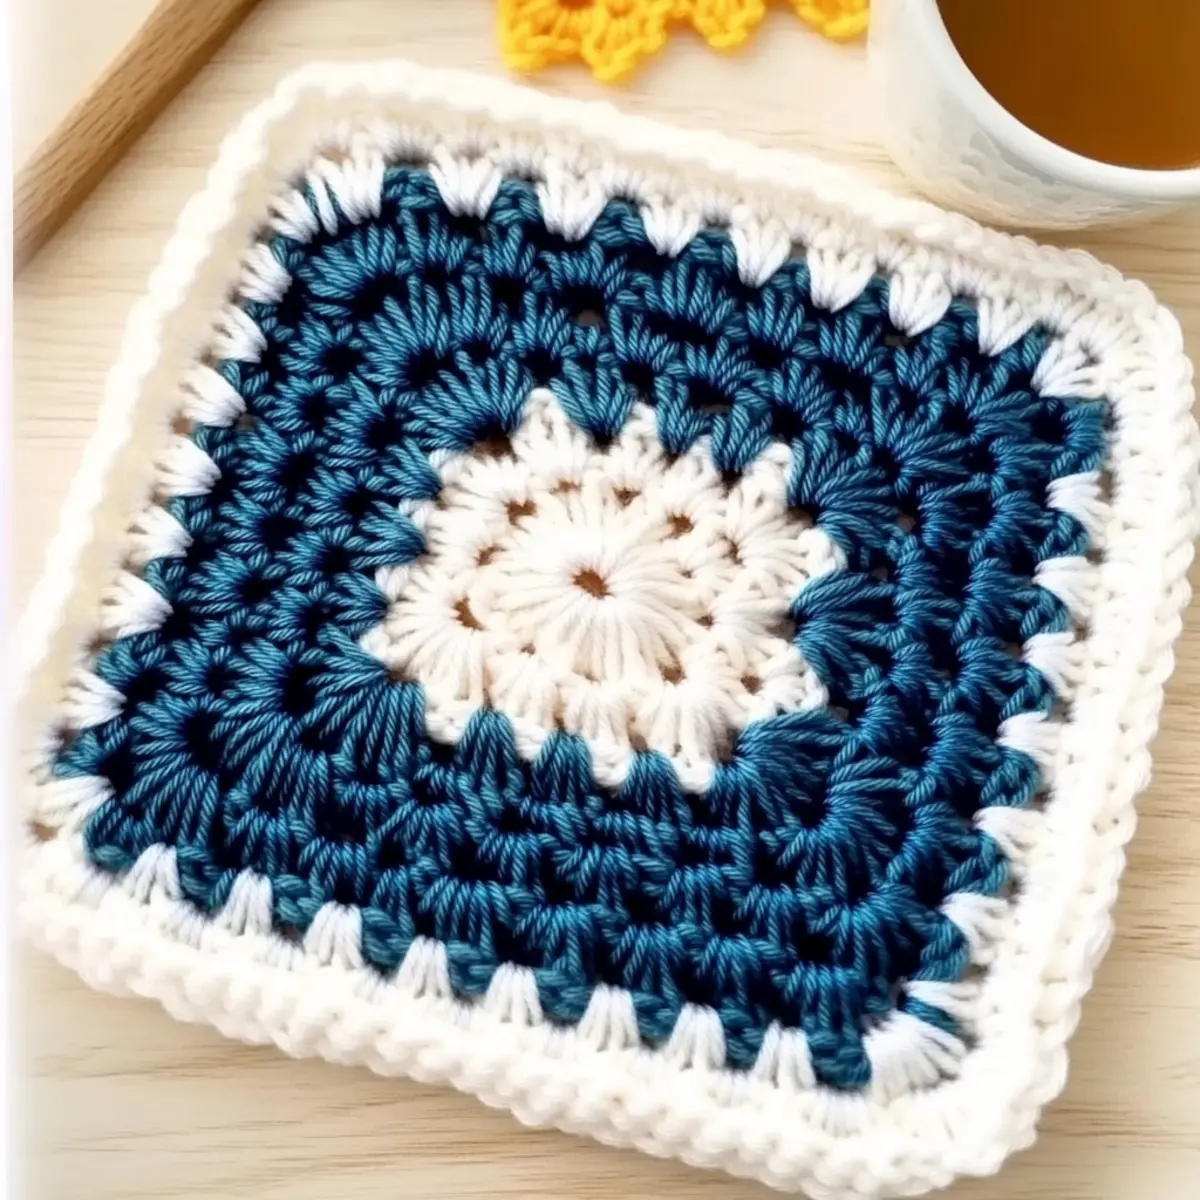
Expert tip: Pay close attention to the skipped stitches as indicated in the pattern! Skipping them correctly is crucial for creating that distinctive spade shape. Aggressive blocking after finishing is also key to firming up those points and enhancing the overall appearance.
Leave a Reply