
There’s something captivating about the simplicity of a flower—especially when it’s your very own crochet creation. The Charming Crochet Daisy Flower motif captures that essence beautifully, bringing the bright cheer of summer right into your hands. Perfect for beginners and returning crafters alike, this quick-to-make floral design is not only satisfying to crochet, but it also offers a fantastic way to use up leftover yarn from your stash. You’ll love how versatile this charming pattern is, allowing you to play with an array of color combinations to match any season or occasion. Join me as we embark on this rewarding project that promises to end in a delightful daisy that will brighten up any accessory. Are you ready to let your creativity bloom?
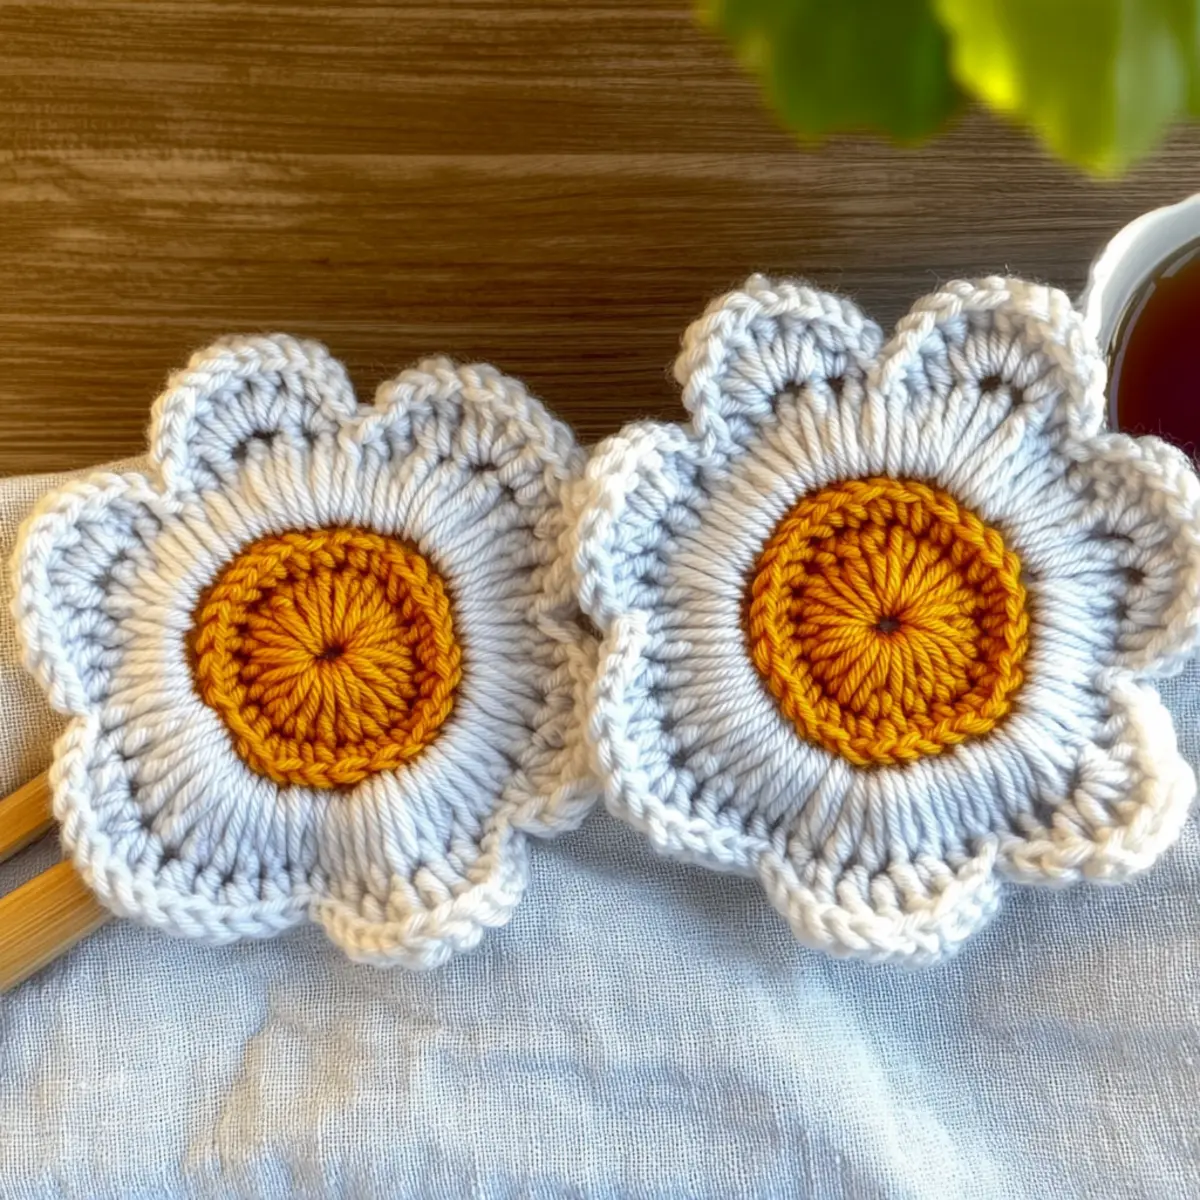
Crochet Daisy Flower Materials & Tools
-
Yarn
• DK Weight Yarn (Category 3) – Opt for cotton or cotton-acrylic blends for a lovely sheen; approximately 30-50 yards should be enough for one flower. -
Hook
• 4 mm (G/6) Hook – This size ensures a firm stitch structure without too much fluff for your Daisy Flower. -
Notions
• Yarn Needle – Essential for weaving in ends, keeping your project neat and portable. -
Optional Embellishments
• Beads or Buttons – Add a touch of personalization to the flower center for extra flair!
Why You Should Crochet a Daisy Flower?
Instant Gratification: You can create this charming Daisy Flower design in under an hour! Perfect for those moments when you need a quick creative fix.
Beginner-Friendly: With simple stitches like the Magic Ring and Double Crochet, even novice crafters will feel confident tackling this project.
Stash-Buster: Use up those leftover yarn scraps, turning them into lovely floral motifs instead of letting them languish in your stash.
Endless Customization: Mix and match your favorite colors—from pastel pinks to bold reds—for flowers that reflect your personality and seasonal vibes.
Versatile Application: Whether you want to embellish a tote, hair accessory, or gift wrap, this Daisy Flower can brighten up any project. Get excited to see how this delightful pattern can enrich your crafting journey!
Gauge & Sizing Notes
Don’t skip the gauge swatch! Ensuring the right tension is vital for your Crochet Daisy Flower, as it helps maintain the delightful proportions of your floral motifs. The standard gauge for this project is 4×4 inches (10×10 cm), which should equate to approximately 14 double crochets and 8 rows. If you wish to make your daisy larger, simply increase your starting chain in multiples of 6 for added rounds, or use a larger hook size if you crochet tightly. On the flip side, if your swatch is too small, consider going up a hook size or adjusting your tension. Happy crocheting!
Step‑by‑Step Pattern for Charming Crochet Daisy Flower Motif
Round 1: Start with a Magic Ring
Begin your Daisy Flower by creating a Magic Ring. Chain 3 (this counts as your first double crochet – DC), then work 11 DC into the ring. Pull the tail to tighten the ring, ensuring your stitches are snug. Join with a slip stitch (sl st) to the top of the chain-3 to close the round. Your work should form a small circle with 12 stitches total (12 sts).
Round 2: Create the Flower Center
For the second round, chain 3 (counts as DC) again, then make 1 DC in the same stitch. Work 2 DC in each of the next 11 stitches for a total of 24 stitches. Join with a sl st to the top of the chain-3. Your Daisy Flower’s center should now appear raised and rounded, with clear stitch definition (24 sts).
Round 3: Form the Petals
In this round, chain 3 (counts as DC), then make 1 DC in the same stitch. Skip the next stitch and work 3 DC into the following stitch for your first petal. Repeat this pattern (skipping one stitch and making 3 DC in the next) around the circle until you have completed 12 petals. Join with a sl st to the top of the chain-3. Your project should begin to take on a flower shape (12 petals).
Round 4: Add Petal Details
To give your Daisy petal a more defined look, chain 1 and work 1 single crochet (sc) in the first petal. Then, chain 2 and work 1 sc in the next petal. Repeat this across all petals, creating arches between them. This round will add a delicate touch, helping your Daisy Flower bloom beautifully. Join with a sl st to the first sc. Your work should have a lovely scalloped edge now.
Round 5: Finishing Touches
To complete your Crochet Daisy Flower, chain 1 and work a slip stitch in each of the sc’s from the previous round. This will create a clean finish along the edge of your petals. Cut the yarn, leaving a long tail for weaving in. Use a yarn needle to weave in any loose ends. Your finished Daisy Flower should be airy and round, a perfect addition to any project!
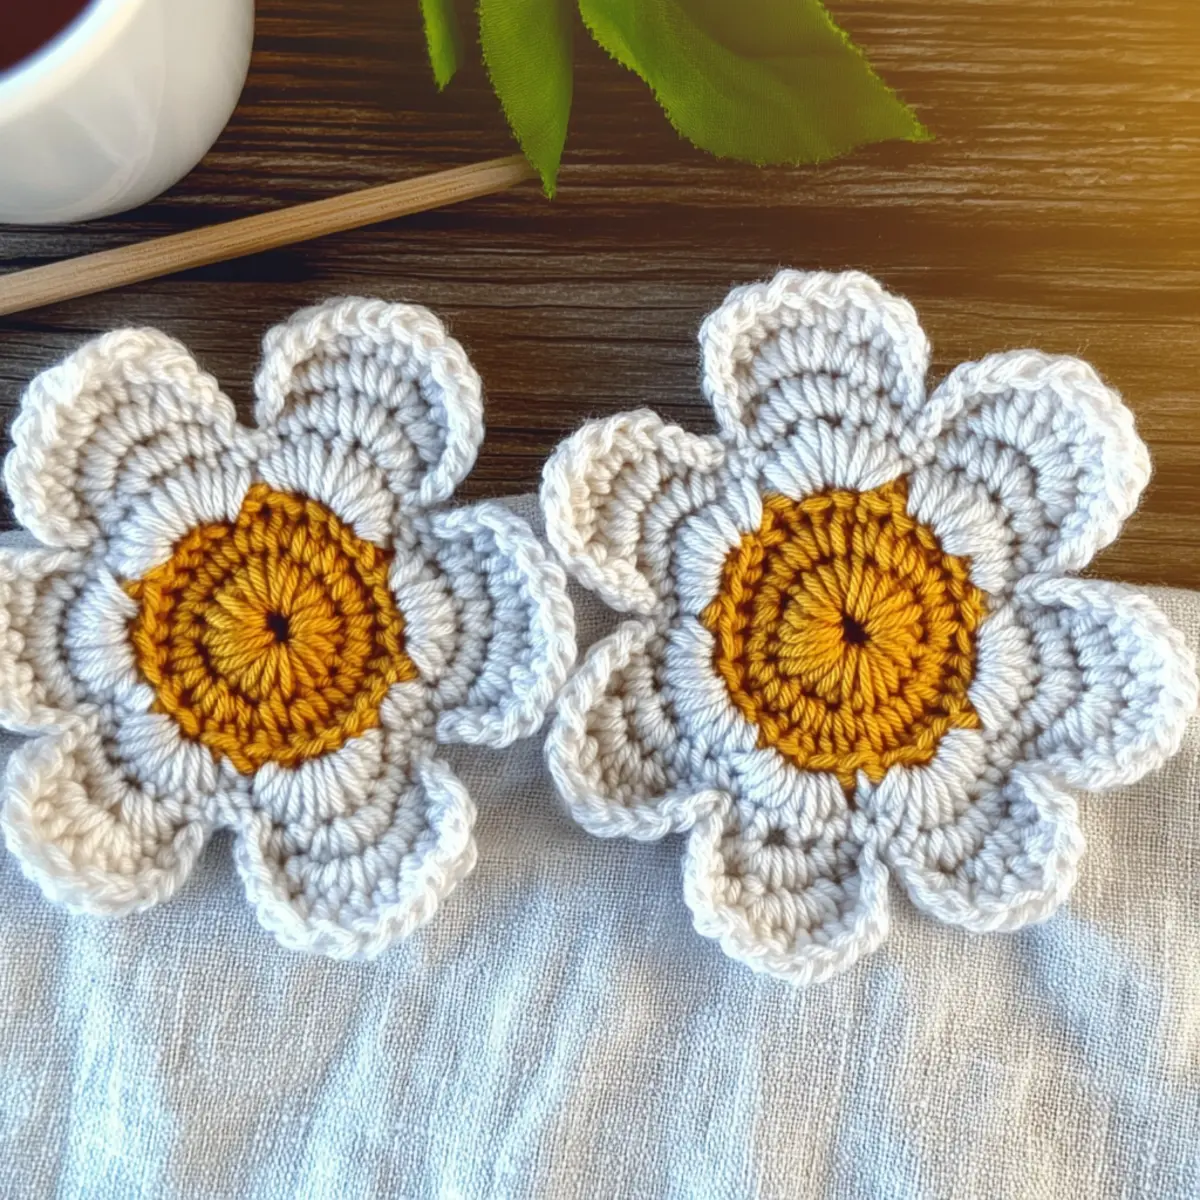
Variations & Substitutions for Your Daisy Flower
It’s time to let your imagination guide you in customizing this crochet pattern—you’ll discover so many delightful options!
-
Yarn Substitutions: Switch to cotton or acrylic yarn for varying textures and sheens. Each fiber will give your flower a unique character.
-
Color Combos: Play with pastel hues, bold tones, and earthy shades to match your style or the season. Imagine a warm terracotta paired with creamy white – stunning!
-
Texture Twists: Add fringe or pom-poms to the flower’s center for a whimsical touch. These added details can make your daisy pop even more.
-
Sizing Adjustments: To create a larger flower, try using a bigger hook or opt for triple crochet stitches. Conversely, a smaller size can be achieved with a 3 mm hook and a lighter yarn.
-
Layering Petals: Experiment with multiple layers of petals for depth. Create two or three circles of petals around the center for a fuller flower.
-
Color Blocking: Incorporate color-block techniques by changing yarn colors mid-round. Let each petal represent a different shade for a vibrant spectacle.
-
Embellished Centers: Enrich the center with beads or button accents. These little treasures add a personal touch and a charming twist to each motif.
-
Functional Attachments: Consider turning your daisy into a brooch or hairpin. With a little added backing, these flowers can brighten up any accessory beautifully.
As you dive into these variations, remember to check out how different colors affect your final projects. If you’re curious about incorporating yarn blends or exploring creative embellishments, those will amplify your unique design every step of the way! Happy crocheting!
Washing & Care for Your Crochet Daisy Flower
-
Hand Washing: Gently wash your Daisy Flower in cool water with a mild detergent to maintain its vibrant colors and shape. Avoid wringing to prevent distortion.
-
Drying/Blocking: Lay your flower flat on a clean towel and reshape it, pressing it gently into the desired form. Allow it to air dry completely to preserve its lovely structure.
-
Ironing: For cotton-based yarns, lightly spritz with water and use an iron on a low setting to enhance the petal definition and keep your Daisy Flower looking fresh.
-
Storage: Store your completed flowers flat to prevent curling or bending. A dry, cool place will keep them looking beautiful for all your crafting projects.
Expert Tips for the Daisy Flower
-
Check Your Tension: Ensure your tension is consistent while crocheting to maintain an even shape in your Daisy Flower and avoid any misshapen petals.
-
Stitch Counting: Keep a close eye on your stitch count after each round to preserve the flower’s structure—losing count can lead to floppy petals or uneven centers.
-
Final Touches: To achieve a polished look, consider lightly blocking your completed flower. Spritz with water and pin it into shape as it dries.
-
Weaving in Ends: Don’t forget to weave in any loose ends securely. A tidy finish enhances the overall appearance of your Daisy Flower and prolongs its life.
-
Experiment with Colors: This project is a great opportunity to play with color! Choose hues that inspire you to create a unique, personalized Daisy Flower that stands out.
-
Portable Project: Since the Daisy Flower is quick to make, keep it as a portable project. It’s perfect for taking to your favorite crafting spot or while waiting in line!
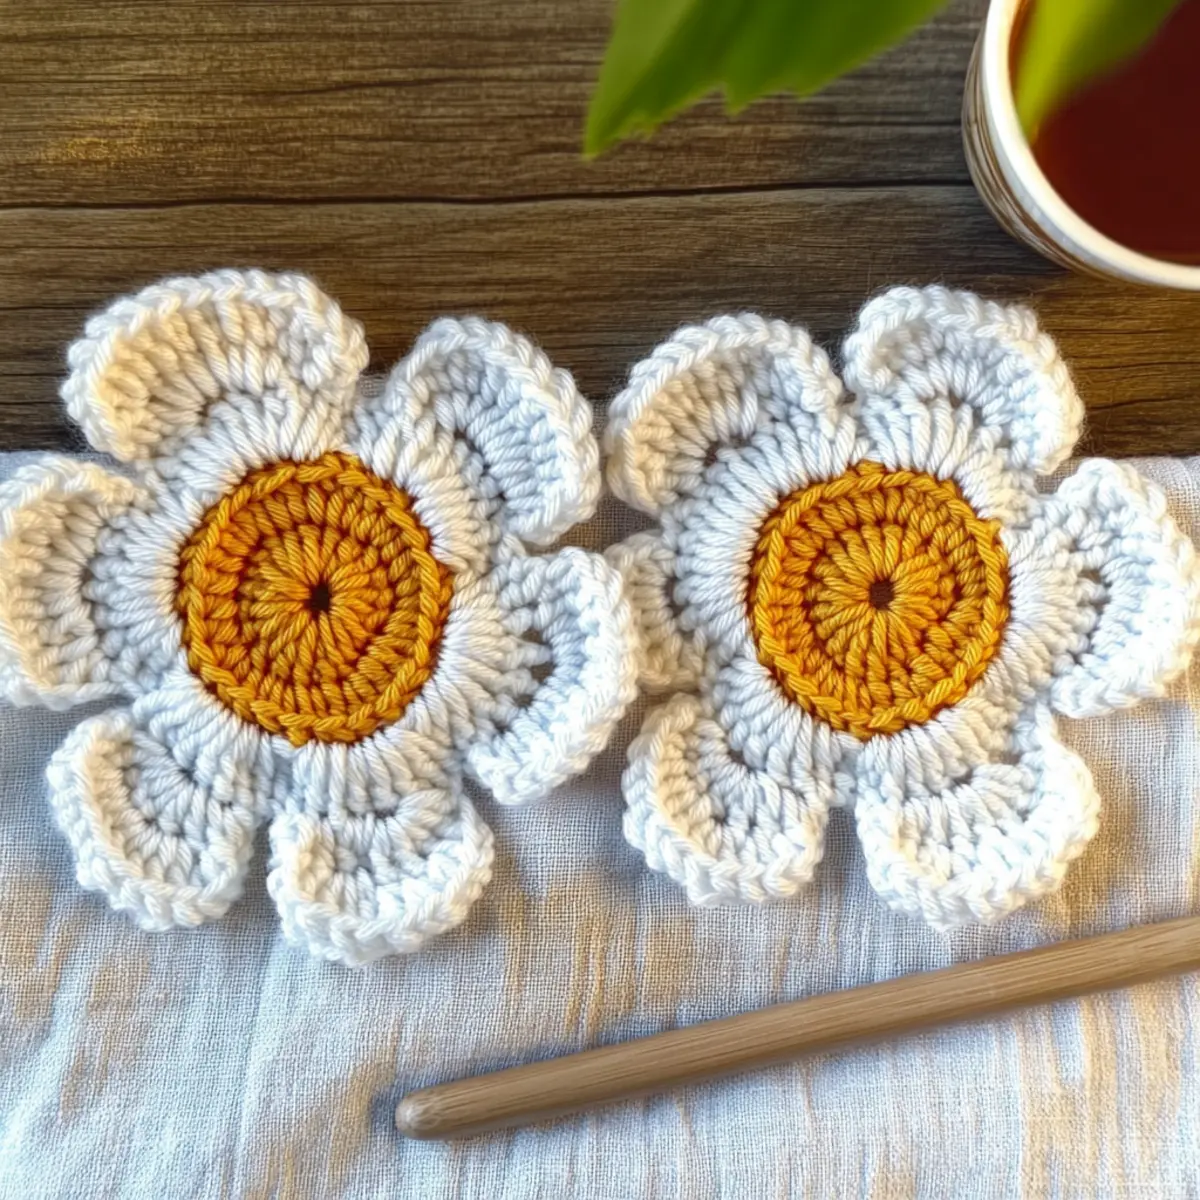
Charming Crochet Daisy Flower Motif FAQs
Can I use different yarn weights for the Daisy Flower?
Absolutely! While the pattern calls for DK weight yarn, you can experiment with other weights. Just remember that changing the weight will affect the size of your flower. If you use a thicker yarn, you might want to increase your hook size to maintain a similar petal shape.
How can I make my Daisy Flower larger or smaller?
To make a larger flower, simply add more rounds or use Triple Crochets for a bolder look. For a smaller flower, swap to a 3mm hook and use fingering weight yarn. Additionally, you could reduce the number of petals—fewer petals will also give you a delightful diminutive daisy!
Why is my Daisy Flower curling up?
Don’t panic! Curling can be common if your stitches are too tight or if your yarn tends to have a natural curl. Try blocking your flower gently or adjusting your tension by stitching a bit looser. Keeping your tension consistent as you crochet will help maintain the flatness of your petals.
What hook size should I use for this pattern?
The recommended hook size is 4 mm (G/6), which gives a firm structure without excessive fluff. However, if you’re working with a different yarn weight or prefer a looser finish, it’s always a good idea to try a different hook size and see what suits your crafting style best.
How do I replace a dropped stitch in my Daisy Flower?
It’s an easy fix! If you drop a stitch, simply pick it back up with your hook, ensuring the loop is re-secured. If you’re already finished, you can use a yarn needle to weave the end of the dropped stitch back through the surrounding stitches for a tidy finish.
Can I attach the Daisy Flower to other projects?
Definitely! These charming flowers can enhance a variety of projects. Whether it’s a tote bag, hair clip, or even a headband, attaching them makes for a fantastic way to personalize your accessories and showcase your lovely crochet work!
Leave a Reply