
As I was rummaging through my yarn stash, I stumbled upon those vibrant reds and blues just waiting to come together in a cheerful project. This Free Amigurumi Spiderman Crochet Pattern is not only a fantastic way to dive into the world of amigurumi, but it also makes for a delightful gift or a charming addition to your personal collection. What I love about this beginner-friendly pattern is that it stitches up quickly and is filled with detailed instructions, making it approachable for crafters at any skill level. Once you finish, you’ll marvel at the way your little superhero stands ready to bring joy to both kids and kids-at-heart. Ready to weave some magic into your next crochet adventure? Let’s get started!
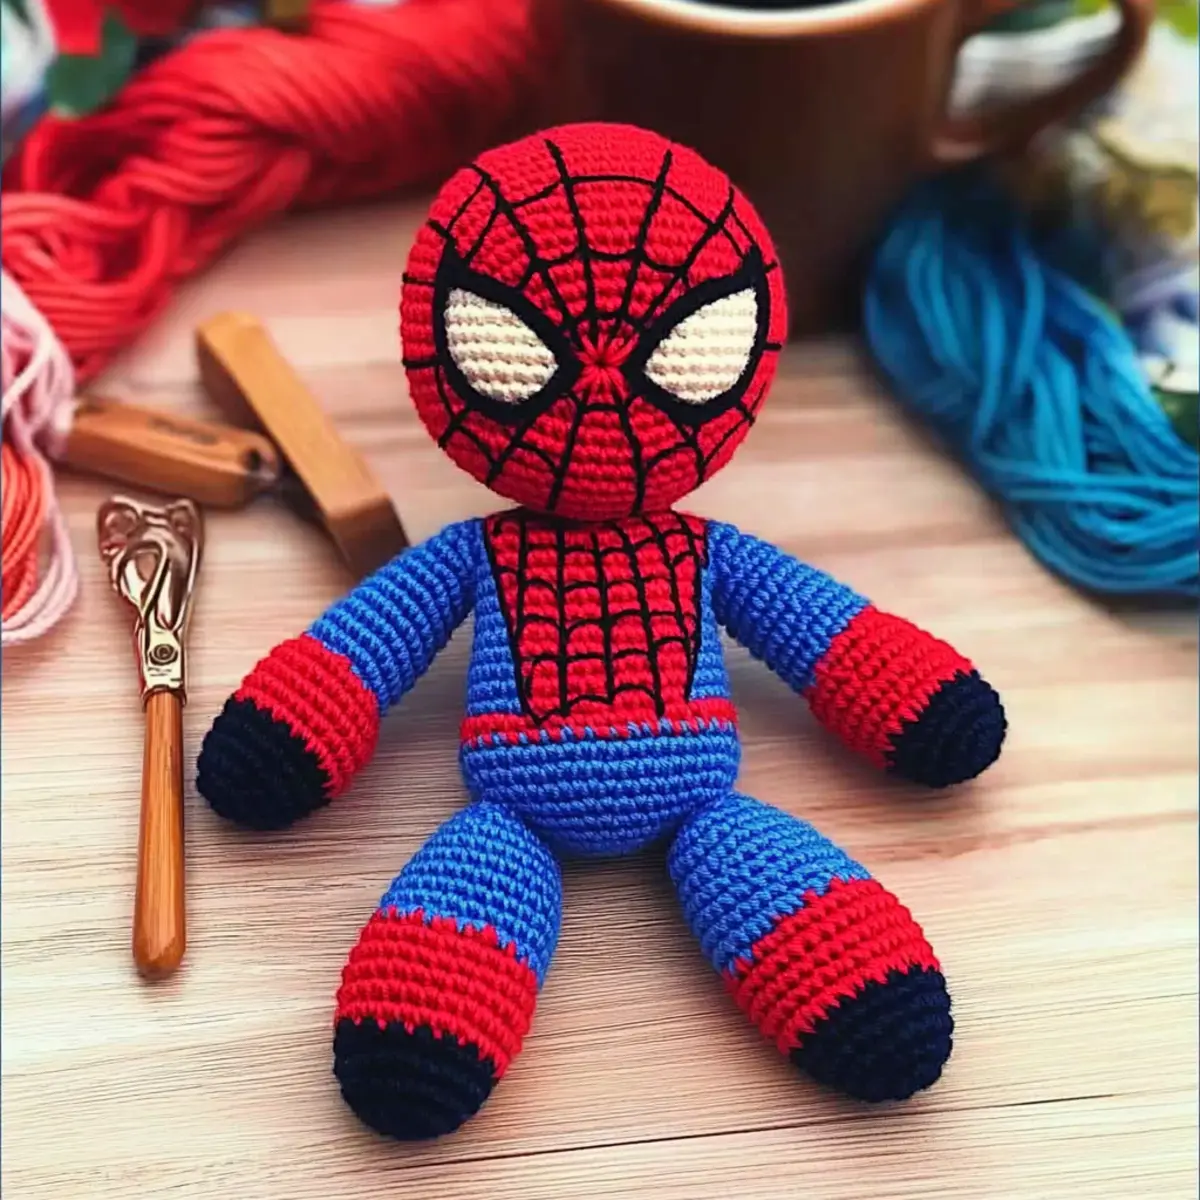
Free Amigurumi Spiderman Materials & Tools
Get ready to dive into your next crochet adventure with these essential supplies for crafting your adorable Spiderman!
Yarn
- Yarn Art Jeans #26 (Red) – This worsted weight 100% cotton yarn is perfect for Spidey’s vibrant suit.
- Yarn Art Jeans #53 (Black) – Use this yarn for contrasting details and spider web accents.
- Yarn Art Jeans #47 (Blue) – Ideal for adding depth to Spidey’s legs, this worsted weight cotton yarn complements the red beautifully.
- Foamiran Felt – Recommended for decorations like facial features, it gives a whimsical touch to your amigurumi.
Tools & Notions
- 1.75 mm (US Size 00) Hook – The perfect size for working up your Spidey in tight stitches.
- Tapestry Needle – Essential for securely sewing parts together and weaving in ends.
- Safety Eyes – These will bring your Spidey’s face to life without any fuss!
- Stitch Markers – Help keep track of your rounds and avoid losing your place.
- Hot Glue Gun – A handy tool for easy assembly of decorations and parts.
So, gather your materials and let your crochet journey begin with this engaging Free Amigurumi Spiderman pattern!
Why is this pattern a must-try?
Engaging masterpiece: This Free Amigurumi Spiderman Crochet Pattern combines fun and functionality, allowing you to craft an adorable superhero that’s perfect for playtime or display.
Beginner-friendly: The detailed instructions guide even the newest crafters step-by-step, ensuring a gratifying experience from start to finish.
Quick satisfaction: Stitching up in no time, this project is ideal for those looking to quickly complete a delightful gift.
Cute customization: With easy color swaps, unleash your creativity – experiment with new shades or patterns to create unique superhero variations.
Whimsical charm: The plush texture and vivid colors come together beautifully, making this Spiderman an eye-catching addition to any collection. Explore more fun amigurumi patterns to keep your creativity flowing!
Gauge & Sizing Notes
Don’t skip the gauge swatch! Checking your gauge is essential to ensure that your Amigurumi Spiderman turns out just the right size. For this charming project, aim for a standard gauge of 4×4 inches (10×10 cm) to equal 18 single crochets by 20 rows. If you want your Spiderman to be larger or smaller, simply adjust your starting chain in multiples of 6. If your tension swatch is too small, try using a larger hook size; conversely, if it’s too big, switch to a smaller hook. Finding the right crochet gauge will help you create a delightful piece that truly captures the spirit of your favorite superhero!
Step‑by‑Step Pattern for Free Amigurumi Spiderman Crochet Pattern
Row 1: Create the Body
Start with a magic ring (MR), ch 1. Work 6 sc into the ring for the first round (6 sts). Pull the tail to close the ring tightly. Your work should form a small circle. Place a stitch marker to track the first stitch of each round.
Row 2: Increase for the Torso
In this round, make 2 sc in each stitch around, which increases the body size (12 sts). As you work, you’ll notice your circle expanding into a small bowl shape. Keep counting your stitches to ensure even growth.
Row 3: Continue Increasing
For round 3, make 1 sc in the first stitch, then 2 sc in the next stitch, repeating this pattern around (18 sts). The torso should have a gentle roundness, setting the stage for Spiderman’s body. Don’t forget to change colors for the top half if desired.
Row 4: Shape the Torso
For this row, work 1 sc in each of the first 2 stitches, followed by 2 sc in the next (24 sts). This round further shapes the body while maintaining an increase. Your amigurumi should start taking on a plump, rounded form.
Row 5: Begin Color Change for the Legs
Switch to blue yarn for the legs, and sc in each stitch around (24 sts). This establishes the base for Spiderman’s outfit. Keep your tension even as you transition between colors to create a smooth finish.
Row 6: Shape the Legs
Continue with a round of 1 sc in each stitch (24 sts) for this row. The blue should nicely contrast with the red torso, giving your Spiderman an appealing and vibrant look. Your work should feel dense and sturdy.
Row 7: Decrease to Shape Legs
Begin the leg shaping by sc in the first 3 stitches, then dec over the next 2 stitches (18 sts). You will see your work gradually tapering down for the legs, making Spiderman’s stature feel more defined.
Row 8: Finalize Legs
For this round, sc in the first 2 stitches, then dec over the next two stitches (12 sts). This is where the legs firm up and take shape. Keep counting to maintain your stitch integrity as the legs take form.
Step 9: Arms Assembly
Crochet 2 arms separately, starting with a magic ring and working 6 sc (6 sts) in round 1. Increase in the next round to 12 sts. Continue for a few rounds, then stuff lightly and attach to the torso. They should feel secure but moveable.
Step 10: Head Construction
For the head, start a new magic ring and work 6 sc (6 sts), increasing in every round to achieve 24 sts for proper roundness. Change colors as desired. The head should have a smooth surface and sit proportionately atop the body.
Step 11: Facial Features
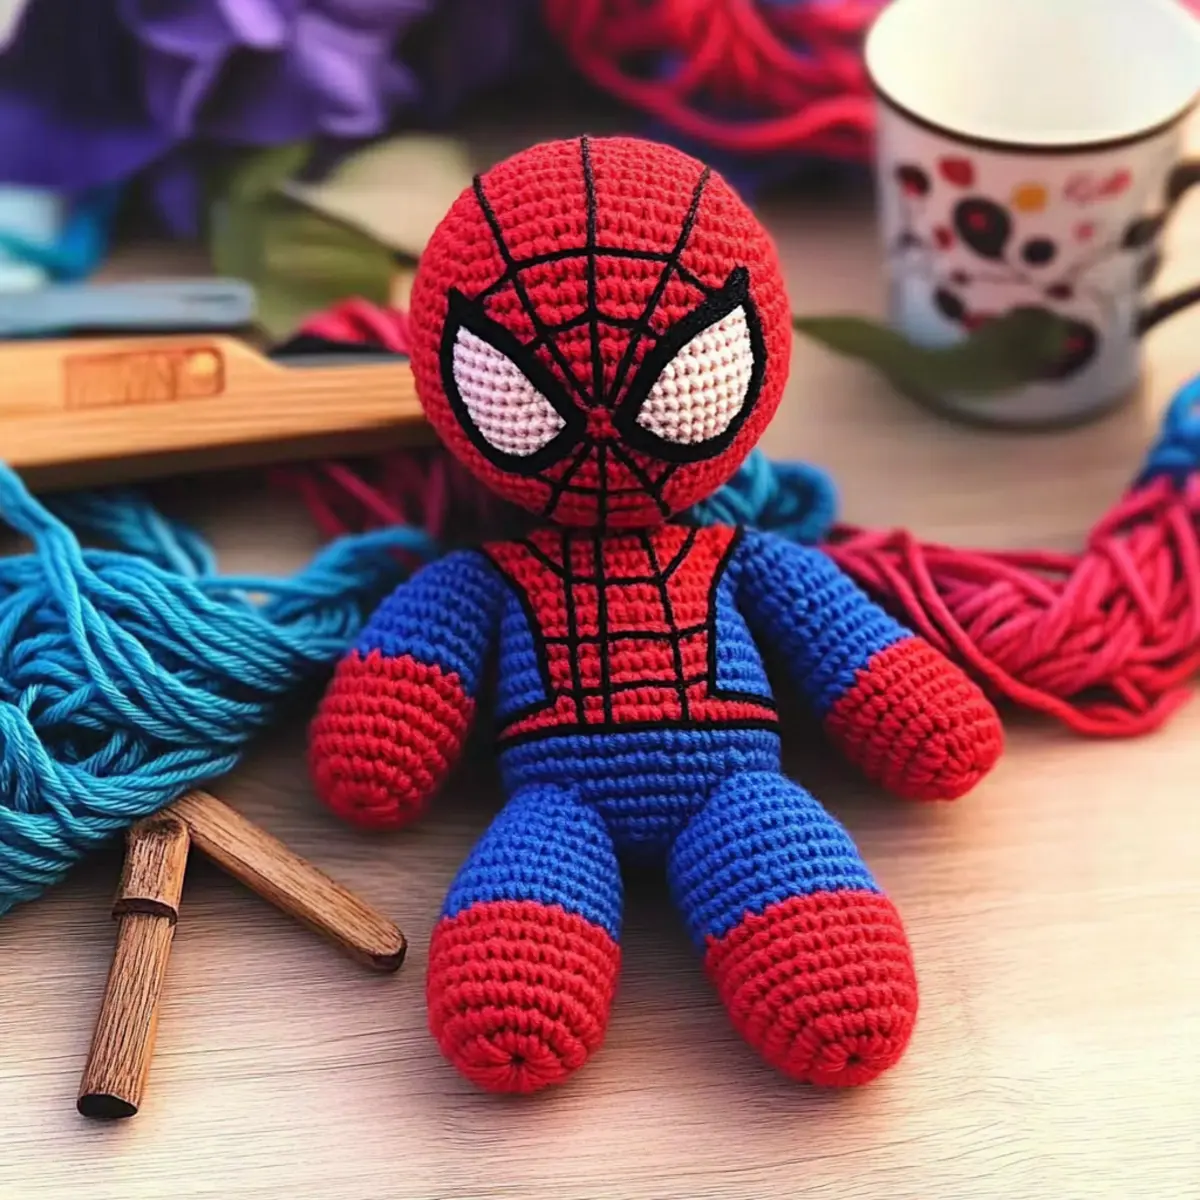
Using felt, cut out eyes and any additional features needed. Attach securely to the head using a hot glue gun or embroidery for a polished look. Your Spiderman should now have an adorable face ready to charm viewers!
Step 12: Finishing Touches
Add spider web embroidery using thin black thread to enhance Spiderman’s characteristic look. Make sure these details are firmly attached and visually striking. Your Amigurumi Spiderman is almost complete, displaying a wonderful blend of colors and textures!
Expert Tips for Amigurumi Success
-
Count Your Stitches: Regularly check your stitch count to avoid size discrepancies. A little oversight can lead to a noticeably uneven amigurumi.
-
Color Change Management: When transitioning between yarns, keep an eye on your tension. Loosely held yarn can cause noticeable gaps in your work.
-
Secure Assembly: For attaching felt features, use a backstitch for extra hold. This will ensure your Spiderman’s eyes stay put, adding to its charm.
-
Swatch for Gauge: Although not specified, it’s wise to test a swatch before beginning. This ensures your finished amigurumi will meet the desired size.
-
Finishing Touches: After completing your amigurumi, gently shape and lay it flat to dry. This helps maintain its plush form, making the free amigurumi pattern shine!
Washing & Care for Your Amigurumi Spiderman
-
Hand Washing: Gently clean your Spiderman amigurumi using cold water and a mild soap. Avoid agitation to prevent any felting or distortion of shape.
-
Drying: Lay your finished amigurumi flat on a clean towel to dry. This method helps retain its adorable pouf and vibrant colors, so it remains a joyful part of your collection.
-
Storage: When not in use, store your Amigurumi Spiderman in a cool, dry space. A protective box or a breathable fabric bag works best to keep dust away while maintaining its lovely appearance.
-
Avoid Direct Sunlight: Keep your amigurumi out of direct sunlight to prevent fading of those cheerful colors, ensuring it stays as bright and lovely as the day you finished it!
Variations & Substitutions
Invite your creativity to shine as you personalize this Spiderman amigurumi pattern in delightful ways!
-
Yarn Swaps: You can easily use any worsted weight yarn. Explore cotton, acrylic, or blends for unique textures and colors.
-
Color Customization: Change Spiderman’s colors to suit your favorite superhero! How about a green and black or purple and yellow version?
-
Texture Twists: Add fun elements like pom-poms or fringes. These accents can bring a playful touch to your little hero’s design!
-
Size Adjustments: Use a different hook size to modify the final size. A larger hook will yield a bigger amigurumi, perfect for cuddling.
-
Character Variation: Use this base pattern to create other superheroes or whimsical creatures! Let your imagination guide you into endless possibilities.
-
Felt Features: Consider alternative decorative fabrics like fleece or felt for a more textured look, giving Spiderman a truly unique twist.
-
Embellished Webbing: Try stitching a mini spider web using contrasting yarn for added detail. It will enhance the charm of your handmade superhero.
For more inspiration, check out other creative amigurumi patterns and discover your next crochet adventure!
Free Amigurumi Spiderman Crochet Pattern FAQs
Can I use a different yarn than the recommended yarn?
Absolutely! While I recommend using Yarn Art Jeans for its cotton softness, you can substitute it with any worsted-weight yarn. Just ensure you check your gauge so the final product retains its charm!
How can I adjust the size of my amigurumi?
If you want to make your Spiderman bigger or smaller, simply adjust your hook size or use a different yarn weight. For instance, switching to a bulky yarn and a larger hook can give you a more substantial toy, while using a sport weight yarn can make a petite version!
Why is my work curling at the edges?
Don’t panic! Curling often happens if your tension is too tight. Ensure you’re not pulling the yarn too snugly. To fix it, try loosening your grip or using a larger hook. A quick tension check can save the day!
What size hook should I use?
For this project, a 1.75 mm (US Size 00) hook is recommended. However, if you notice gaps in your stitches, consider trying a smaller hook size to achieve that smooth, compact finish.
How do I fix dropped stitches in my amigurumi?
It’s an easy fix! If you drop a stitch, gently pull the yarn until the dropped stitch reveals itself, then crochet it back into place. Be sure to count your stitches afterward to maintain accuracy!
Can I add more features like extra limbs or accessories?
Of course! Feel free to get creative! You can add additional limbs, a little web accessory, or even a mini superhero sidekick. Just remember to balance the proportions while you embellish your amigurumi!
Leave a Reply