
The sweetness of a perfectly crafted granny square can evoke memories of cozy moments spent creating and connecting with loved ones. In this blog post, I’m thrilled to share our beginner-friendly guide on “How to Crochet a Perfectly Straight Granny Square,” designed to help you craft pieces that are as delightful as they are functional. With a focus on avoiding those pesky twisted edges, this pattern not only guarantees a neat finish but also opens the door for endless customization with your favorite colors and motifs. Whether you’re looking to use up your yarn stash or trying your hand at this classic technique for the first time, you’ll find that it works up faster than you can imagine, turning your visions into reality with every stitch. Ready to make something special? Let’s dive in and let those hooks fly!
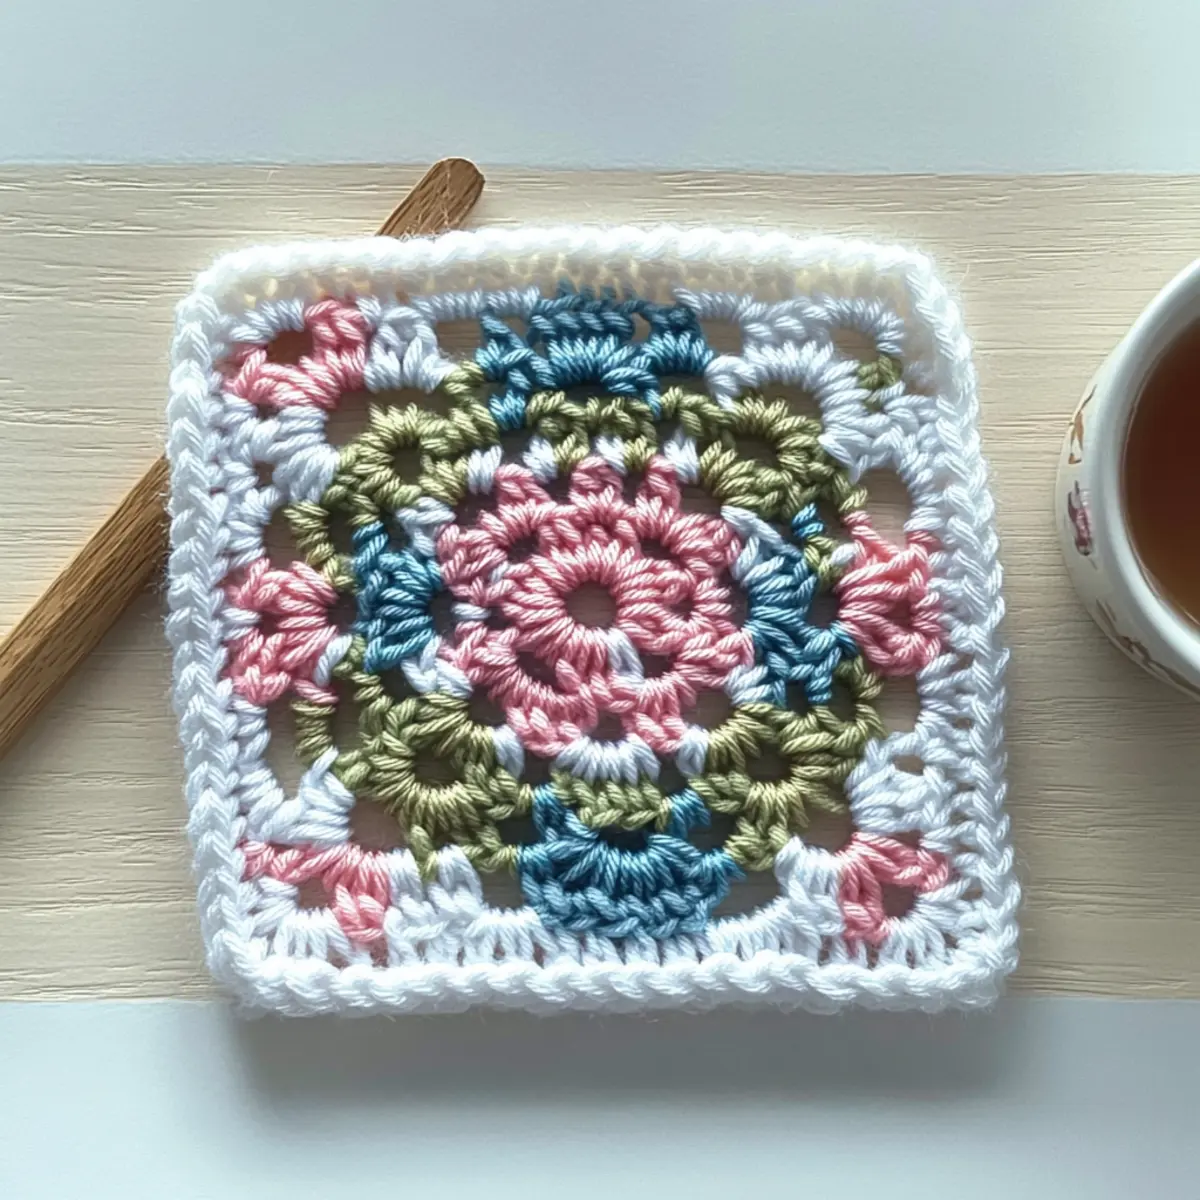
Perfectly Straight Granny Square Materials & Tools
Note: Gather these materials for an enjoyable crochet experience!
Yarn
• Worsted Weight Yarn – 100% acrylic, approximately 200-300 yards (182-274 meters) depending on your desired project size.
Tools & Notions
• 5.0 mm (H) Crochet Hook – This size is ideal for achieving your perfect gauge.
• Stitch Markers – Use these to keep track of your rounds, ensuring your squares remain straight and twist-free.
• Tapestry Needle – Essential for weaving in ends and finishing your project neatly.
• Scissors – A must-have for snipping yarn as you transition between colors or finish off your granny squares.
Enjoy crafting your Perfectly Straight Granny Square with these delightful materials!
Why is This Granny Square Special?
Uniquely Adaptable: This pattern allows you to play with different yarns and colors, making every square a unique masterpiece.
Twist-Free Technique: Say goodbye to twisting! Our expert tips ensure your squares remain straight and polished.
Easy for Beginners: With simple rounds to follow, this pattern is perfect for those just starting their crochet journey.
Quick to Work Up: You’ll be amazed at how rapidly these squares come together, making it ideal for last-minute gifts or stash-busting projects!
Versatile Use: From blankets to bags, your finished squares open doors to countless creative possibilities. Embrace your craft with options like adjusting the size or exploring unique color combinations!
How to Check Your Gauge for Perfectly Straight Granny Square
Don’t skip the gauge swatch! It’s essential for ensuring that your Perfectly Straight Granny Square turns out just as you envisioned it. Your gauge should measure 4×4 inches (10×10 cm) and consist of 12 double crochets by 10 rows. If your square is larger than this, try using a smaller hook size; if it’s smaller, simply go up a hook size. To adjust the size of your granny square, increase your rounds or the number of starting chains in multiples of 3 to create larger squares, accommodating your personal style and project needs. Happy crocheting!
Step‑by‑Step Pattern for Perfectly Straight Granny Square
Round 1: Start Your Corner
Begin by creating a magic ring. Inside the ring, work 3 double crochet (dc), then chain 2 (ch2), and repeat this sequence 3 more times for a total of 4 groups of (3 dc, ch2). Slip stitch (sl st) to join in the top of the first dc. Your work should form a small circle with four evenly spaced corner spaces.
Round 2: Expanding the Square
Join your new yarn to a ch2 corner space. Chain 2 (ch2) to start, then crochet (3 dc, ch2, 3 dc) into the same ch2 space. Chain 1 (ch1), and repeat this process in each of the remaining corners to create four corners. Finish the round with a slip stitch (sl st) to join. Your square should begin to take shape, with corners clearly defined.
Round 3: Adding More Detail
Join your yarn again to a ch2 corner space, chaining 2 (ch2) as before. This time, crochet (3 dc, ch2, 3 dc) in the corner, followed by ch1. In the previous ch1 space, work 3 dc (your square gains height). Repeat in all corners and ch1 spaces, finishing with a sl st to join. Your work should now display an expanded square with more texture.
Round 4: Finalizing the Shape
Again, join your yarn to a ch2 corner and chain 2 (ch2). Now, crochet (3 dc, ch2, 3 dc) in the corner, ch1, and work (3 dc in the ch1 space, ch1) twice. Repeat this in each corner. Close the round with a slip stitch (sl st) to join. Your granny square should now be complete, showcasing a beautiful structure with straight edges, ready for your next project!
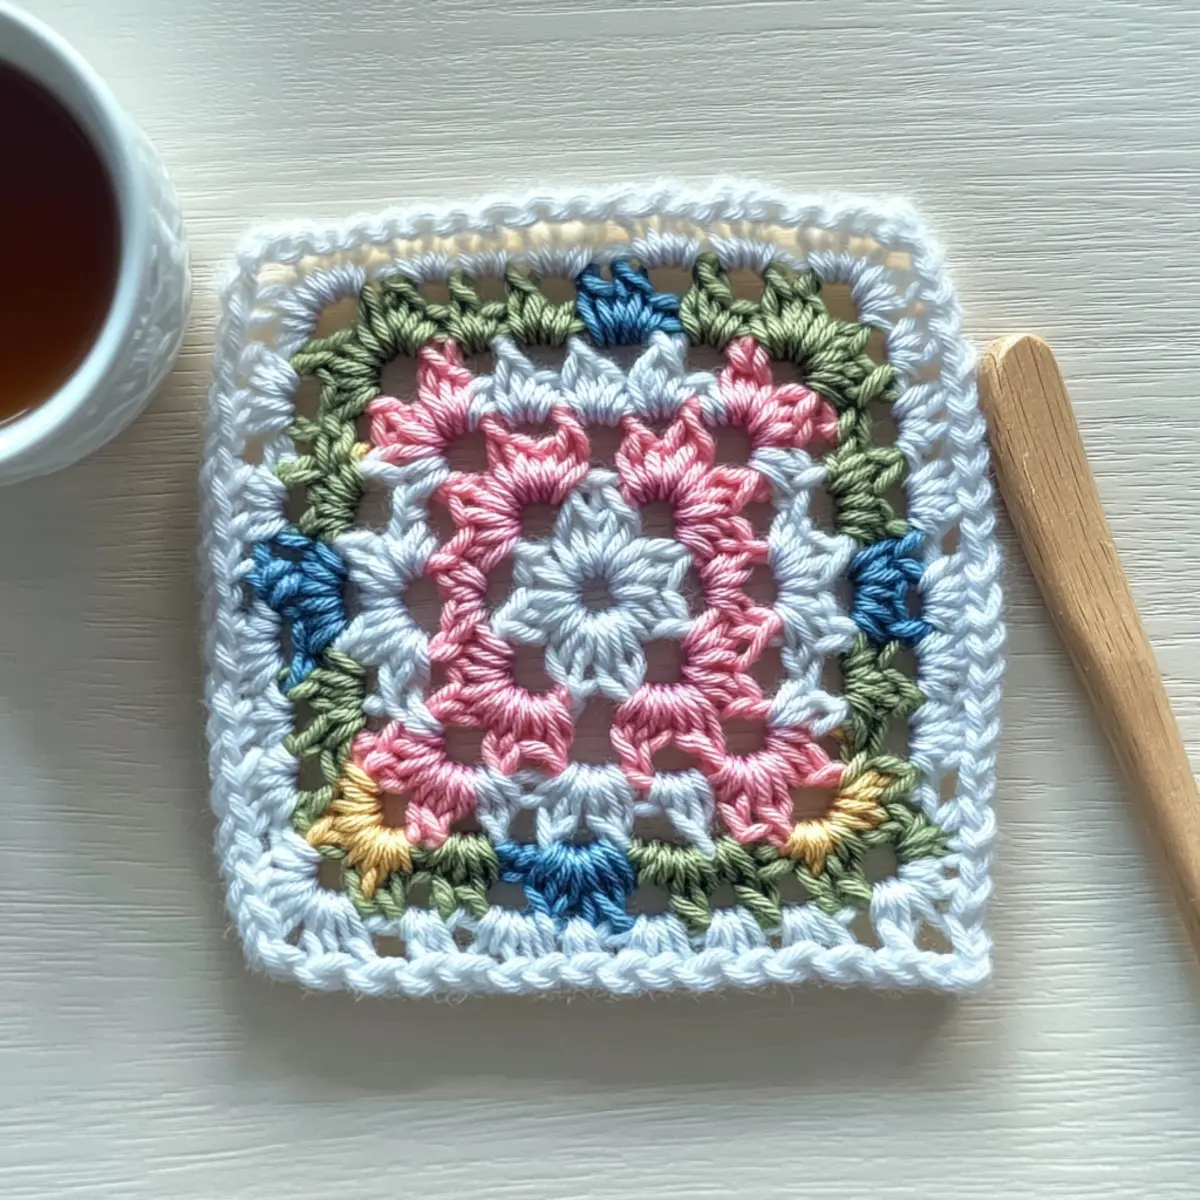
Granny Square Variations & Substitutions
Feel free to unleash your creativity and give your granny square a unique twist with these fun ideas!
- Yarn Weight Swap: Choose a lighter or heavier yarn for a different texture, but adjust your hook size accordingly for a perfect fit.
- Fiber Alternatives: Experiment with cotton for a breathable summer feel or wool for a cozy, winter vibe, each yielding delightful results.
- Color Blocking: Alternate colors every few rounds to create vibrant patterns; a playful way to repurpose scraps and brighten your projects!
- Size Adjustments: Increase rounds for larger squares or decrease rounds for mini squares, perfect for coasters or appliqués.
- Textured Borders: Add a scalloped edge or a simple border to elevate your square, introducing a charming finish that highlights your custom colors.
- Pom-Pom Charm: Sew on a pom-pom at the center for a quirky touch, giving personality to each square while bringing smiles to its viewers.
- Fringe Finish: Add fringe to one or more sides for a playful and bohemian aesthetic, making your square truly one-of-a-kind.
- Combined Motifs: Join multiple squares with adjusting the size to create larger projects like bags or blankets, blending your favorite colors and designs into a unified masterpiece.
Use these suggestions as a jumping-off point to inject your own personal style into each granny square you create!
How to Wash and Care for Your Granny Square
Machine Washing: Use a gentle cycle with cold water to prevent agitation, which can cause felting or pilling in your acrylic granny square.
Hand Washing: For maximum care, consider hand washing in cold water. Gently swish and soak without wringing to maintain its beautiful texture.
Drying/Blocking: Lay your granny square flat to dry on a clean towel. Avoid hanging, as this can stretch the shape; instead, reshape it as needed.
Storage: Store your finished granny squares in a cool, dry place. If stacked, place a soft cloth between squares to prevent compression and maintain their lovely form.
Expert Tips for Perfect Granny Squares
• Keep Tension Even: Maintaining consistent tension is key to achieving that lovely straight square. Too tight or too loose can lead to wonky edges!
• Count Your Stitches: Regularly count your stitches at the end of each round to ensure you’re on track. It’s easy to lose count, which can affect your final shape.
• Turn After Each Round: To avoid twists, don’t forget to turn your work after each round. A slight adjustment can save you from frustration later!
• Use Stitch Markers: Placing stitch markers can help you keep track of your corners and where to join. This small step improves accuracy and ease in your design.
• Experiment with Sizes: Customize your granny square by adding or reducing rounds. This flexibility lets you design pieces suited for different projects while keeping the fun intact!
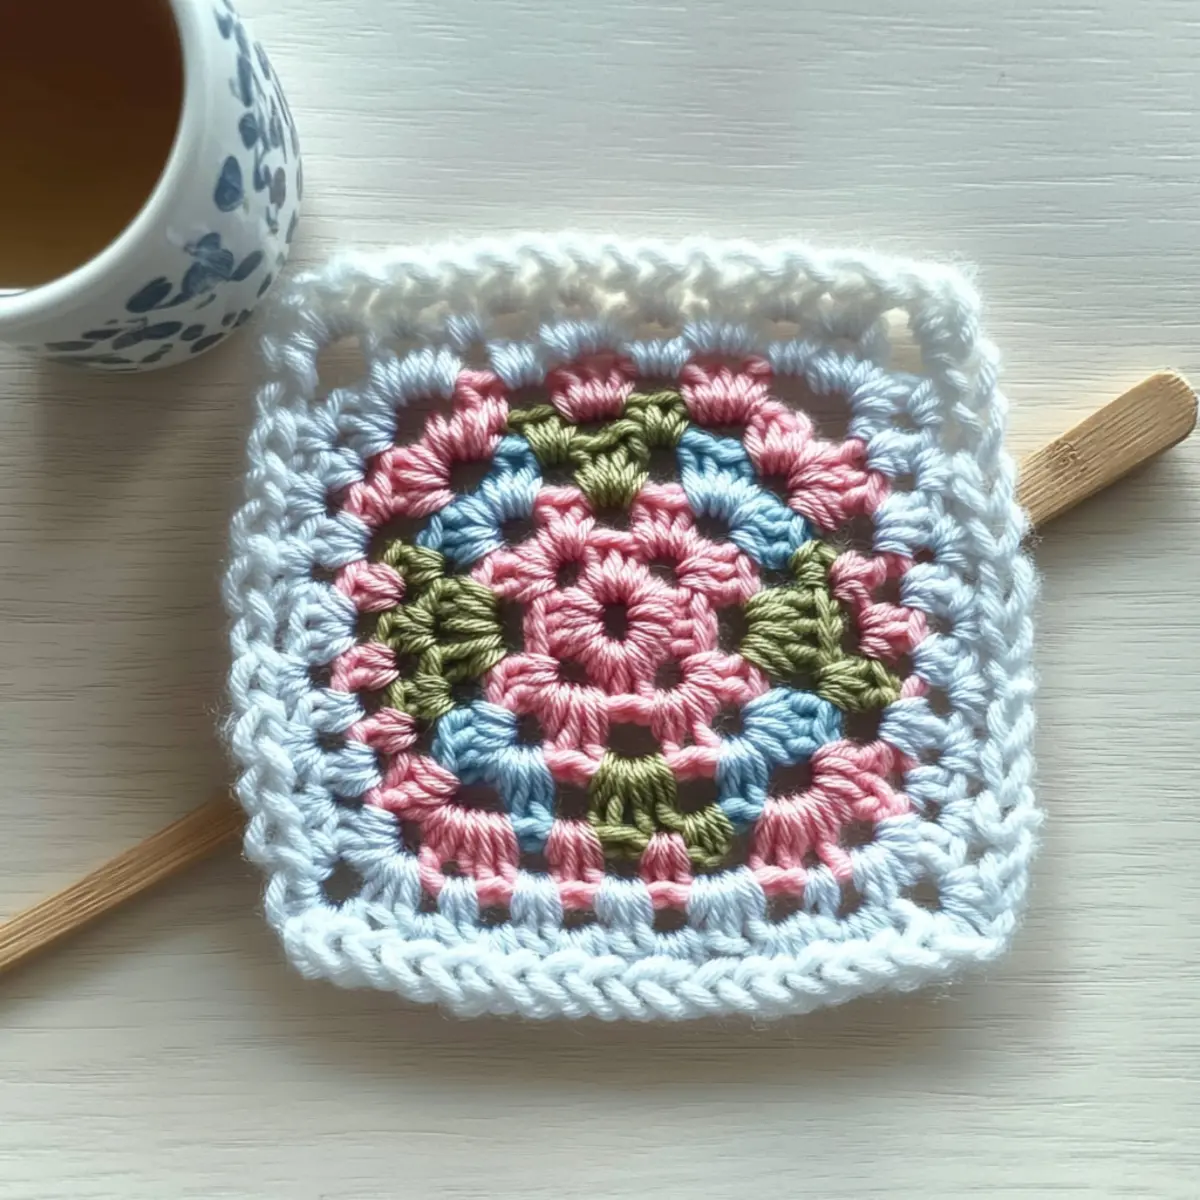
Perfectly Straight Granny Square FAQs
What kind of yarn can I use for my granny square?
Absolutely! While worsted weight acrylic yarn is recommended, you can use cotton or any yarn of similar weight. Just keep in mind that different fibers can alter the drape and texture of your finished square.
How can I make my granny square bigger or smaller?
It’s easy! To adjust the size, simply add or reduce rounds. For a larger square, continue adding rounds, following the same pattern. If you want it smaller, just stop when you reach the desired size!
Why is my granny square curling at the edges?
Don’t panic! If your square is curling, it may be due to uneven tension or not turning your work after each round. Check your stitch count and make sure you’re turning your work to keep those edges straight!
What size hook should I use for my granny square?
I recommend using a 5.0 mm (H) crochet hook to get the perfect gauge for this pattern. But feel free to experiment with a slightly larger or smaller hook depending on your tension and yarn choice!
How can I fix dropped stitches in my granny square?
It’s an easy fix! Simply go back to where the dropped stitch occurred, bring up the yarn to create a new stitch, and continue crocheting. If you notice it later, you can always use a tapestry needle to weave the yarn back into the row.
Can I combine different granny squares together?
Absolutely! The beauty of granny squares lies in their versatility. You can mix and match colors and patterns to create unique projects like blankets, bags, or even clothing. Just make sure the squares are the same size for a seamless finish!
Leave a Reply