
As I was rummaging through my yarn stash, I stumbled upon some delightful milk cotton yarn that sparked a wave of inspiration. With Halloween just around the corner, I couldn’t resist creating this adorable Beginner-Friendly Crochet Halloween Bat Charm. Not only is this little guy irresistibly cute and spooky, but it’s also a super quick project that’s perfect for beginners. It offers the chance to whip up charming decorations or sweet gifts to share with friends and family. With each stitch, you’ll find a sense of joy and creativity, making it a fabulous addition to your crochet repertoire. Are you ready to bring a little whimsy to your Halloween festivities? Let’s get stitching!
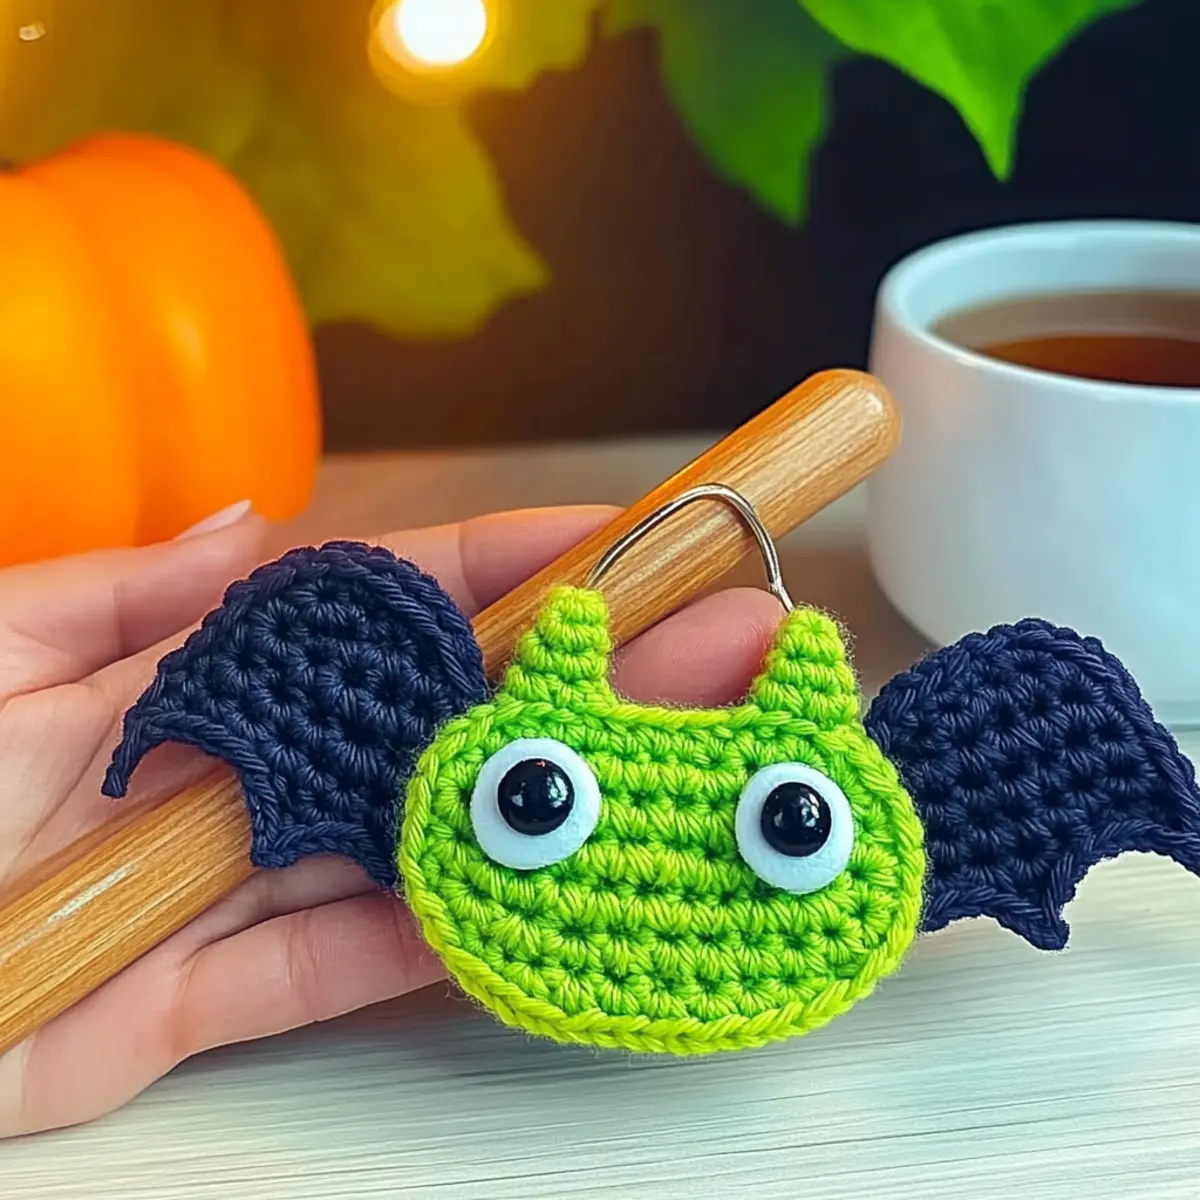
Beginner-Friendly Bat Charm Materials & Tools
Make your Halloween crafting a breeze with these essential materials!
Yarn
• Milk Cotton Yarn – You’ll need approximately 50 yards for a single bat.
Tools & Notions
• 3.5 mm (E/4) Hook – This size helps create the perfect gauge for your bat charm.
• Brooch Pin – For easy attachment to your favorite sweater or bag; ensure it’s secured!
• Stitch Markers – A handy tool for tracking your rounds, especially around the wings and ears.
• Tapestry Needle – Ideal for weaving in those pesky ends and perfecting your creation.
Feel free to explore different yarn colors to customize your bat charm and make it uniquely yours!
Why is This Bat Charm a Must-Make?
Easy to Follow: This pattern is designed with beginners in mind, using only basic stitches like single and double crochet. You’ll find the step-by-step instructions straightforward and fun!
Charming Aesthetic: The bat charm combines a cute and spooky vibe, making it a delightful addition to your seasonal decor or a quirky accessory. It’s sure to catch the eye and ignite smiles!
Swift Crafting: Perfect for last-minute gifts or party favors, this quick project can be completed in a single sitting, giving you that instant gratification we all love.
Versatile Uses: Beyond just a brooch, think of it as an eye-catching pendant, a fun decoration for your home, or even attached to gift wrap for that extra flair.
Endless Customization: Feel free to explore different yarn colors and embellishments to make each bat uniquely yours! If you’re looking for more fun and versatile projects, check out our complete guide for crochet beginners.
Gauge & Sizing Notes
Don’t skip the gauge swatch! Checking your tension is crucial for ensuring that your Beginner-Friendly Crochet Halloween Bat Charm turns out just right. Aim for a standard gauge of 4×4 inches (10×10 cm) to equal 14 double crochets and 8 rows. If you would like to make your bat charm larger or smaller, adjust your starting chain in multiples of 6 + 2. For instance, to make it chunkier, increase your starting chain; if your tension is tighter than expected, try using a larger hook size. If your swatch is too small, simply go up a hook size for a better fit with this adorable project!
Step‑by‑Step Pattern for Beginner-Friendly Crochet Halloween Bat Charm
Row 1: Start the Head
Begin by creating a magic circle. Work 6 sc into the circle, then pull the yarn tail to close (6 sts). Your work should form a small round shape as you set the foundation for the bat charm’s head.
Row 2: Increase the Head
In this round, make an inc in each sc around. You will have 12 sts at the end of the round (12 sts). Continue to maintain a circular shape, ensuring the head starts to puff out slightly.
Row 3: Shape the Head
Next, work 1 sc in the first stitch, followed by an inc in the next stitch. Repeat this pattern around until you have 18 sts (18 sts). Your work should appear fuller, forming a more defined head for the bat charm.
Row 4: Create the Ears
To form the ears, ch 1 and turn. Work 1 dc in the next 3 sts, then ch 2, sl st to the same stitch for a pointed ear. Skip the next 5 sts and repeat for the second ear. Your bat should have a charming shape with two ears sticking up.
Row 5: Begin the Wings
In this row, ch 4, then work 1 dc in the 4th ch from the hook and 1 dc in the next 2 ch. Now return to the base by sl st in the remaining ear stitch. Your wings should be forming, adding width to the character of your bat charm.
Row 6: Finalize the Wings
Turn and work 1 dc in the previous 3 dc and 1 ch across to create a rounded wing shape. Sl st back at the base to secure the wing. Repeat on the opposite side for the second wing, ensuring both wings are symmetrical.
Row 7: Attach the Eyes
For the eyes, use contrasting yarn; make 2 small circles using the magic circle technique with 5 sc (5 sts each). Secure them with a sl st to the bat’s head to give your bat charm an adorable expression. The features should stand out nicely.
Step 8: Finish Off
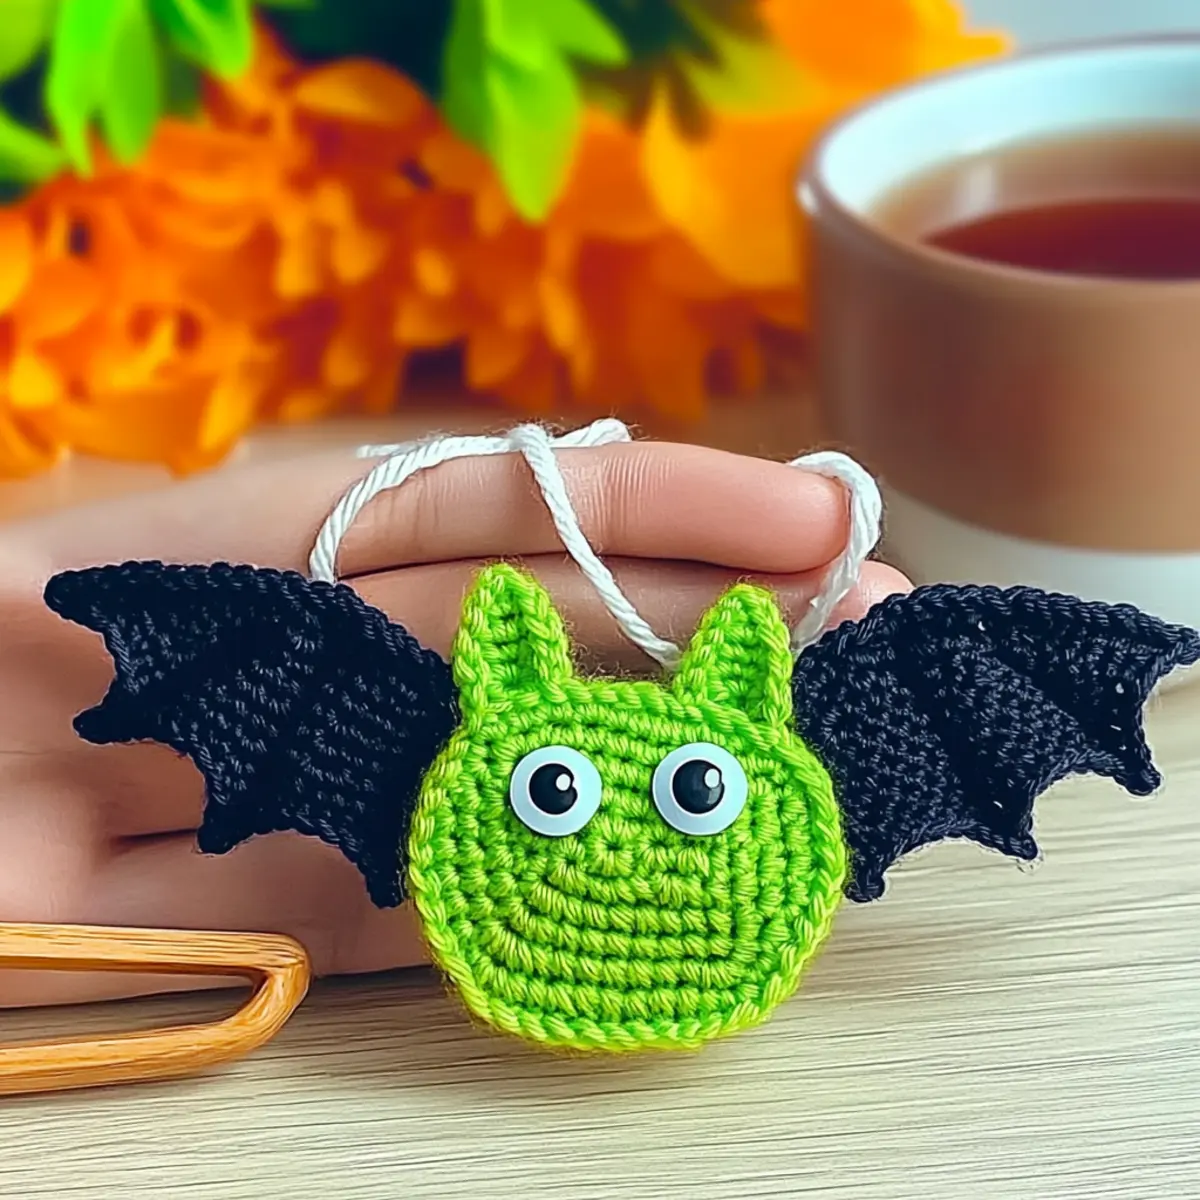
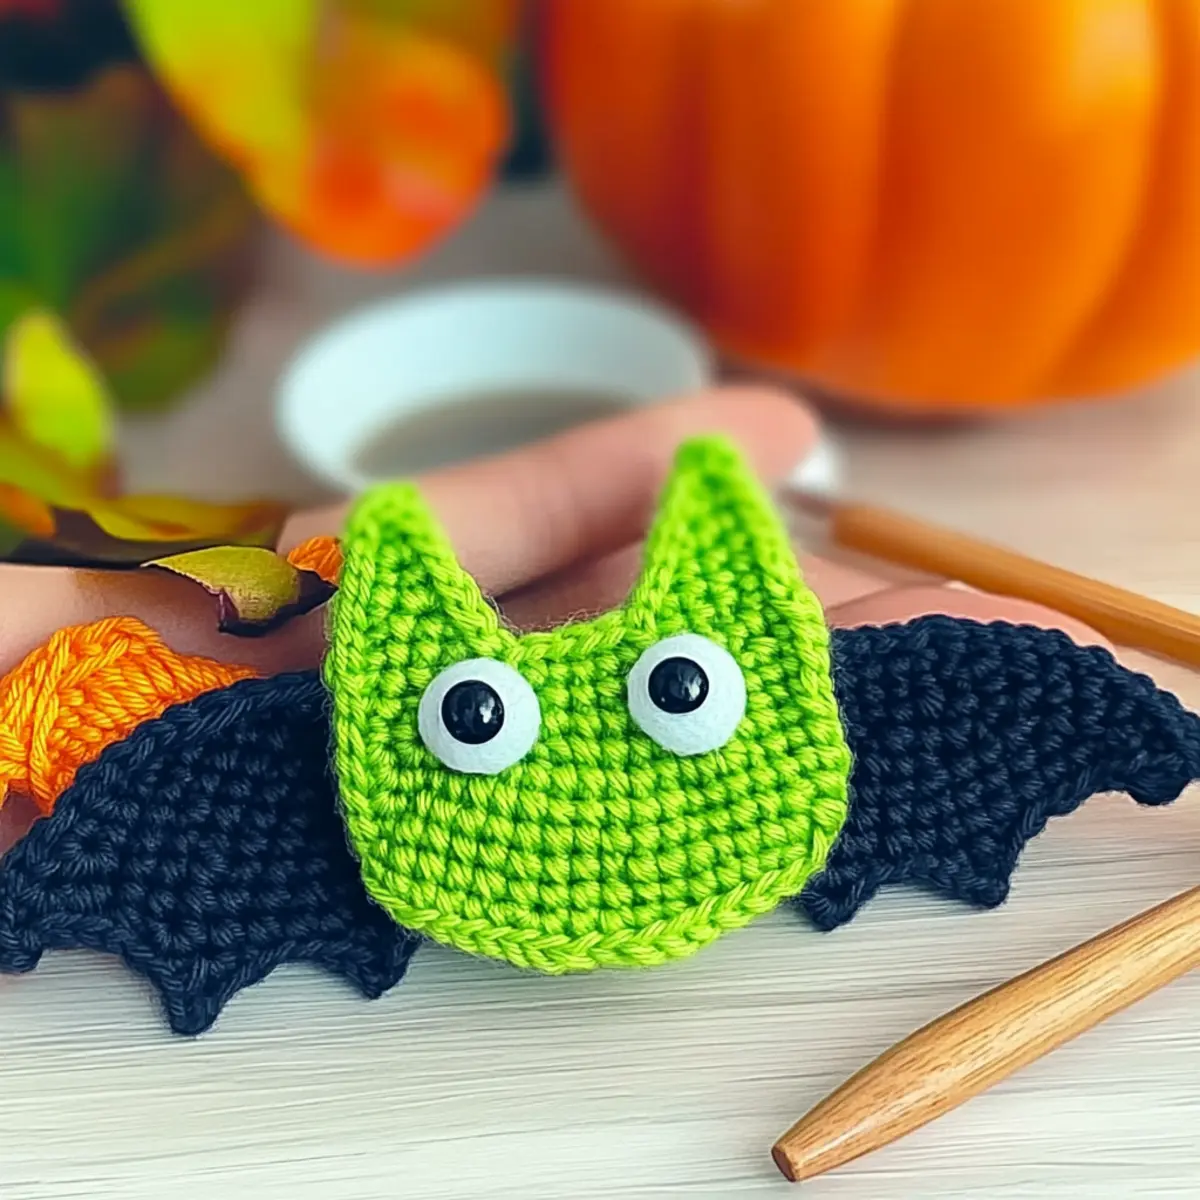
After attaching the eyes, weave in all ends neatly and attach a brooch pin to the back of the bat charm. Your finished bat charm should be well-defined with the ears and wings showcasing a delightful and spooky appearance, perfect for Halloween!
Expert Tips for Your Bat Charm
-
Stitch Counting: Always count your stitches at the end of each round. This ensures your bat charm maintains its adorable shape and prevents any miscounts.
-
Use Stitch Markers: Place stitch markers to track each round, especially crucial for creating the bat’s wings and ears. They can save you from confusion!
-
Secure Finishing: When attaching the brooch pin, ensure it’s firmly secured. This prevents detachment—no one wants their delightful bat charm to fly away!
-
Tension Matters: Keep your tension consistent throughout the project. This not only makes for a neater appearance but also enhances the overall texture of your bat charm.
-
Gauge Check: While not specified, checking your gauge can help achieve an even size for your bat charm. Adjust your hook size as necessary!
How to Wash and Care for Your Halloween Bat Charm
-
Hand Washing: Gently hand wash your bat charm in cold water with a mild detergent. Avoid twisting or squeezing to maintain its cute shape.
-
Drying: Lay your bat flat to dry on a clean towel. This helps preserve the structure of your Halloween Bat Charm without deformation.
-
Storage: When not in use, store your charm in a cool, dry place. Keep it away from direct sunlight to prevent fading and maintain its vibrant colors.
-
Occasional Refreshing: If needed, lightly steam your charm from a distance to remove any creases and restore its charming appearance.
Halloween Bat Charm Variations
Customize your bat charm with these delightful variations that spark creativity and fun!
-
Yarn Weight Swaps: Consider using a heavier yarn for a larger charm. This creates a more pronounced bat that’s perfect for keychains or larger decor pieces.
-
Color Play: Embrace the Halloween spirit by crocheting in shades of purple, orange, or even glow-in-the-dark yarn. A vibrant bat will surely stand out!
-
Fiber Alternatives: Swap milk cotton yarn for a soft acrylic or wool blend. Each fiber brings a unique texture, adding to your charm’s character.
-
Dramatic Wings: Change the wing size by adding extra chains or using a lace pattern. Dramatic wings can transform your little bat into a stunning piece!
-
Embellish with Beads: Add small beads or sequins to the eyes for a sparkling effect. A little shimmer can elevate your bat to show-stopping status.
-
Pom-Pom Tail: Create a small pom-pom to attach as a tail for a playful twist. This soft addition adds a cute flair to your flying friend.
-
Fringe Fun: Experiment by adding fringe along the bat’s wings. It introduces a fun texture, giving your charm a bit more dimension.
-
Border Detail: Finish with a contrasting border using another color for a fun pop! A simple slip stitch border can beautifully frame your bat.
Explore more about easy crochet variations to discover how you can turn one pattern into a thousand unique creations!
Beginner-Friendly Crochet Halloween Bat Charm FAQs
Can I substitute yarn for this project?
Absolutely! While I recommend using lightweight milk cotton yarn, you can substitute with other lightweight yarns like acrylic. Just make sure to match the yarn weight to keep your bat charm adorable and well-formed.
How can I adjust the size of the bat charm?
To make your bat charm bigger or smaller, you can change the yarn weight. If you’re going for a larger bat, opt for a medium weight yarn and adjust your hook size to 4.0 mm or larger. For a smaller version, use a finer yarn and a smaller hook. Always remember to check your gauge for consistency!
What should I do if my bat charm starts curling up?
Don’t panic! Curling is often a sign of tight tension or incorrect stitch counts. If your bat is curling like a bowl, try loosening your tension a bit, or double-check your stitch counts to ensure they’re accurate. Adjusting your hook size can also help.
What hook size should I use for this pattern?
For the Beginner-Friendly Crochet Halloween Bat Charm, a 3.5 mm crochet hook (US E/4) works perfectly. If you’re using a different yarn weight, you might need to switch to an appropriate hook size to achieve the right tension and size for your bat.
How do I fix dropped stitches?
It’s an easy fix! If you notice any dropped stitches while crafting, simply use your tapestry needle to pick up the stitch back through its original loops. Make sure to secure it by working a slip stitch to reinforce it. Consistency maintains the charm’s look!
What’s the best way to care for my finished bat charm?
For best results, hand wash your bat charm in cold water and lay it flat to dry. Avoid any wringing or twisting to prevent deformations. Keeping your bat charm in its best form ensures it will charm your holiday season for many years to come!
Leave a Reply